When you click on links to various merchants on this site and make a purchase, this can result in this site earning a commission. Affiliate programs and affiliations include, but are not limited to, the eBay Partner Network.
I'd like to replace the long trim cover from the side of center console to near the gas pedal. looks there is another shorter piece next to it. Do I just pop the short one first and slide
the longer piece out (after removing the clip near gas pedal)? I don't need to remove the console for that, right?
Figured it out. This thing takes much more effort than I expected.
1. Need to pull out two leather side trims first.
2. pull out the silver trim that goes around the radio.
3. remove the media control unit by pulling out and disconnect the wire plug.
Remove two screws exposed.
3. Put the shift to Neutral and unscrew the ****. Put tire blocks first to be cautious.
4. Pull the whole trim (cupholder and shift panel) toward you.to loose it. Do not have to remove it.
5. Remove the center console back vent assembly by pull it out.
6. Remove the driver side short console side cover first by removing one screw connecting it to the longer side cover. unlatching all the plugs.
I need to also remove the driver seat to gain enough clearance to remove the panel.
7. Now start removing the longer side panel by first undoing two screws. Note: one of the screws is hidden under the storage (beneath radio). It took me a while to figure that out.
8. Pull the long side cover toward you to remove it.
Do the same steps apply if I just wanted to remove the center console / cup holder area to wrap the wooden area?
Thank you, unfortunately I didn't see any tips on removing the wooden area (cup holder).
To remove the wooden piece/cup holder, you can:
1.follow the video to remove the two leather trims; unscrew and remove the shift ****, unclip the silver piece around the right side of the radio.
2. pull out the media control panel. Unplug the connecter.
3. remove two screws exposed.
4. pull the whole center top cover piece (wooden piece/cup holder, etc) toward you.
5. unplug the connecters (I did not do)
Should be straightforward to do it.
Thank you very much, I will give this a try when I am free. I did not know there were more screws behind the media panel.
Do you know if I need to put my gear into neutral to be able to take out the wooden piece?
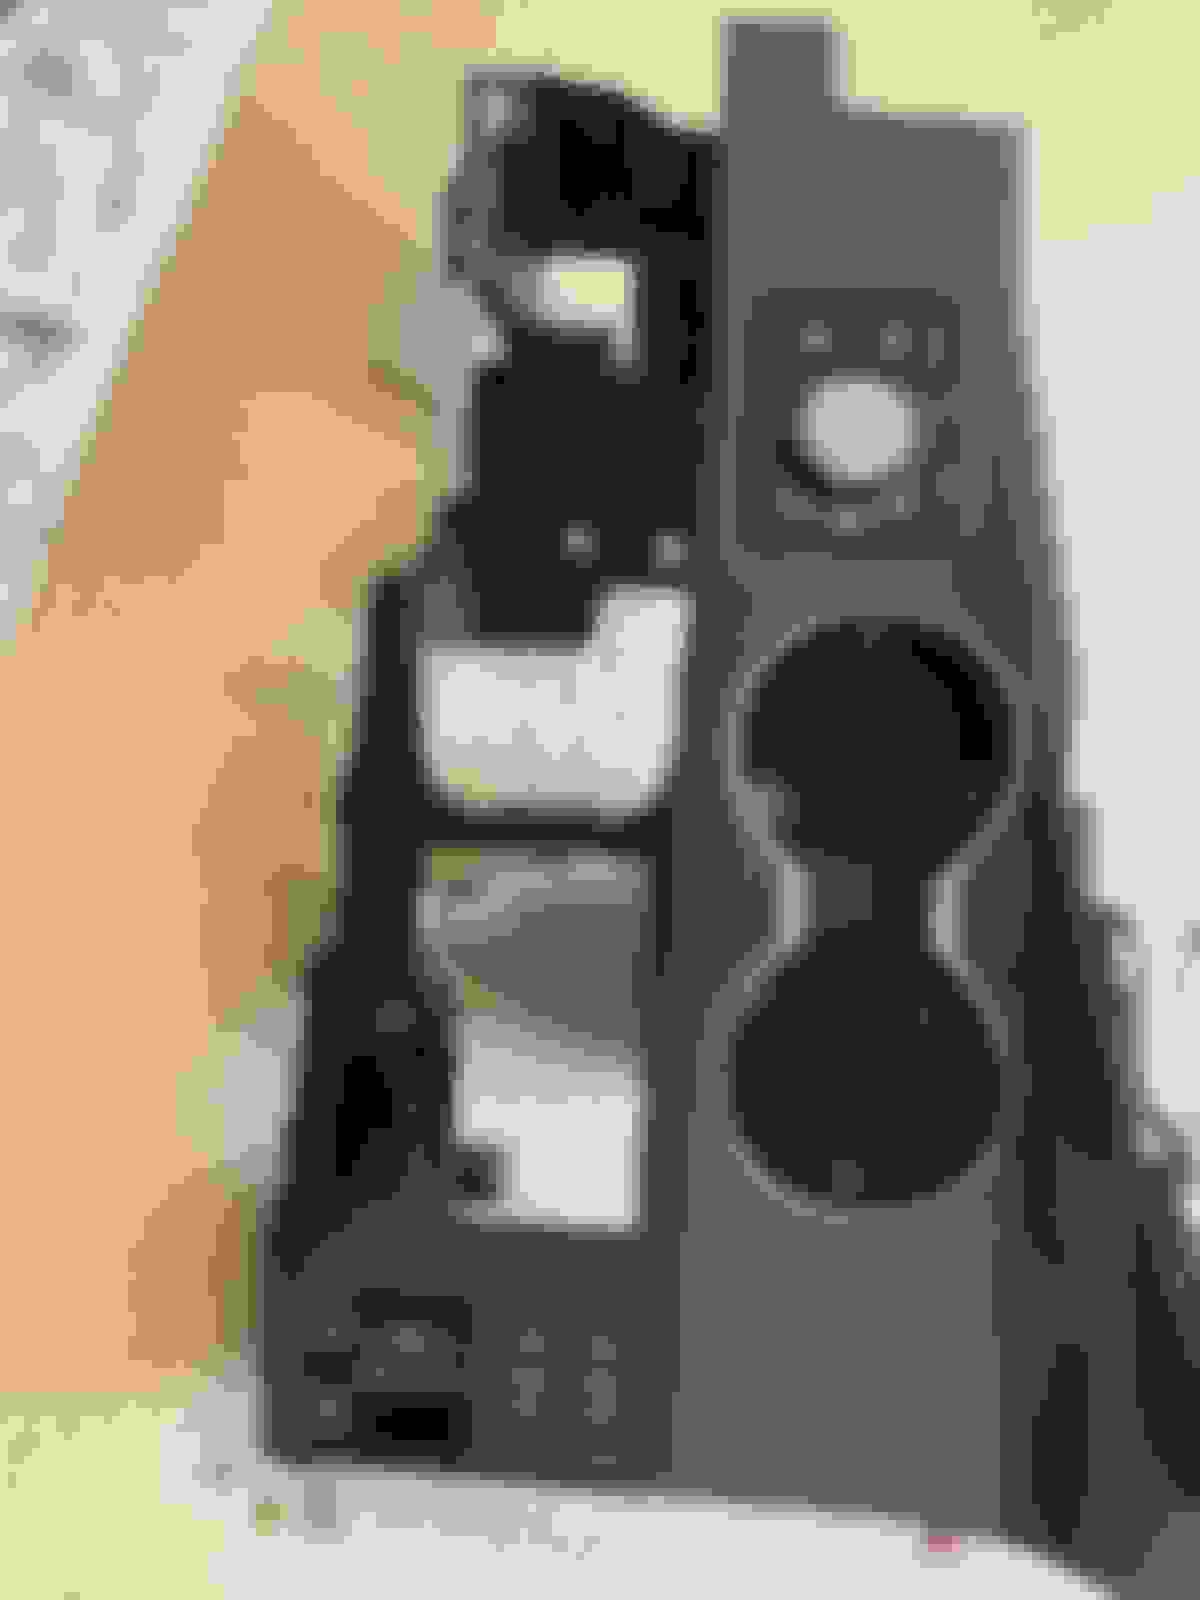
I am trying to remove the centre console piece (photo below) that surrounds the cupholder, gear **** and the mouse joystick. I managed to remove the two side leatherette trims and the silver trim that runs round the radio and air con vents but I could not figure out how to proceed from there. I didn't try to force the centre console from the dash as it seems to be very tightly fitted.
If you have experience with removing this centre console piece, please could you offer some advice?
There are a couple of screws at the bottom. One was on the metal brace and another on the plastic. It's been a few years since I removed it, but the screws were not easily seen. Once I removed the screws, it popped out easily. You have to tilt it up from the back and pull it back away from the console.
There are a couple of screws at the bottom. One was on the metal brace and another on the plastic. It's been a few years since I removed it, but the screws were not easily seen. Once I removed the screws, it popped out easily. You have to tilt it up from the back and pull it back away from the console.
 09-18-21, 03:35 PM