When you click on links to various merchants on this site and make a purchase, this can result in this site earning a commission. Affiliate programs and affiliations include, but are not limited to, the eBay Partner Network.
Hello all, been a lurker for years and gathering information but this is my first post as I cannot seem to much any info on this subject.
As the title states, I am looking to see if there is any compatibility between 1st gen sc factory wiring harnesses for the radio/climate control?
When I purchased the car (1994 sc400) the PO said that the radio didn't work and I said that's no problem as I wanted to upgrade to a double Din anyways down the line. I've been cruising with no radio for a couple years with a Bluetooth speaker but I finally I decided to replace the radio and got the factory unit but to my dismay it looks like someone already attempted the job, failed, and put the factory radio back in.
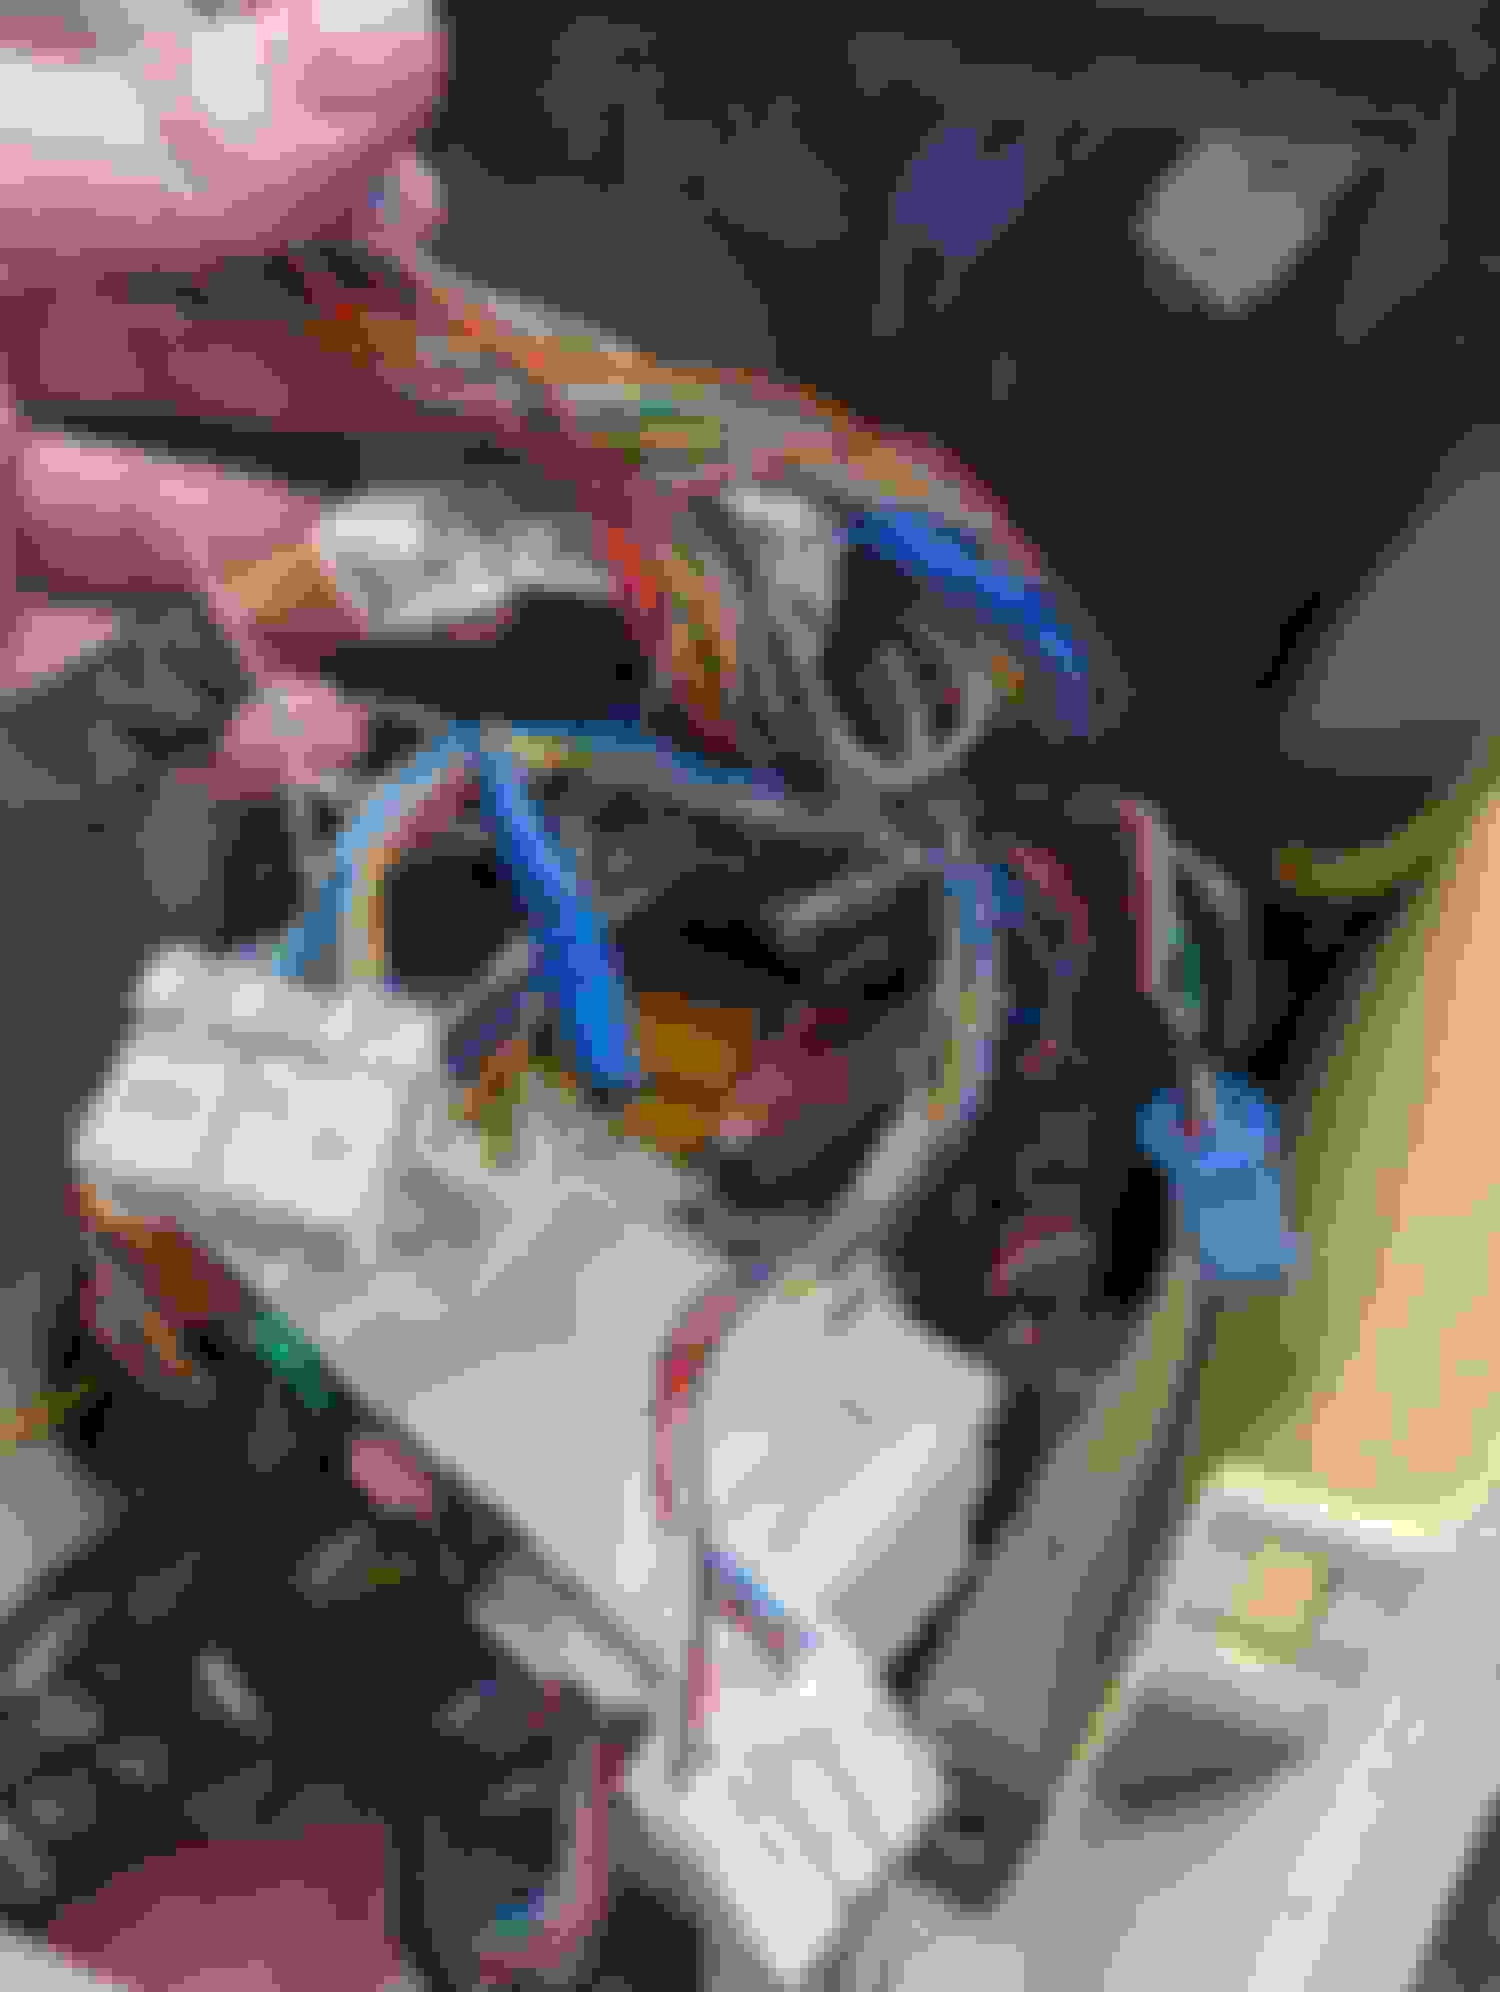
I noticed a bunch of electrical tape and a couple wires caught my eye, specifically the amp ground wire which was severed and poorly reattached. The wires of the pigtail harnesses also seem to be wrapped around eachother in a big wad and taped, as well as more tape down near the console box where they all originate from.
Anyways I'm wondering if I should even bother trying to get it working myself since I have limited knowledge or if I should try to get an another whole unadulterated harness (product #82166-24082)? Does anyone know if a 93 or 95 harness will work as well? Anyone know if there is a difference between pioneer (what I have) and the nakamichi systems?
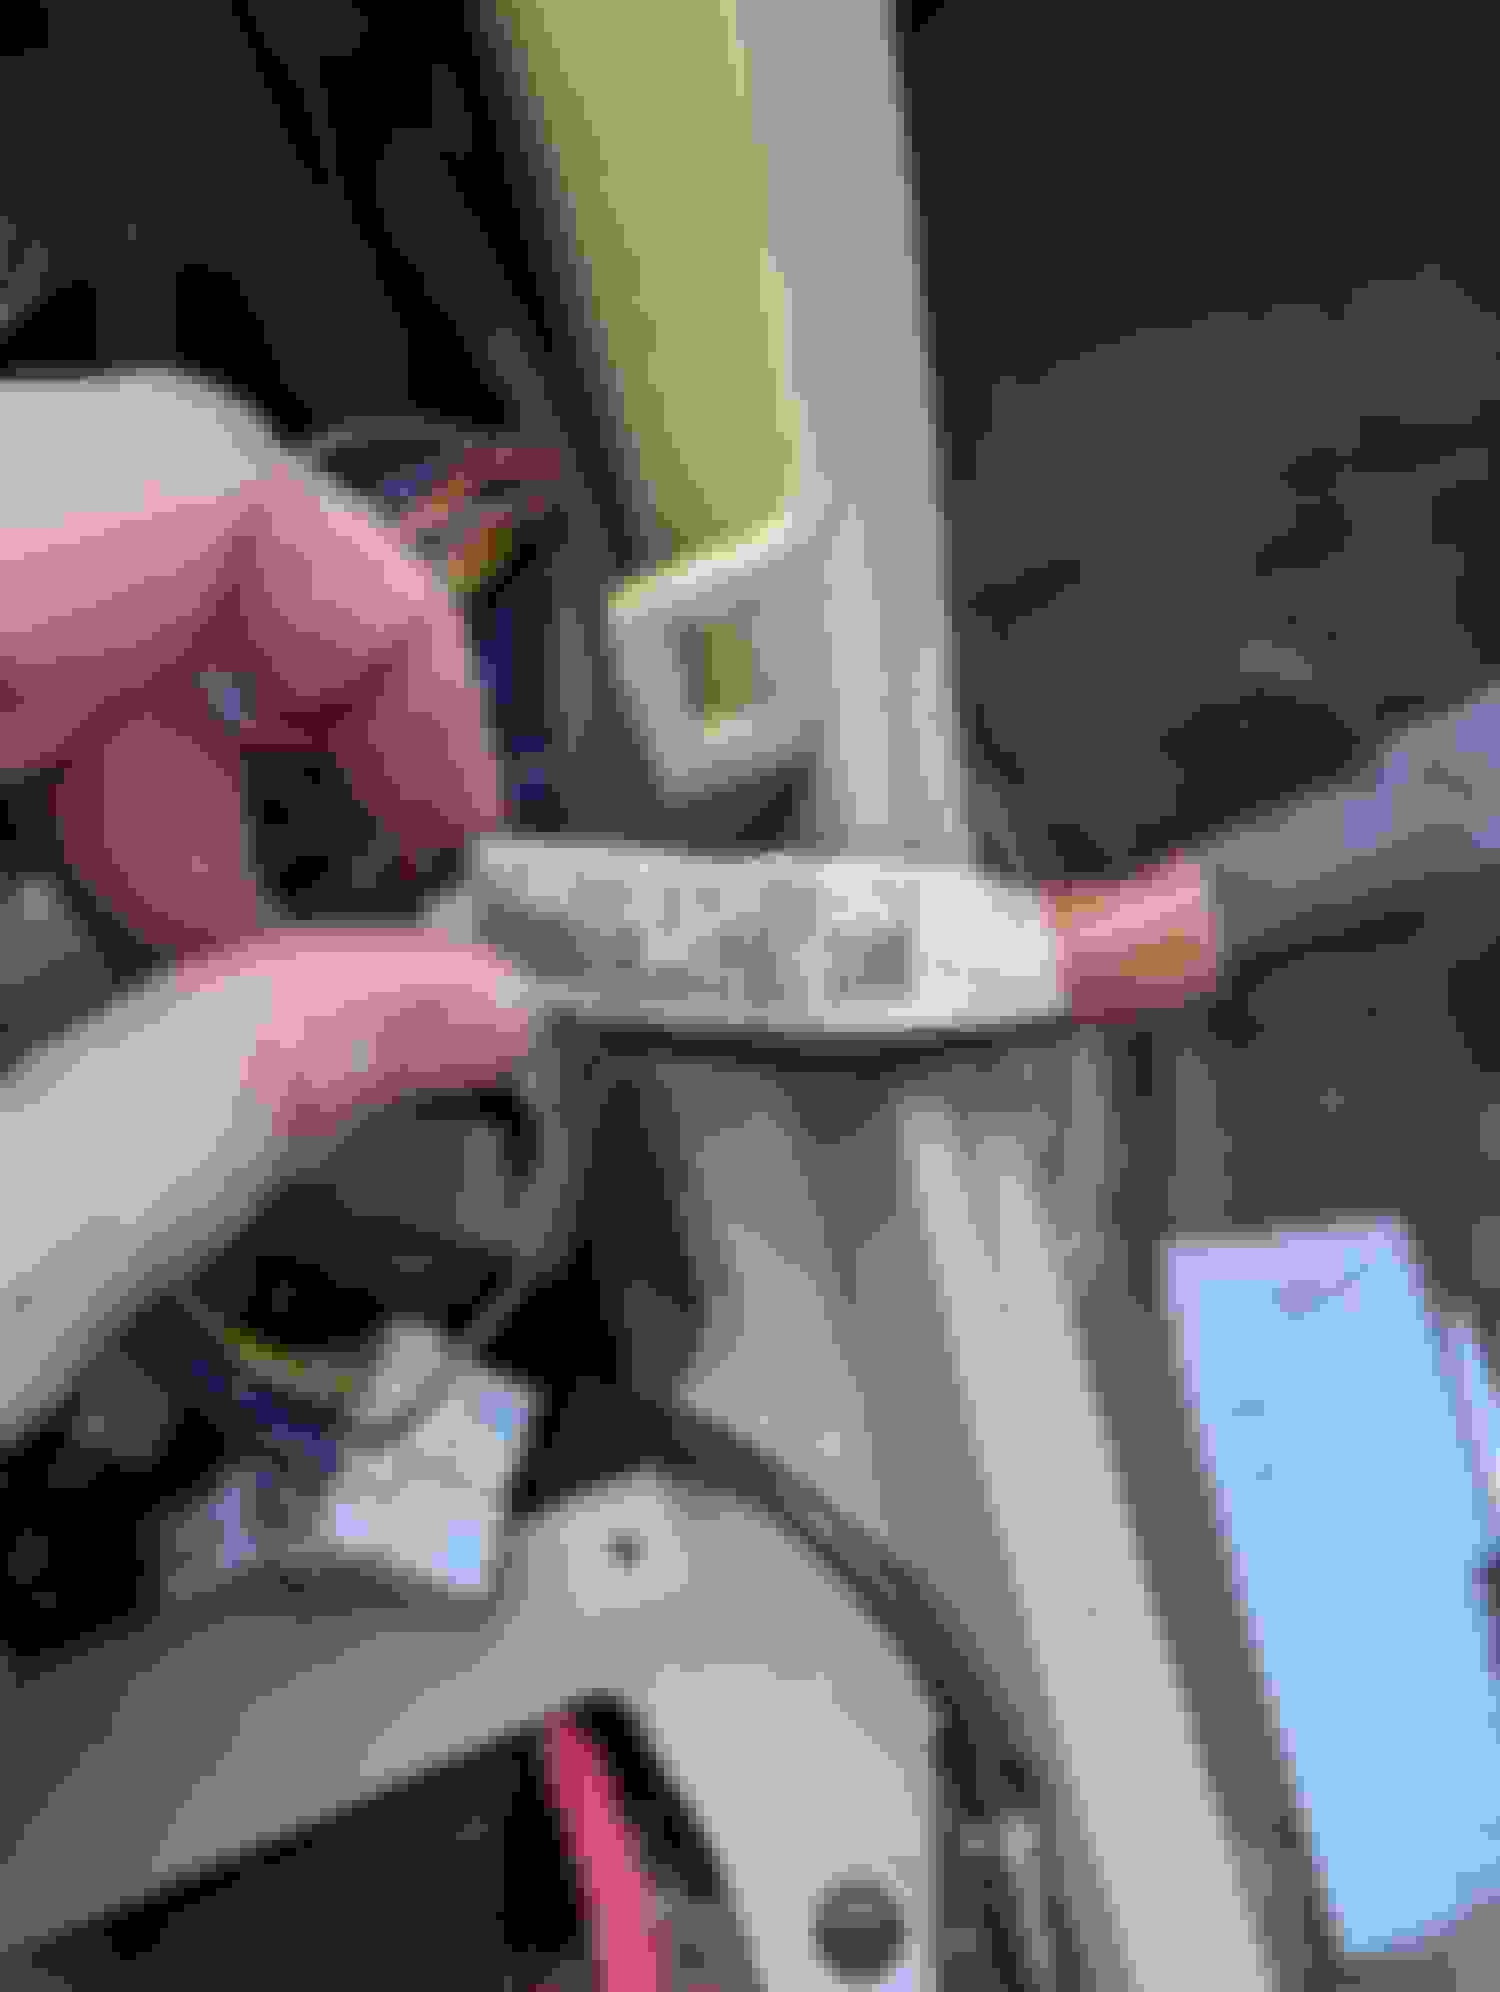
part # 82166-24082 Pic of brown wire without tape. Pink antenna wire severed from connector at base (my fault trying to get this horridly tough pos out) as well as the white with blue stripe. Blue tape on brown wire (amp ground I believe)
Ebay find $40+ shipping. says it is out of a 93. Quite dirty but I'm sure it could be cleaned up with electronics cleaner and most importantly NO BLUE TAPE! The part number listed is for a 98-00 but the part # on the actual product picture is 82166-24802, the same as mine.
Any help or insight to this issue would be much appreciated as I'm getting a little tired of the Bluetooth speaker 😁.
Last edited by CatsNCarry; 02-19-24 at 06:33 PM.
Reason: formatting
Very much depends on the level of damage to the existing wiring, as I hope it is pretty clear that you will need to take the whole dash out to replace the wiring, while not too complex, there is a lot of pieces involved, not a beginner's project.
it's pretty hard to judge on what's under the tape, could be as mundane as punctured isolation, which is quite easy to repair by de-pinning the terminal as it is described here and using some Adhesive Lined heat shrink tubing like this one, the benefit being that it actually sticks to the wire, not only making it waterproof, but also preventing it from sliding on the wire.
If the damage is more severe and there are broken strands in those wires, a safer bet would be to cut out the damaged section completely and use Crimp Connectors to splice the wires back together, those are just as solid as an uncut wire, just not as flexible.
That time when I had to rip out the wiring under the dash, that was a real mess, half of the wires were torn off, none of them being isolated, causing premature death of at least 2 batteries. While I could've fixed it, I didn't feel like piecing this jigsaw puzzle back together. Yours doesn't appear all that bad, from the distance anyway, at least all the wires are still in place..
Hope this helps and best of luck!
Thanks for the reply, I am not the most savvy when it comes to electrical or even regular mechanic work if I'm being honest. I have crimped and spliced wires before but not much past that. Would the whole dash really need to come out for such a job? I was (maybe mistakenly) under the impression that the harness plugs on the bottom of the control box could be unplugged and plugged into a new harness/control box. I suppose I'll need to do some more digging under the tape to see what's what but it's raining atm and my inside door handles are busted off so if I disconnect the battery i can't get out lol 😭. Ls400 door handle upgrade is a big need haha.
I did take off the tape on this brown wire and the exposed wire extended past where I could see inside the black insulation.
Would the whole dash really need to come out for such a job?
Well emmm, yeeeeaah...
Originally Posted by CatsNCarry
I have crimped and spliced wires before but not much past that.
There is really nothing too complicated about it, at least after a few practice runs. Just make sure to pull on the wire after each crimp, but before shrinking the heat shrink to ensure that it is Actually crimped, ask me how I know..
Originally Posted by CatsNCarry
I did take off the tape on this brown wire and the exposed wire extended past where I could see inside the black insulation.
As long as none of the strands are damaged (not too many of them anyway), there is no corrosion on the wire, and all of the exposed wire fits under the tubing, you will get away with just using Adhesive Lined Heat Shrink from earlier.

 02-19-24, 06:31 PM