My DIY e-Break Boot :)
#1
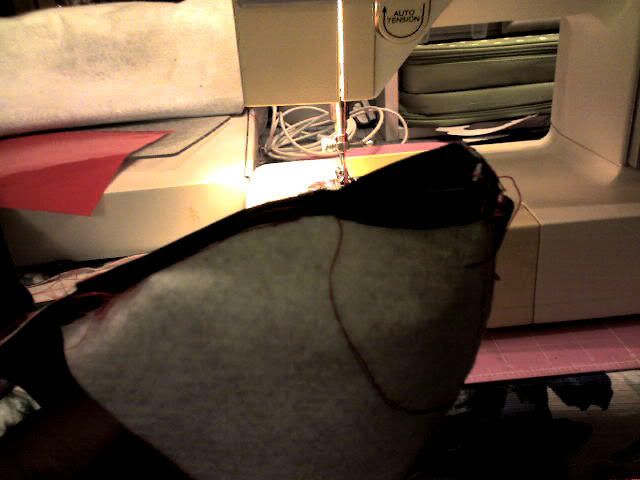
So... I had an xtra Vinyl laying around, and my boot is pretty soft, when you touch it it cracks, I guess old age. So i I thought of tailoring my boot, by the way I don't have experience of tailoring. First nite, I went to used my best friend's sewing machine, I broke the needle, then moved on to my gf's mom's machine. I had my gf's mom thread the machine for me, then I tailored the rest.
Here are phone pics.
So basically it has 3 pieces to sew.
Cost of making it $0 dollar (until I replace the needle I broke)
Use Vinyl for boat, it will last you very long because they are made for sun and water.
1. Trace the boot on both side.
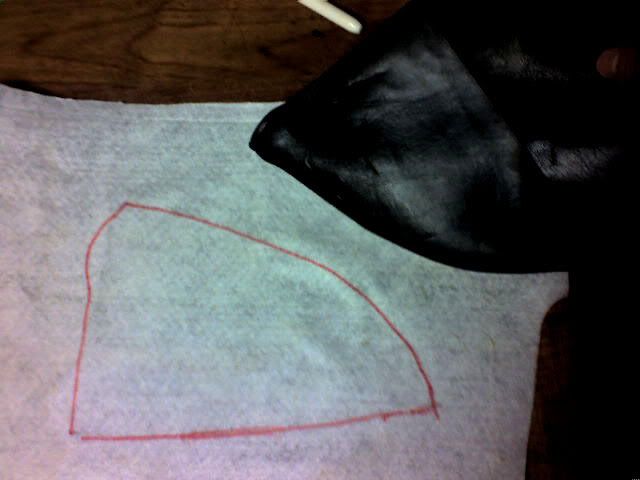
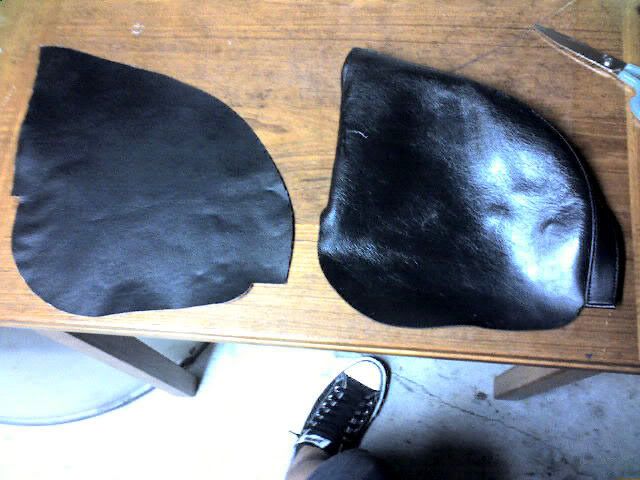
2. Cut a strip of vinyl for the top part of the boot.
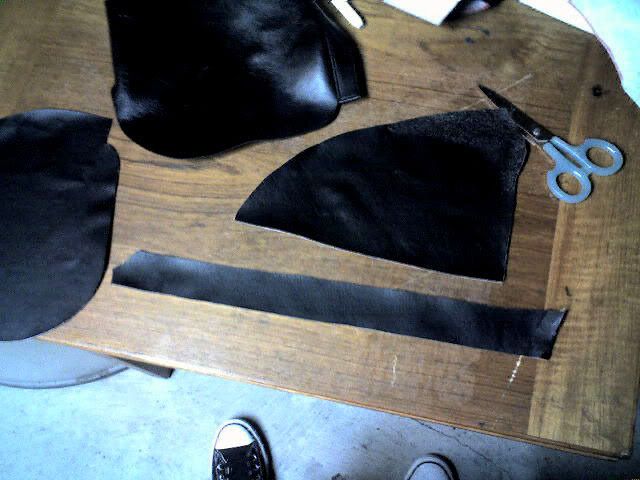
3. Sew the boot seams corners pick your own thread color I used a heavy
duty thread Red cuz I love red wish all my stitchings are red in the car.
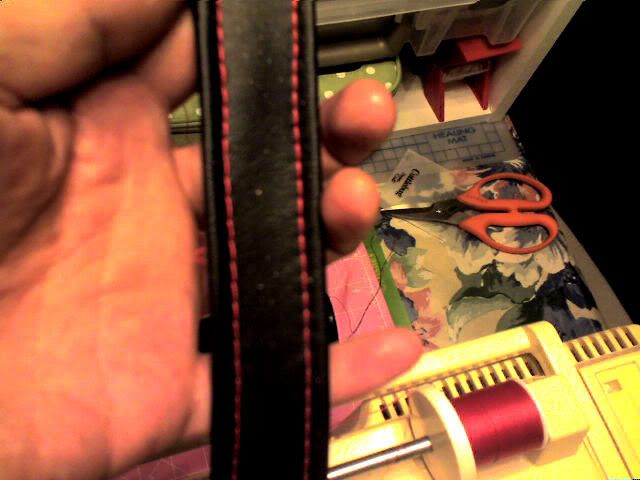
4. After I have sewn the seam for top piece, I went ahead and sewn the larger cut cover to the top piece, I turned it inside out that way the thread is inside. As you can see the only thread you can see is the thread that I sewn on step "3". Sew them pieces by pieces.
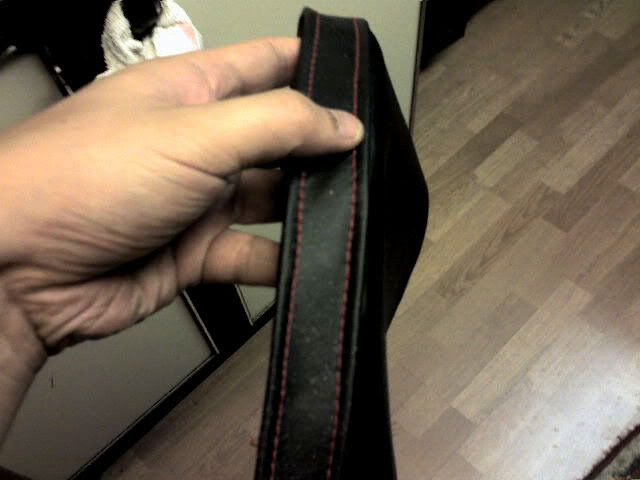
5. Remember give it a bit xtra vinyl for the them to be attached to one another, and when you do this step make sure you sew from the inside not from out side Once all pieces are sewn, flip the boot to inside out to close the front seam. Make sure you eye ball measure or measure the opening of the boot you don't want it too small or too big.
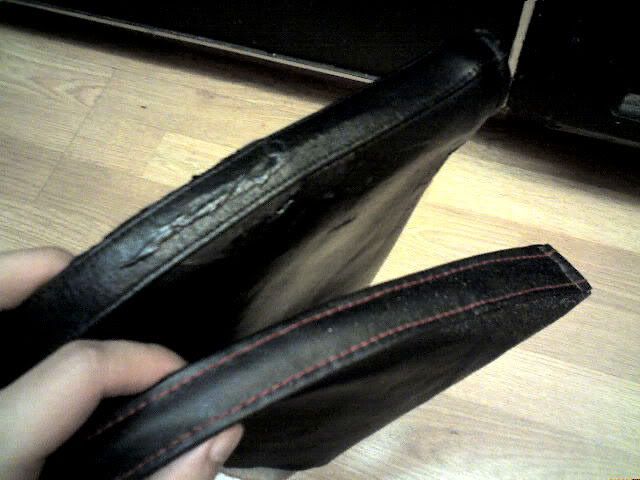
6. Here's the old ( heavy cracks on the older boot) and the new one once I finished the sewing, **** took me like 1.5hrs because I had to travel 30mins at my gf's house. Ignore dirt on the new boot.
And my new dark shift **** (jdm baby) Better Rez Pics-
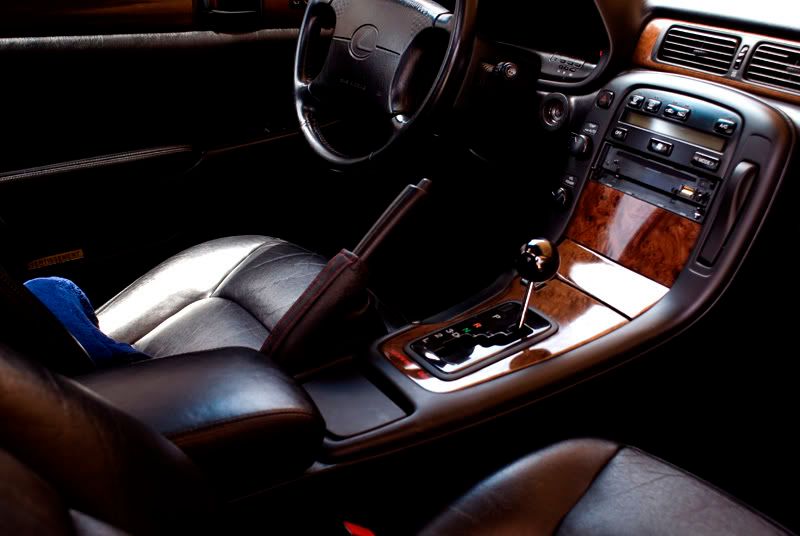
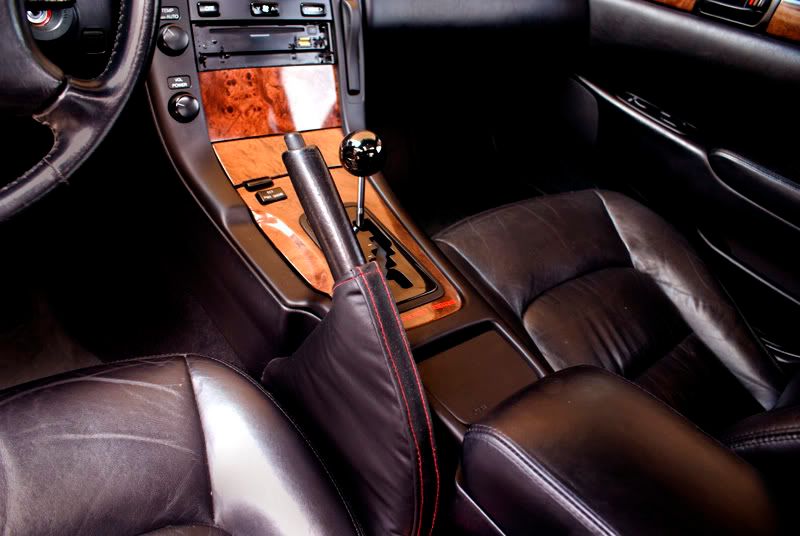
I'm very happy with the result knowing I made it
IMPORTANT: I used my old one inside and inserted the new one to give me that solid look & it makes it sturdy.
Here are phone pics.
So basically it has 3 pieces to sew.
Cost of making it $0 dollar (until I replace the needle I broke)
Use Vinyl for boat, it will last you very long because they are made for sun and water.
1. Trace the boot on both side.


2. Cut a strip of vinyl for the top part of the boot.

3. Sew the boot seams corners pick your own thread color I used a heavy
duty thread Red cuz I love red wish all my stitchings are red in the car.

4. After I have sewn the seam for top piece, I went ahead and sewn the larger cut cover to the top piece, I turned it inside out that way the thread is inside. As you can see the only thread you can see is the thread that I sewn on step "3". Sew them pieces by pieces.

5. Remember give it a bit xtra vinyl for the them to be attached to one another, and when you do this step make sure you sew from the inside not from out side Once all pieces are sewn, flip the boot to inside out to close the front seam. Make sure you eye ball measure or measure the opening of the boot you don't want it too small or too big.

6. Here's the old ( heavy cracks on the older boot) and the new one once I finished the sewing, **** took me like 1.5hrs because I had to travel 30mins at my gf's house. Ignore dirt on the new boot.

And my new dark shift **** (jdm baby) Better Rez Pics-


I'm very happy with the result knowing I made it

IMPORTANT: I used my old one inside and inserted the new one to give me that solid look & it makes it sturdy.
Last edited by sc3lovely; 07-18-08 at 01:58 PM.
#6
rofl-
One of those old late 90's portable Singer Machine.
I guess it's in the blood because my GF is Chinese and they used to have a tailoring shop back in the days- lol.
One of those old late 90's portable Singer Machine.
I guess it's in the blood because my GF is Chinese and they used to have a tailoring shop back in the days- lol.


