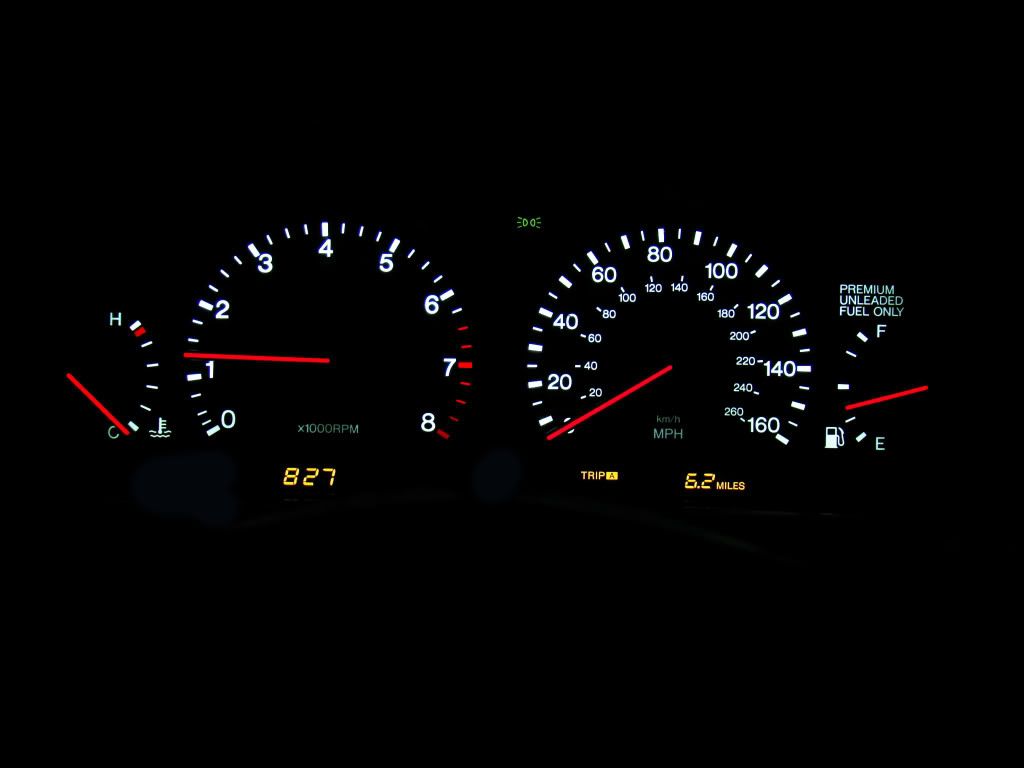
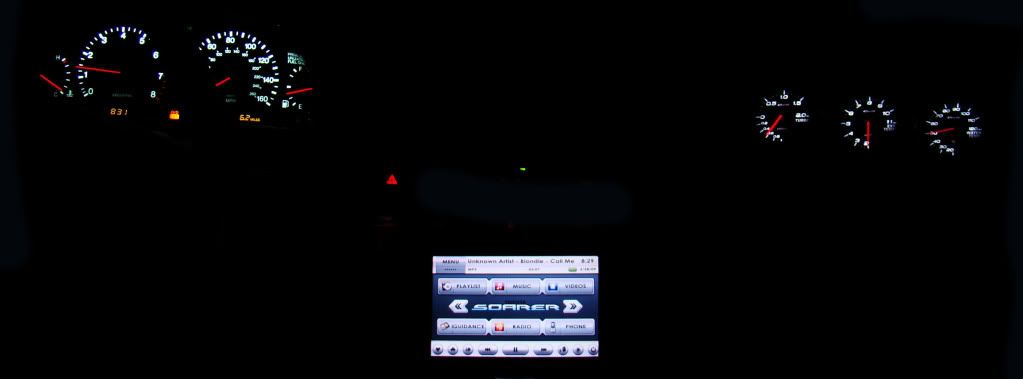
Halo/Angel Eyes for a different application
#31
How did you mount those bro and also what did you use to grind them down a bit.. Did you need to grind the insides of the halo? Link to the Halos for purchase? My dash is all flickery along with the needles... any suggestions for the needles?
How hard is it to remove the instruments/dash?
How hard is it to remove the instruments/dash?
#32
for the question about what bulbs were removed I removed only the 8 that follow the path of the Halo rings.
I used a Dremel with a cylinder shaped Sandpaper tool to grind down the plastic. the shape sander leaves is perfect for the halos to sit on and used clear glue to hold them in place.
Other than cutting of the section I have my finger on in the picture, no other modification was needed to the Halo rings themselves.
The cluster removal is not hard at all and I'm sure if you search this forum you will find removal instructions.
As for the Needles its all about your taste. Personally I like the OEM look that is evenly lit all the way. So if you like this as well try to but working OEM ones.
#37
if you want the dimmer to work, you need to solder the neg/pos wires onto one of the gauge bulb spots. Well if you do this, then thats where you would connect the wires to.
For me i just connected the 12v wire going to the headunit and the ground to a metal plate behind the gauge cluster.
Also you really dont NEED the dimming function. During the day its at the perfect brightness and at night its "slightly" too bright.
For me i just connected the 12v wire going to the headunit and the ground to a metal plate behind the gauge cluster.
Also you really dont NEED the dimming function. During the day its at the perfect brightness and at night its "slightly" too bright.
#39
Long story short with the car off and the headlights off the voltage to the stock bulbs varies from 12.02-11.88 and with the headlights on its from 11.95-11.80 with 0 when they are off. The invertor says its good from 10.8v+. So as you can see we are in the clear just soldering the invertor to the copper right around 1 of the lights we pulled.
Besides keeping the dimmer feature this allows the backlight to turn on AFTER the gauge needles.

With this slight twist i give this mod a 10/10.
#41
dude that looks amaaaaaaaaaazing
do you have any idea what causes the needle to drop? my speedo needle is low when i took mine apart and i didnt touch the needle. i think i just need to move it back into position
any advices?
do you have any idea what causes the needle to drop? my speedo needle is low when i took mine apart and i didnt touch the needle. i think i just need to move it back into position
any advices?


