
SEM - Seats, Doors, Console, Wheel, Wood Grain, Parking Brake - ton of pics
 05-25-10 | 12:36 PM
#1

I simply wanted to restore my front seats then change the color of my center console, steering wheel & cover, all the wood grain, parking brake & cover. I'll apologize in advance for so many pics. 
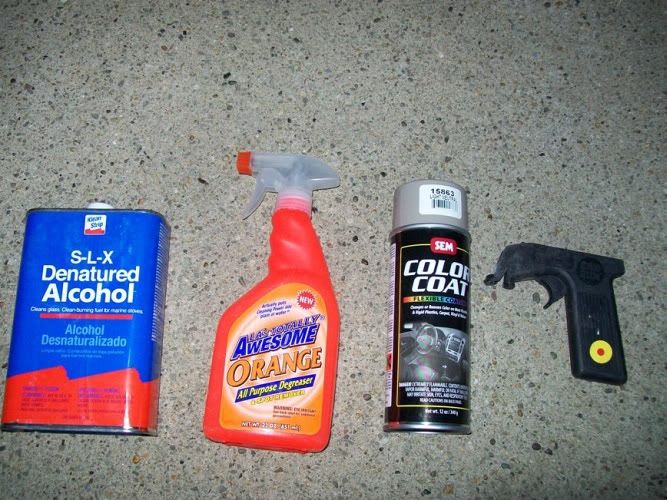
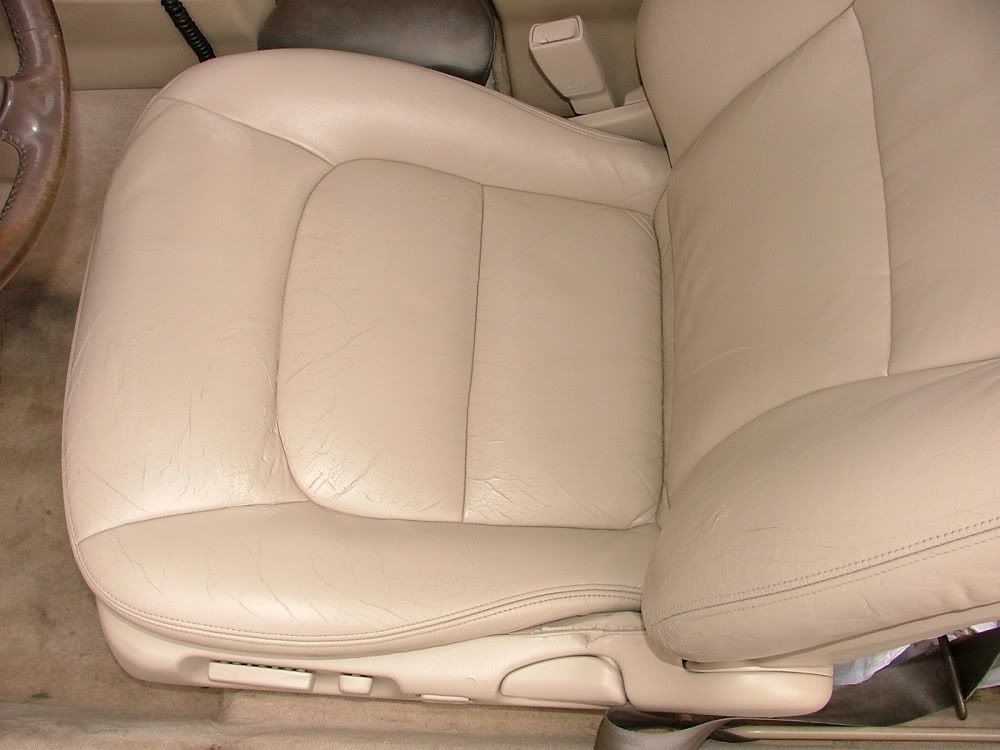
Front driver seat had unsightly tears that needed fixing which I patched by using Flexible Liquid Stitch ($7. eBay) & tan vinyl from fabric store (1/8 of a yard - $.82 cents.) Now I needed a coating & SEM kept coming up as a leather restoring option, so I ran with it. Per forum search seems that Light Neutral 15863 was the match for our tan interiors. Purchased 2 cans ($9. ea plus s&h - $25.) Prepped the seats by cleaning thoroughly with Totally Awesome ($1. Dollar Tree), then using Denatured Alcohol ($5. Wal-Mart), once it dried I sprayed using the can gun ($1.) which wastes nothing & gives uniform even coverage.
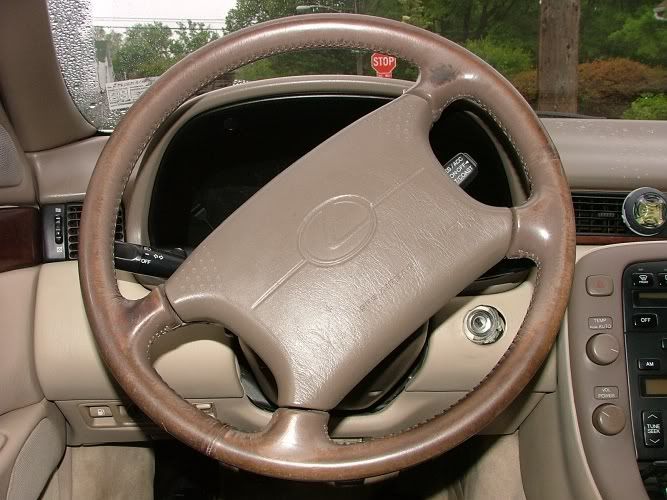
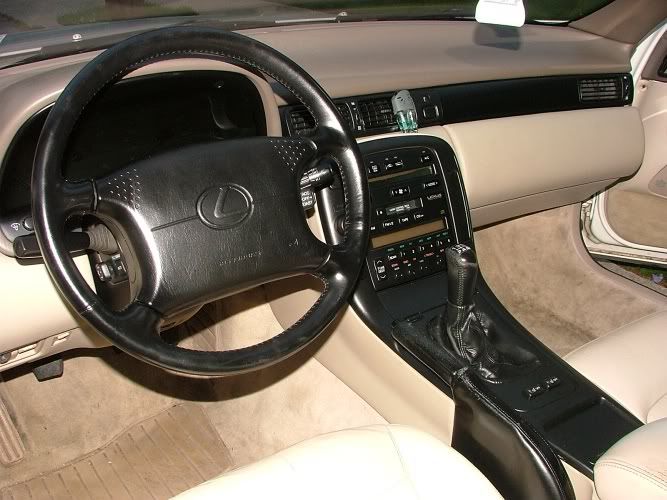
SEM Satin Black 15243 ($13 - SEM told me local Philly Sherwin Williams that sells their products) was used to coat my center console, steering wheel, wood grain, & parking brake.
I did about 3 coats & the results were better than great, it was legendary! All told it costs $53, wow!
tools for the transformation
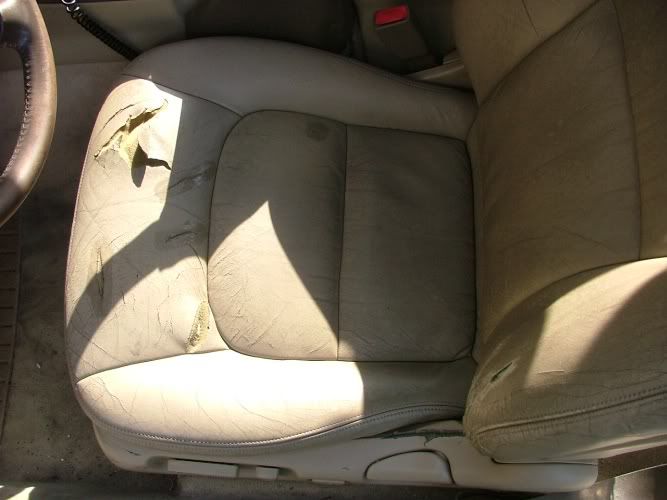
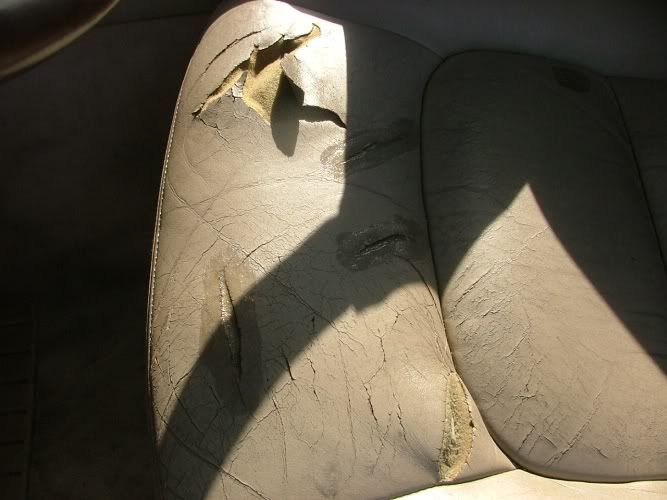
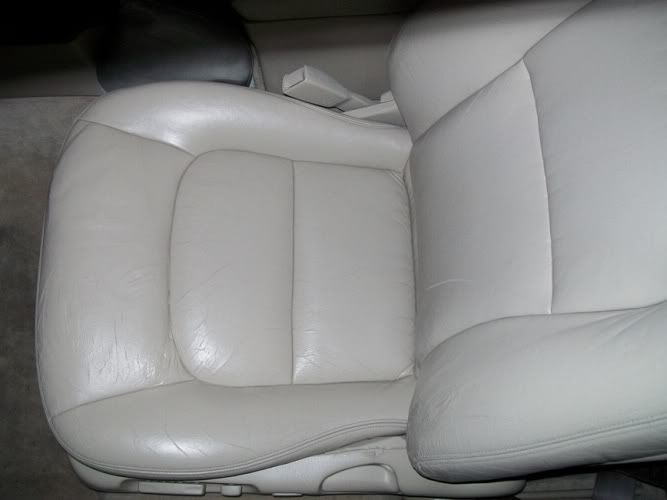
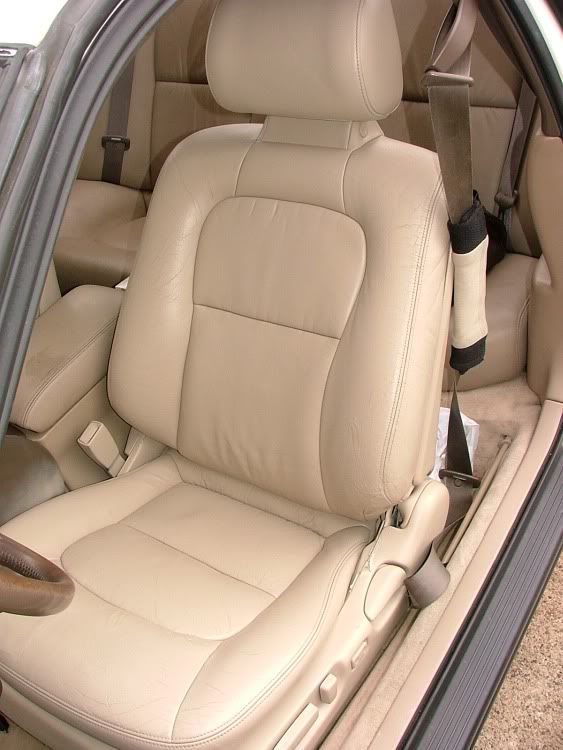
my drivers seat before some spots has liquid stitch no patches yet
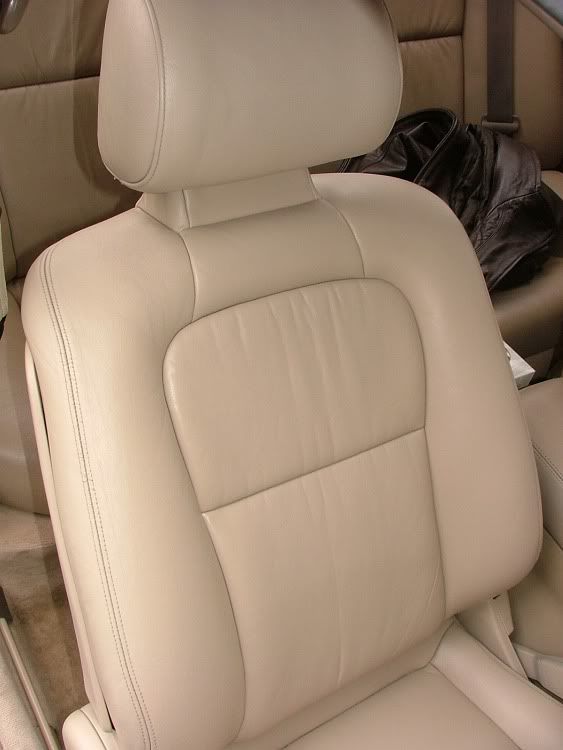
After spraying of 3 coats before total drying, transition phase
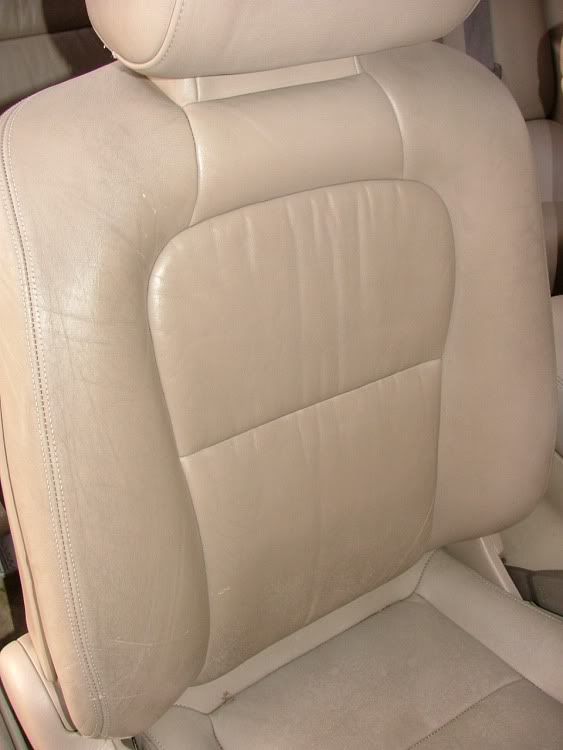
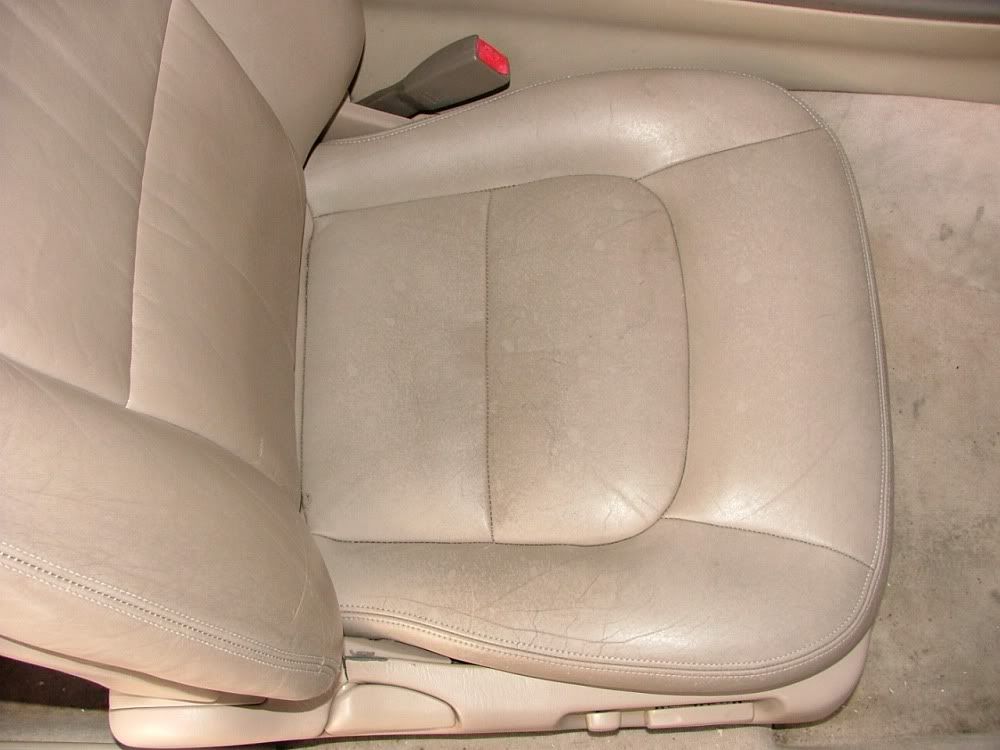
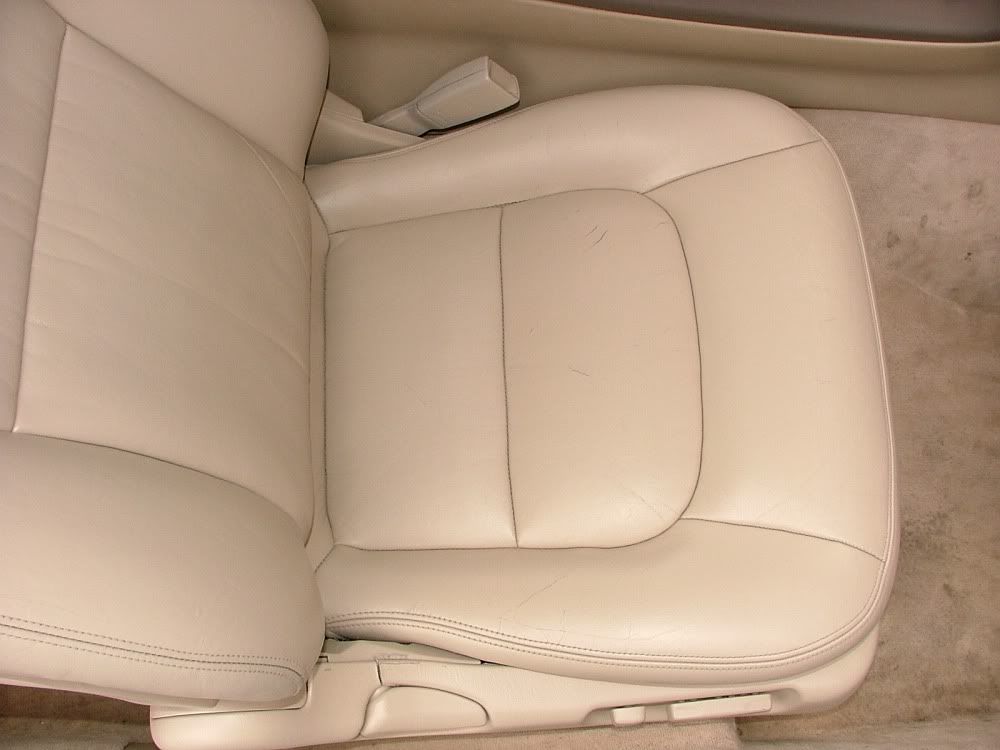
passenger before
passenger transition phase
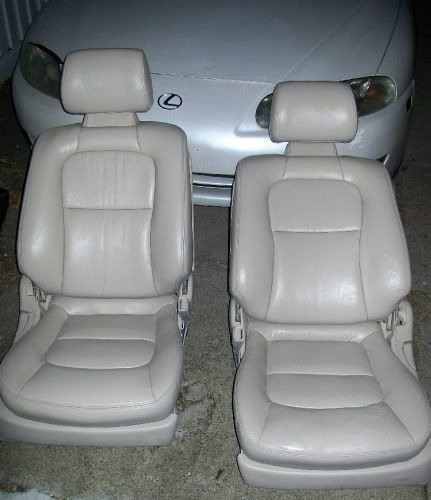
seats in transition side by side - this shot is cool
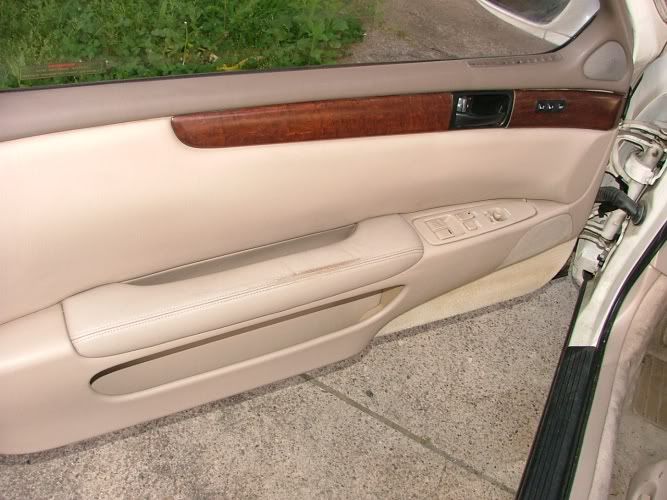
doors before
doors transition, other looks the same
center console before
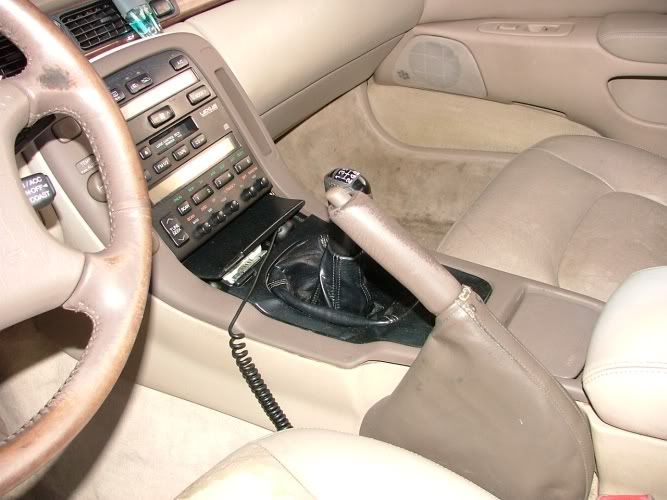
steering wheel before
time to bring it all together
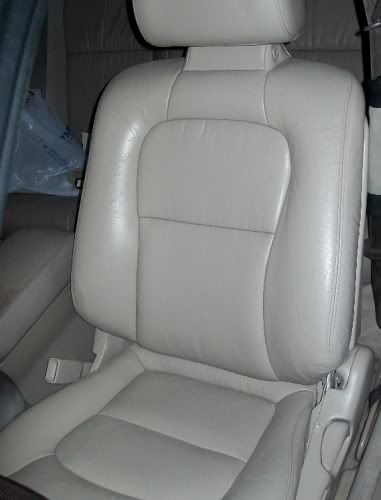
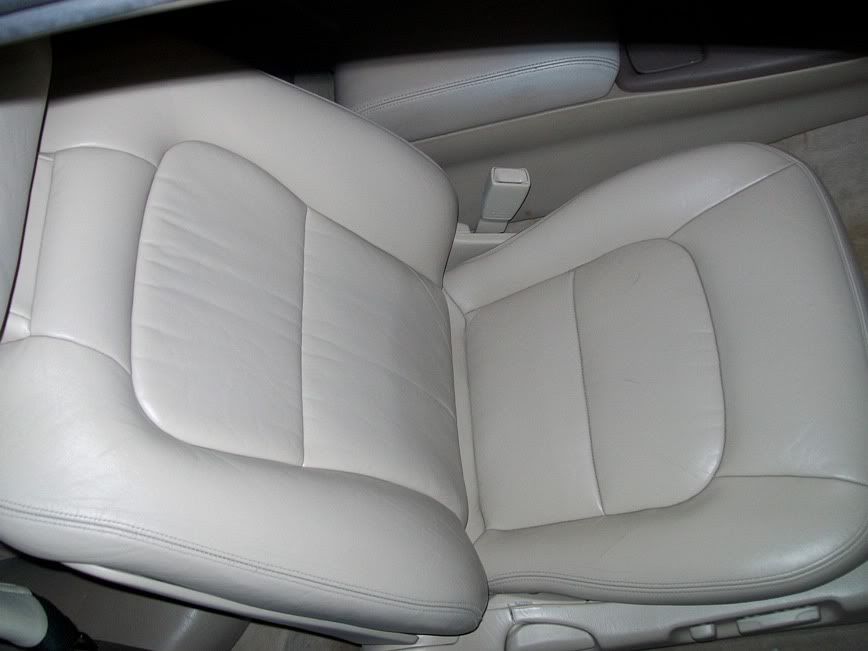
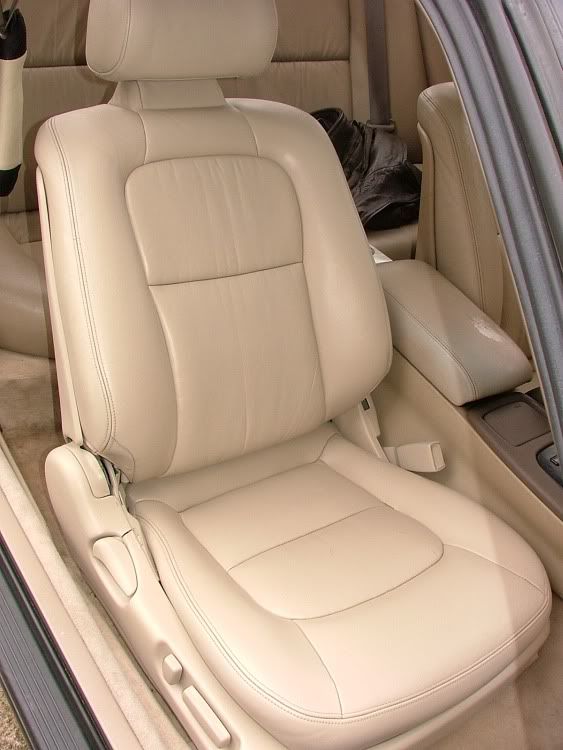
drivers seat today
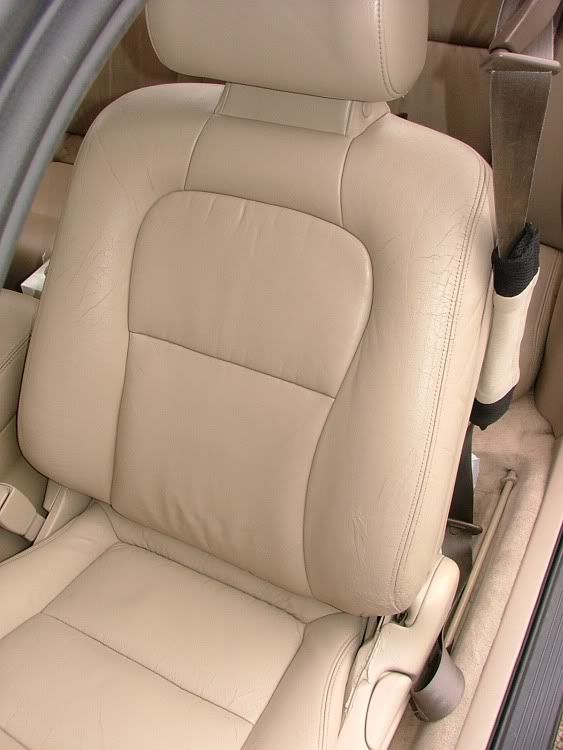
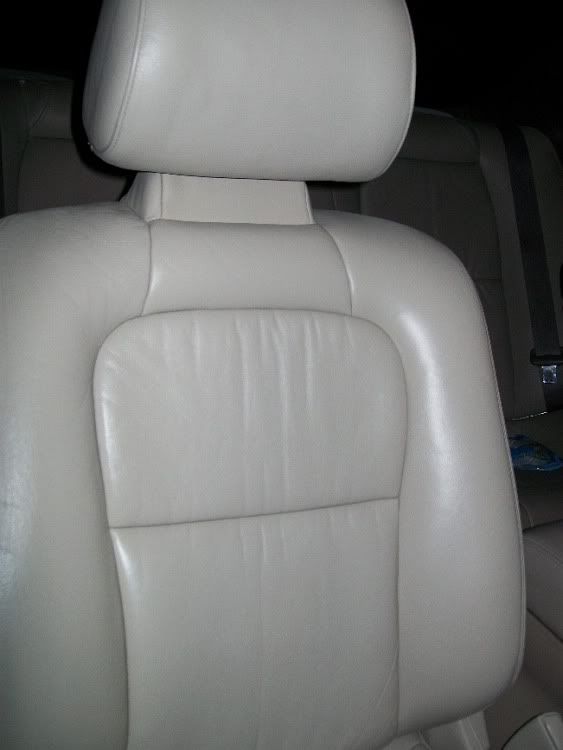
passenger seat today
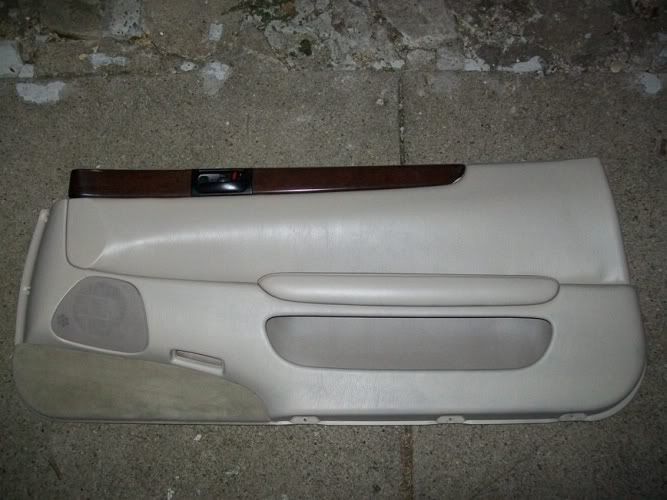
doors today

steering wheel, center console, wood grain, parking brake black
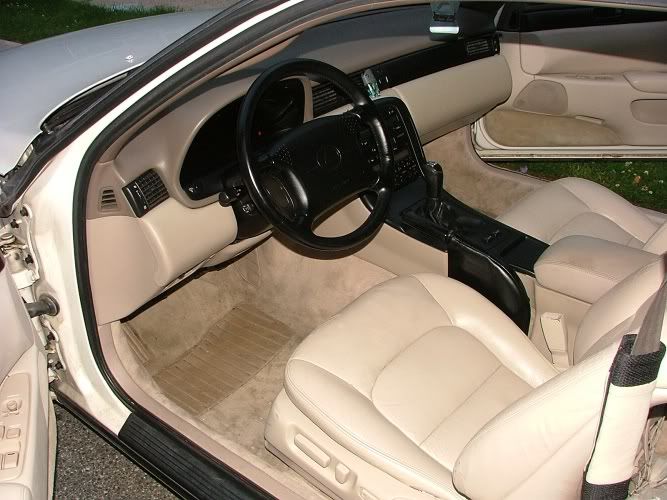
everything included shot
Front driver seat had unsightly tears that needed fixing which I patched by using Flexible Liquid Stitch ($7. eBay) & tan vinyl from fabric store (1/8 of a yard - $.82 cents.) Now I needed a coating & SEM kept coming up as a leather restoring option, so I ran with it. Per forum search seems that Light Neutral 15863 was the match for our tan interiors. Purchased 2 cans ($9. ea plus s&h - $25.) Prepped the seats by cleaning thoroughly with Totally Awesome ($1. Dollar Tree), then using Denatured Alcohol ($5. Wal-Mart), once it dried I sprayed using the can gun ($1.) which wastes nothing & gives uniform even coverage.
SEM Satin Black 15243 ($13 - SEM told me local Philly Sherwin Williams that sells their products) was used to coat my center console, steering wheel, wood grain, & parking brake.
I did about 3 coats & the results were better than great, it was legendary! All told it costs $53, wow!
tools for the transformation
my drivers seat before some spots has liquid stitch no patches yet
After spraying of 3 coats before total drying, transition phase
passenger before
passenger transition phase
seats in transition side by side - this shot is cool
doors before
doors transition, other looks the same
center console before
steering wheel before
time to bring it all together
drivers seat today
passenger seat today
doors today
steering wheel, center console, wood grain, parking brake black
everything included shot
 05-25-10 | 02:40 PM
#6
Trending Topics
 05-25-10 | 05:36 PM
#13
I did the same thing last year and my results were the same. SEM is simply the best. Your results also turned out great. I still get compliments about how my interior looked before and after. Now its time to do the carpet and mats, if you have them.
I used plastic filler and bondo to repair all of my palstics. I used poxy to repair all of the broken tabs and imperfections. For little touch ups, I used a black Sharpie.. Like new again.
I used plastic filler and bondo to repair all of my palstics. I used poxy to repair all of the broken tabs and imperfections. For little touch ups, I used a black Sharpie.. Like new again.
05-25-10 | 07:06 PM
#14

Driver School Candidate
Joined: May 2010
Posts: 43
Likes: 0
From: Fl
Absolutely incredible. I think I found the answer to fixing my front seats. VERY nice.
Can you give a quick rundown of how you applied the patches and liquid stitch? It's amazing how you can't even see that anything was torn.
Can you give a quick rundown of how you applied the patches and liquid stitch? It's amazing how you can't even see that anything was torn.
