When you click on links to various merchants on this site and make a purchase, this can result in this site earning a commission. Affiliate programs and affiliations include, but are not limited to, the eBay Partner Network.
okay so i have my rear seats being reupholstered
in the meantime i put on my old backrest so its not so naked & it has 2 huge holes on the top where the headrest is (major area where it drys & cracks into pieces)
if i had tint this wouldnt be an issue but i dont have tint at all & everyone can see it
have old headrest from a bmw 740i around & i decided to slap them on top of the holes for the meantime
its not perfect but it hides the huge holes pretty well.
ive been actually meaning to get a backrest from a different model car that has thin flat headrest since i think it will look more updated & cooler but that will be for a different posting later on when i complete the project i have in mind.
I changed out that hideous "Poop" brown also and went with a two-tone Black and Tan combo.
What direction are you going in?
Here is mine before I installed my sound system:
I've been meaning to do this but the PITA to take off the dash is what's putting this off it looks very clean 2-tone. Loving the nardi wheel just have OCD and don't want an airbag light on so I haven't pulled the trigger on that.
OP or FSU, what paint did you use to respray the dash?
I've been meaning to do this but the PITA to take off the dash is what's putting this off it looks very clean 2-tone. Loving the nardi wheel just have OCD and don't want an airbag light on so I haven't pulled the trigger on that.
OP or FSU, what paint did you use to respray the dash?
I had my good friend who in an installer at Al & Ed's Autosound come over to my house and remove the dash for me. He removed it in no time since he's an expert at these things.
I love the Naedi wheel also and as you can see in the pic I don't have the Airbag light set off since we used a resistor. Don't recall which one since its been a while.
And as far as the paint on he dash I took it to my interior shop and they did the work for me. Wanted to make sure it was done right the first time and didn't want to be taking the dash out again and having to do it all over again.
I had my good friend who in an installer at Al & Ed's Autosound come over to my house and remove the dash for me. He removed it in no time since he's an expert at these things.
I love the Nardi wheel also and as you can see in the pic I don't have the Airbag light set off since we used a resistor. Don't recall which one since its been a while.
And as far as the paint on he dash I took it to my interior shop and they did the work for me. Wanted to make sure it was done right the first time and didn't want to be taking the dash out again and having to do it all over again.
Dash before:
Dash After:
It looks clean I'm planning on doing a two tone with the interior as well. Since I have a much better vision thanks to you I can feel happy knowing it will look very clean!
I'm having my windshield replaced so I might cheat and tape everything off/plastics & spray it with it still installed and just remove a few things so they won't catch over spray.
The resistor trick ahh, I figured you took out the bulb or something as I've read a few people have done but I wouldn't want to do that for safety reasons. Welp there goes some more money thanks FSU lol
Anytime! Only my dash is planted. The rest of the black pieces are OEM Black parts.
Replaced driver's side headlight with a better looking(but not perfect one) from the junkyard. It still isn't as clear as the 23 year old passenger side light, kind of weird how one side decided to age before the other.
Kind of a pita to reach those back bolts on the headlight, had to remove half a dozen screws and pull back the inner fender lining to get the bolts where it attaches to the fender. Still not too bad, I thought at first I was going to have to take off the whole front bumper.
Also as a preemptive measure to ensure moisture doesn't get in to the headlight, I wrapped up all the seams where the rubber/plastic meets the front lens with electrical tape. I've used that trick before when both of the OE headlights got moisture in them, that bit of black electrical tap along the top seal kept out the moisture.
to
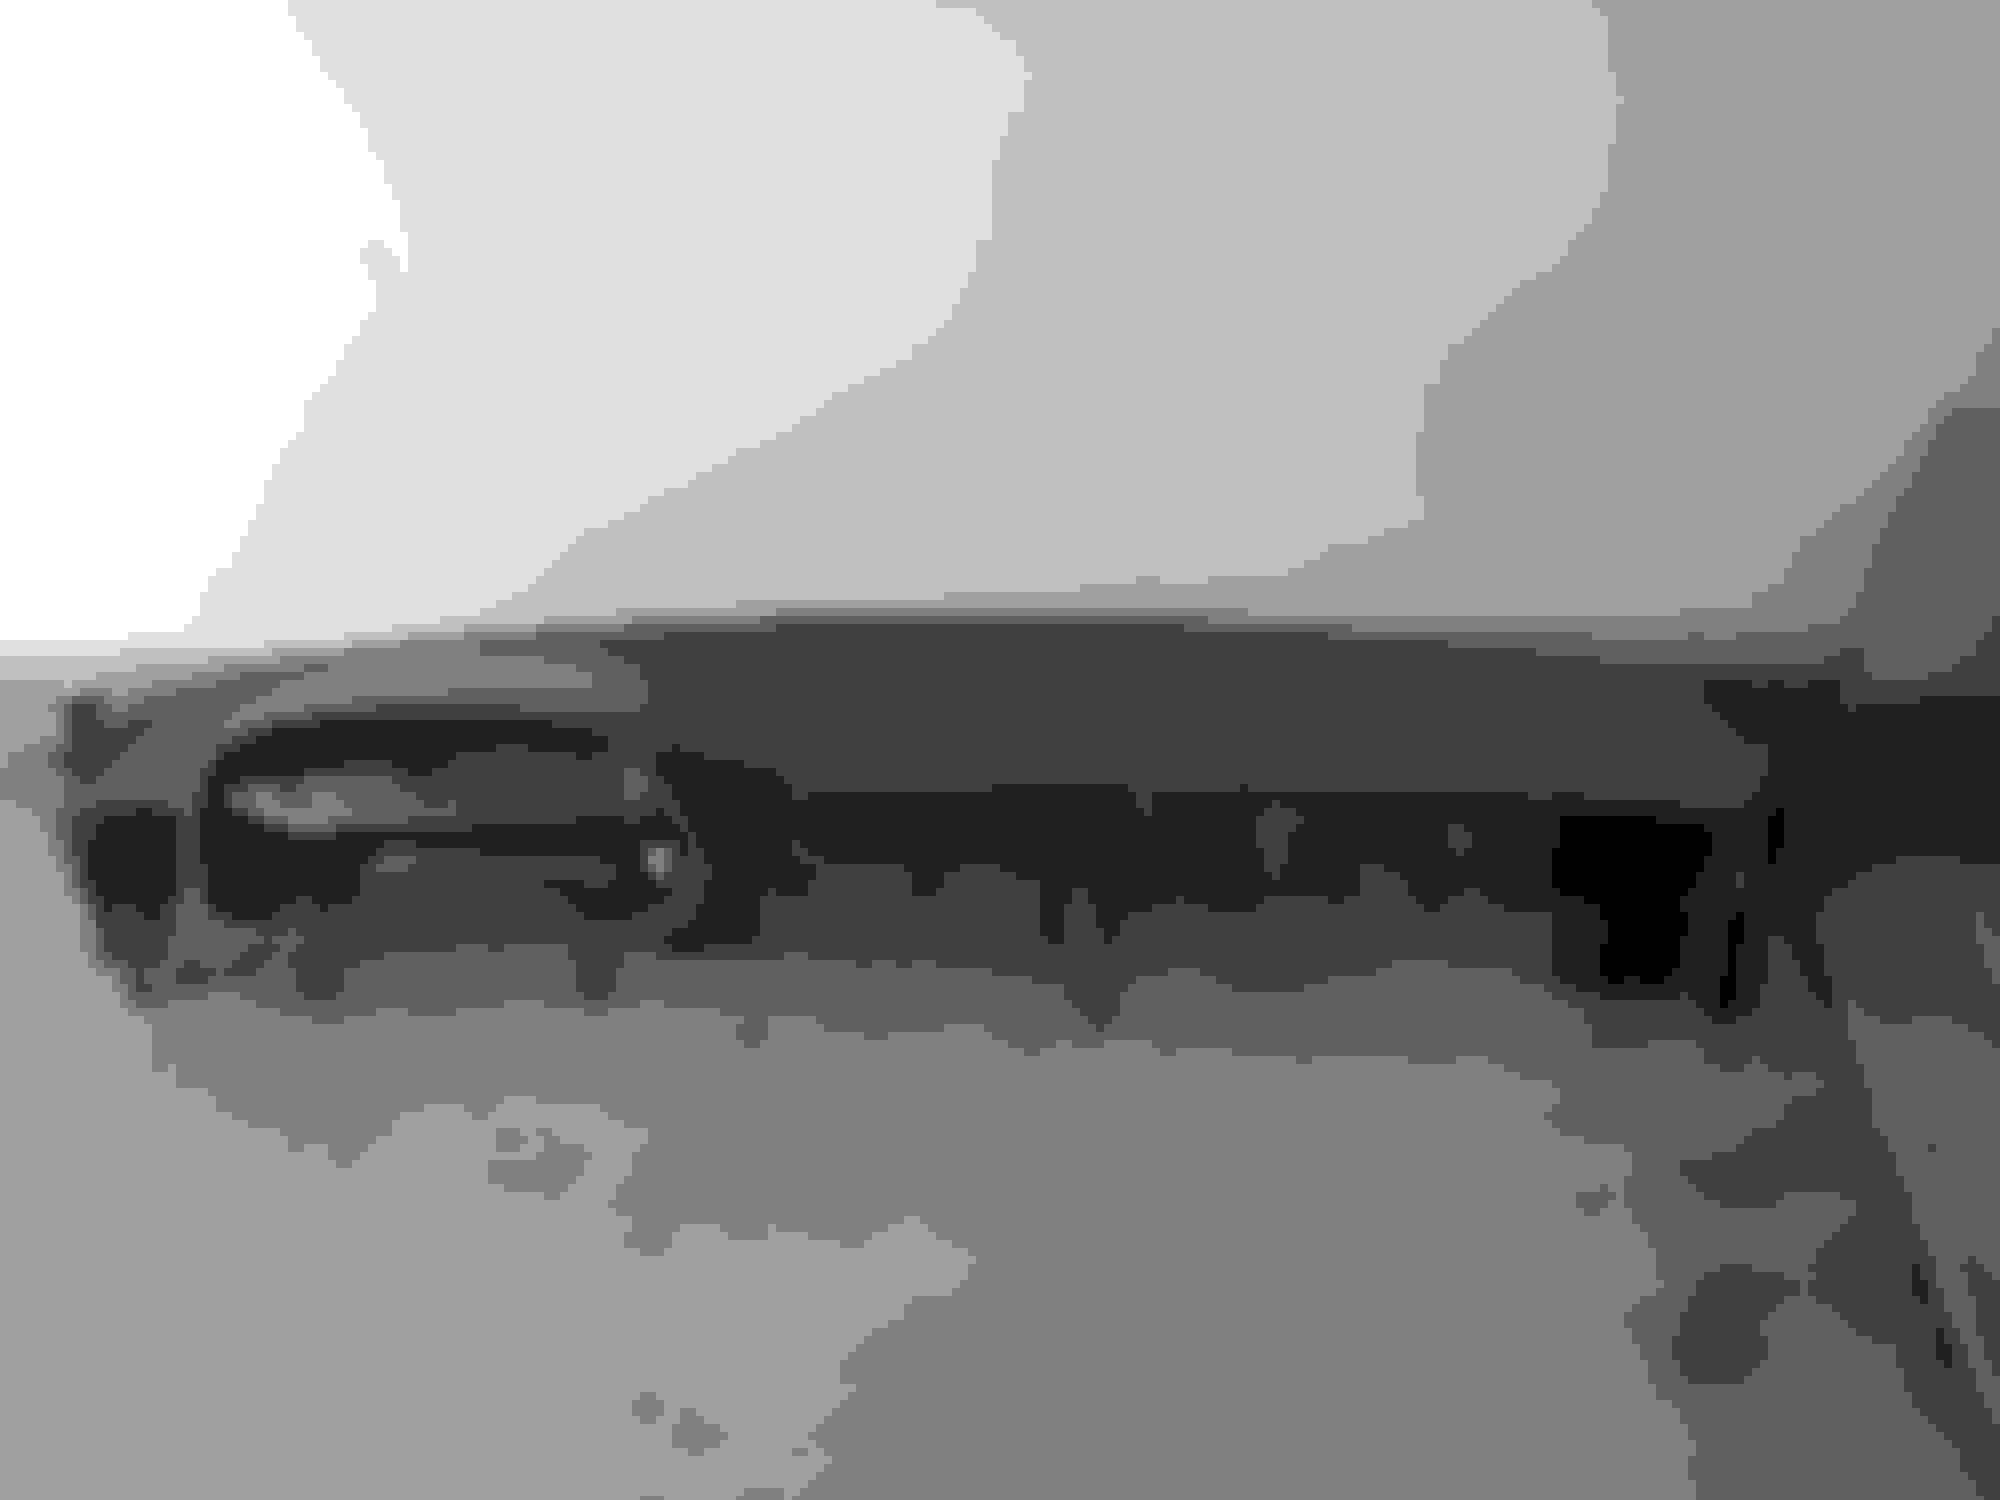
New ruca's and traction rods for both sides, new abs cable and axle for passenger side. New brake lines for all corners coming up next weekend when it's not uncomfortably sunny. Also need to figure out exhaust since it got bashed into the subframe and now the y-pipe to axleback flanges leak.
New ruca's and traction rods for both sides, new abs cable and axle for passenger side. New brake lines for all corners coming up next weekend when it's not uncomfortably sunny. Also need to figure out exhaust since it got bashed into the subframe and now the y-pipe to axleback flanges leak.
Are you running project mu brake pads? If you are, how do you like them?
I am, and I like them, they're very pretty. i only have P Mu's in back so i can't say I felt any difference in braking power since my unknown fronts have always been ungodly bitey. I'm a ricer and I've accepted it.

 09-15-15, 01:49 AM