Finally Upgraded to Rear JZA80 Mk4 Supra Rear BBK - Brake Job from Hell
 03-23-11, 12:24 AM
#1
Not long after upgrading to my Rotora BBK ( thread: https://www.clublexus.com/forums/sc-...k-project.html ), the OEM rear calipers seized after 20 years & 200,000 miles of service so I went on a frantic search to upgrade the rear calipers instead of wasting time and money to rebuild the OEM single-piston floating calipers. My options were find a matching Rotora BBK but that would be prohibitively expensive so I went on a frantic search for Mk4 Supra Twin Turbo calipers. I eventually found a pair with rotors and pads here in the Classified section.

The caliper came with everything, including a sloppy spray can paint job that would require alot effort to strip it off.


All the hardware and shims are included. It is a little dirty but nothing that a wirebrush and brake cleaner can't remove

HAWK HPS pads with plenty of life left

The caliper's old spray paint was quickly stripped off using a jumbo and small wire brushes and brake cleaner, then rinsed off.

After it was prepped, Makito Nakai from Shine Auto Project painted it in the same way as he painted the Rotoras, using the same exact paint and clear coat.
So now is where the nightmare begans. I brought the car home thinking that it is just a simple brake job, as I have replaced many brakes in my lifetime but boy I was in for a big surprise, or nightmare I should say.
The problem started off with the rotors. It have did not come with a 10mm threaded hole that is used to push off the rotor off from the hub as supposed to. To make my life worse, I have the Ichiba V2 spacer and the aluminum hubcentric wouldn't come off. All the hammering and wd40 in the world did not budge it one bit so I gave up on it the first night.
On the second night, some off Facebook friends suggested me this YouTube tutorial
It seem brilliant but the bolt ended up piercing a hole through my old rotor:

After that point i gave up, as the rotor and hubcentric ring was literally welded on to the hub so I sought professional help and took it to Jose Valle @ Kaizen Motorsports, who specializes in Toyota Supras.

So what did it take to remove the hubcentric ring and rotors?
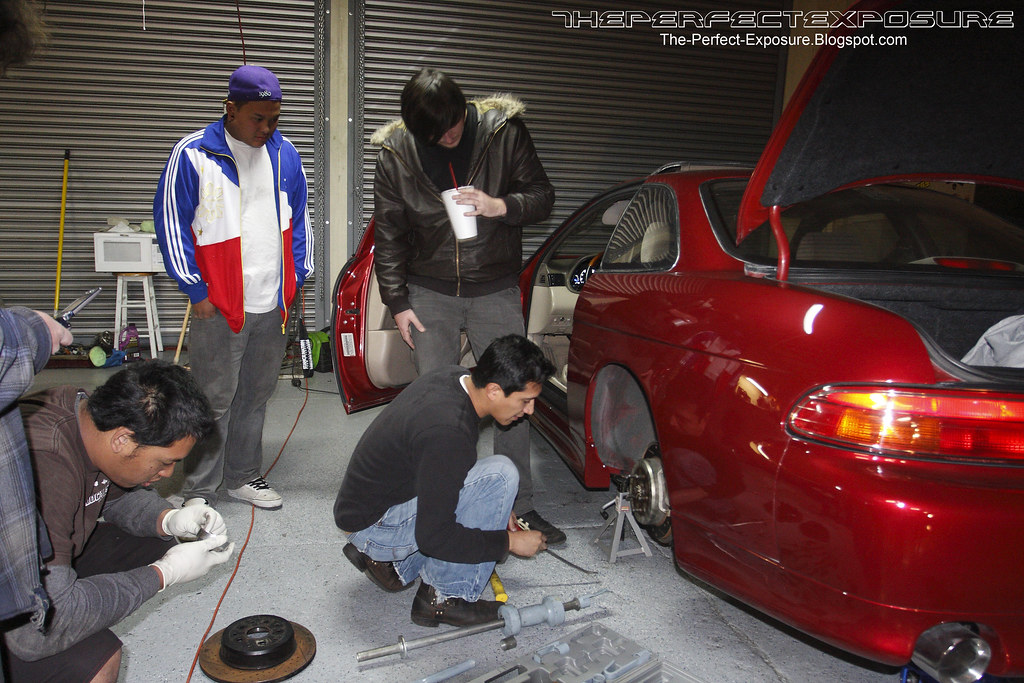
It turned out to be far from a do-it-yourself-at-home-job. The hubcentric rings required heat and countless blows from a large sliding hammer, and then same with the rotors itself (minus the sliding hammer). At one point, I was afraid that it wasnt going to come off at the shop but luckily it did.
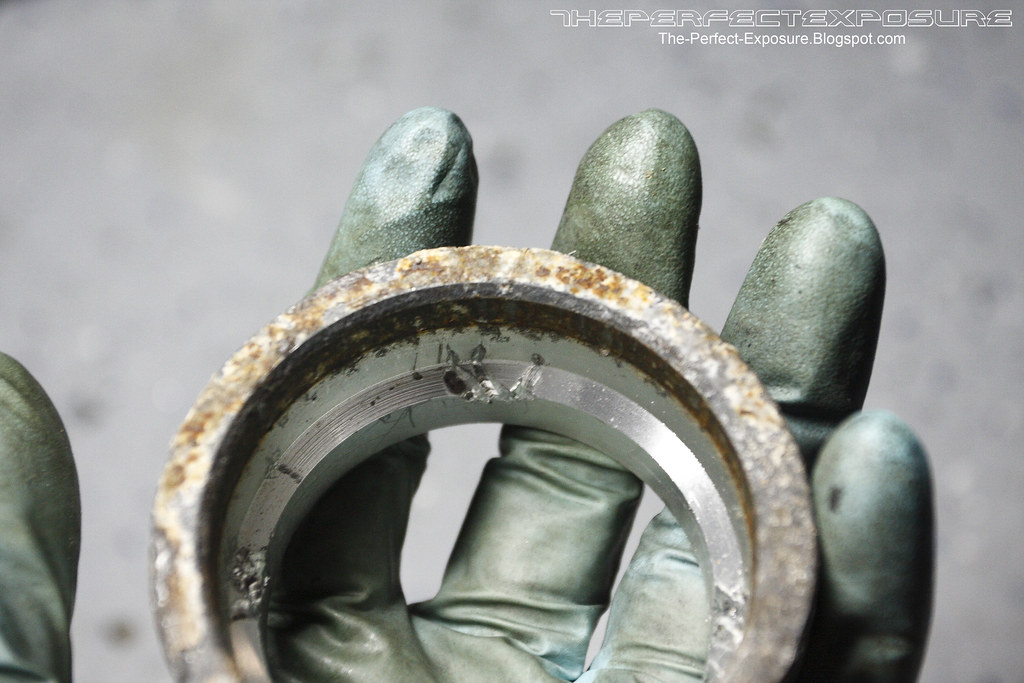
The aluminum Ichiba hubcentric rings. Notice the corrosion and the impact marks from the sliding hammer.
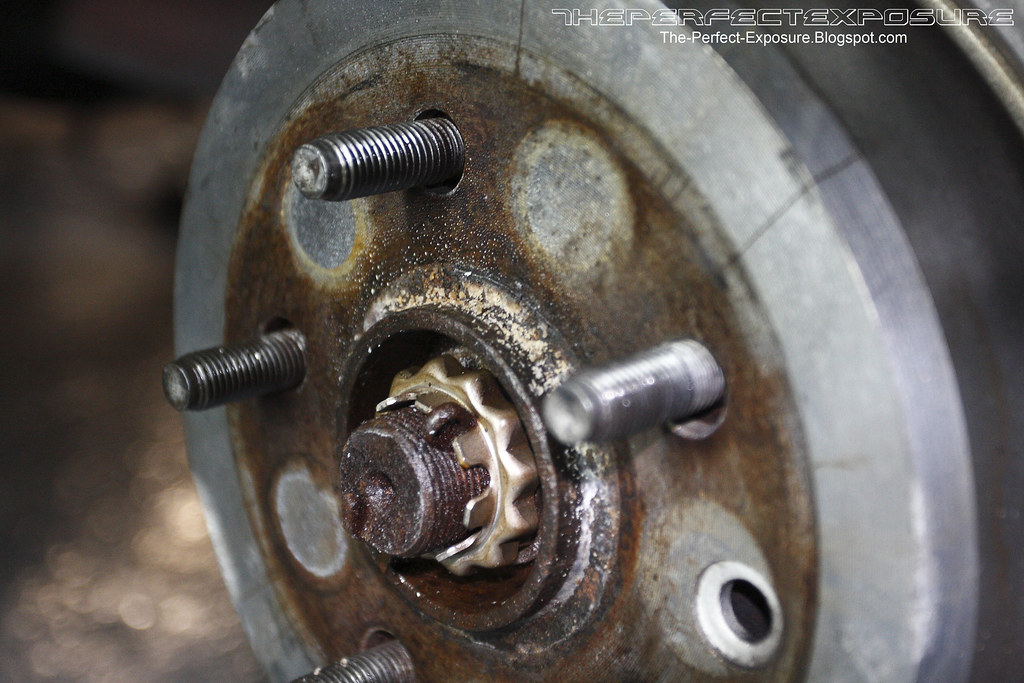
And finally the rotor itself... Notice the corrosion, and lack of the threaded 6th hole
Lessons learned from this experience are
(a) When buying a rotor, make sure that it has a threaded 10mm or so hole
(b) Use anti-seize when installing your rotors, spacers, and hubcentric ring.
The caliper came with everything, including a sloppy spray can paint job that would require alot effort to strip it off.
All the hardware and shims are included. It is a little dirty but nothing that a wirebrush and brake cleaner can't remove
HAWK HPS pads with plenty of life left
The caliper's old spray paint was quickly stripped off using a jumbo and small wire brushes and brake cleaner, then rinsed off.
After it was prepped, Makito Nakai from Shine Auto Project painted it in the same way as he painted the Rotoras, using the same exact paint and clear coat.
So now is where the nightmare begans. I brought the car home thinking that it is just a simple brake job, as I have replaced many brakes in my lifetime but boy I was in for a big surprise, or nightmare I should say.
The problem started off with the rotors. It have did not come with a 10mm threaded hole that is used to push off the rotor off from the hub as supposed to. To make my life worse, I have the Ichiba V2 spacer and the aluminum hubcentric wouldn't come off. All the hammering and wd40 in the world did not budge it one bit so I gave up on it the first night.
On the second night, some off Facebook friends suggested me this YouTube tutorial
It seem brilliant but the bolt ended up piercing a hole through my old rotor:
After that point i gave up, as the rotor and hubcentric ring was literally welded on to the hub so I sought professional help and took it to Jose Valle @ Kaizen Motorsports, who specializes in Toyota Supras.
So what did it take to remove the hubcentric ring and rotors?
It turned out to be far from a do-it-yourself-at-home-job. The hubcentric rings required heat and countless blows from a large sliding hammer, and then same with the rotors itself (minus the sliding hammer). At one point, I was afraid that it wasnt going to come off at the shop but luckily it did.
The aluminum Ichiba hubcentric rings. Notice the corrosion and the impact marks from the sliding hammer.
And finally the rotor itself... Notice the corrosion, and lack of the threaded 6th hole
Lessons learned from this experience are
(a) When buying a rotor, make sure that it has a threaded 10mm or so hole
(b) Use anti-seize when installing your rotors, spacers, and hubcentric ring.
Last edited by xknowonex; 03-23-11 at 12:29 AM.


Trending Topics


Thread
Thread Starter
Forum
Replies
Last Post