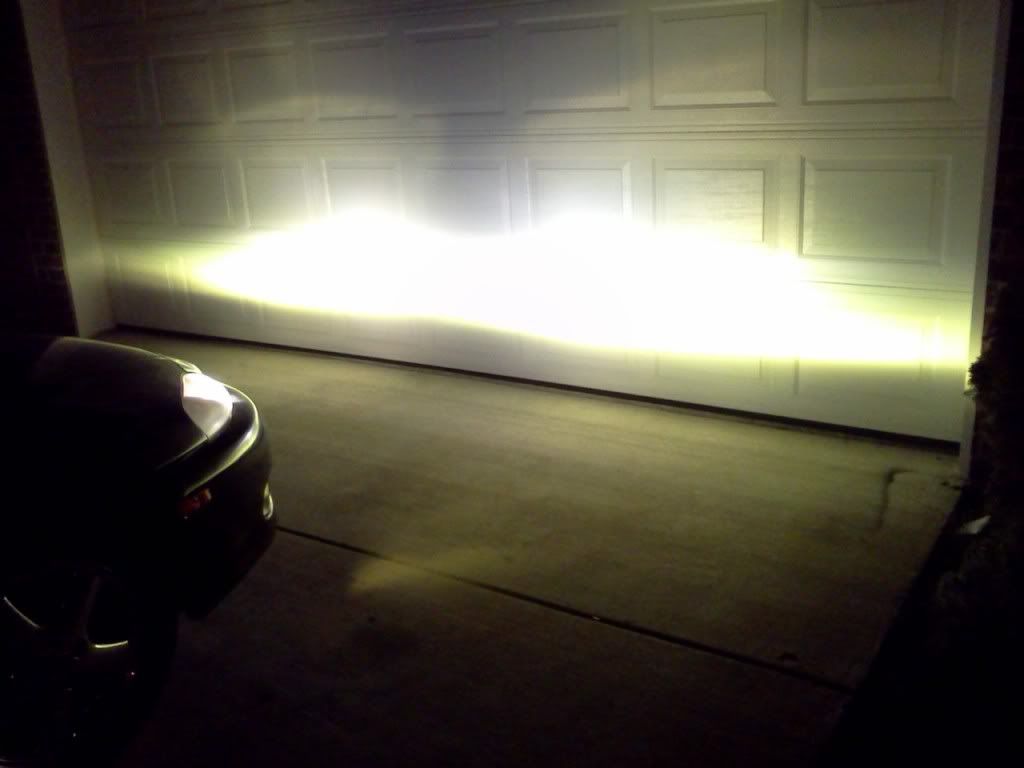
installed es300 fogs yesterday
 02-27-12, 08:40 AM
#1

i'm still polishing the front lenses, hopeuflly i will be able to put those on tomorrow.
but i put the housings/projectors back on the car for the next couple days.


anyone have any ideas as to the best way to polish the BACKS AND FRONTS of the outside fog lenses? i already sanded out the ridges.
but i put the housings/projectors back on the car for the next couple days.
anyone have any ideas as to the best way to polish the BACKS AND FRONTS of the outside fog lenses? i already sanded out the ridges.
 02-27-12, 08:47 AM
#2
If you have a rotary buffer with pads, that's the best way to polish the lenses to a like-new state. If that's not an option. You can go to Walmart, in the detailing section buy the "3M Headlight restoring kit". It's $19.99 it comes with some small (3-4" don't remember exactly) sanding disks which you don't really need since you got them sanded. But in the kit there is also a polishing orange foam pad and a backing plate designed to be used with any ordinary drill. You can use that to polish out the sanding marks. It will take a bit longer than using a rotary because of the speed difference, but with several more passes it will look new.
If you have access to clearcoat, definitely clear the lenses because they are plastic and will fade and turn yellow very quickly without protection.
02-27-12, 09:09 AM
#3
Looks awesome.
If you have a rotary buffer with pads, that's the best way to polish the lenses to a like-new state. If that's not an option. You can go to Walmart, in the detailing section buy the "3M Headlight restoring kit". It's $19.99 it comes with some small (3-4" don't remember exactly) sanding disks which you don't really need since you got them sanded. But in the kit there is also a polishing orange foam pad and a backing plate designed to be used with any ordinary drill. You can use that to polish out the sanding marks. It will take a bit longer than using a rotary because of the speed difference, but with several more passes it will look new.
If you have access to clearcoat, definitely clear the lenses because they are plastic and will fade and turn yellow very quickly without protection.
that's exactly what i was planning to do for the outside of the lenses, but the difficulty is with the INSIDE of the lenses where i sanded off the ridges. it's taking forever, because of the "walls" on the outsides, if that makes sense.

Trending Topics

 02-27-12, 03:21 PM
#13
Lead Lap
iTrader: (28)
Join Date: Sep 2011
Location: az
Posts: 707
Likes: 0
Received 0 Likes
on
0 Posts
i dunno; i was too cowardly to use actual 97 fogs on mine so lol. take a peek when you get home and see! if you trim the metal portion off the es300 housing youll have sufficiently hard surface to protect it from debris; im sure you can find some fair way to mount that right on top of the lens.