
d.i.y. rim painting.
 08-09-12, 01:36 PM
#1
i know its not for everyone and most will bash when they think they're correct but that is neither here nor there. this is for educational purposes. if youve got something overly foul to say, p.m. me and we'll discuss the issuse other than that please feel free to share experience or tips. im in now way an expert so if you see somewhere i can improve please let me know.
things you'll need
600-1200 grit sandpaper.
at least 6 cans of primer. (i used enamel primer)
at least 6 cans of you color choice.( again i used enamel. im told its stronger.)
lots of painters tape.
lots of time/beer/smokes.
with that, im not made of money and i was tired of the old look:
so instead of buying new rims and causing my wife to have a melt down ijust painted the old ones.
first step is to clean the rims really good.
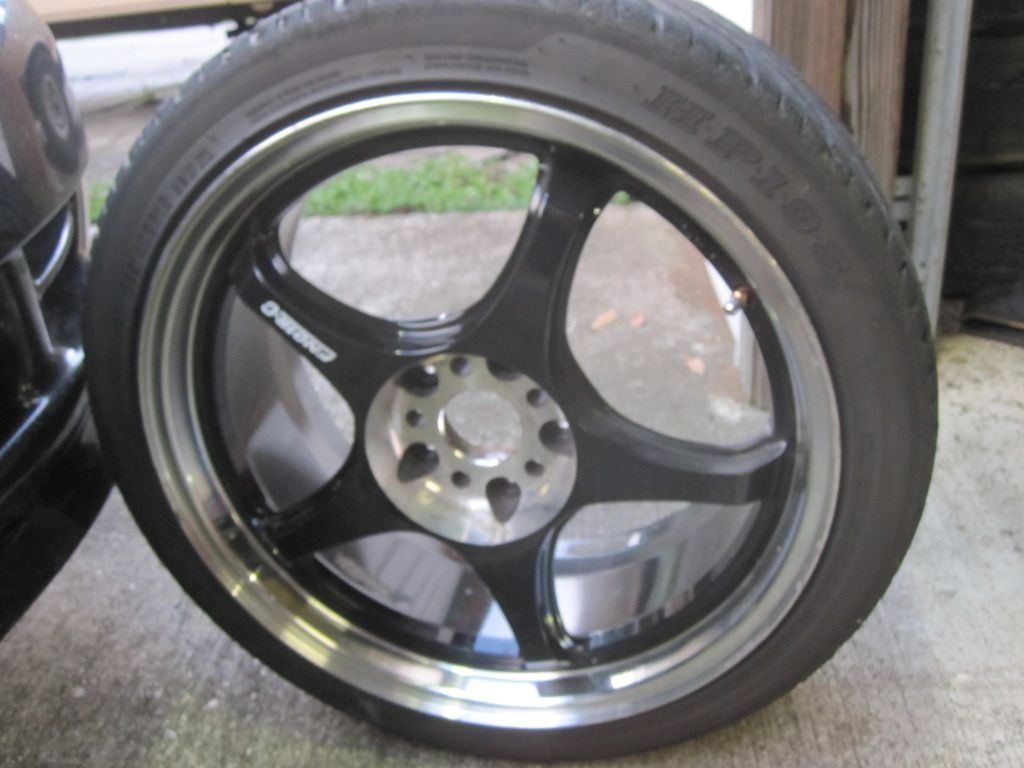
these were really dirty.
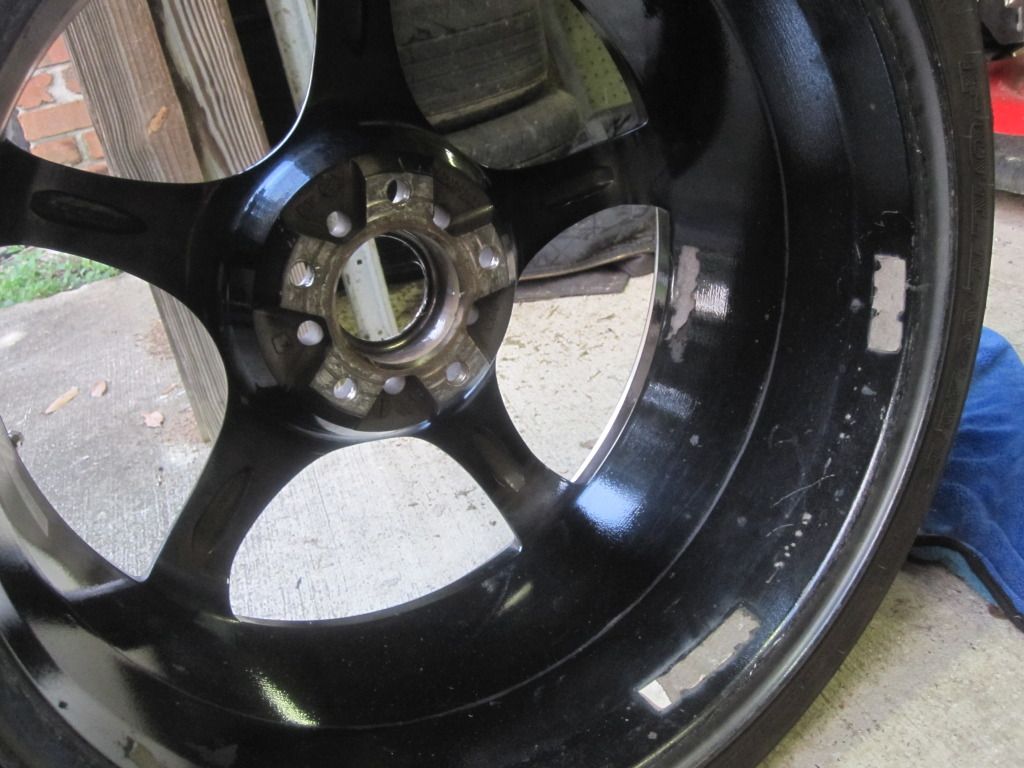
once you have them clean, your gonna wanna scuff the outter coating to give the news paint something to stick to. 600-800 grit for the large nicks and crack and 1000 for the rest. you can use 800 for all of it but itll mean more work later....
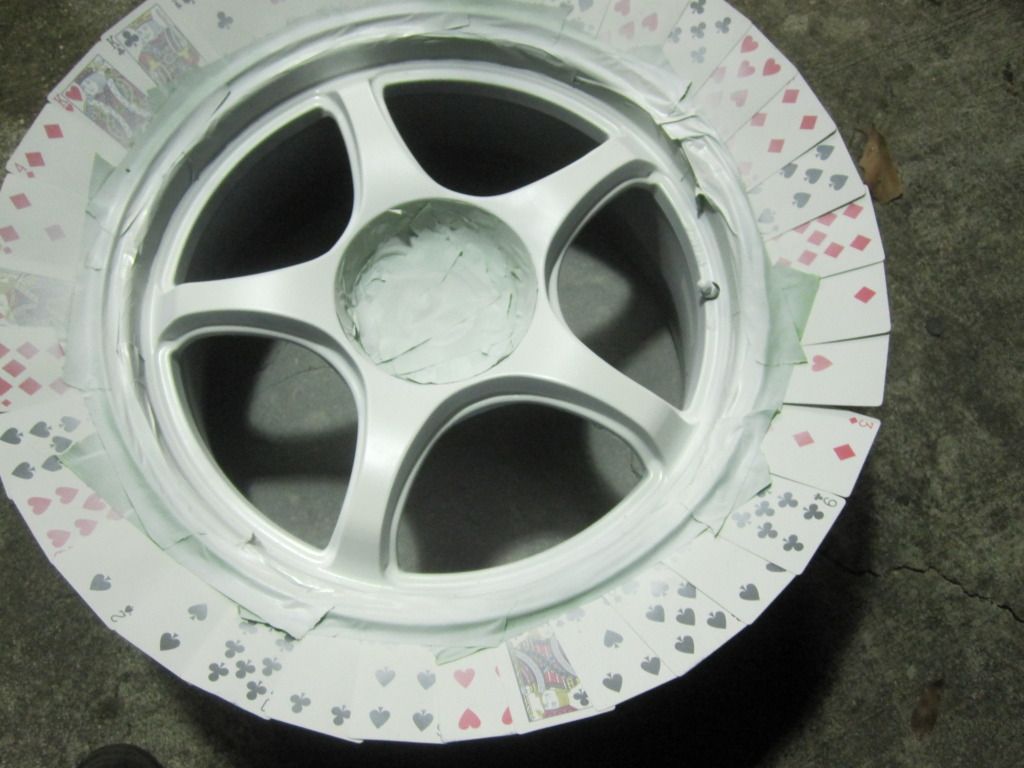
now the next step i dont have pics of but youll want to tape off anything you dont want paint on. i used playing cards to seperate my tire from my rim. it makes a really good spray shield.
give the rim a good wipe down with a gentle cloth to remove any dust.
now spray out your primer. slow paced long strokes 6-8 inch away.
if you dont cover everything up on the first pass, dont worry you'll be making plenty more so dont whig out .
id let it sit a good 30mins-hour between coats.
after two coats of primer, my first rim finally looked mainly white.
let this dry real good because now you do damage control. you'll notice small droplets and other random things have found their way into your paint so you'll need to sand them and remove the dust.
another coat will be required then you should be ready to put on your new color.
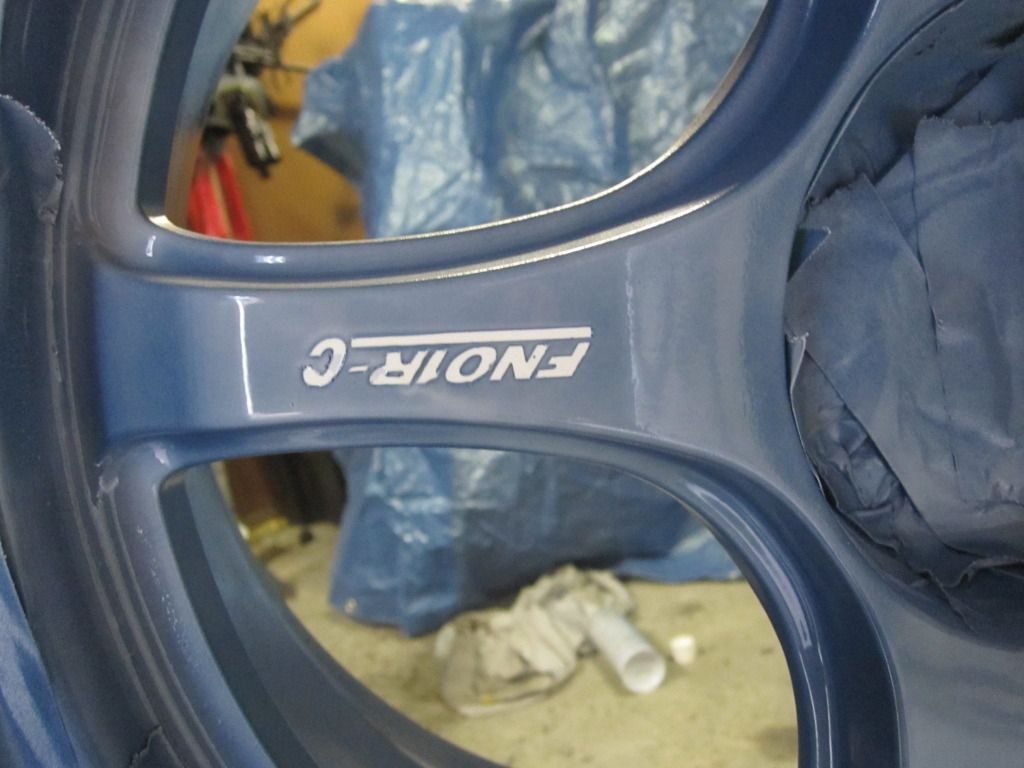
if you've got anything you want to add on to it, now you be the time. i put on some fn01r-c stencils to keep it looking nice.
this is what it looks like after a coat or two of paint.
a few coats later and about a day later i cut the stencil off the rim and removed paint for inspection.
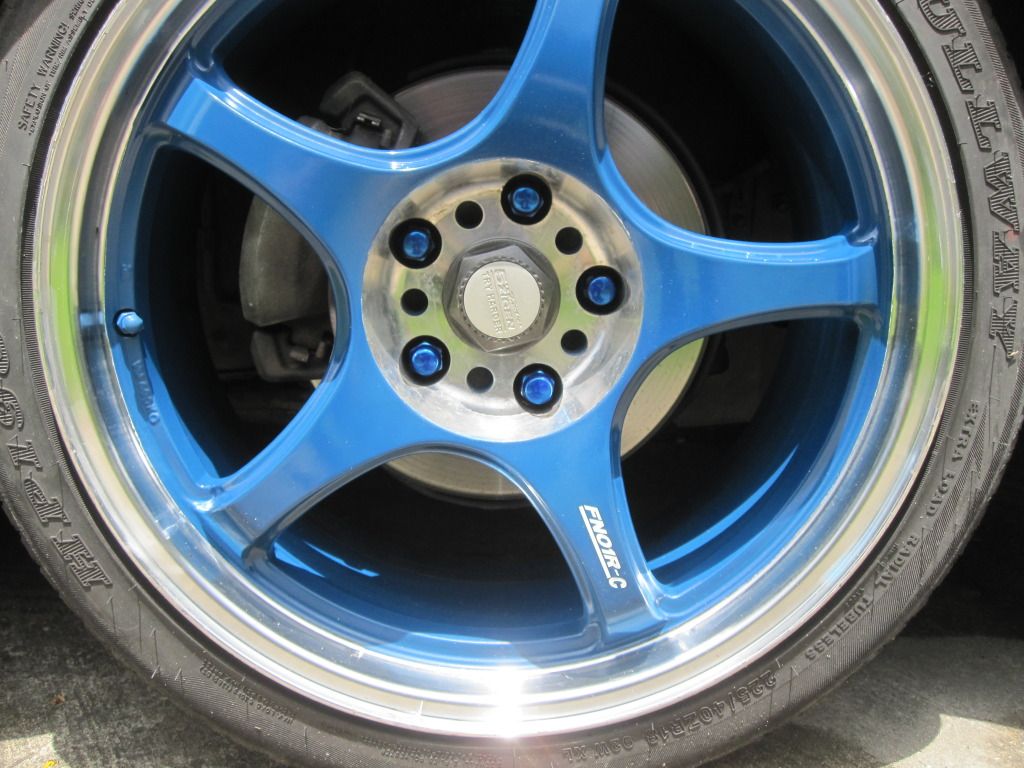
i let them sit another day before installing them but this is how they look.
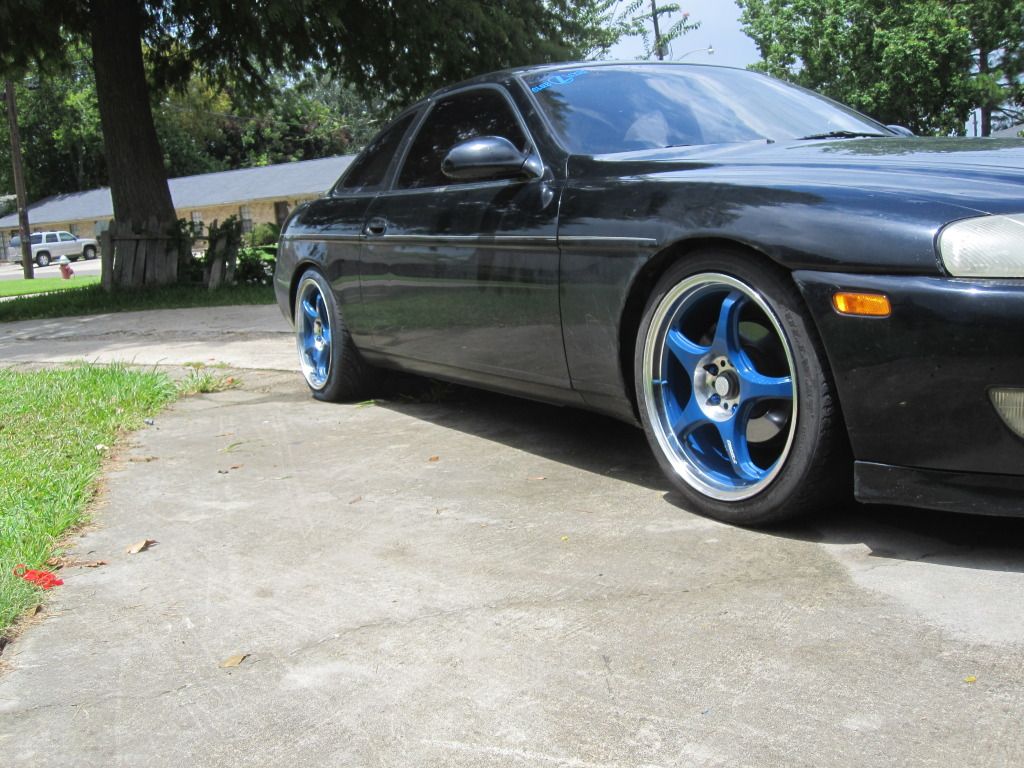
so there it is. the car needs a bath thats for sure but im diggin my new look.
things you'll need
600-1200 grit sandpaper.
at least 6 cans of primer. (i used enamel primer)
at least 6 cans of you color choice.( again i used enamel. im told its stronger.)
lots of painters tape.
lots of time/beer/smokes.
with that, im not made of money and i was tired of the old look:
so instead of buying new rims and causing my wife to have a melt down ijust painted the old ones.
first step is to clean the rims really good.
these were really dirty.
once you have them clean, your gonna wanna scuff the outter coating to give the news paint something to stick to. 600-800 grit for the large nicks and crack and 1000 for the rest. you can use 800 for all of it but itll mean more work later....
now the next step i dont have pics of but youll want to tape off anything you dont want paint on. i used playing cards to seperate my tire from my rim. it makes a really good spray shield.
give the rim a good wipe down with a gentle cloth to remove any dust.
now spray out your primer. slow paced long strokes 6-8 inch away.
if you dont cover everything up on the first pass, dont worry you'll be making plenty more so dont whig out .
id let it sit a good 30mins-hour between coats.
after two coats of primer, my first rim finally looked mainly white.
let this dry real good because now you do damage control. you'll notice small droplets and other random things have found their way into your paint so you'll need to sand them and remove the dust.
another coat will be required then you should be ready to put on your new color.
if you've got anything you want to add on to it, now you be the time. i put on some fn01r-c stencils to keep it looking nice.
this is what it looks like after a coat or two of paint.
a few coats later and about a day later i cut the stencil off the rim and removed paint for inspection.
i let them sit another day before installing them but this is how they look.
so there it is. the car needs a bath thats for sure but im diggin my new look.


Trending Topics
08-09-12, 07:42 PM
#10
Very nice job and they came out beautiful! My recommendations would be the stencil being pulled as soon as your done painting so it comes off easier with cleaner lines and using a paint specifically for wheels. Wheel paint is more resistent to brake dust and heat...
Great job!
Great job!


 08-10-12, 08:25 AM
#14
Thanks for the comments fellas. I know the color isn't for everyone but I'm liking it lol. I had one stencil mess up but it got reprinted. The back tired did catch some overspray. The tires will be gone by the end of the month though so I'm not overly concerned.