Extended stud problem
#18
#20
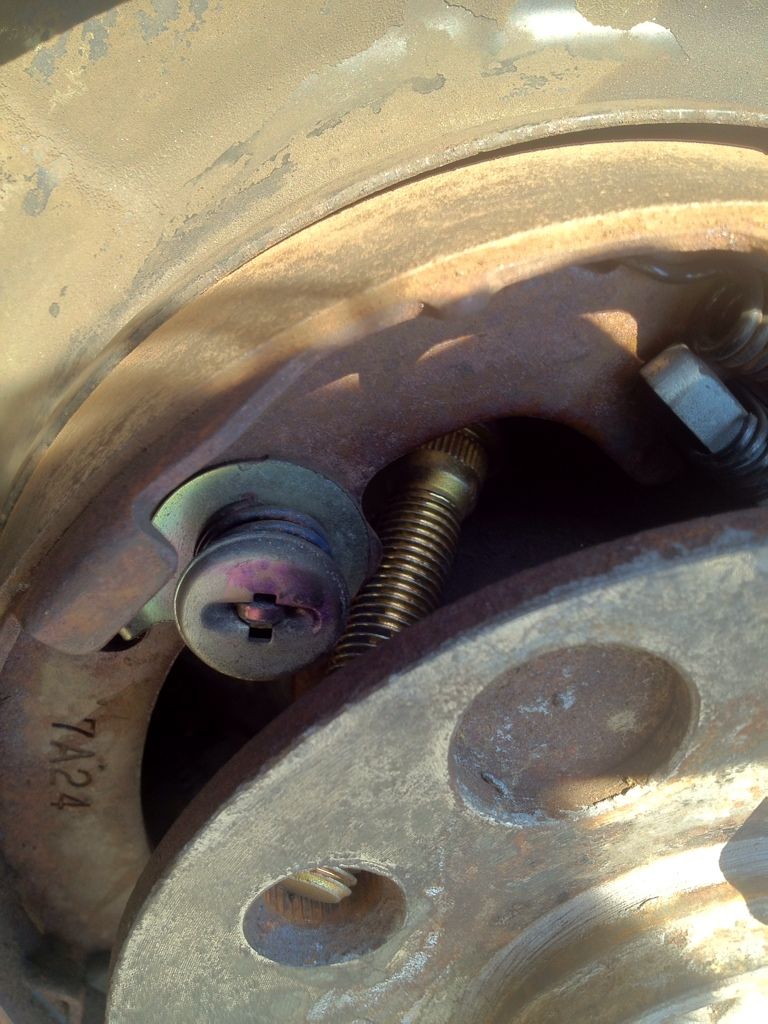
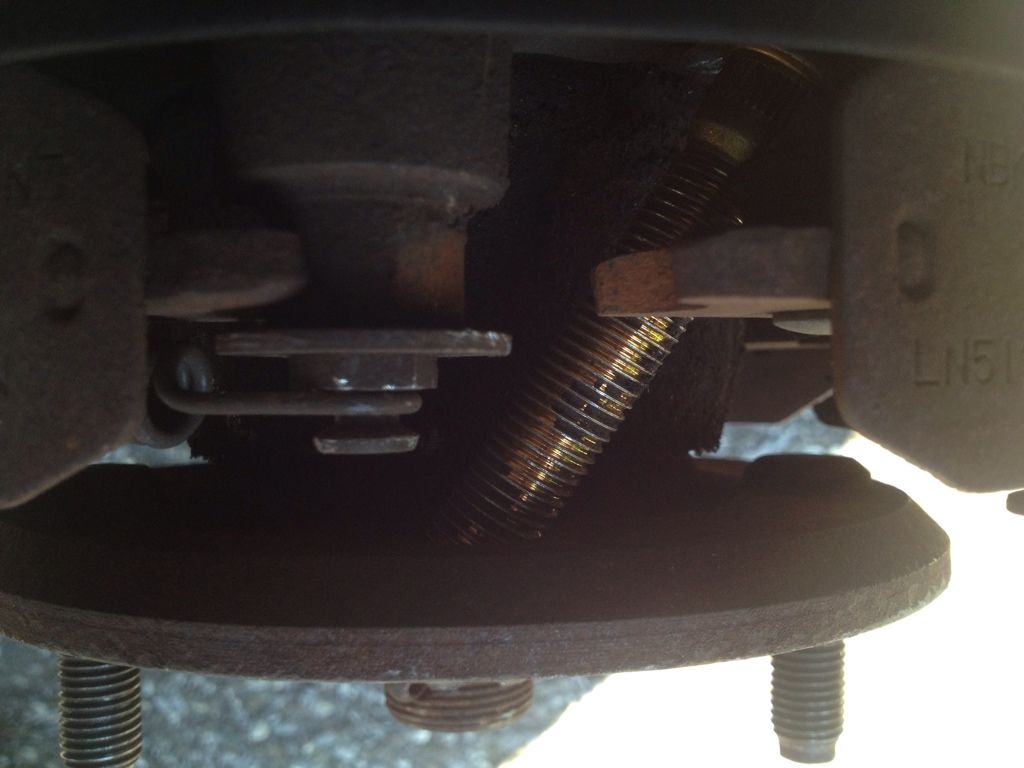
so i finally got some time to try again but still couldnt get them in. tried everything -rotating the hub, from the bottom, moving the parking brake, i even took apart the parking brake a bit. but the parking brake isnt in the way. it looks like there isnt enough room to fit the stud in, at any angle.

this is what the angle is with the stud against the back of the parking brake (dust shield?). even when rotating the hub, it does not make any more room because its against the back.


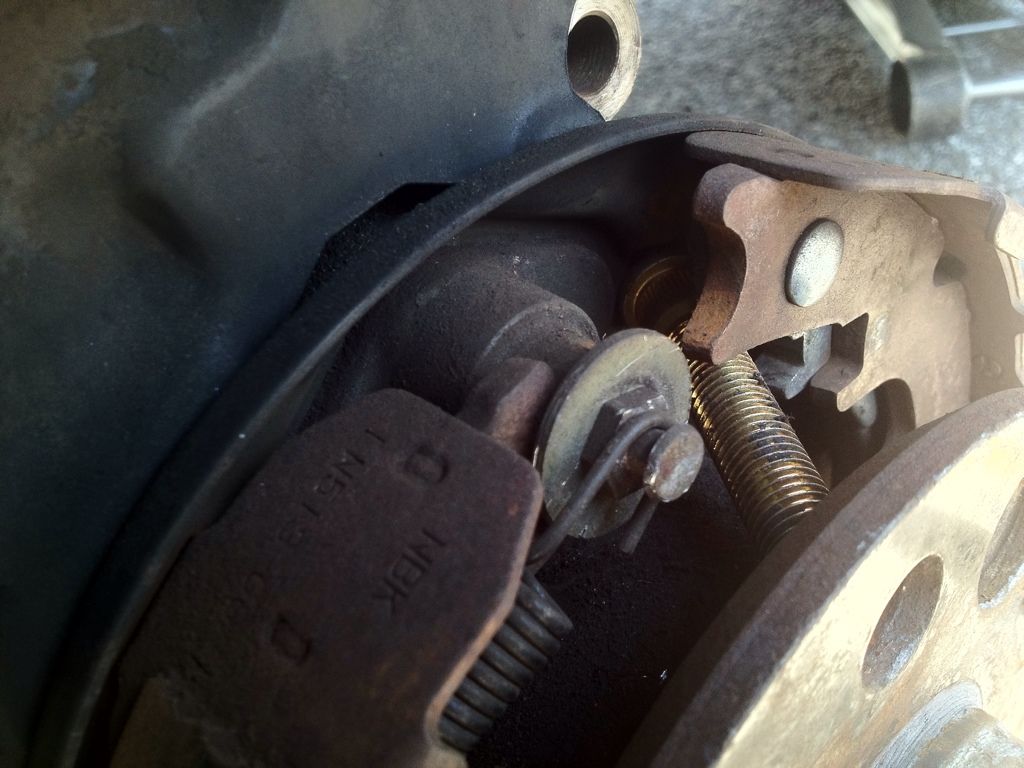
this is when i took the spring off the parking brake to make room. clearly the parking brake is not in the way and you can see a little better that the stud has no room to move farther back to create less of an angle.
im not sure what else to try at this point. did you guys that made it work use ARP studs for the is300?
the ARP studs are much longer than any other extended stud, so if you used these and got it through, how the hell did you do it?


this is what the angle is with the stud against the back of the parking brake (dust shield?). even when rotating the hub, it does not make any more room because its against the back.


this is when i took the spring off the parking brake to make room. clearly the parking brake is not in the way and you can see a little better that the stud has no room to move farther back to create less of an angle.
im not sure what else to try at this point. did you guys that made it work use ARP studs for the is300?
the ARP studs are much longer than any other extended stud, so if you used these and got it through, how the hell did you do it?


#21
http://www.supraforums.com/forum/sho...ar-wheel-studs
Shows two methods for arp install on the supra rear hubs. Don't give up you'll get them in. There's some 411 about sticking the studs in the freezer for at least an hour before doing the angle and rotate method.
Shows two methods for arp install on the supra rear hubs. Don't give up you'll get them in. There's some 411 about sticking the studs in the freezer for at least an hour before doing the angle and rotate method.
#22
Awesome! Im gunna try this stuff this weekend. Thanks!
I actually keep them in the freezer lol. I felt like wedging them in would mess up the threads, so i might just drill the hole
I actually keep them in the freezer lol. I felt like wedging them in would mess up the threads, so i might just drill the hole
Last edited by hihopes; 09-13-12 at 09:11 PM.
#23
Got them in today, didnt have to drill any holes 
i took one shoe from the parking brake and disconnected the spring at the top and the spring in the middle but left everything together at the bottom. i moved the shoe to the side and theres a little dip in the dust shield that gives the stud a little bit more room to squeeze through.
i didnt take any pics but the dip is behind this spring circled:

also i just took a few swings at the back shield with a hammer to give it some more room. the shield was a little bent so it was a pita to line up the caliper bolts, but wasnt really a huge problem.
glad i got everything in. thanks for the input


i took one shoe from the parking brake and disconnected the spring at the top and the spring in the middle but left everything together at the bottom. i moved the shoe to the side and theres a little dip in the dust shield that gives the stud a little bit more room to squeeze through.
i didnt take any pics but the dip is behind this spring circled:

also i just took a few swings at the back shield with a hammer to give it some more room. the shield was a little bent so it was a pita to line up the caliper bolts, but wasnt really a huge problem.
glad i got everything in. thanks for the input

#24
In searching for something else, I ran across this thread. In case anyone else finds it in future searches...
I was stumped by how to remove the rear studs, as well, but boy did I (and my mechanic) feel stupid once I found the answer. It's not a matter of angling the stud or disassembling anything. Just rotate the hub until the head of the stud lines up with a little slot behind it. It's extremely easy to overlook, but so obvious once you see it. You may need nimble fingers, but the studs slide in and out easily from the back.
I was stumped by how to remove the rear studs, as well, but boy did I (and my mechanic) feel stupid once I found the answer. It's not a matter of angling the stud or disassembling anything. Just rotate the hub until the head of the stud lines up with a little slot behind it. It's extremely easy to overlook, but so obvious once you see it. You may need nimble fingers, but the studs slide in and out easily from the back.
Thread
Thread Starter
Forum
Replies
Last Post
audvid
LS - 4th Gen (2007-2017)
2
05-09-08 11:19 AM


