DIY Tilt Steering repair in detail
 12-04-12, 09:28 AM
#1

All credit (as far as I know) goes to c_irie. His write up was done in 2002 but there wasn't as much detail as some may need. I went back and did it again with more detail for those who may not know some of the assumed things in his thread. Save yourself $800+ at the dealer and try this first for less than $1.
Original Thread https://www.clublexus.com/forums/sc-...ng-repair.html
I hope this updated version helps! This was done on a 1993 SC300. Total work time 15-20 minutes. Difficulty: Easy.
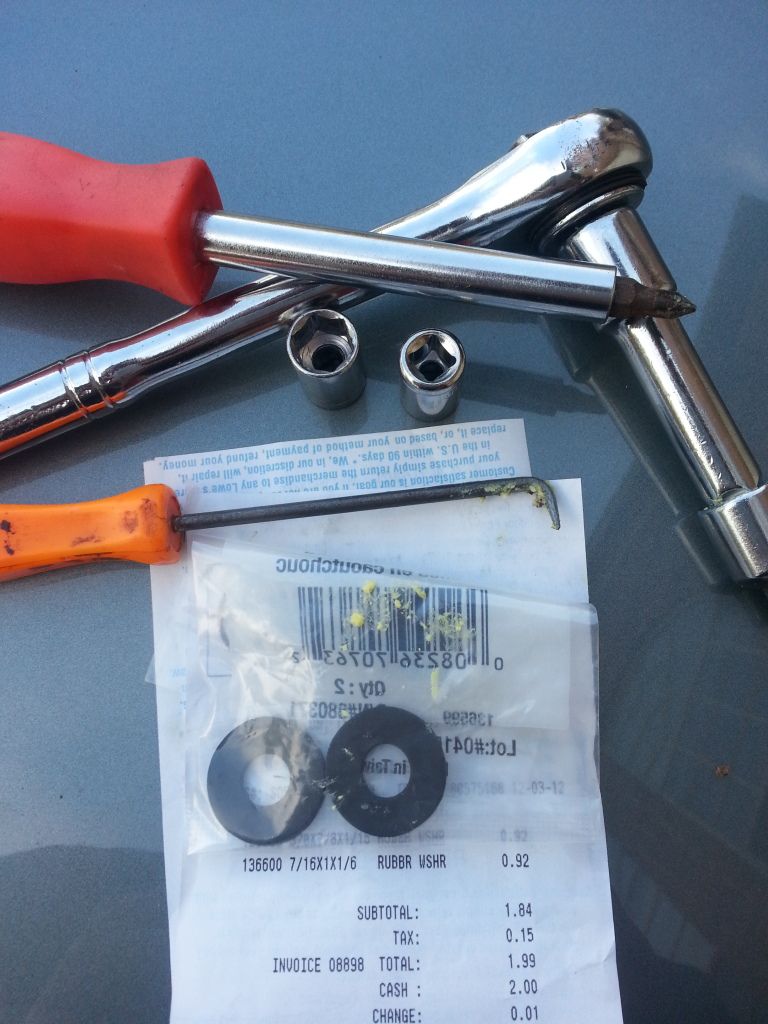
The tools you will need:
Sockets: 8 and 10 mm
Curved pick
Socket Wrench (possibly with extension, depends on your sockets.)
Phillips head screwdriver
2-3(depending on how bad your gear is worn out) rubber washers 7x16x1x1/6 (at Lowe's hardware; $0.92 for two as of this writing)
Next you need to remove three screws. Two on the bottom side of the steering column plastic and one directly behind the steering wheel itself. To get to the one behind the steering wheel, have your key in the ignition and rotate the wheel until you can get your screw driver in. It is best to put your key in the ignition and have the steering column as far out as it can go(pull the button on the side towards you to extend the column closer to the driver).
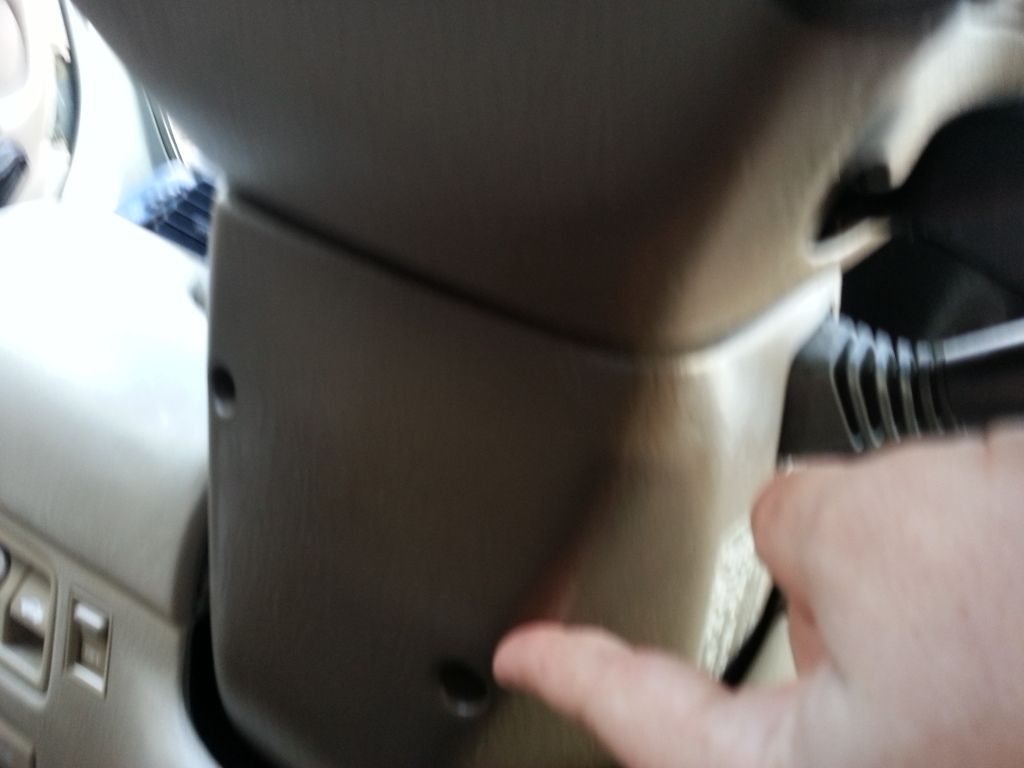
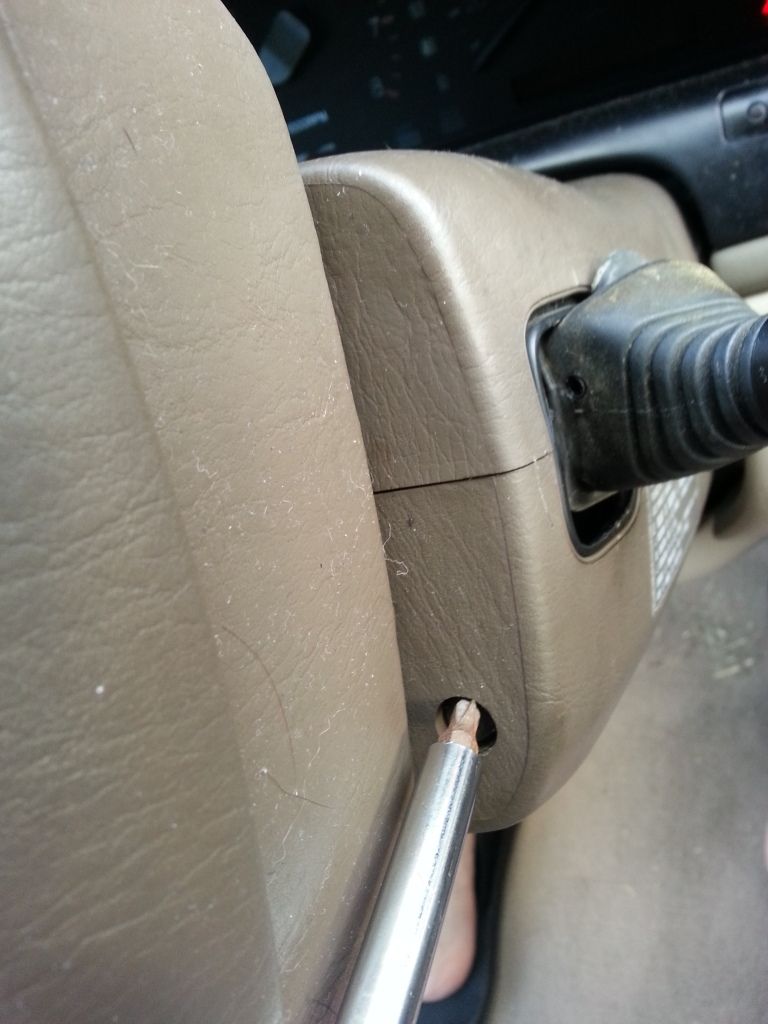
After the screws are loosened the bottom half of the plastic surround should pop off by hand, you may need to work it a bit, depending on your car. You only need to remove the bottom half.
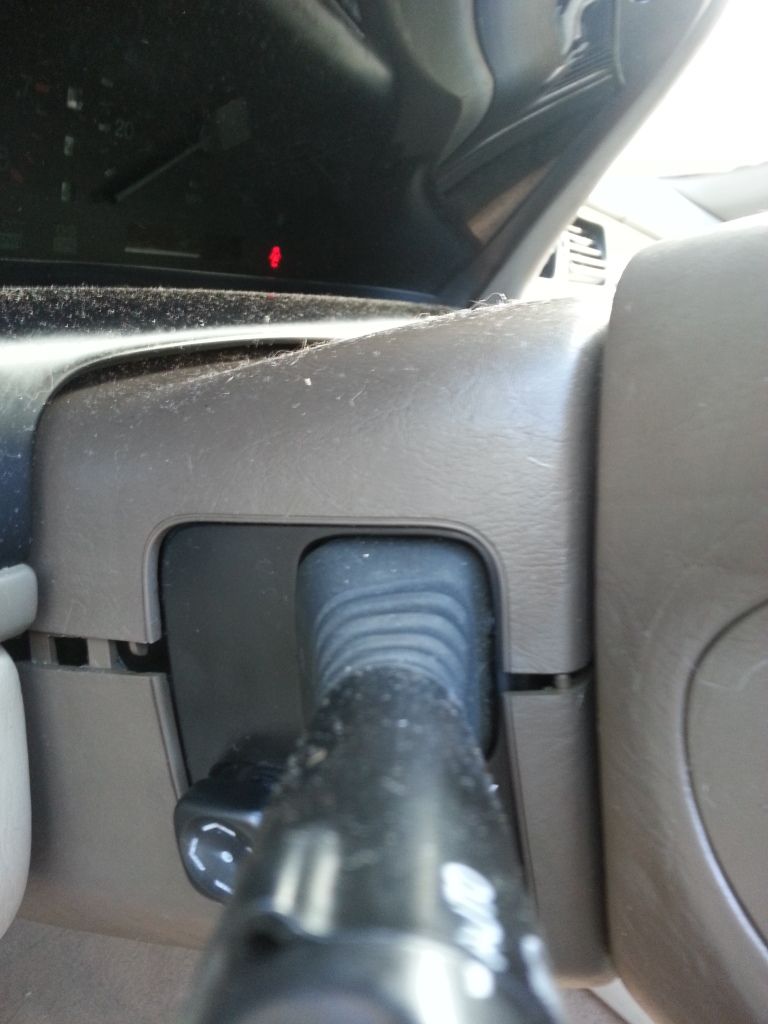
On the left hand side (the side with the button for the tilt function) you will see three 8mm bolts/screw heads (they are in pretty tight so I recommend the socket). Un-do all three.
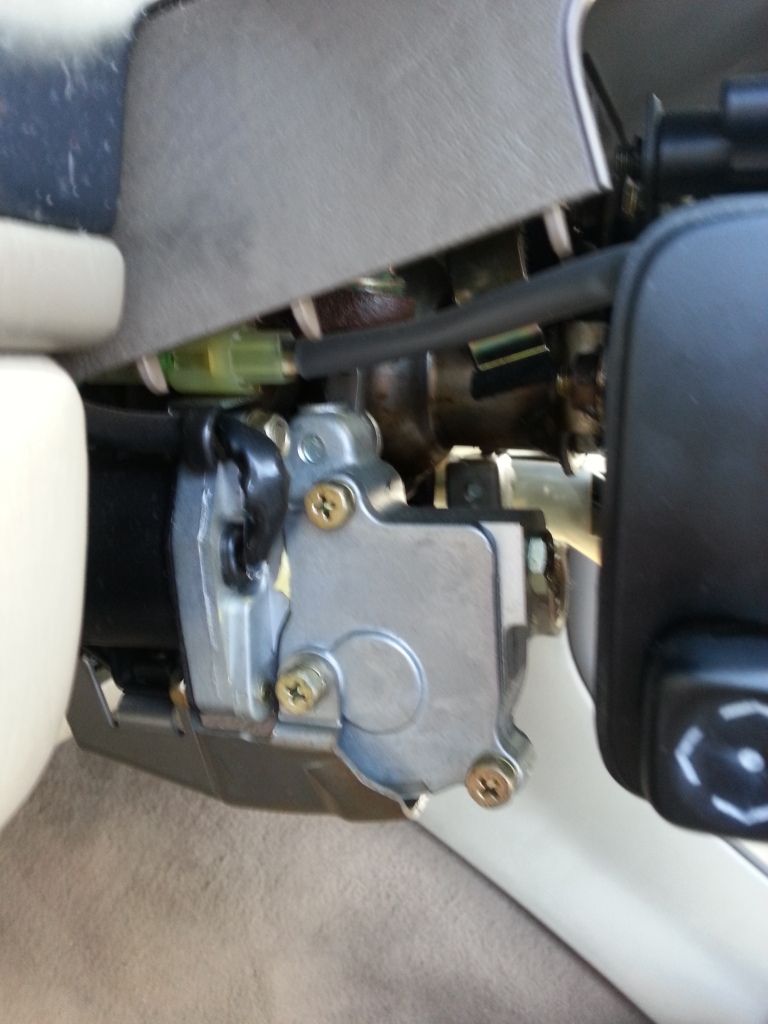
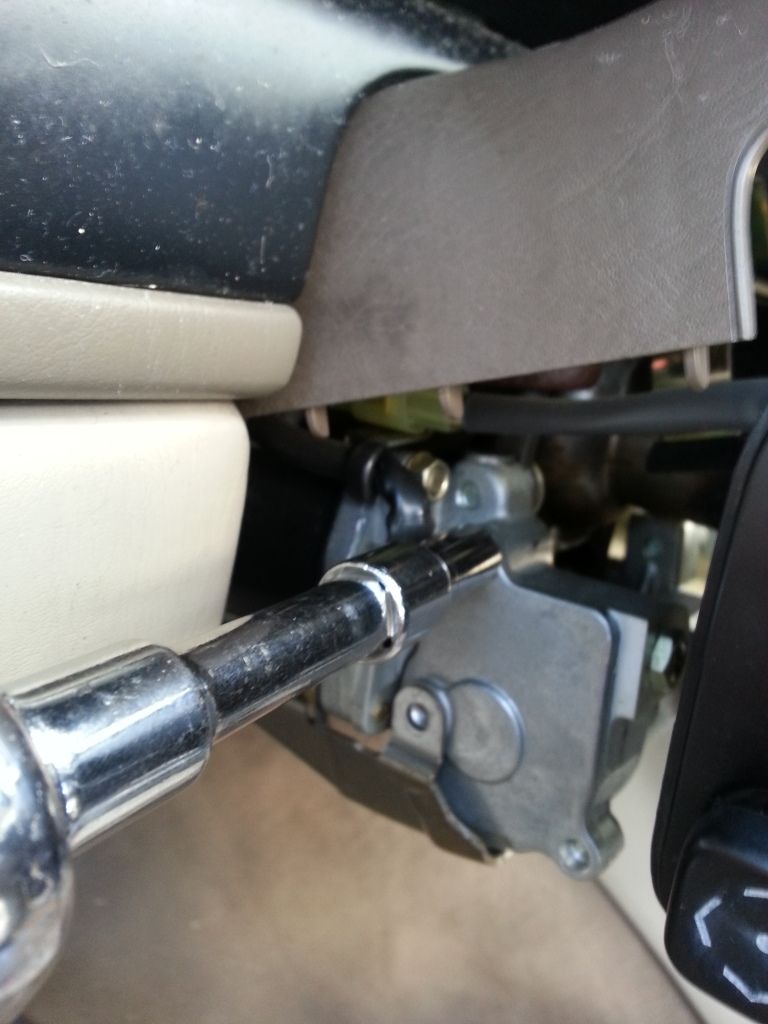
The bottom left screw, as you will see, is attached to a bracket. On the bottom of the column there is a 10mm bolt that you will need to LOOSEN, not remove, so that you can remove the gear cover.
The metal cover should either fall off or easily be removed now. (the cover that was held in by the three 8mm bolts/screws) and you will see the gear and worm gear exposed now. Remove the 10mm bolt and washer that holds the blue gear into place. Mine was easily removable but some people will have a problem with it spinning. If that is the issue, try to wedge the pick in the gear to keep it from moving, but do not push too hard and risk breaking anything.
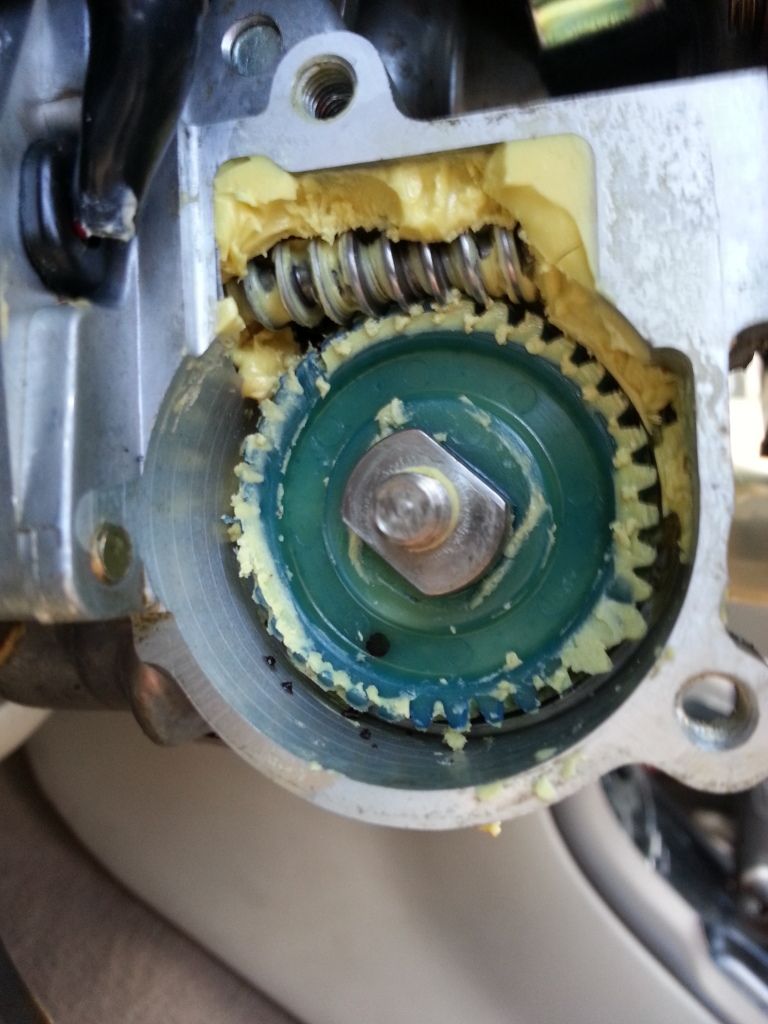
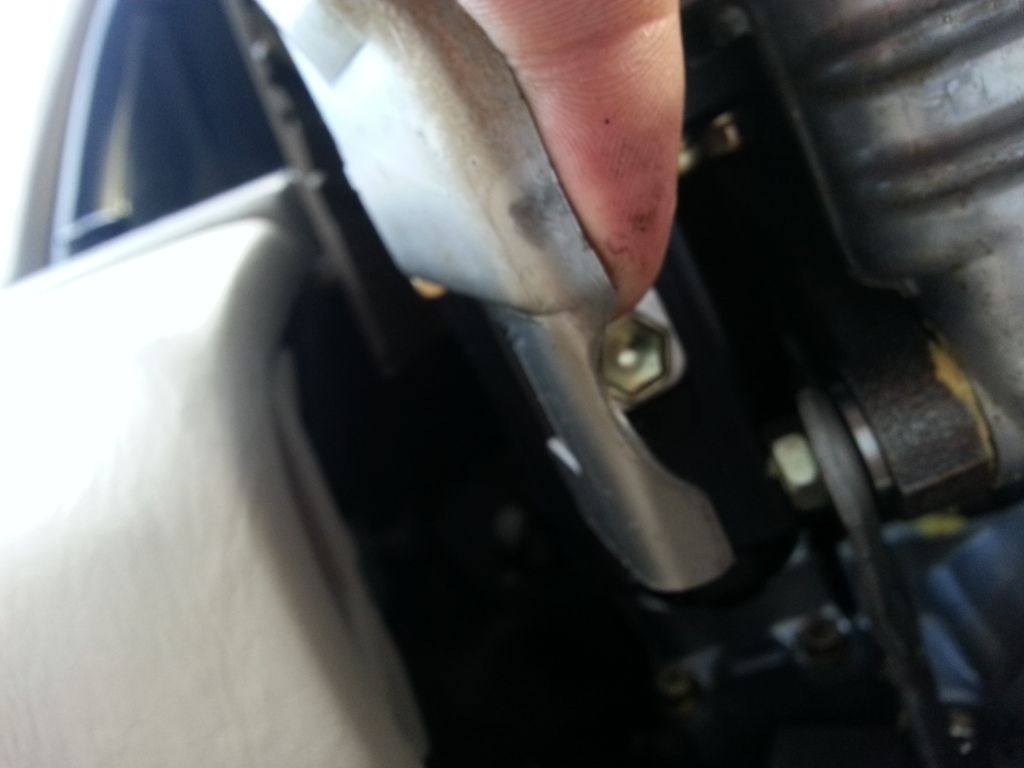
Now take your curved pick and pry the gear out. You will see what looks like a key attached to the screw (note in the picture above). The gear has a cut out in the center that will slide over that so do not worry. It may take some force, mine was a bit tight.

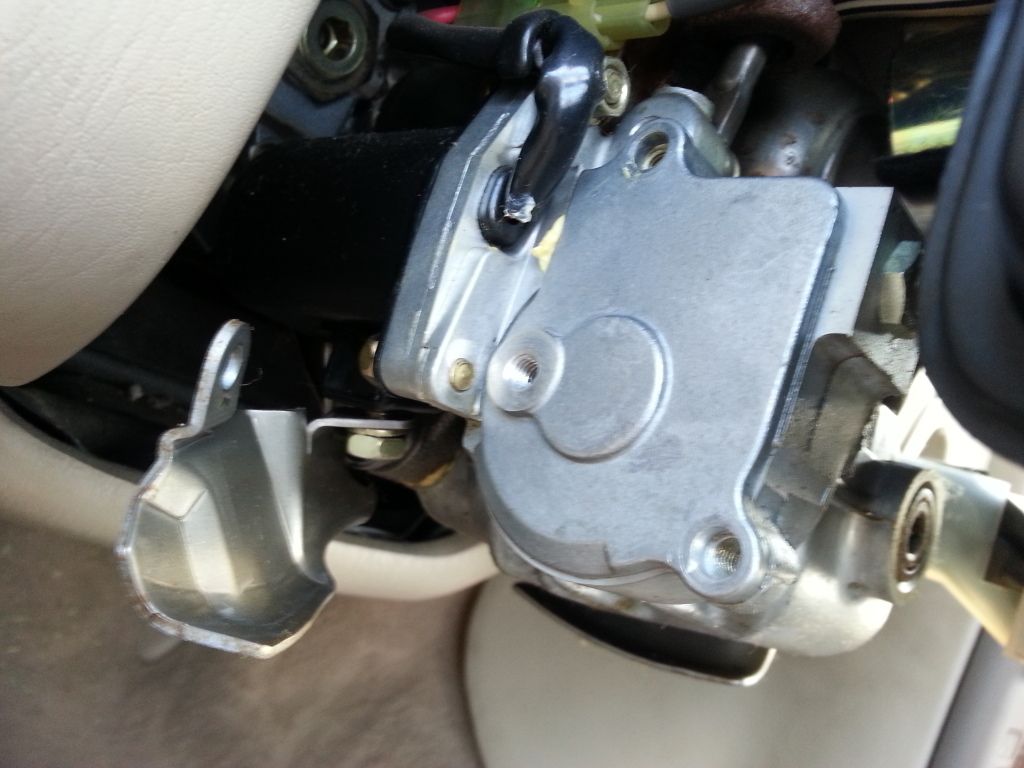
The teeth on the blue gear get worn down over time. You can buy a new gear if you would like but washers work just fine. Once the gear is out place 2 washers where the gear was. Sorry for the blurry pic.
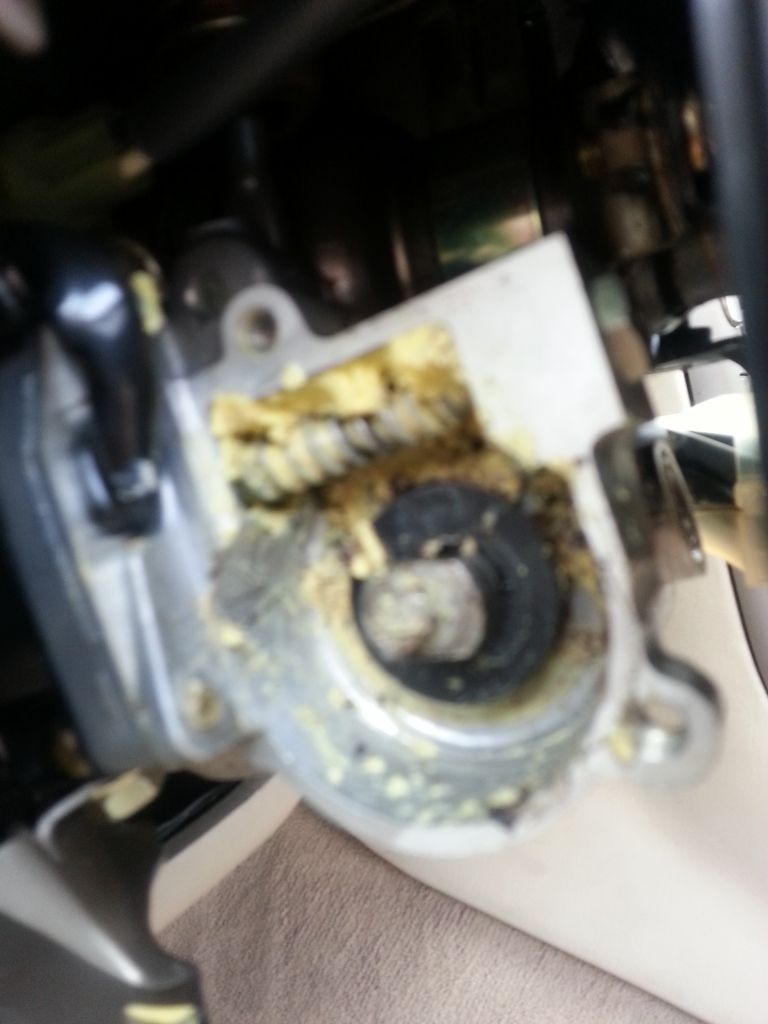
Then place the blue gear back into position and test it out. Now at this time you can add more of the lexus grease but as there looks to be plenty to spare I did not need it. Now It should be working fine! Just re-assemble in reverse order and you are good to go!
Original Thread https://www.clublexus.com/forums/sc-...ng-repair.html
I hope this updated version helps! This was done on a 1993 SC300. Total work time 15-20 minutes. Difficulty: Easy.
The tools you will need:
Sockets: 8 and 10 mm
Curved pick
Socket Wrench (possibly with extension, depends on your sockets.)
Phillips head screwdriver
2-3(depending on how bad your gear is worn out) rubber washers 7x16x1x1/6 (at Lowe's hardware; $0.92 for two as of this writing)
Next you need to remove three screws. Two on the bottom side of the steering column plastic and one directly behind the steering wheel itself. To get to the one behind the steering wheel, have your key in the ignition and rotate the wheel until you can get your screw driver in. It is best to put your key in the ignition and have the steering column as far out as it can go(pull the button on the side towards you to extend the column closer to the driver).
After the screws are loosened the bottom half of the plastic surround should pop off by hand, you may need to work it a bit, depending on your car. You only need to remove the bottom half.
On the left hand side (the side with the button for the tilt function) you will see three 8mm bolts/screw heads (they are in pretty tight so I recommend the socket). Un-do all three.
The bottom left screw, as you will see, is attached to a bracket. On the bottom of the column there is a 10mm bolt that you will need to LOOSEN, not remove, so that you can remove the gear cover.
The metal cover should either fall off or easily be removed now. (the cover that was held in by the three 8mm bolts/screws) and you will see the gear and worm gear exposed now. Remove the 10mm bolt and washer that holds the blue gear into place. Mine was easily removable but some people will have a problem with it spinning. If that is the issue, try to wedge the pick in the gear to keep it from moving, but do not push too hard and risk breaking anything.
Now take your curved pick and pry the gear out. You will see what looks like a key attached to the screw (note in the picture above). The gear has a cut out in the center that will slide over that so do not worry. It may take some force, mine was a bit tight.
The teeth on the blue gear get worn down over time. You can buy a new gear if you would like but washers work just fine. Once the gear is out place 2 washers where the gear was. Sorry for the blurry pic.
Then place the blue gear back into position and test it out. Now at this time you can add more of the lexus grease but as there looks to be plenty to spare I did not need it. Now It should be working fine! Just re-assemble in reverse order and you are good to go!
Last edited by Piratse; 12-04-12 at 09:47 AM.

 . Great contribution nonetheless.

 12-04-12, 09:51 AM
#5
Its not "tight" per se, its just the way it is mounted will prevent it from coming out when you pull from one side. That is why I used 2 paper clips on opposite sides and wiggled them around. At least that was mine. I refuse to buy tools I will only use once for a $1 mod lol.
Trending Topics
02-16-13, 12:35 PM
#12

I'm trying to do this now, and am having trouble removing the last bolt holding on the blue gear. When I try to turn it the whole gear just turns with it. I've tried jamming in a screw driver into the gear to hold it in place, but it still turns and I'm worried it'll strip the gear..
Anyone use a diffrerent method that I'm missing to get this last (half-circle) bolt off?
Anyone use a diffrerent method that I'm missing to get this last (half-circle) bolt off?
Last edited by scENFORCER; 02-16-13 at 12:44 PM.
 05-19-13, 09:44 AM
#15
Driver School Candidate

Join Date: Mar 2010
Location: Florida
Posts: 4
Likes: 0
Received 0 Likes
on
0 Posts
Thanks for the post.
I just did this repair on mt 99 SC400, looking through my hardware for the right washer took longer than the repair.
Time 40 minutes, cost $0.00
In case this happens again I ordered a new gear through Amazon for $15.00 http://www.amazon.com/gp/product/B008JV4UWQ
Lexus of Orlando said I needed a new steering coulumn.