bryan767's build thread
#32
#34
Today i decided to take on the FMIC. come to find out, the precut/welded piping required me to relocate the battery. even though i didnt reallllly want to do this, i decided it was a must and since i was going to do it, i wasnt just goin to throw it in the trunk with a bungee cord.
battery relocation
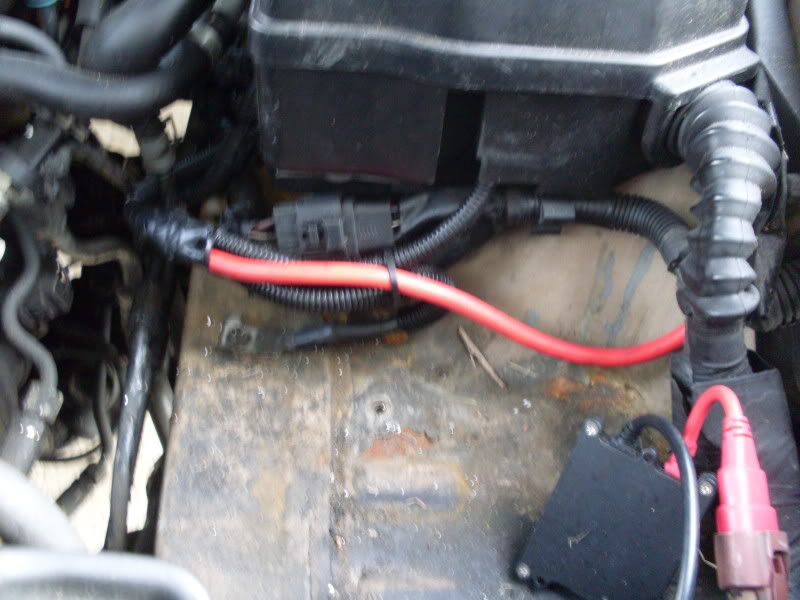
so, with my brother in law i went over to western auto and picked up 15ft of 4gauge wire (i wanted 2 gauge but they were out), then got another 2 ft of 4g wire for the ground on the battery. i also picked up a marine battery box with lid.
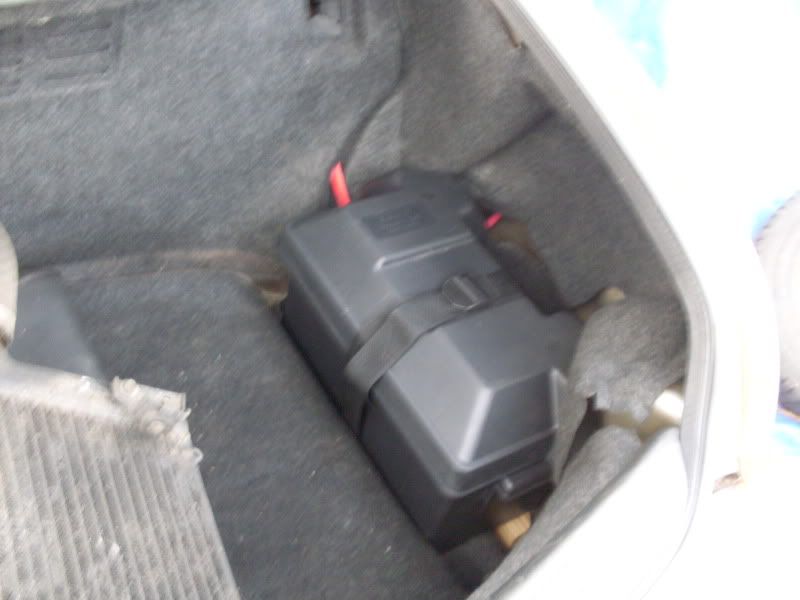
since i dont have the 12 disc cd changer (i should, but i just have the brain - no actual changer) i unbolted the brain and placed the piece of wood down. i then grabbed my battery box and ran 2 wood screws through the bottom and put two bolts on the opposite side so the box was secure, put the battery on and put my new ground cable on and then proceeded to run my positive side to the front of the car.
i found the perfect tunnel to run the cable through which consists cutting a slit in a grommet on the rear passenger back rest, then pulling up the floor on the passanger side and laying it down, then grabbed a coat hanger and pulled the cable through the hole for the engine harness. unfortunently the 15ft was about 3ft to short so i had to go back and get another 3 feet to complete the journey. i soldered the connections and put heat shrink around it. then i grounded the original negative battery cable on the body.
since i only ran 4g cable i was thinking the strength of the current will drop, so ill be buying a inline capacitor used for sub woofers and mounting it under the glove box. this will boost the current back up so ill have perfect starts every time.
Fmic install
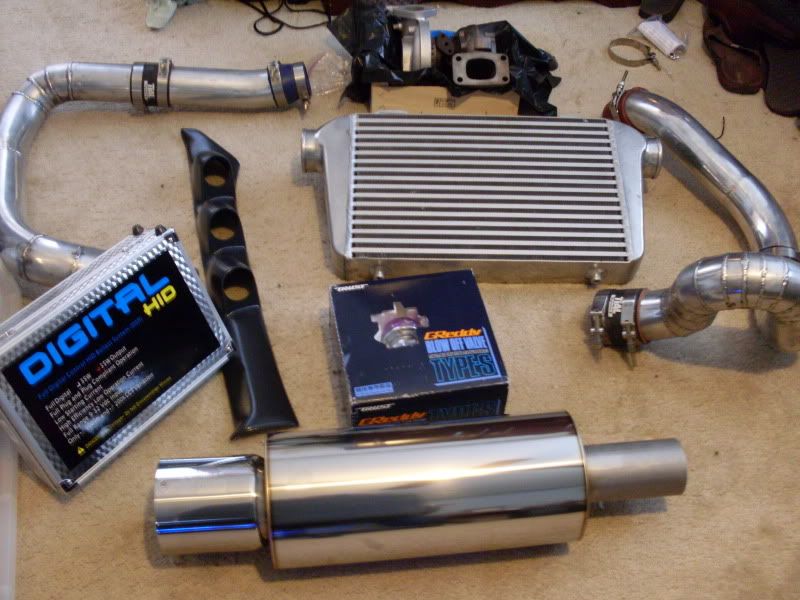
after removing the front bumper (previously uninstalled by previous owner) i found that like many things in my car the foglights/turn signal lights were unplugged - found this kind of interesting. but i pressed on, took the lower splash guards off and mocked up the FMIC. got it into place and tried to mock up the piping, unfortunently since the pipes are 3inch i have to do a bit of cutting. but once i do that, im going to cut some 3/8ths hose and put it on the cut so the piping will just rub on plastic instead of metal. then after that its just a matter of tightening everything down and starting it up!
-like to mention that the stock soarer side mount is SOOO RESTRICTIVE, a FMIC will open up alot of power as well as an exhaust. but more to come, and ill post new pictures once its all done.
#35
#36
yep lol. when i got it in the mail. i was like.. holllyyy shiiit! hah the box was huge. but i think itll look good, and sound good. plus it matches the 3inch exhaust that im doing - piping size wise
#37
#39
test fitted it only, the only thing that doesnt fit is the very top, which ill cut down. but otherwise if you want gauges get a integra A pillar!
on a side note:
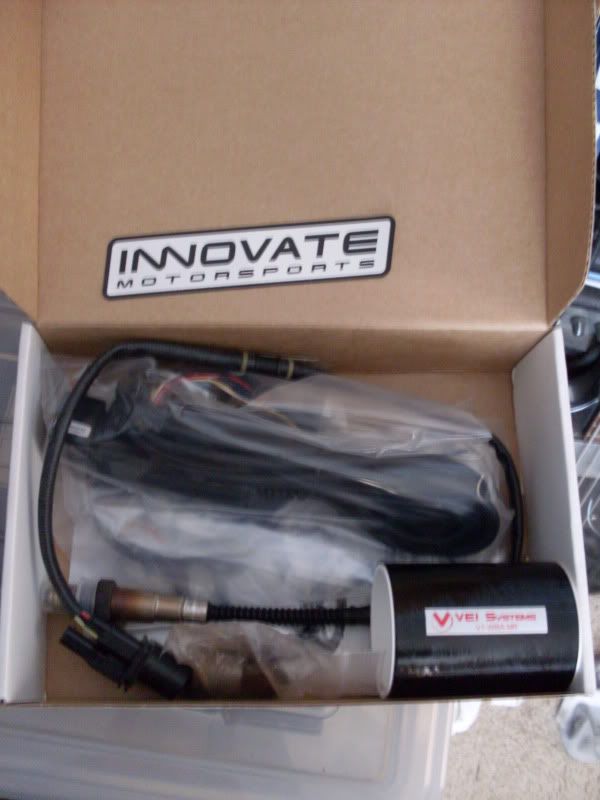
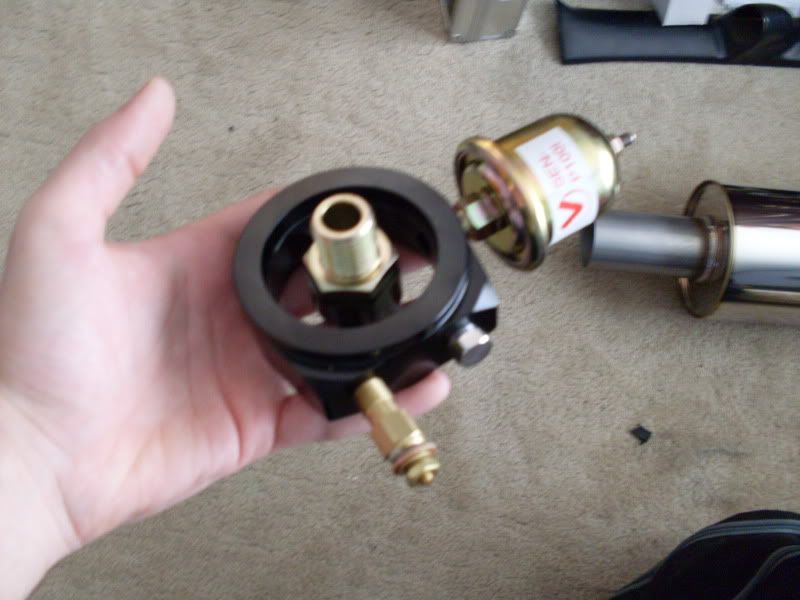
just ordered my 3rd and final gauge for my A pillar, a Vei Wideband. Also picked up a oil filter sandwich to run my oil press and oil temp gauge, and then i ordered 2 new tires. im stokked

#40
snapped a few pics 
Bumper Off
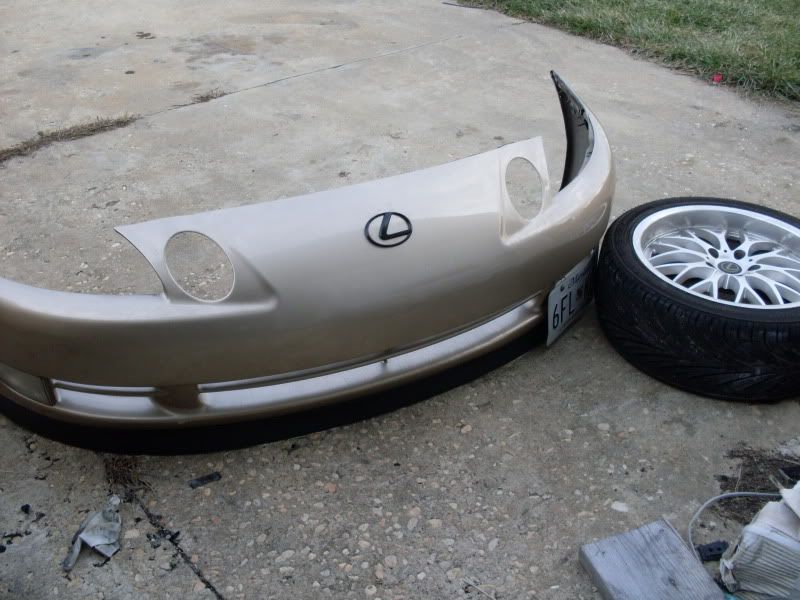
Theres the front mount waiting to be mounted
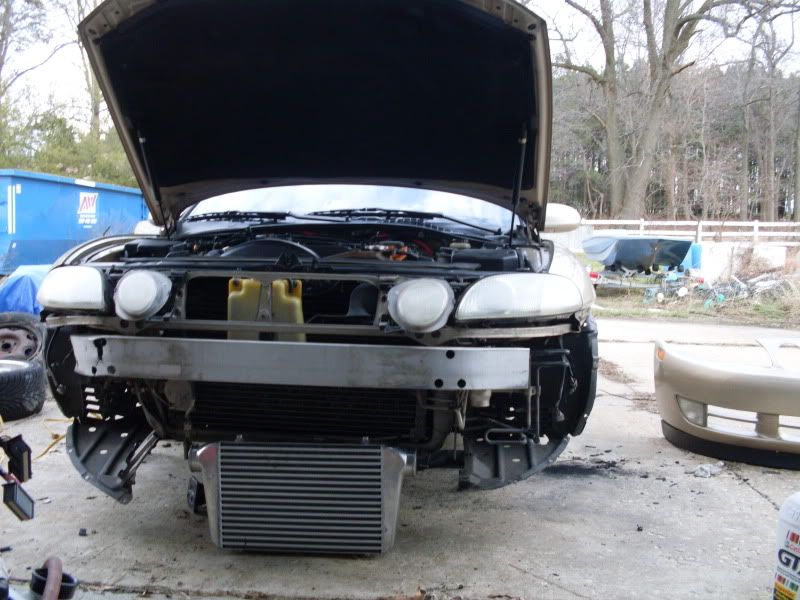
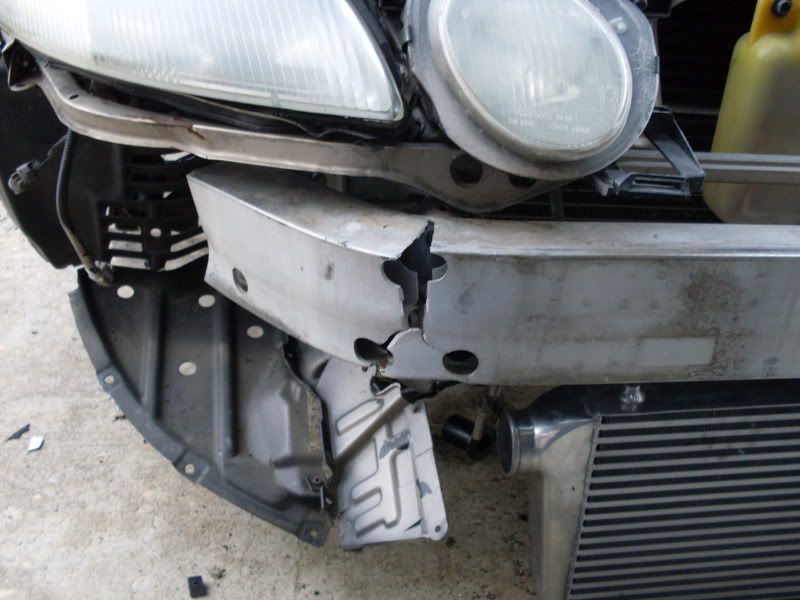
Found out the car had been hit before :/
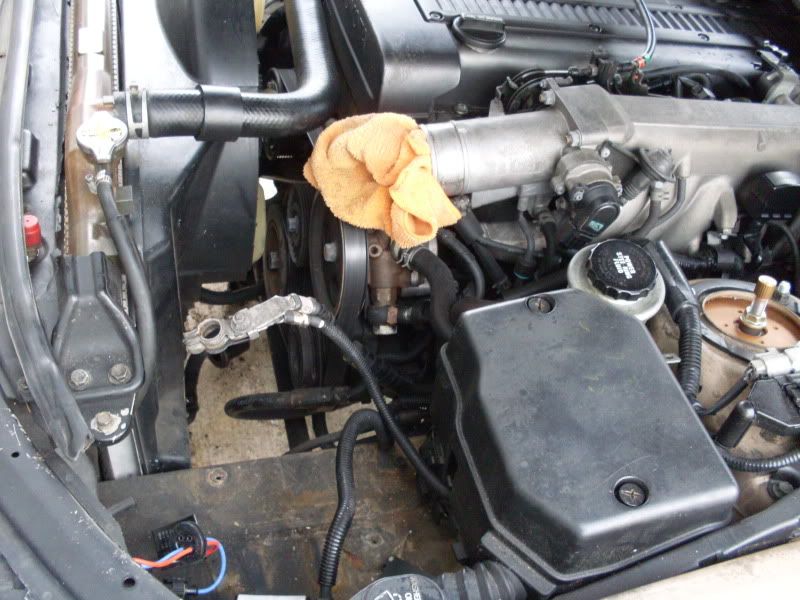
Battery removed, also found that the cables had been rubbing and are only 1/2 as thick now in one spot.
removed the 12 disc cd player brain, put a piece of wood down, bolted it down and then screwed the battery box onto the wood. put the battery in, ran my cables and installed. looks pretty good i think. perfect size too.
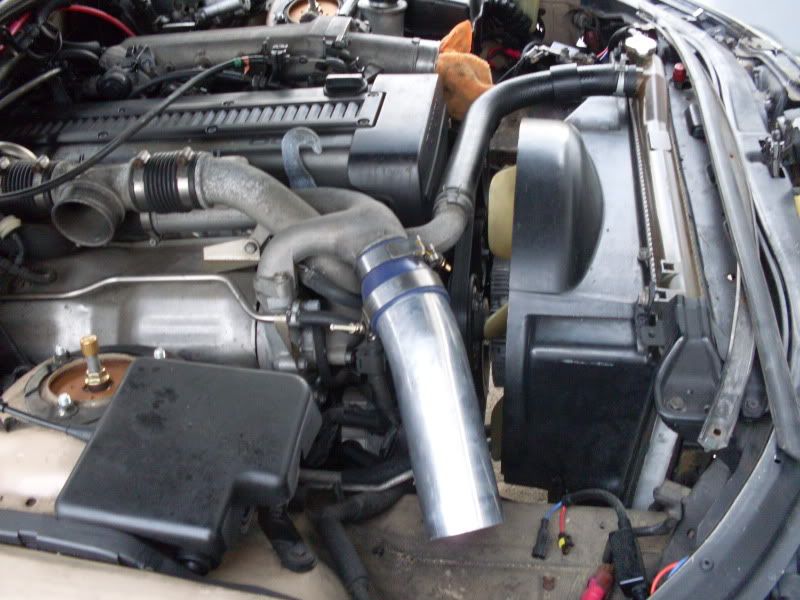
passenger side, im going to have to make a new intake
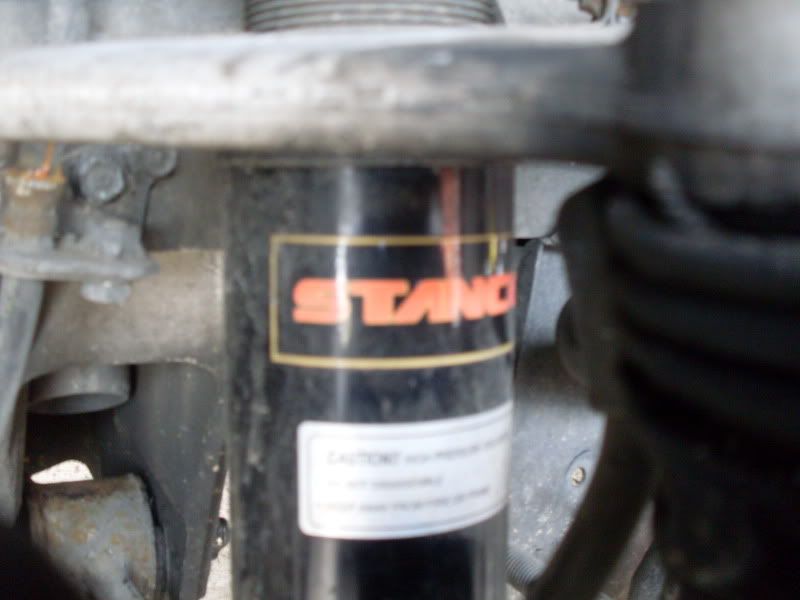
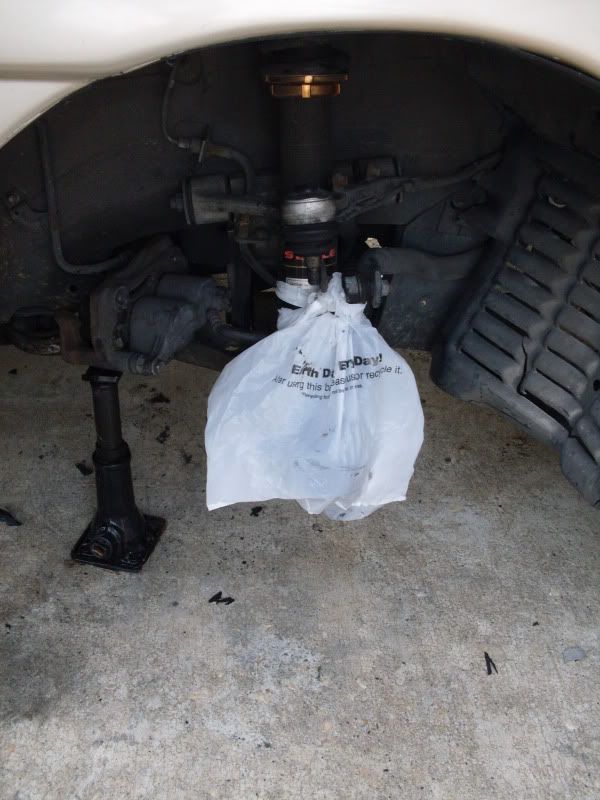
stance coilovers also installed my new LCA bushings. the old ones were non-existent and fell out once i took the bolts out!!!

Bumper Off

Theres the front mount waiting to be mounted

Found out the car had been hit before :/

Battery removed, also found that the cables had been rubbing and are only 1/2 as thick now in one spot.

removed the 12 disc cd player brain, put a piece of wood down, bolted it down and then screwed the battery box onto the wood. put the battery in, ran my cables and installed. looks pretty good i think. perfect size too.

passenger side, im going to have to make a new intake

stance coilovers
 also installed my new LCA bushings. the old ones were non-existent and fell out once i took the bolts out!!!
#41
delivered:
new silicone reducer to replace one of my silicone couplers
wideband
tires
oil filter sandwich
and im about to go pick up my welded bov flange and get the tires mounted
still waiting on my hub so i can get my car on the road again
new silicone reducer to replace one of my silicone couplers
wideband
tires
oil filter sandwich
and im about to go pick up my welded bov flange
 and get the tires mounted
still waiting on my hub so i can get my car on the road again
Last edited by bryan767; 01-04-10 at 12:00 PM.
#42
wide band:
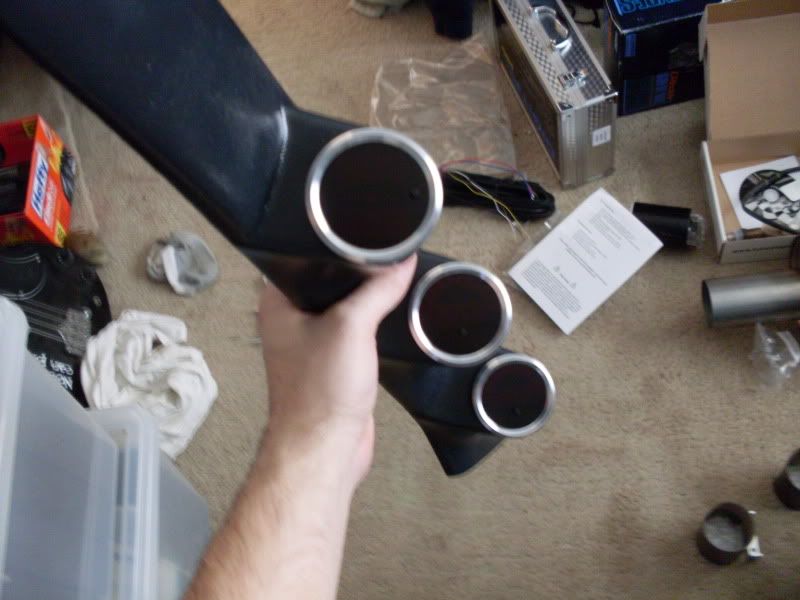
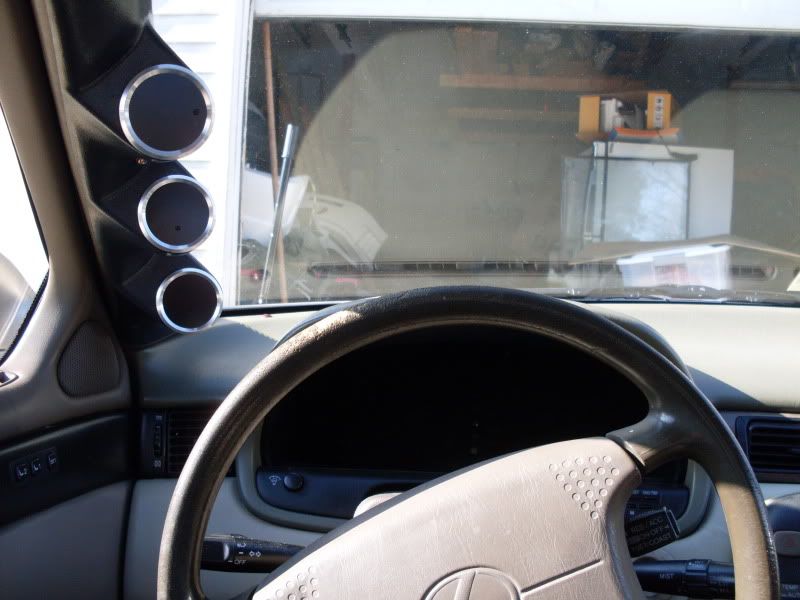
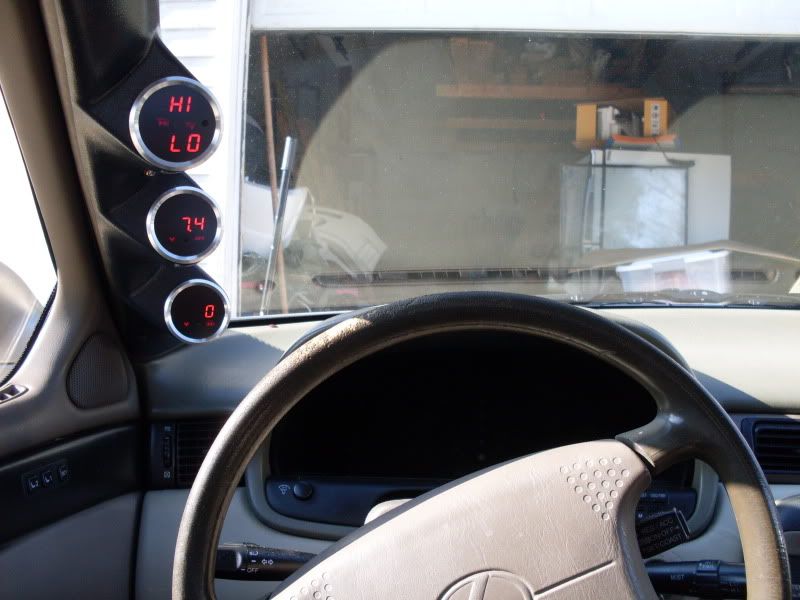
gauges:
oil filter sandwich:
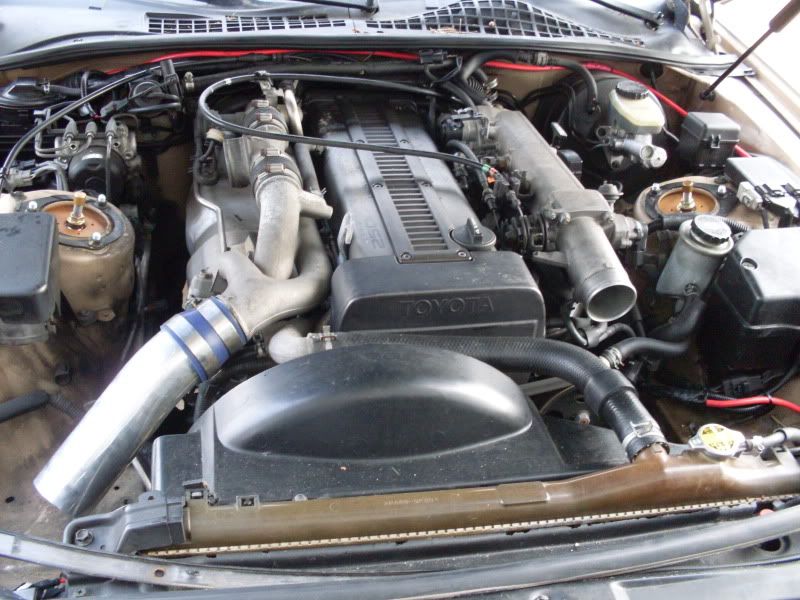
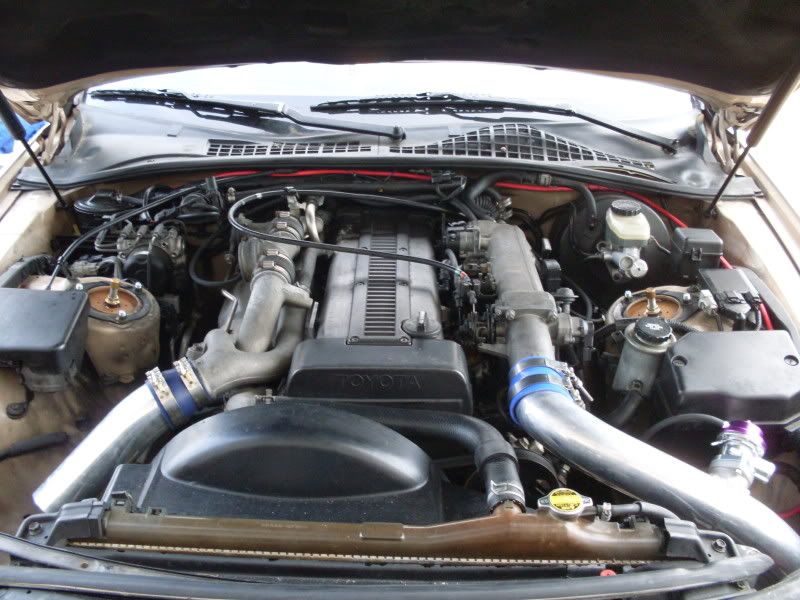
the bay:
battery lines ran:
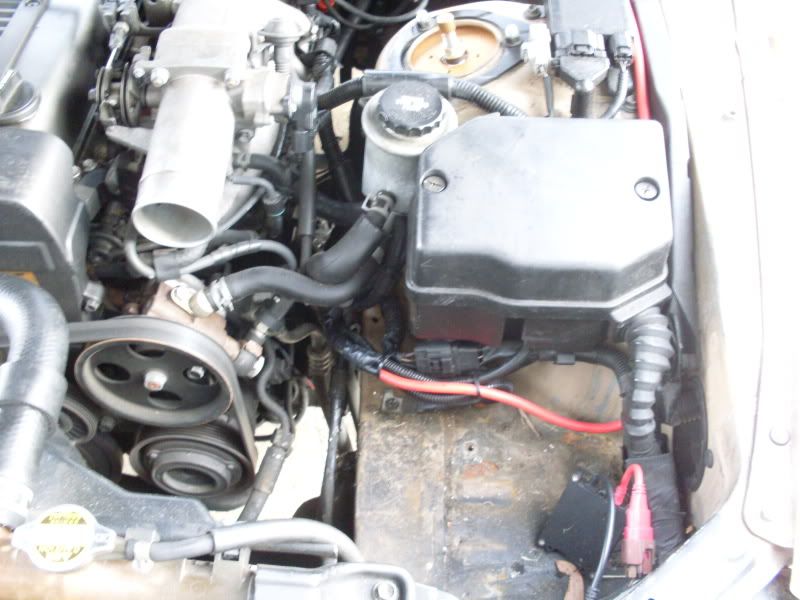
battery relocation complete. i dont need a capacitor, car starts right up!
covered up everything to protect from ice, snow, rain
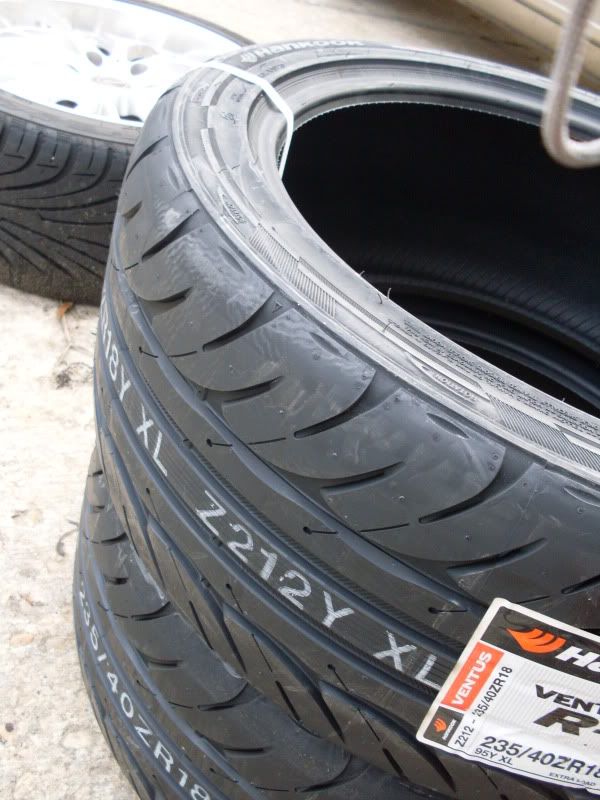
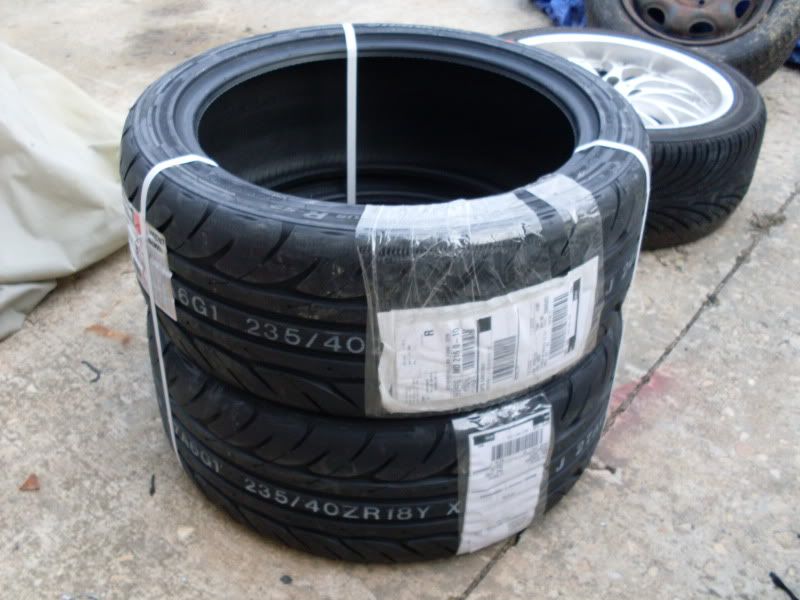
new tires:
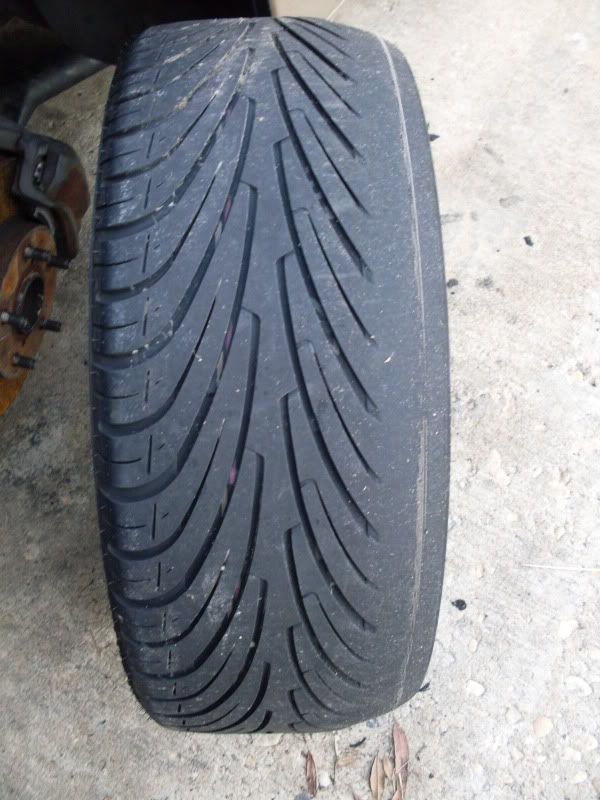
old tire - worst of the 2 tires:

gauges:

oil filter sandwich:

the bay:

battery lines ran:

battery relocation complete. i dont need a capacitor, car starts right up!

covered up everything to protect from ice, snow, rain

new tires:


old tire - worst of the 2 tires:

#43
got my gauges wired up today, just gota put my lower dash back on now! these gauges are sooo sick!
-run my vacuum line for my boost gauge, and hook up the oil temp/press. oil sandwich plate
-tomorrow hopefully my hub will come so that will go on
-raise the suspension
-swap my wheels around so the new tires are in the back (there a little bigger then the older tires- but those old tires have less then 2k miles)
-finish the fmic install (cut 2 holes for the piping, mount the fmic)
-plug in the greddy type s vacuum line
-bumper reinstall
and finally
-love my life again.
gauges installed:
http://www.youtube.com/watch?v=O5bjcNNoO6A
edit:
welllll i decided to bail on the idea of getting a new rack and pinion. i know a guy at a different inspection station that can pass me. i just gota get my new wheel hub on, the tires on and i can get my rack and suspension passed. the price for the new inspection 55 bucks. the price for the rack and pinion 90 + 40 for gas and food. soo this makes my wallet feel better. and makes me feel better because that means i can get my tags by thursday (my birthday) and get my emissions done.. then my exhaust at the start of next week in time for my next weekly wensday meet!!!
Last edited by bryan767; 01-05-10 at 10:41 PM.
#44
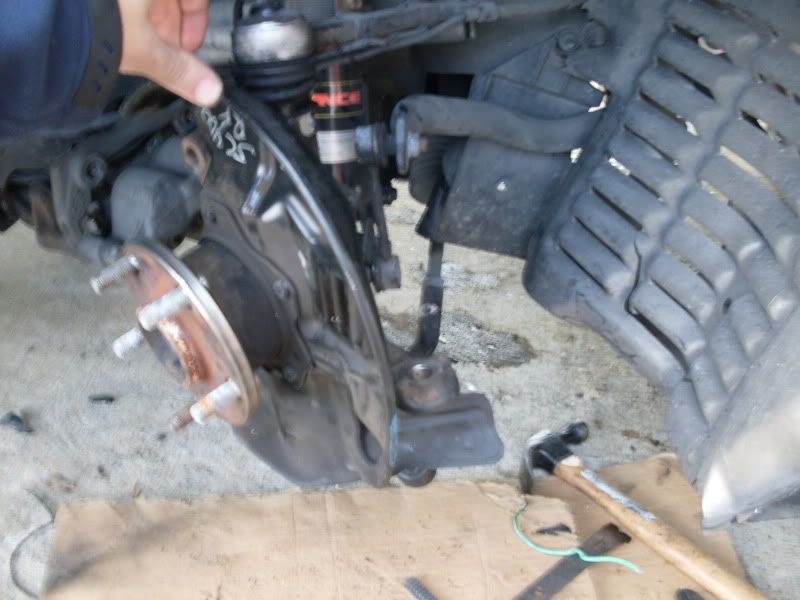
^^^damn castle nut is cross-threaded.. so i gota wait ANOTHER day till the car is back on the ground :/
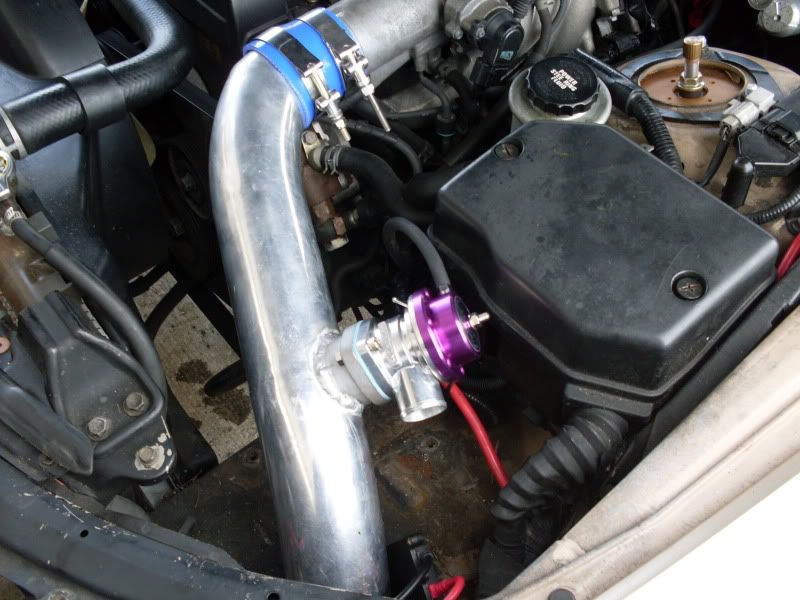
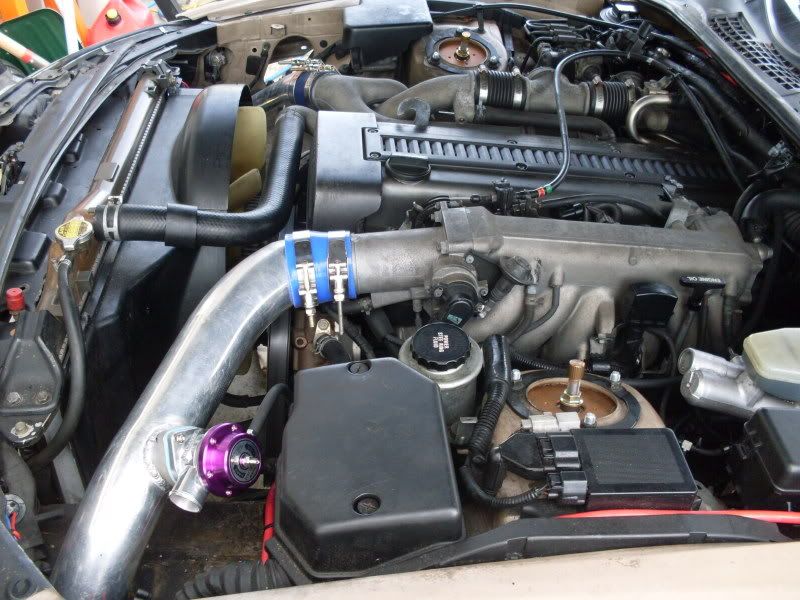
http://www.youtube.com/watch?v=P3ydgkQbVR0
http://www.youtube.com/watch?v=QsZe1yPvxr8
Last edited by bryan767; 01-07-10 at 06:12 PM.
#45
 Whatever works.



 congrats