
Detailed DIY W/ Pics: Rear Seat Net's sagging? Piece of cake.
 11-25-12, 05:44 PM
#1

Here is a detailed DIY on how to fix those sagging old rear seat net's! It's a piece of cake, an easy fix, really. Though I do advise that you handle ALL old SC plastics and interior pieces with the uttermost care. Brittle or not, they still break so be careful. Whether you know how to do an engine swap in 2 hours, or if you don't know which end of the screwdriver to hold, You can do this.
Thing's needed: (what I used)
1.Philips screwdriver
2.standard screwdriver
3. Needle nosed pliers
4.Scissors
5.About 30 minutes of time, but took me less than 10 minutes to do 1 side.
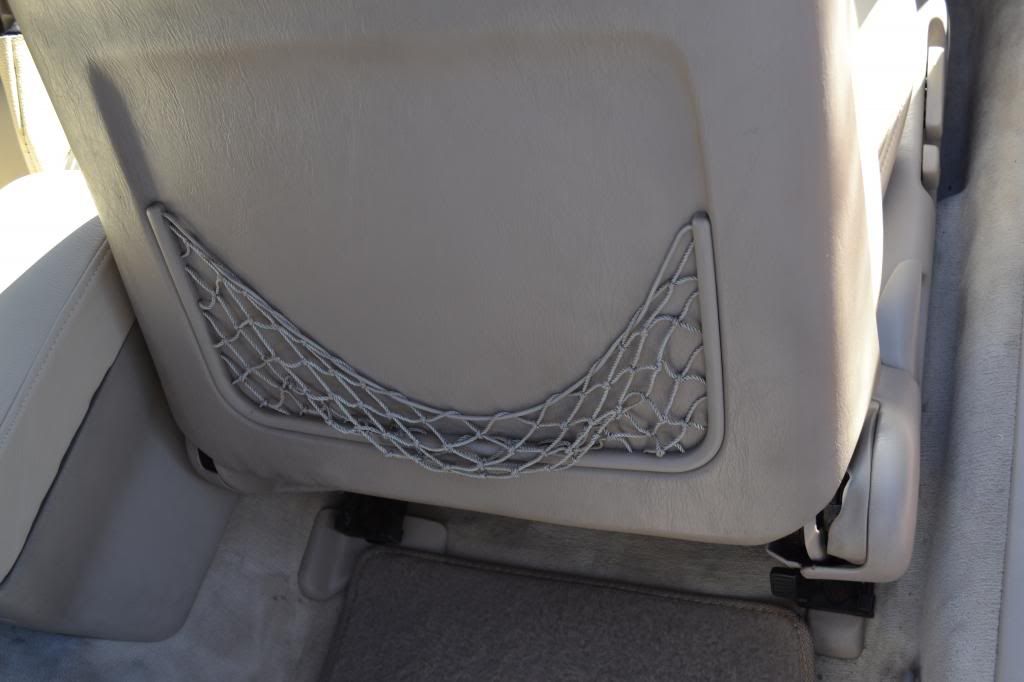
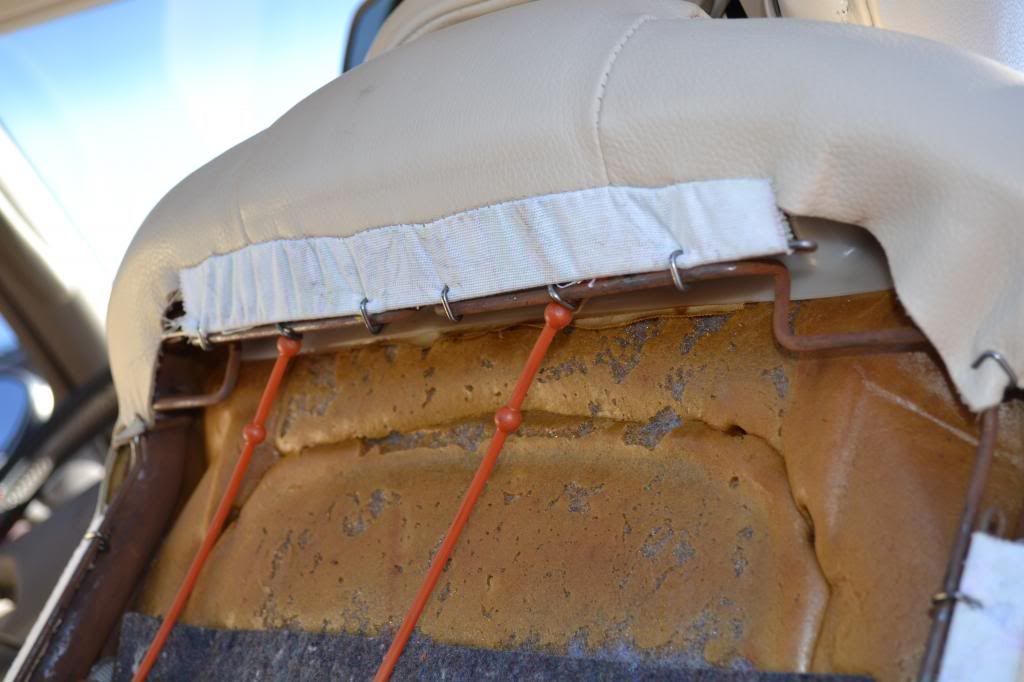
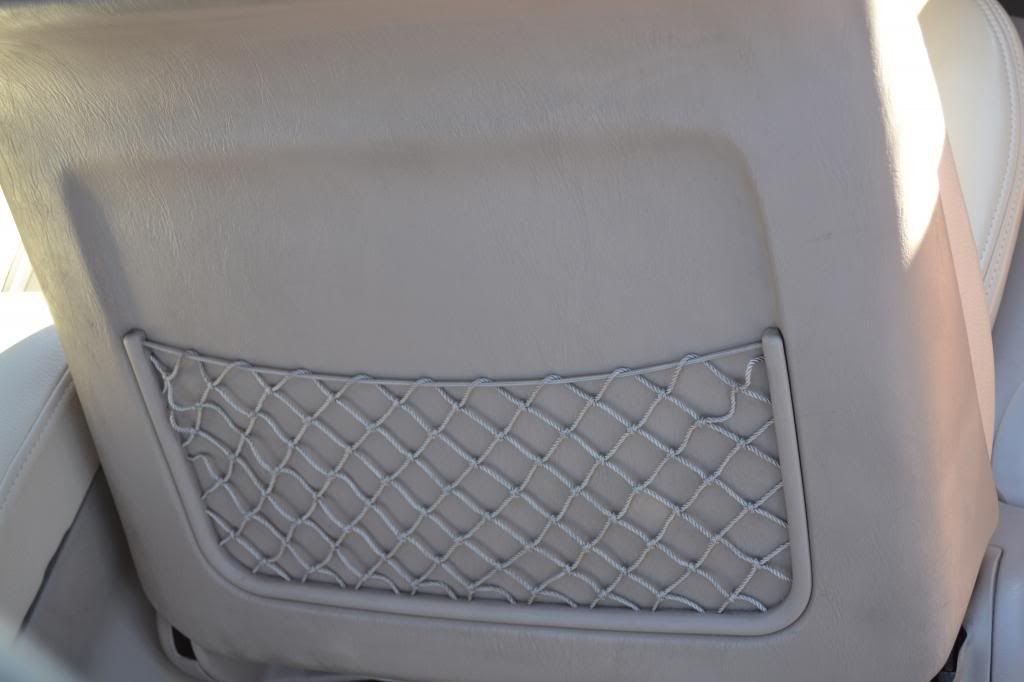
So, here is the sagging culprit. Expect this sagginess on any older SC, it's just life. Just because your SC has sagging net's, doesn't mean that it was abused, just used.
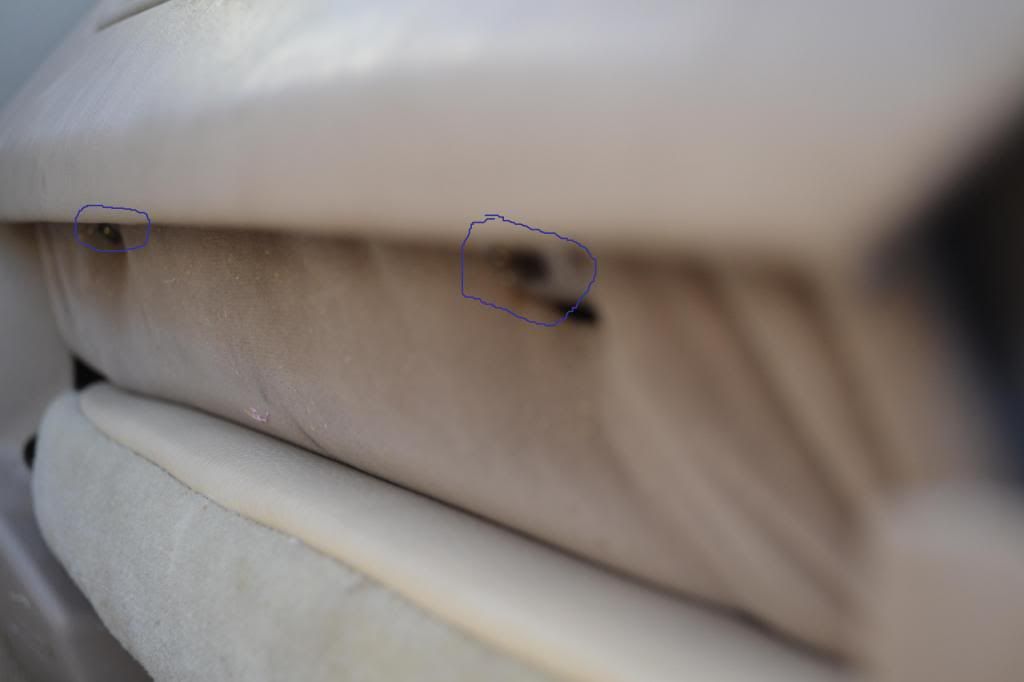
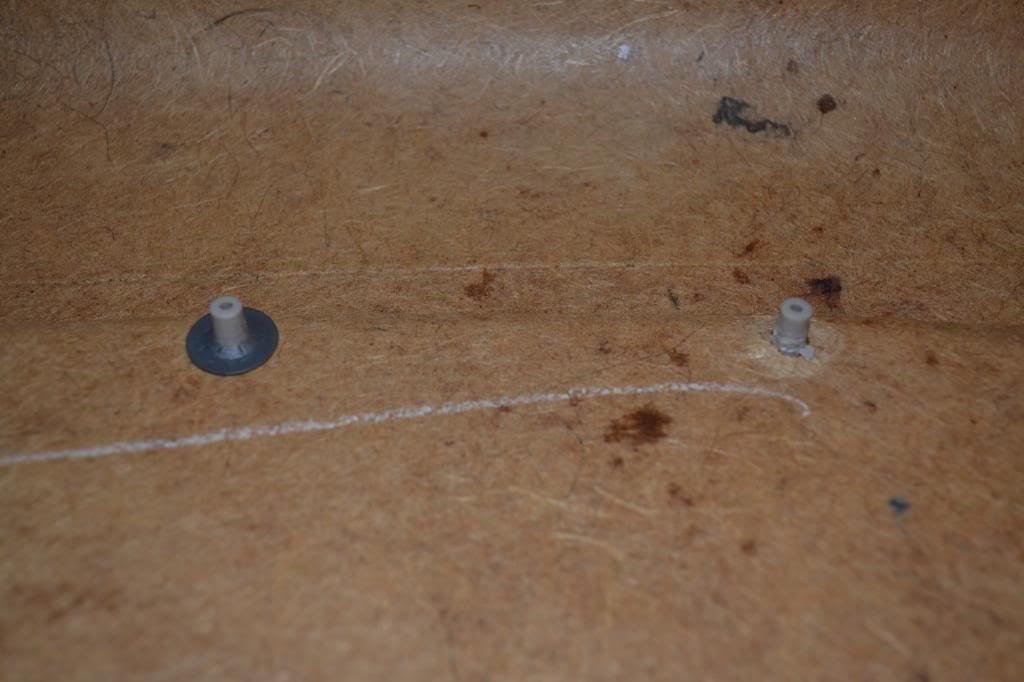
First off, you will need a Philips screwdriver to remove these 2 screws. I have arrows pointing to their location under the seat. Don't lose them, they are small.

Under the seat: The screws.
OK, this is the most tedious part of the project. Once you get those 2 screws off, you will have 4 clips holding the seat back in place. 1 on each side, and 2 on top. Start at UN doing the 2 bottom clips on each side of the seat back. Lightly and carefully push towards the front of the car on the bottom of the seat back, than gently flare the sides if the seat back were the two side clips sit. This should unclip both of them. I did them one at a time. Now you have the 2 clips on the top. What I did to remove them was by moving the seat back up and down rapidly, but making sure not to bust the clips. Once you get these clips out of the way, the seat back can come off and you can bring it inside to finish the project.
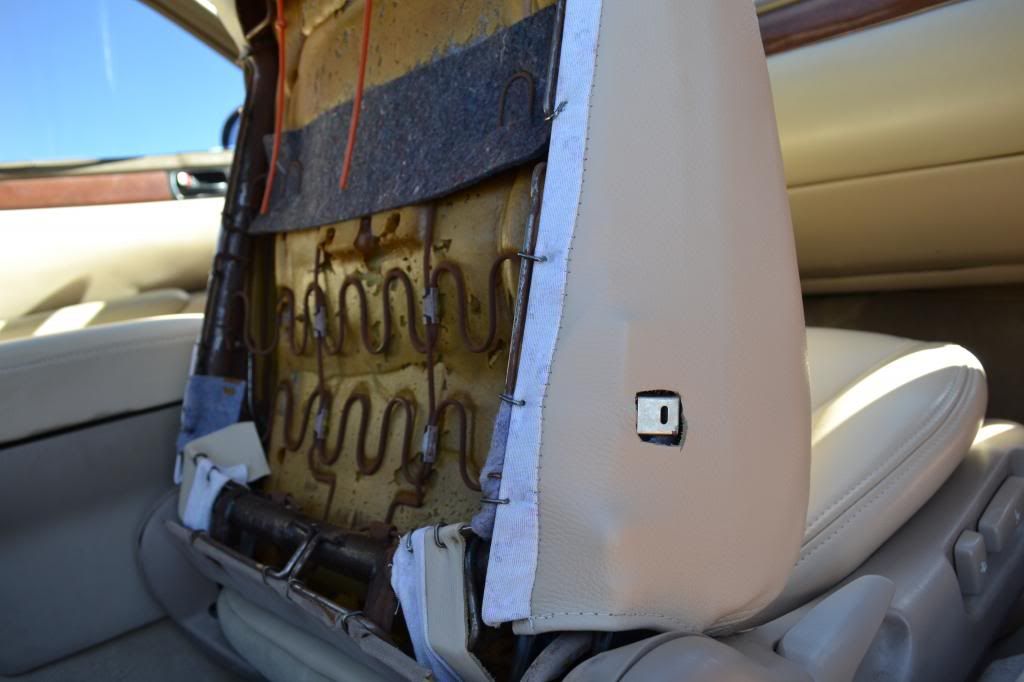
Seat without seat back:
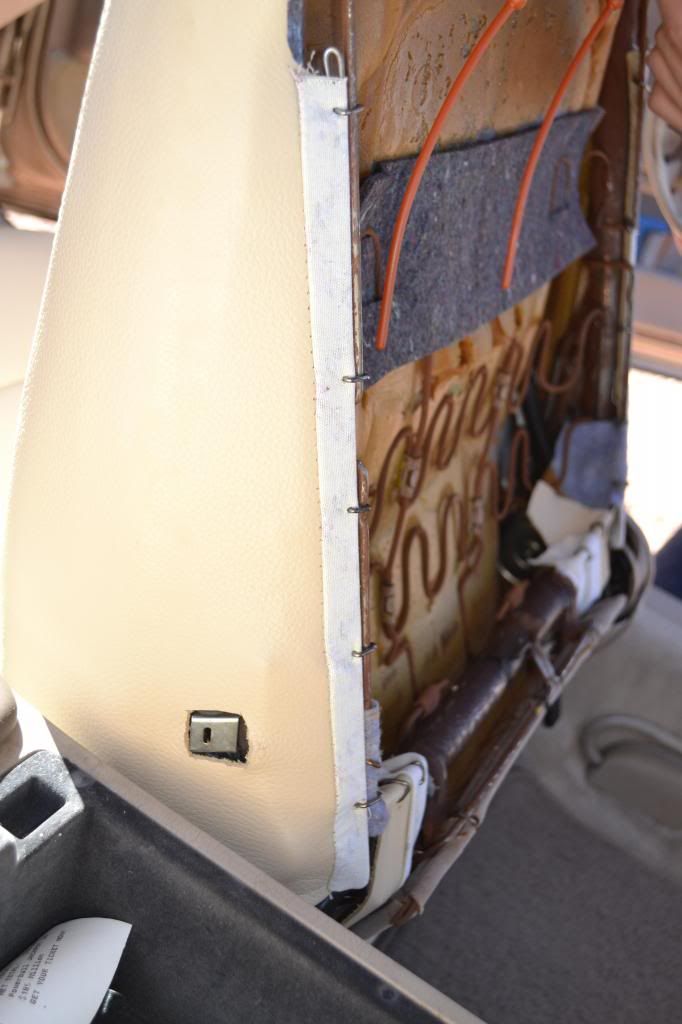
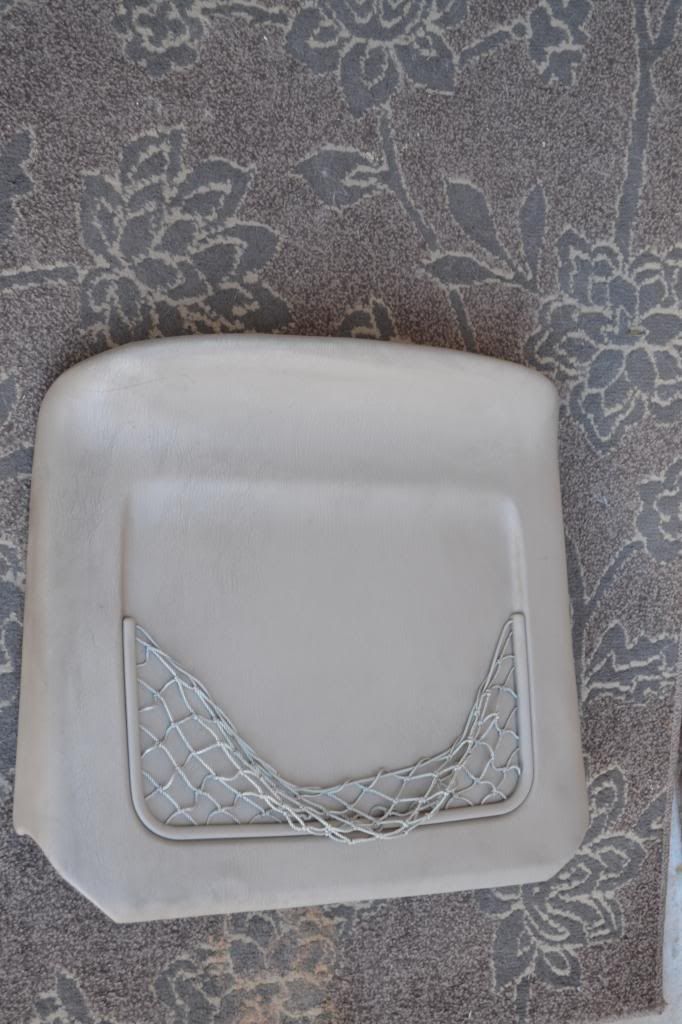
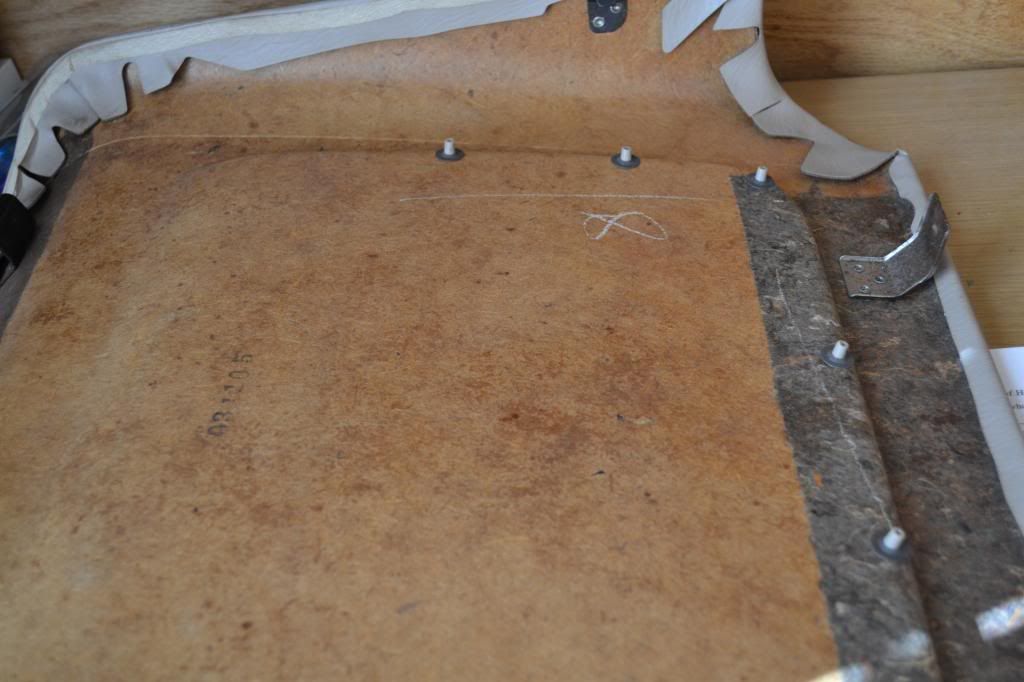
Now you have the seat back.
Now to gain access of the U-shaped net holder thing you will need to remove these pressure tabs. Be very careful with the plastic piece that keeps the tab secure, but don't bust the tab either. (GL finding these)
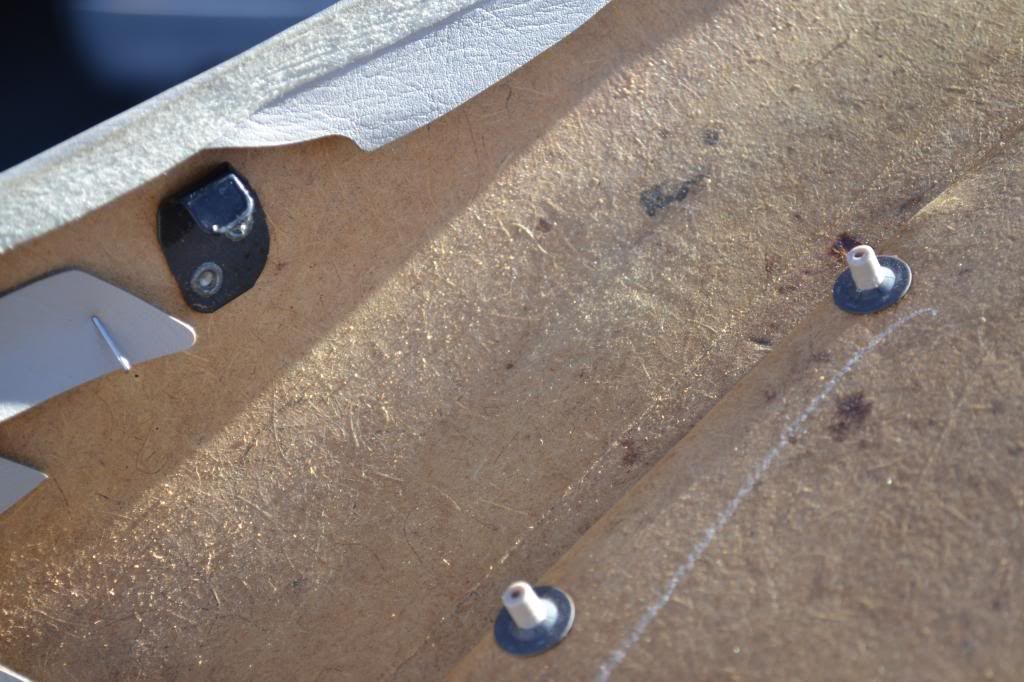
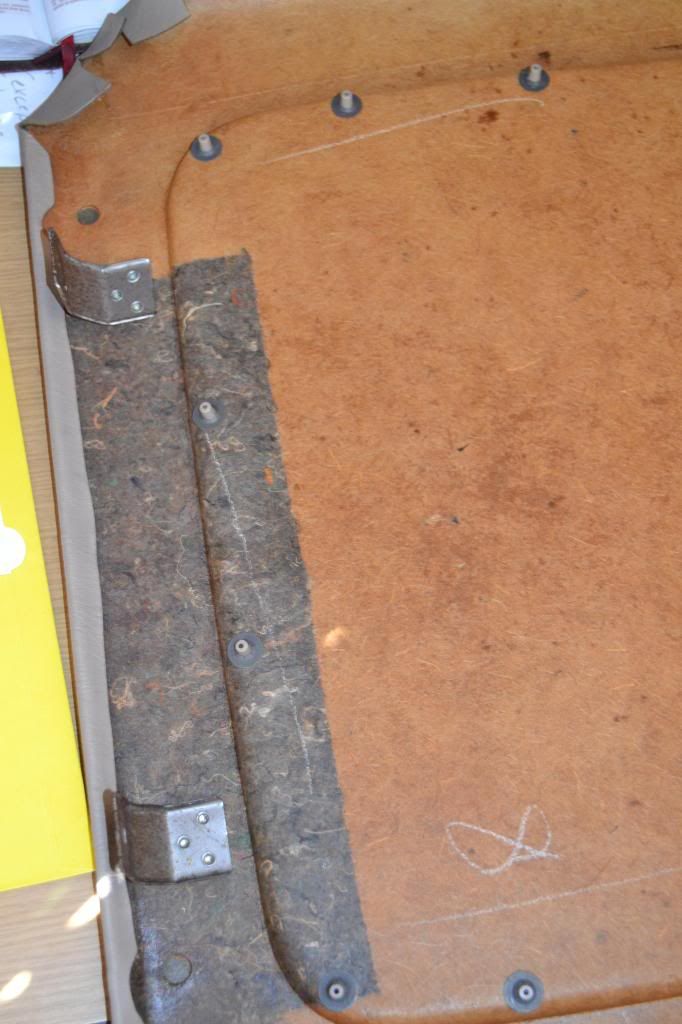

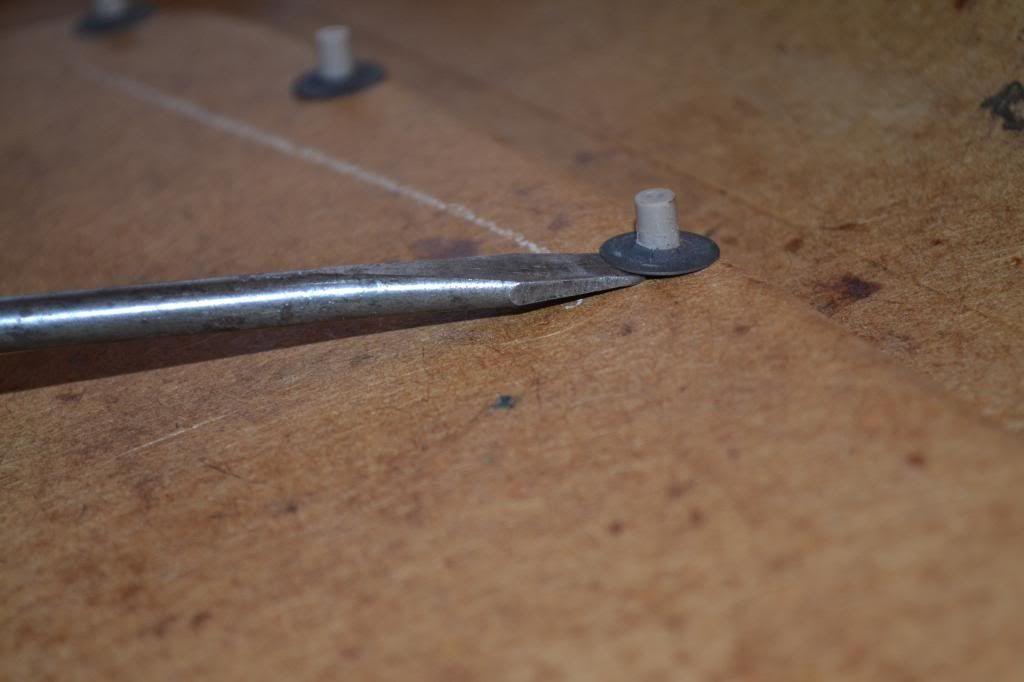
To pry off these tabs, I used a flathead or standard screwdriver to get under it, then when there was enough room, I clamped it with the needle nosed pliers and very gently pulled upward. It came off pretty easily.
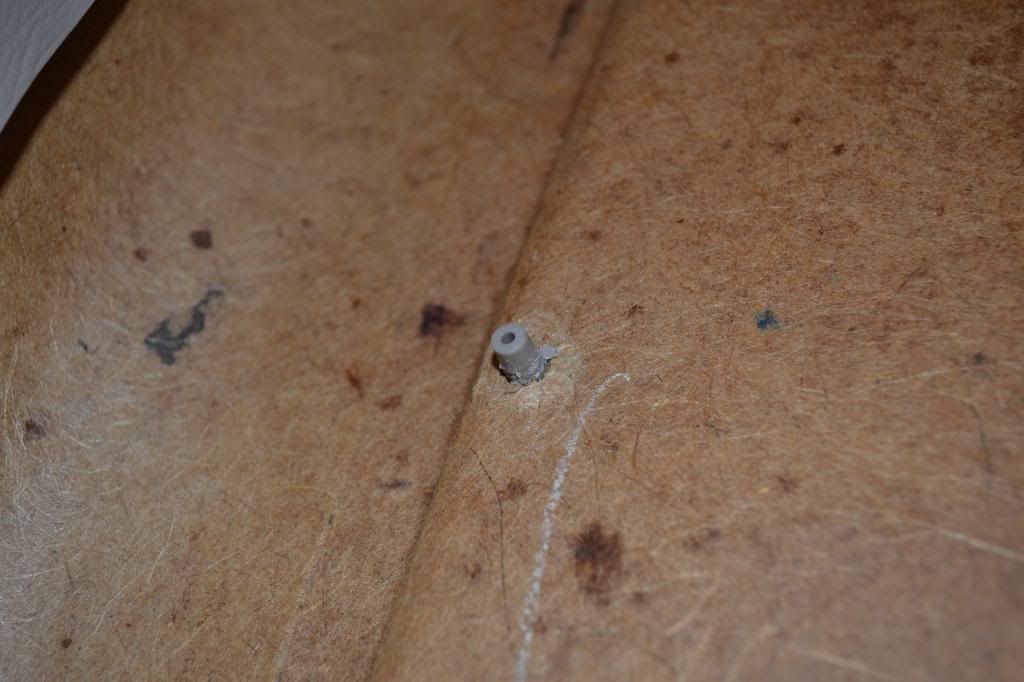
**NOTE** You only need to remove a top corner tab, were the knot is holding the net in. Just one tab.**NOTE**
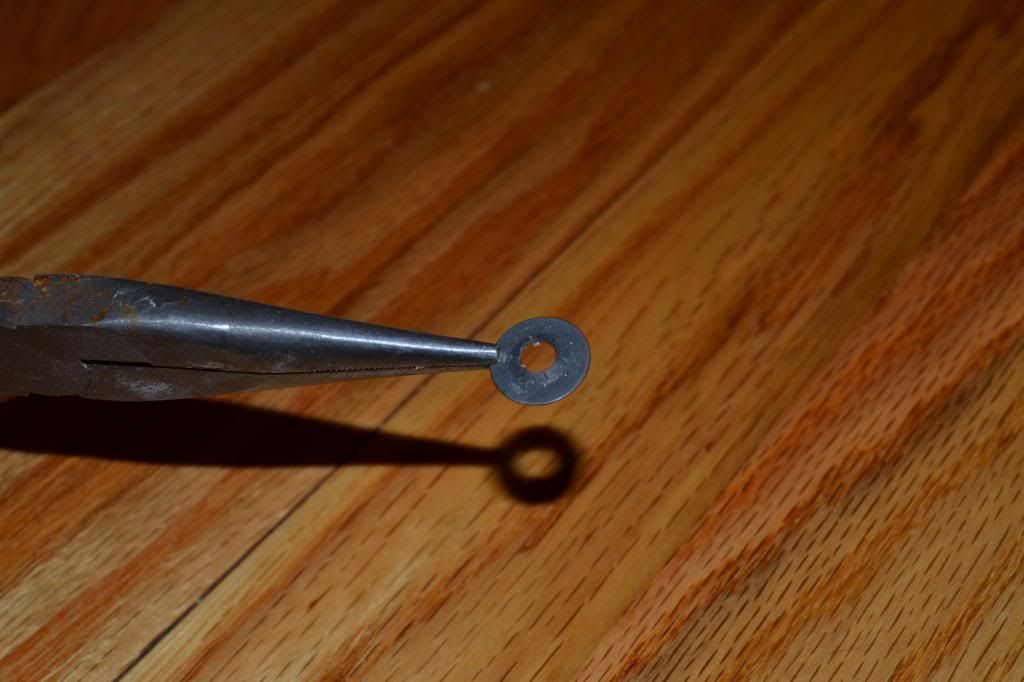
Got the tab.
To get access of the knot, simply lift the edge of the net holder U-shaped thing and pull the knot out. The old knot. Stretched as can be...
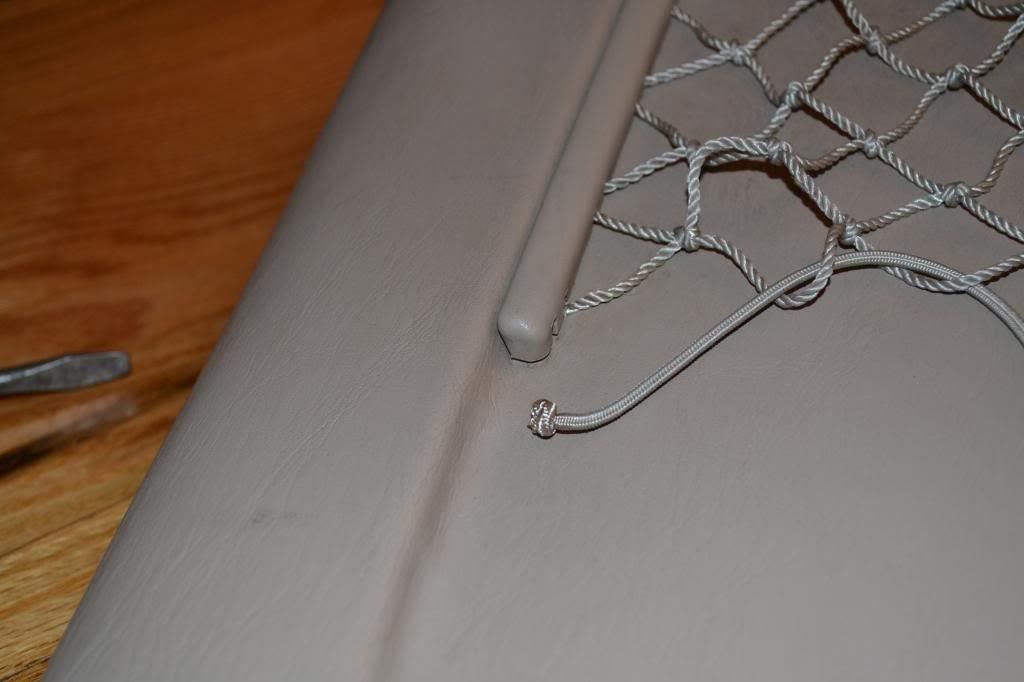
Now make a new knot. Adjust as needed or until you are satisfied.
Cut the extra elastic as close to the knot as you can get it. Make sure the knot is tight enough were it wont fall out.
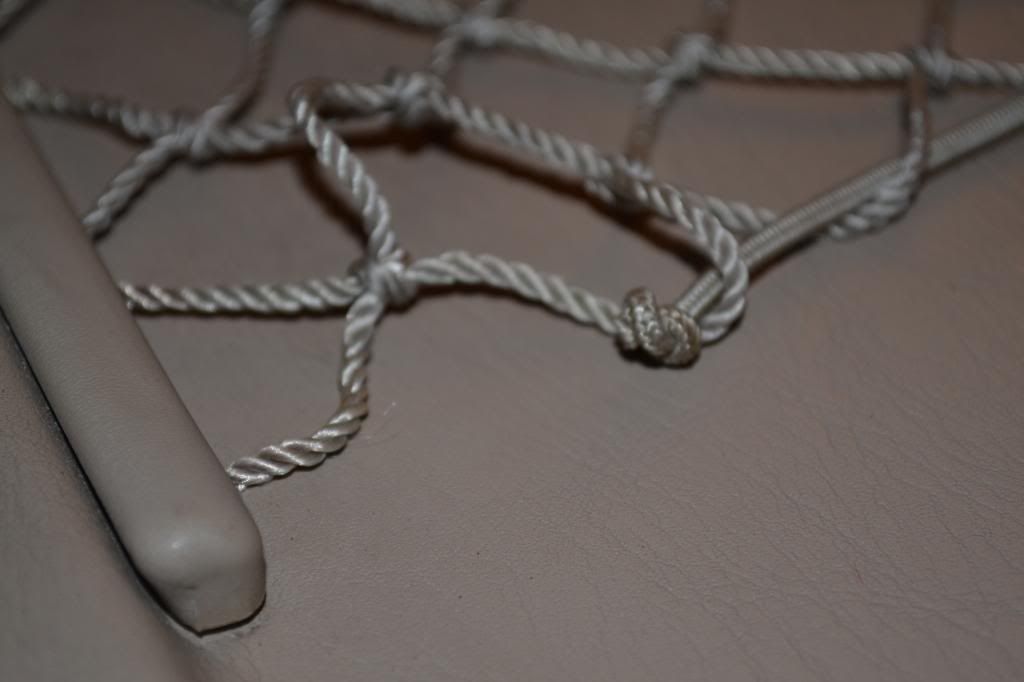
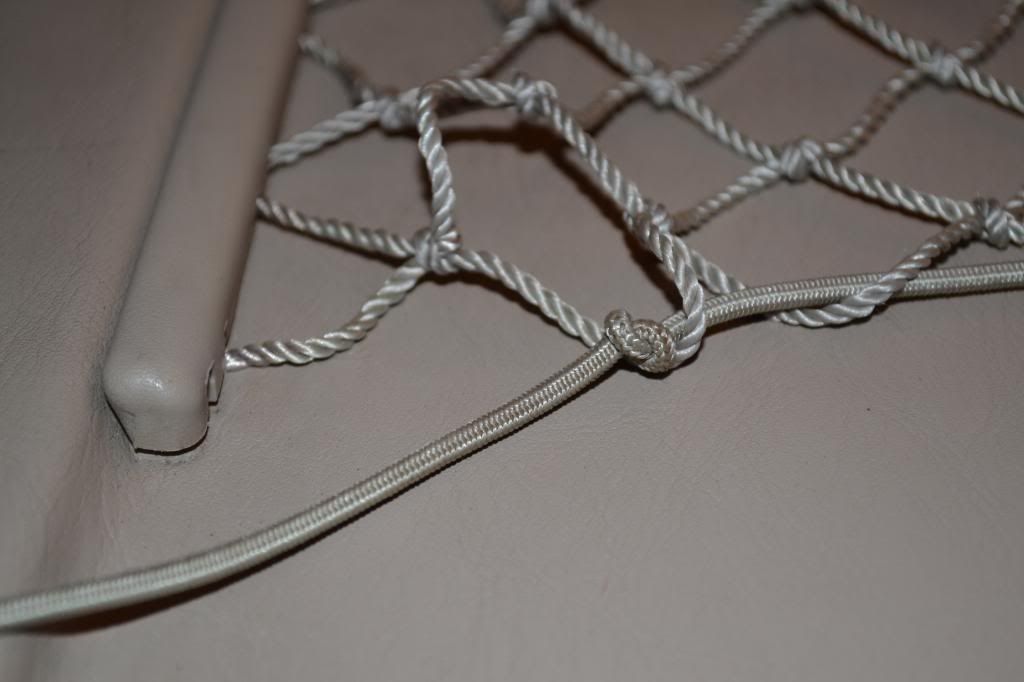
Secure the newly made knot under U shaped part than put the tab back in place. Make sure the tab is tight.

The finished product: (BTW, this took me about 10 minutes for this side. It was much quicker once I knew what I was doing...)

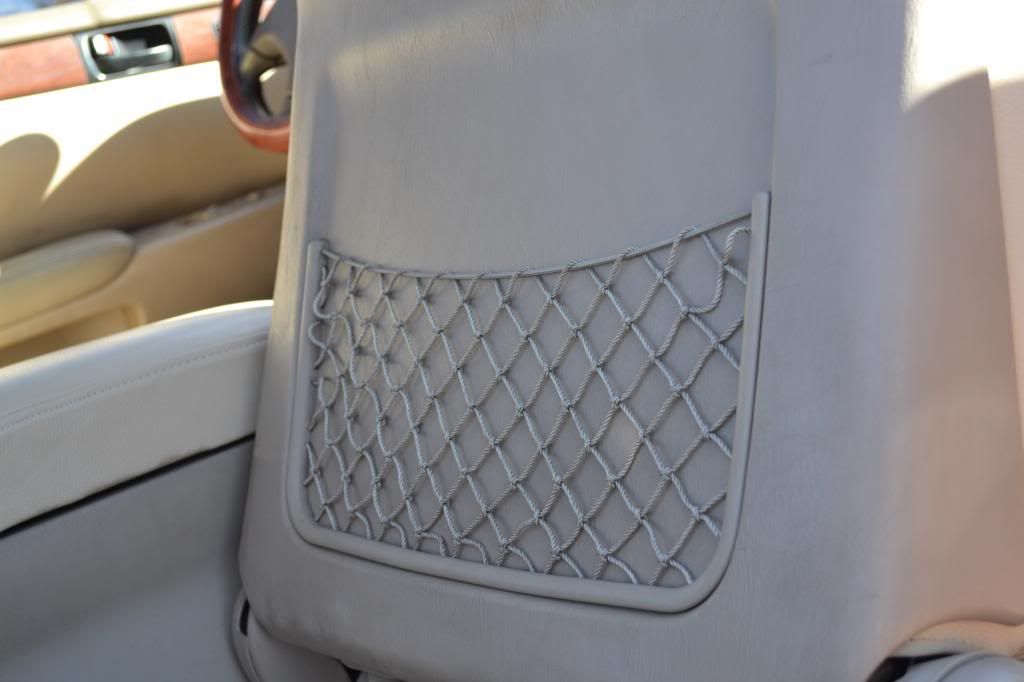
See? Not hard at all! Not only does this make the car look less used, it makes me love my SC400 tons more.
Sorry about the dirty seat backs, I'm about to SCRUB 'em real soon!

Pictures taken with a Nikon D3100 (My brothers)
Thing's needed: (what I used)
1.Philips screwdriver
2.standard screwdriver
3. Needle nosed pliers
4.Scissors
5.About 30 minutes of time, but took me less than 10 minutes to do 1 side.
So, here is the sagging culprit. Expect this sagginess on any older SC, it's just life. Just because your SC has sagging net's, doesn't mean that it was abused, just used.
First off, you will need a Philips screwdriver to remove these 2 screws. I have arrows pointing to their location under the seat. Don't lose them, they are small.
Under the seat: The screws.
OK, this is the most tedious part of the project. Once you get those 2 screws off, you will have 4 clips holding the seat back in place. 1 on each side, and 2 on top. Start at UN doing the 2 bottom clips on each side of the seat back. Lightly and carefully push towards the front of the car on the bottom of the seat back, than gently flare the sides if the seat back were the two side clips sit. This should unclip both of them. I did them one at a time. Now you have the 2 clips on the top. What I did to remove them was by moving the seat back up and down rapidly, but making sure not to bust the clips. Once you get these clips out of the way, the seat back can come off and you can bring it inside to finish the project.
Seat without seat back:
Now you have the seat back.
Now to gain access of the U-shaped net holder thing you will need to remove these pressure tabs. Be very careful with the plastic piece that keeps the tab secure, but don't bust the tab either. (GL finding these)
To pry off these tabs, I used a flathead or standard screwdriver to get under it, then when there was enough room, I clamped it with the needle nosed pliers and very gently pulled upward. It came off pretty easily.
**NOTE** You only need to remove a top corner tab, were the knot is holding the net in. Just one tab.**NOTE**
Got the tab.
To get access of the knot, simply lift the edge of the net holder U-shaped thing and pull the knot out. The old knot. Stretched as can be...
Now make a new knot. Adjust as needed or until you are satisfied.
Cut the extra elastic as close to the knot as you can get it. Make sure the knot is tight enough were it wont fall out.
Secure the newly made knot under U shaped part than put the tab back in place. Make sure the tab is tight.
The finished product: (BTW, this took me about 10 minutes for this side. It was much quicker once I knew what I was doing...)
See? Not hard at all! Not only does this make the car look less used, it makes me love my SC400 tons more.
Sorry about the dirty seat backs, I'm about to SCRUB 'em real soon!
Pictures taken with a Nikon D3100 (My brothers)
 11-25-12, 05:54 PM
#2
I just did this last week. I broke off one of the top clips on the pass side, but once I figured it out it was a breeze. I'd say push up, forward then down (reminds me of tekken moves  )
)
I just removed em, I find the net pretty useless. At least I wont buy a new one and mine was hopeless.
Big ups, this is a great write up.
)I just removed em, I find the net pretty useless. At least I wont buy a new one and mine was hopeless.
Big ups, this is a great write up
.
Trending Topics
11-25-12, 08:53 PM
#8
Couldn't find his thread in here, but he made a bunch of DIY's back in 05. Here's the link though on his webpage.
http://garage.projectraine.com/conte...eatpocket.html
http://garage.projectraine.com/conte...eatpocket.html
11-26-12, 06:49 AM
#9
oh, ok, there it is.  FYI anybody, you don't need to remove all of the tabs like raine did, just the corner one to were you can get to the knot. If you remove all of the tabs, there's a higher chance of stuff breaking...thanks KingPhilip.
FYI anybody, you don't need to remove all of the tabs like raine did, just the corner one to were you can get to the knot. If you remove all of the tabs, there's a higher chance of stuff breaking...thanks KingPhilip.
 11-27-12, 07:39 AM
#13
Man, your seat backs make mine look like their covered in dirt. I'm gonna scrub them this morning. Also, You can re-do the knot on the stretched part of the net, not only the elastic on top, but the net itself. I might remake a knot on those.
08-30-20, 11:16 AM
#14
I just did this yesterday.
For anybody looking to replace with new elastic this is an exact match for the tan interior:
For anybody looking to replace with new elastic this is an exact match for the tan interior:

Thread
Thread Starter
Forum
Replies
Last Post