When you click on links to various merchants on this site and make a purchase, this can result in this site earning a commission. Affiliate programs and affiliations include, but are not limited to, the eBay Partner Network.
When I am allowed a signature it would currently be:
2002 Lexus SC 430
2008 Toyota Sienna XLE
2007 Nissan Xterra Offroad 6sp
2012 MB S350 Bluetec
2007 MB ML320 CDI
1998 MB SLK230 kompressor (brilliant silver metallic)
1998 MB SLK230 kompressor (calypso green metallic)
1996 MB E300D
2006 MB Sprinter Leisure Travel Serenity
In the past decade I have owned several MB diesels and ran them on waste vegetable oil. 100's of thousands of miles.
My first projects with the SC have been mostly light bulbs. All of the seemingly hard to reach bulbs were burnt out.
I also installed a windscreen.
I have a RX8 spare tire/wheel ordered and the hub adapters.
P/S : remove the plastic wire cover along the fender, pry out plastic rivets.
remove the air box. 4 10mm bolts. one in the center of the top of the radiator, then remove the air intake. 3 bolts holding the air box to the fender. Loosen the hose clamp and rotate the air box up and back out of the way, no need to unplug the wires, there is enough length. You now have clear access change the high beam bulb.
D/S: remove the plastic wire cover along the fender, pry out plastic rivets.
remove one bolt and 2 nuts ( all 10mm) from the black box that is in your way. You will want a long extension, or a couple extensions to make it easy.
remove the air duct from the radiator area to the box so the box can easily tilt out of your way. You now have clear access change the high beam bulb.
When putting the nuts back on, you can reach to put the back one in place, for the front one I put a small patch of paper towel over the socket and pushed the nut in place. That held the nut while I got it down to the bolt and screwed it on.
Inner fender, remove 2 phillips screws on outer edge. Upper one with a regular screw driver, lower one with a shorty or offset. ( Wheel not removed )
Under rear corner of bumper, remove plastic push in rivet. I removed the 10mm screw that is holding the inner liner so I could bend it in more. The screw head faces the front of the car. I found it by finding the easy to see white plastic captured nut.
I bent the bumper cover out from the forward bottom edge and reached up to twist and remove the bayonet fitted bulb socket. Tight fit, remove jewelry and watch on the arm you are using to reach in there. There is enough wire to pull the socket out to daylight to change the bulb. Turn the light on to test new bulb and leave it on to make it easier to find the hole when reinstalling.
Replacing fog light bulbs and front side marker bulbs
Replaced the fog light bulbs and side marker light bulbs. 23 minutes for P/S, 45 for D/S. I did D/S first so it took longer, plus there is the washer bottle in the way. I went back and changed the D/S marker light, took 3 minutes.
Marker light:
Turn wheel in to access the lower inner fender panel. Removed 1 10mm screw on bottom to allow the bumper cover to be pulled out and the edge of the inner panel to be pried free. Reach in and rotate the bayonet fitting bulb socket. Pull it out to the daylight and change bulbs. Put it back.
Fog light:
Suggest doing the P/S first as there is no washer bottle in the way. I jacked the car up a little to make it easier to see under the bottom access panel. Remove the trim ring, Pry out the inner side first, longer tabs on the outer side. Remove the outer 5 10mm screws on the wind deflector on the bottom panel leaving the inner most one on and rotating the deflector out the way. I think there a 2 more screws to remove that hold the outer bottom access panel in place. Pull the access panel down. Use a flashlight to find the one mounting screw on the inner side of the light looking in from the grill in the bumper cover next to the light. Use a long #2 phillips screwdriver to remove. Pull the light down to find the wire connection mounted to the frame and push it out. Clip on each side of the mount, push them in to get it out. The wires are now long enough to pull the light out and change the bulb. Look at the light and notice the tab with the mounting screw hole. Look at the mount in the car. Find the threaded screw hole. The mounting tab on the light goes in front of the mount in the car. Once the light is positioned in the mounting frame on the car use your fingers to find the hole in the mounting tab and insert the screw, hold the screw in the tab and move it until the screw lines up with the screw hole in the frame. Put the screwdriver through the grill and use your fingers to guide it to the screw head. Pay attention to every thing you did on the P/S where it is easy to see and reach everything. The D/S has the washer bottle in the way of seeing and reaching.
Removing panel under driver's side dash and bottom steering wheel cover
Bottom dash panel:
3 10mm bolts, bottom forward edge right side, under parking brake handle (pull handle out to see) the left of the two visible, the left one is behind the vertical trim piece between the dash and the door, the trim piece pops off. Pop out the switches, light, hood pull, OBD2 port, and one phillips screw for the hvac sensor. The panel should now be completely free.
Bottom steering wheel cover:
3 phillips screws, one under, 2 under the steering wheel, one on each side. Rotate wheel to access.
As soon as I got home with the car I ordered a wind deflector from Cabrio.
The instructions are only some photos.
Remove the seat belt pathway trim. Pry up from the bottom, the top has larger tabs. Reinstall the top edge first.
Fit the screen in place. Make sure to push the metal tabs all the way up under the rear seat headrests. Having an assistant would be best.
Locate where the mounting pins will hit the panel straight back from the rear edge of the seat belt slot. Mark the center.
I cut an "X" in the panel covering across the center mark to prevent the drill bit from grabbing and ripping the covering.
Drill a 1/2" (13mm) hole. Hold the drill. When it breaks through, it will want to pull itself into the hole hard and fast.
This is probably the most useful bit of information:
Get a long piece of insulated ( clean ) wire and thread it through the hole and out the seat belt slot.
On the wire end coming out of the hole thread the plastic wedge washer and then the plastic bolt.
On the wire end coming out of the seat belt slot thread the steel washer and the nut.
The wire will prevent you from dropping the washer and nut down into oblivion where you will not be able to retrieve it and it will rattle for the rest of your days.
The nut is 19mm. You can fit a wrench on it while you screw the bolt into it. Rotate the plastic wedge washer so it holds the bolt, and it's mounting hole, at 90 degrees from the car so the two sides are pointing directly at each other as much as possible.
It will take you maybe 30 minutes. If you had to do it a second time it is a 15 minute job.
Windows up, heat on, light jacket, 40 degrees, no problem.
I would assume that like our SLK's, 90 degrees, sunny, A/C on, windows up, no problem.
The reason I was mucking about removing the lower dash panel and lower steering wheel cover is that I am trying the find the wire(s) that the fog light switch controls. I cannot find any information on this forum, or the interweb, on the pin outs for the combination switch or a wiring diagram that includes the lighting switches. If anyone has this information to share I would appreciate it. In the mean time I will continue to try to figure it out when I have nothing better to do.
BTW: In my searching for the above information, I came across a lot of people who were trying to turn on their fog lights by drawing power for the fog lights from other circuits. I would not do it that way. There is a perfectly good relay and power source in place.
The relay has 4 spades.
2 larger copper spades, the outer one is the circuit to the fog light, the inner one is power live all the time, independent of key or switch positions.
2 smaller silver spades, with the relay upside down and the copper spades to the left, the lower spade has power live all the time, independent of key or switch positions. The upper spade is the trigger that goes to ground only when the low beam lights are on and the fog light switch is on.
So, if you want to turn on the fog lights with a different switch or signal from another device ( like the parking lights ) use the 2 silver spades on the relay.
Bend the silver spades up on each side of the relay so they do not plug into their sockets. Connect to them with insulated female spade connectors. Now you have complete control of the relay.
If you have an ignition-on-only ground, you only need to bend up and use the ground trigger spade and leave the other in place as the power for the relay trigger.
If I can isolate the fog light switch wires, I will try to do just that.
I have queried all 8 wires coming out of the combination switch for continuity to ground and for voltage. I have tested each one with all the light switch positions and fog light switch on and off, with the ignition key off and on, to ground and to each other. I have wheeled the field with each wire. I cannot find any wire or combination of wires that are directly controlled by the fog light switch.
So, moving on....
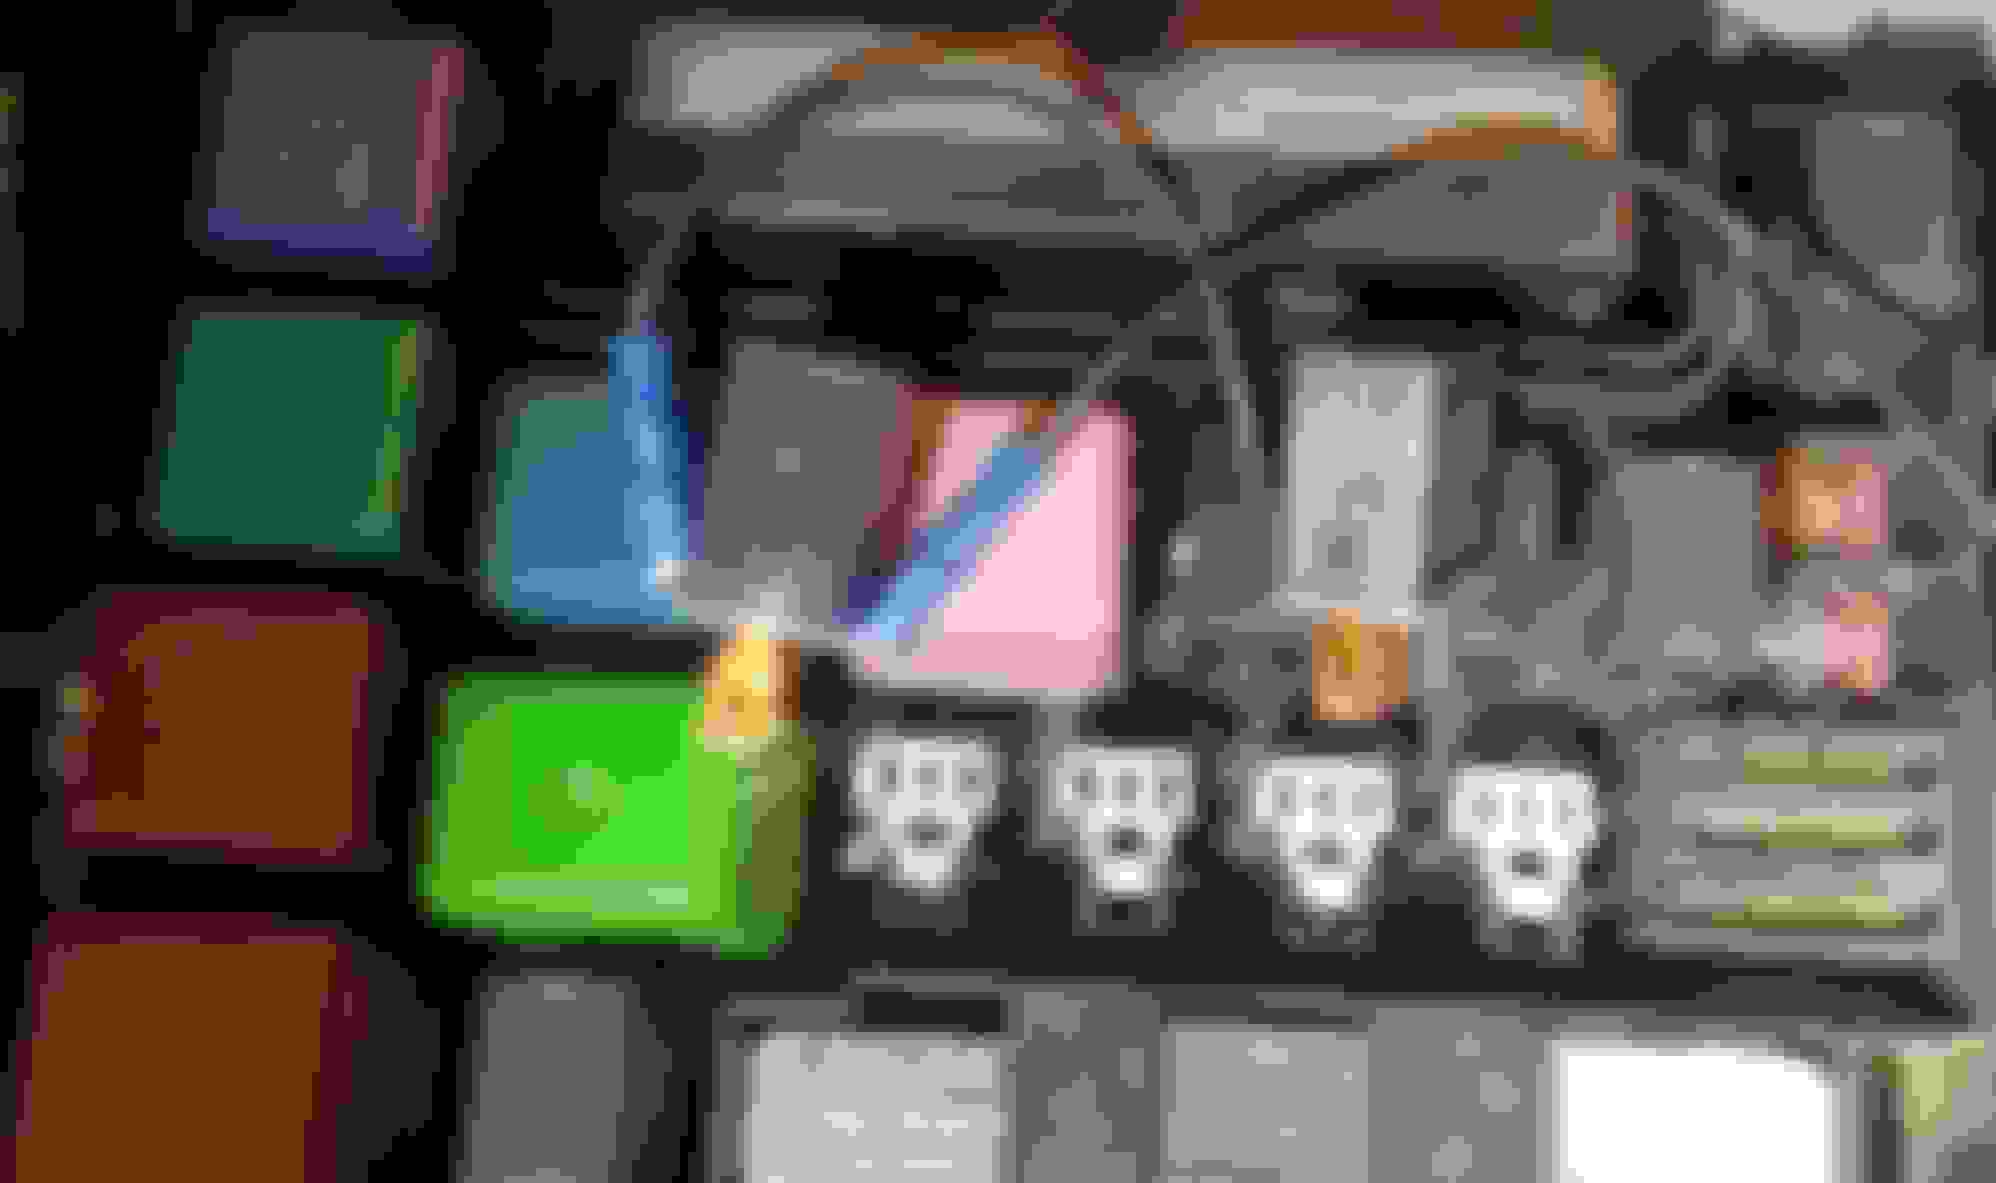
On my 2002 I found a switched source of power that is only on when the key is in the "run" position. In the fuse box photo 1 you will see 4 white sockets for relays. Left to right the relays are Fog Light, blank unused, CIR OPN ( fuel pump relay ), and another blank unused one. In the sockets the trigger wires for the relay are the outer 2 of the row of at the top, the silver spades go in these. The load circuits are the 2 below the trigger wire sockets, the copper spades go in these. 3..4
|...|
__ .2
__ .1
I have numbered the spades above on the relay in the orientation they go into the socket.
For the fog light: 1 is the circuit to the load (fog light), 2 is +12v always on no matter key or switch position. 3 is +12v always on no matter key or switch position, 4 goes to ground to trigger the relay only when the low beams are on and the fog light switch is on.
I found that spade 2 on the CIR OPN relay is only powered when the key is in the run position, so that is my power source.
Fuse / relay box 1
Below you can see what I did with the relays.
On the fog light relay I bent the spades up so they did not plug into their sockets and so I had access to them. The fog light trigger spade on the left is wired to the ignition-on-only power source spade on the CIR OPN relay. When the relay is plugged in the wire is held in place. The right trigger spade on the fog light relay goes to ground to complete the circuit and turn on the fog lights. If you run this to chassis ground, the fog lights will come on with the ignition. If you want to control when they come on, you can control the circuit to ground with a switch. The power to trigger the relay is less than 200mA.
Thanks. I wish I was smarter.
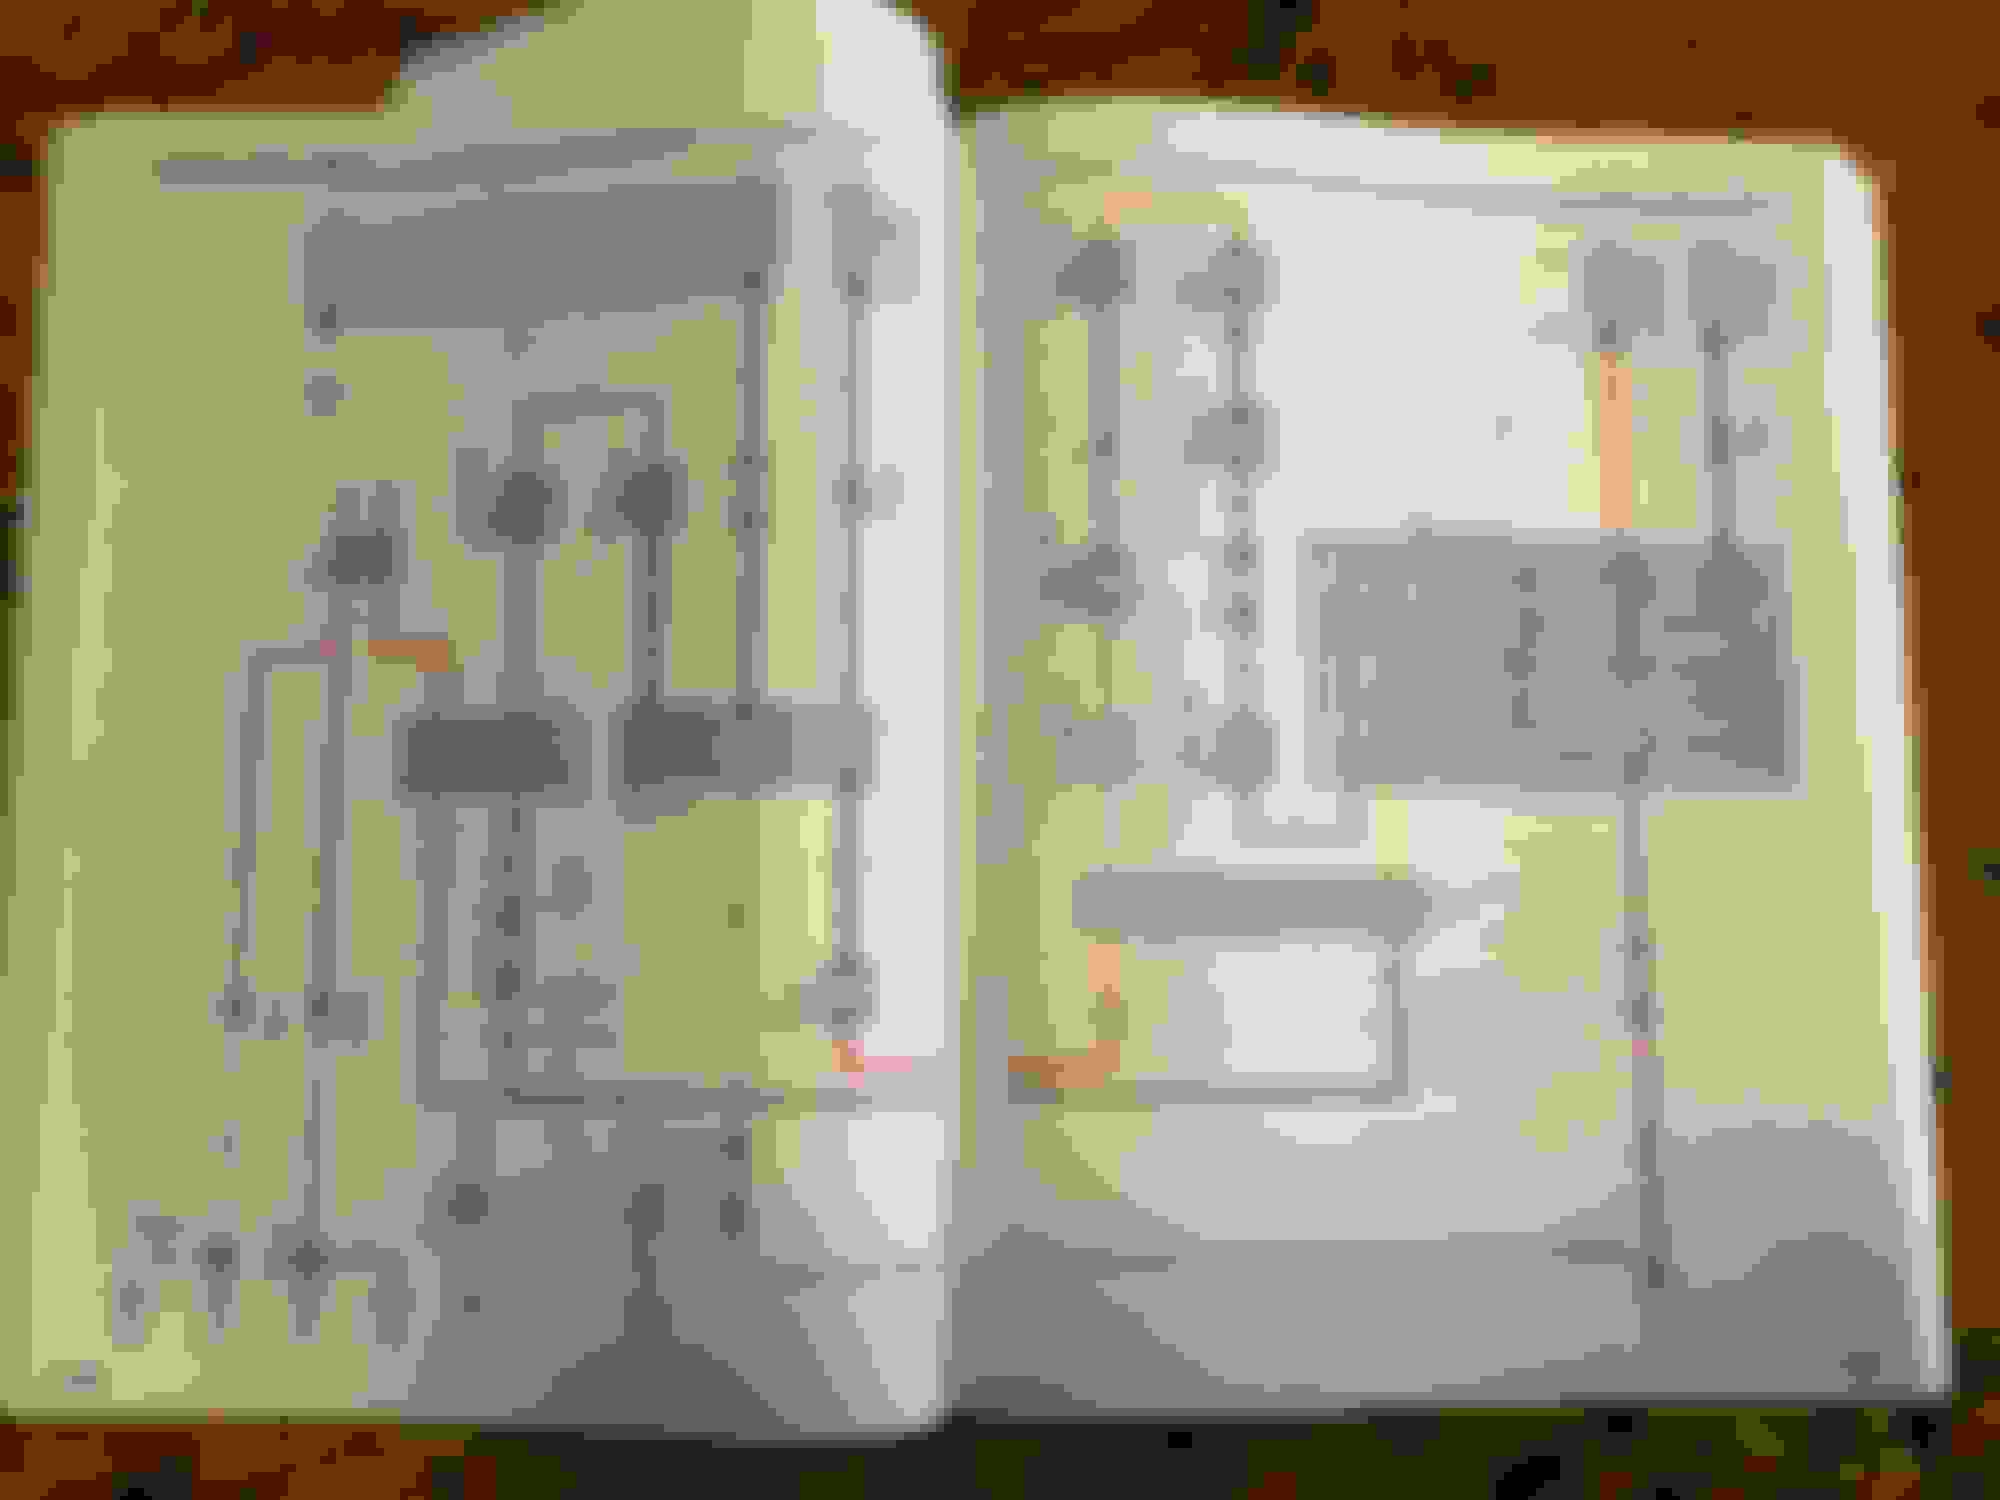
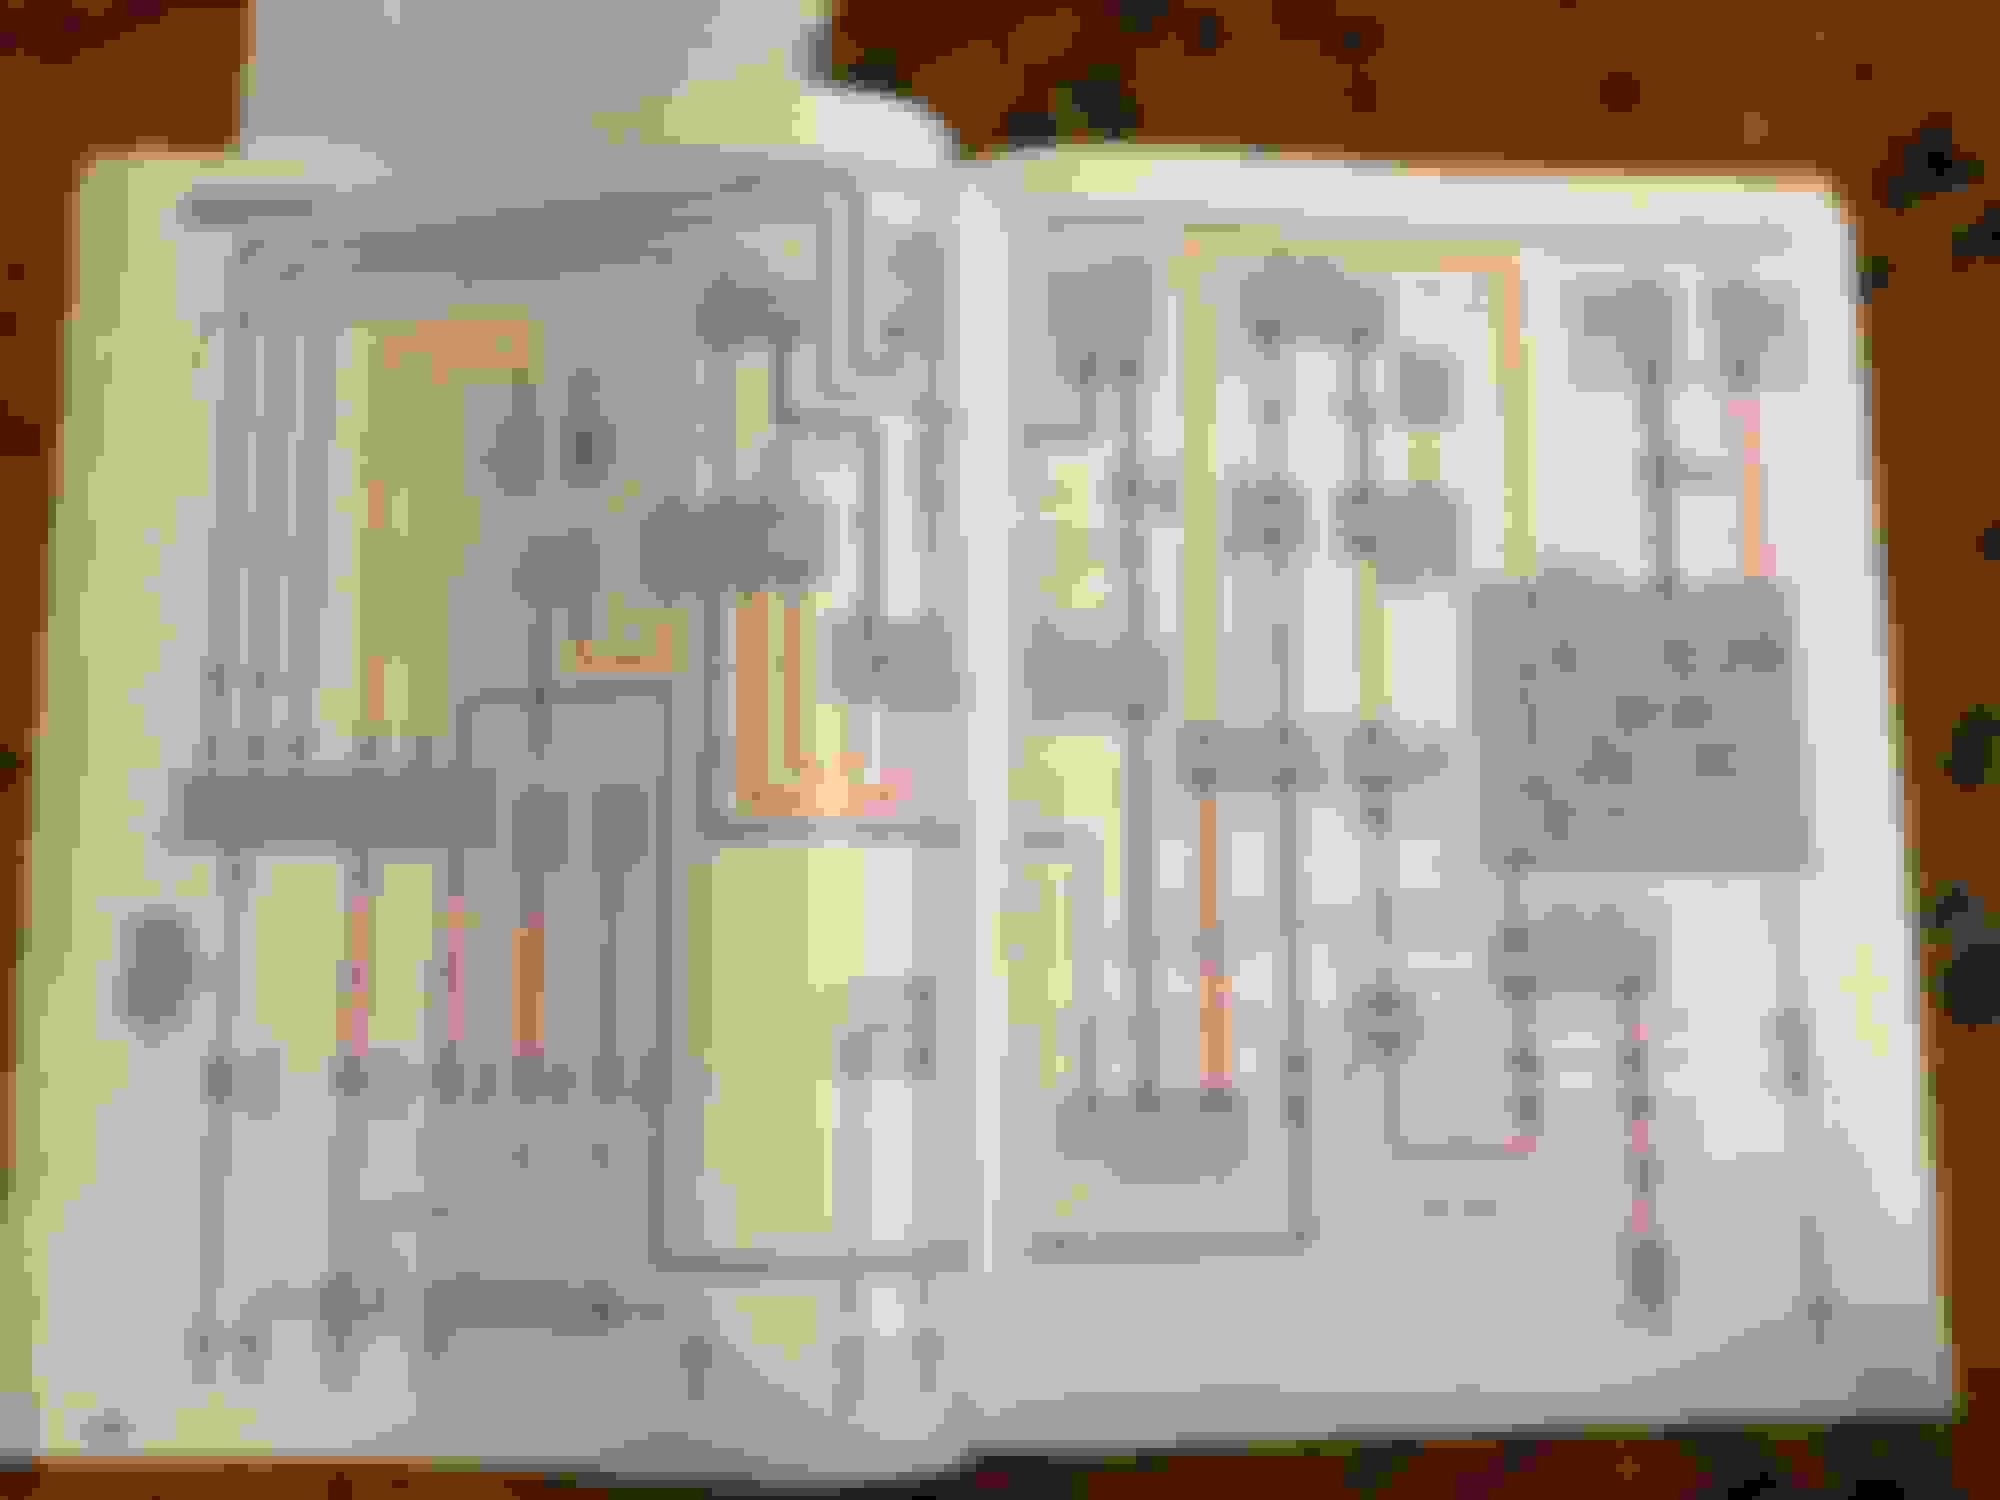
C11 combination switch. It would be nice to know the pin outs for all 8 wires. It gives 1,2,&8.
I think that the fog light relay's trigger ground goes through the low beam headlight circuit, so it can only go to ground when the low beam lights are on.
I don't know if it is possible for a mere mortal like me to capture the signal from the fog light switch independent of the headlight switch position.
For now I will wire a switch to the relay trigger ground circuit.
My intention is to use the LED bulb fog lights for my DRLs. I did that with the Sienna and it is much better visibility than the orangish 1/2 power high beam solution. Many newer cars have gone to the lower placement of the DRLs. On the Sienna you just pull a fuse to turn off the factory DRLs. I guess I will have to visit a dealer to get them turned off. Once off, I will replace the high beam bulbs with LEDs.
Thanks. I wish I was smarter.
C11 combination switch. It would be nice to know the pin outs for all 8 wires. It gives 1,2,&8.
I think that the fog light relay's trigger ground goes through the low beam headlight circuit, so it can only go to ground when the low beam lights are on.
I don't know if it is possible for a mere mortal like me to capture the signal from the fog light switch independent of the headlight switch position.
For now I will wire a switch to the relay trigger ground circuit.
My intention is to use the LED bulb fog lights for my DRLs. I did that with the Sienna and it is much better visibility than the orangish 1/2 power high beam solution. Many newer cars have gone to the lower placement of the DRLs. On the Sienna you just pull a fuse to turn off the factory DRLs. I guess I will have to visit a dealer to get them turned off. Once off, I will replace the high beam bulbs with LEDs.
Save some $$$ and purchase TechStream off eBay or Amazon then you can turn the DRL off yourself
are you Familiar with TechStream?
Save some $$$ and purchase TechStream off eBay or Amazon then you can turn the DRL off yourself
are you Familiar with TechStream?
You read my mind and answered my next question. I put a cable and software kit in my amazon cart for $41.59 last night. I didn't know if it would let me change the settings on the car that I own. I will place the order. I have an XP laptop just sitting in a drawer....
You read my mind and answered my next question. I put a cable and software kit in my amazon cart for $41.59 last night. I didn't know if it would let me change the settings on the car that I own. I will place the order. I have an XP laptop just sitting in a drawer....
TechStream is fantastic and does so many things
I ditched my old XP machine when I found this how to�it was so easy to install and works great on my Win11 64bit machine.
 03-16-23, 10:43 AM