When you click on links to various merchants on this site and make a purchase, this can result in this site earning a commission. Affiliate programs and affiliations include, but are not limited to, the eBay Partner Network.
Tools:
- 12mm wrench and socket
- 14mm wrench and socket
- 19mm wrench and socket
- IS-F Rear Sway Bar Part Number 48812-30400
- Sway Bar Link (stabilizer links) Part number is 48830-30090
- FIGS engineering is300 17mm sway bar bushing (perfect fit)
- you will use the OEM brackets for the sway bar bushings
here�s the quickie....
1- Jack up the car on both sides to release the suspension tension on the sways
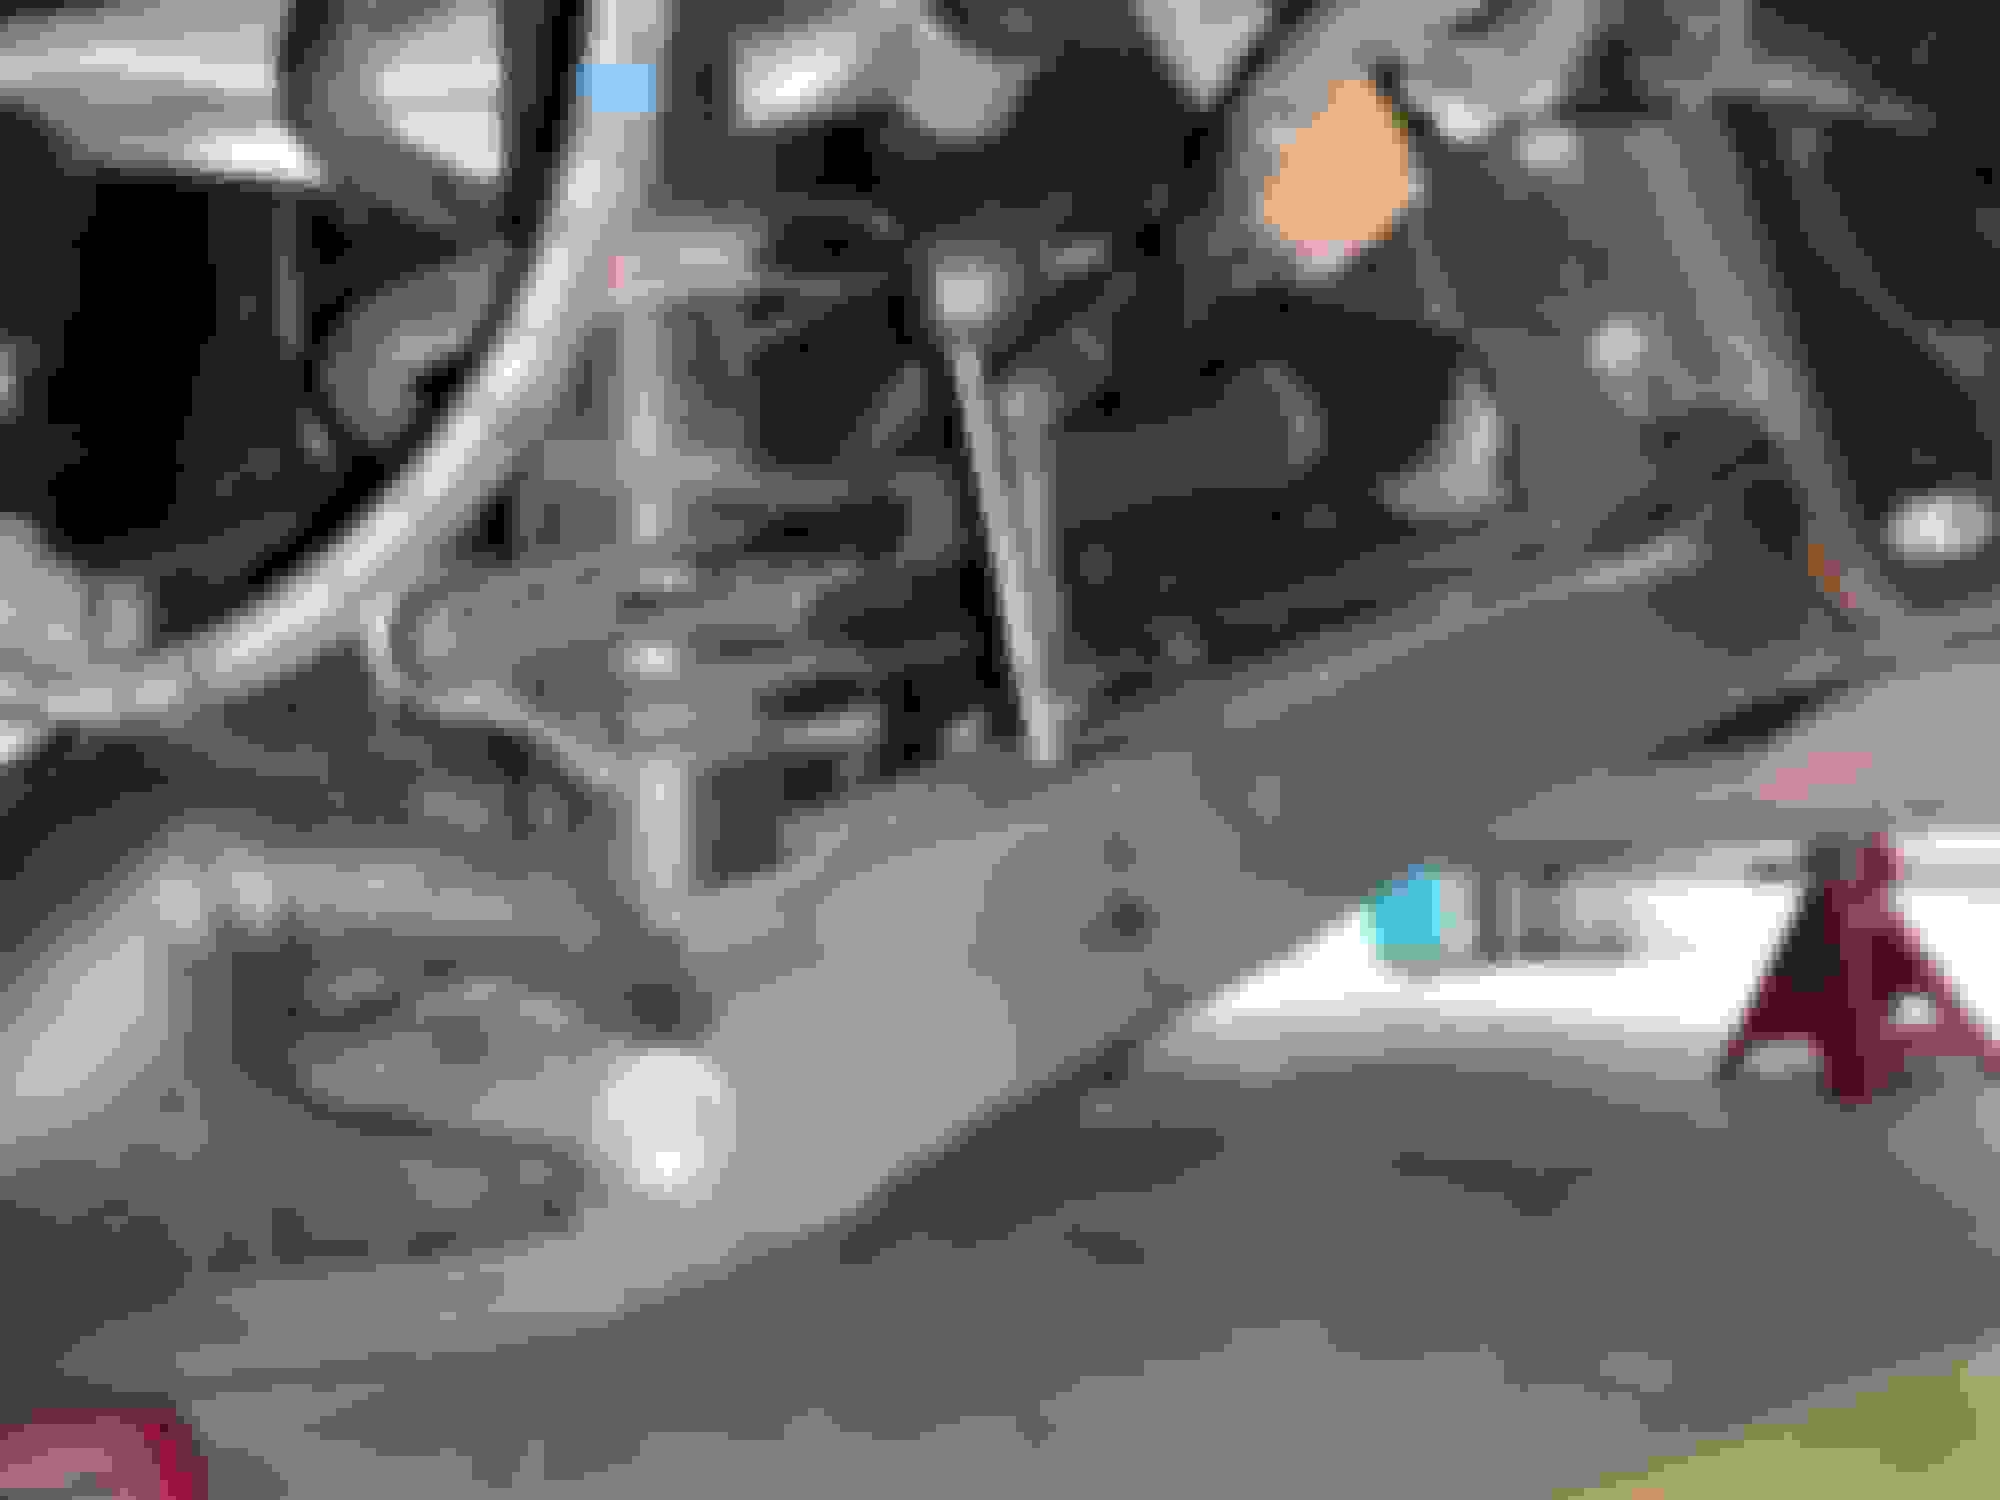
2 - Remove the 14mm nut that holds the sway bar and stabilizer link (sway bar links) together on both sides
3 - Remove the 12mm bolt holding the stabilizer link (sway bar link) to the lower control arm on both sides
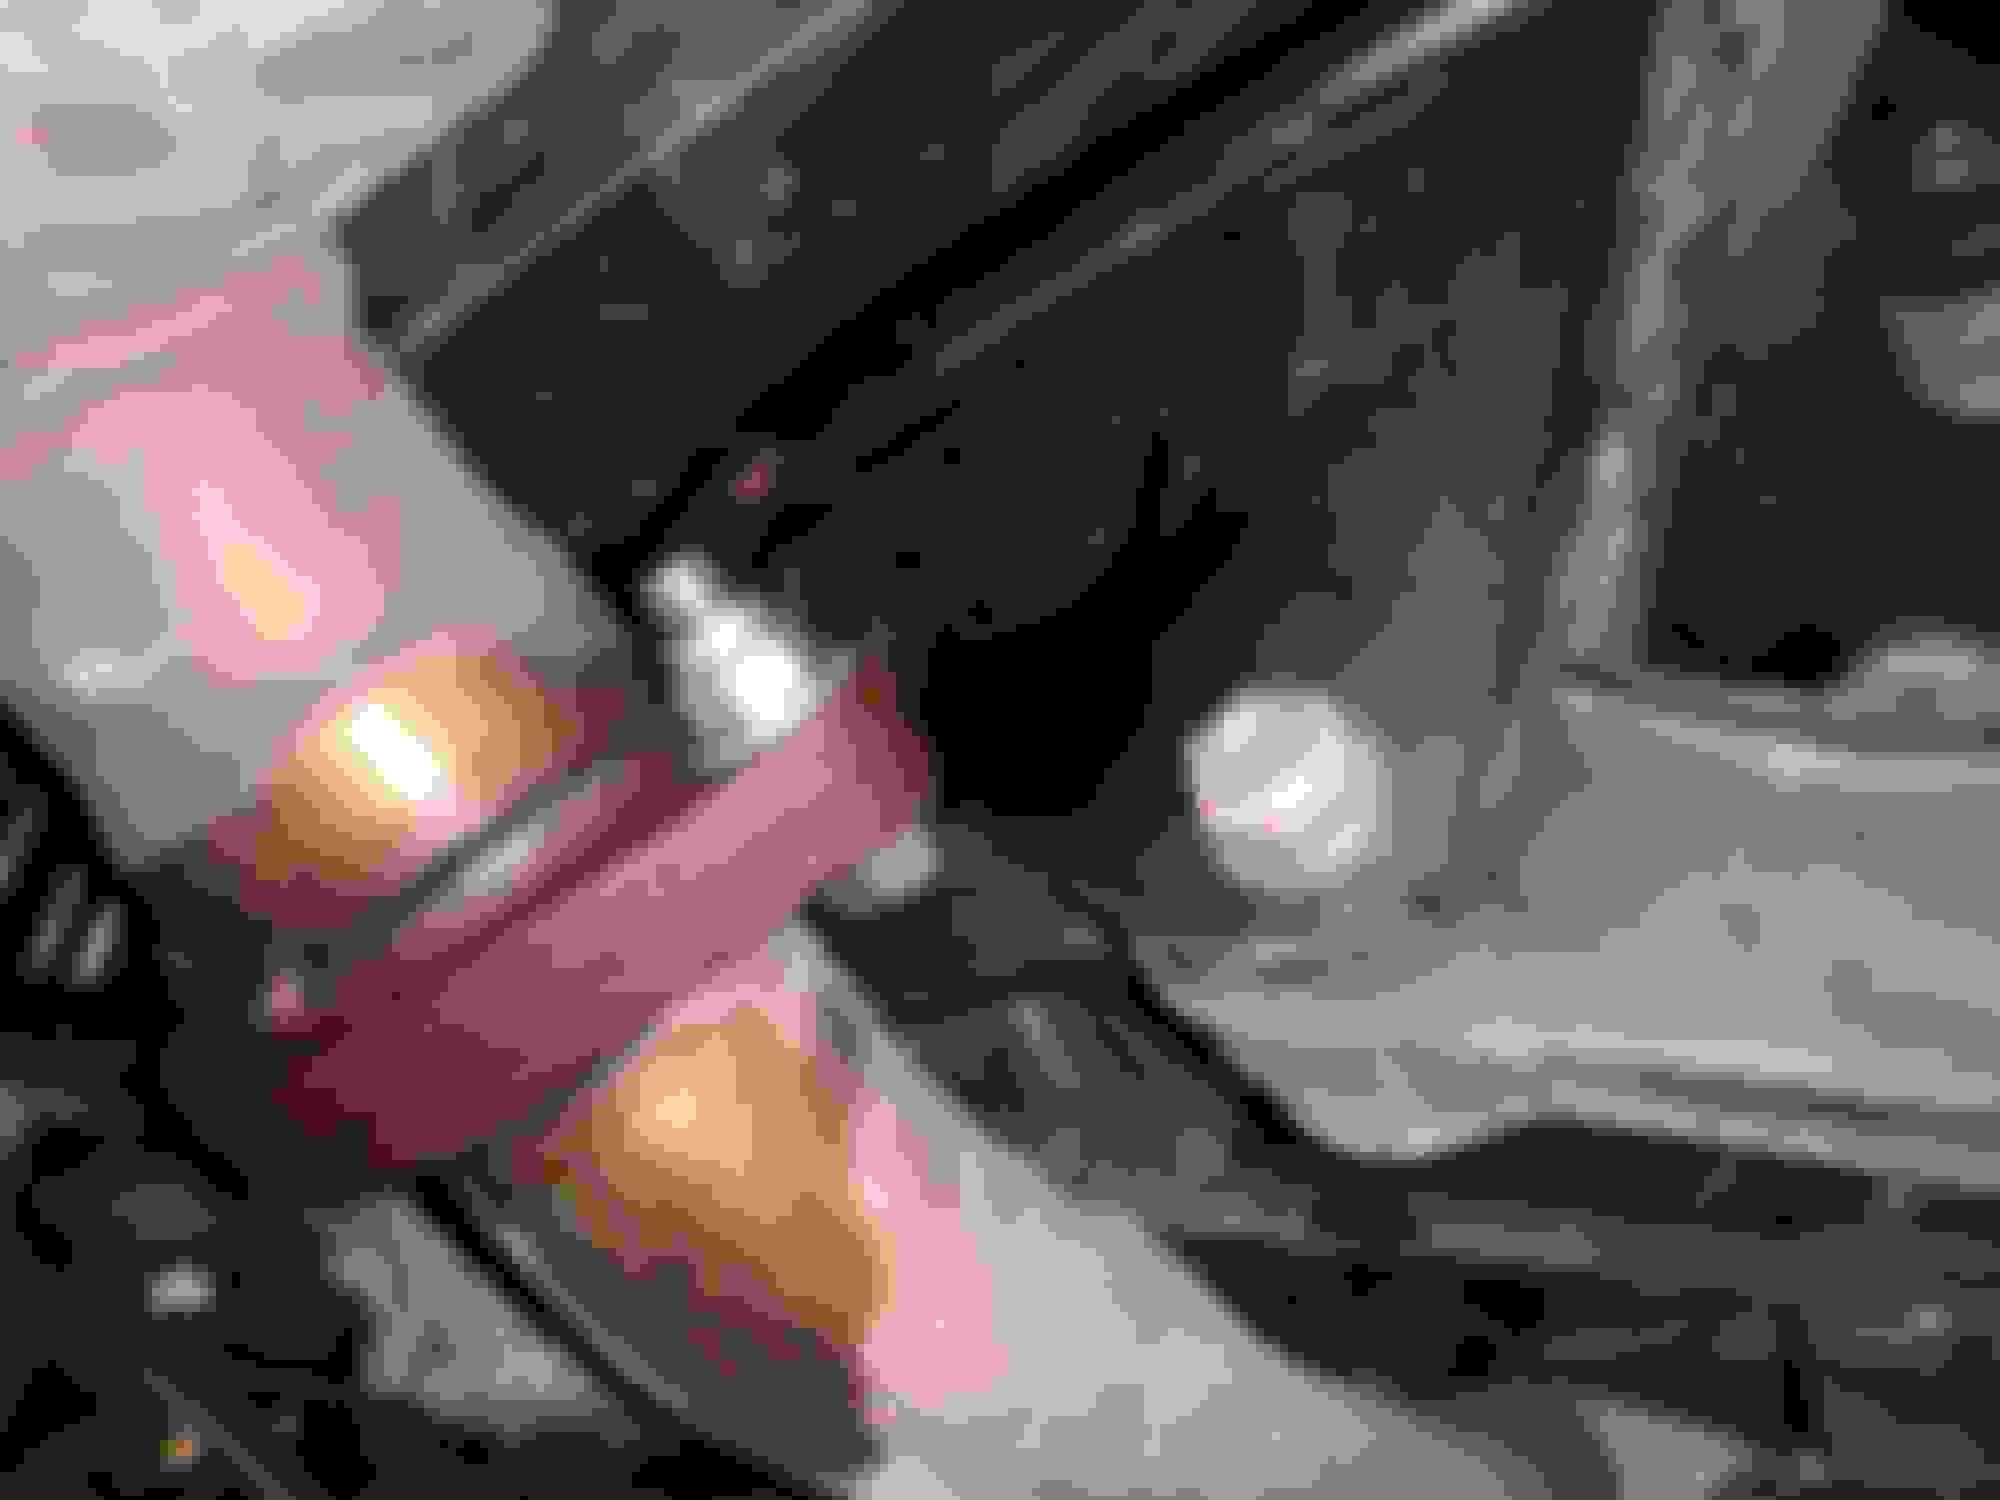
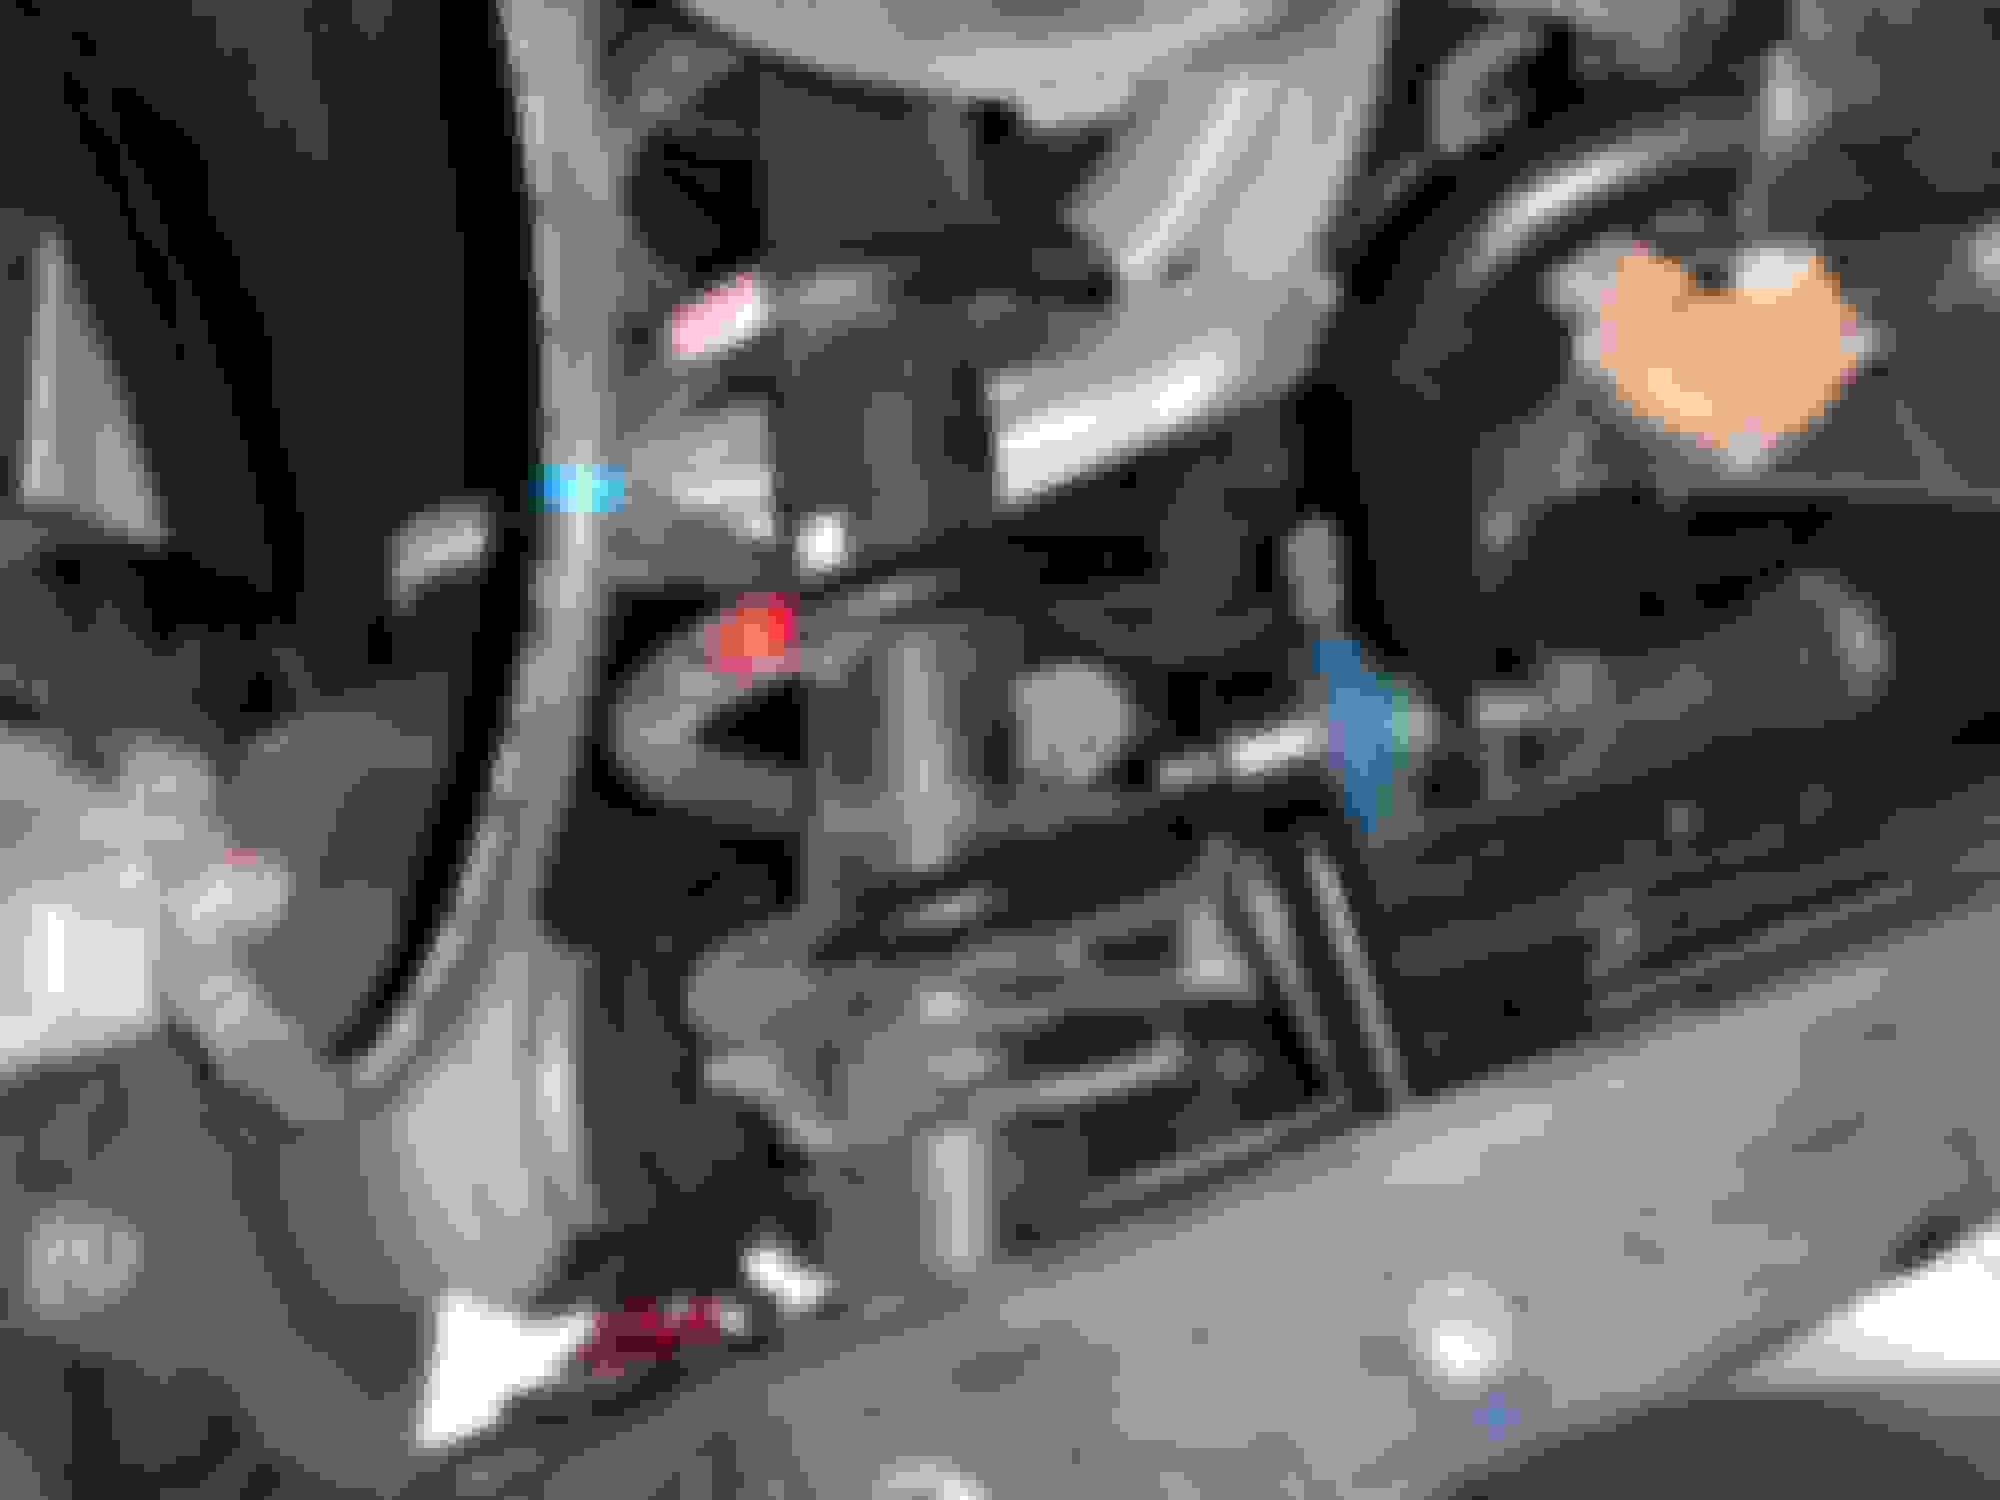
3.5 - NOTE: this is a leveling sensor on the drivers side. Don�t break it and make sure it sits just like the picture when you put it all back together later
4 - Loosen 19mm bolt (DO NOT REMOVE) lower spring/suspension bolt on the lower control arm
5 - Remove old sway bar links
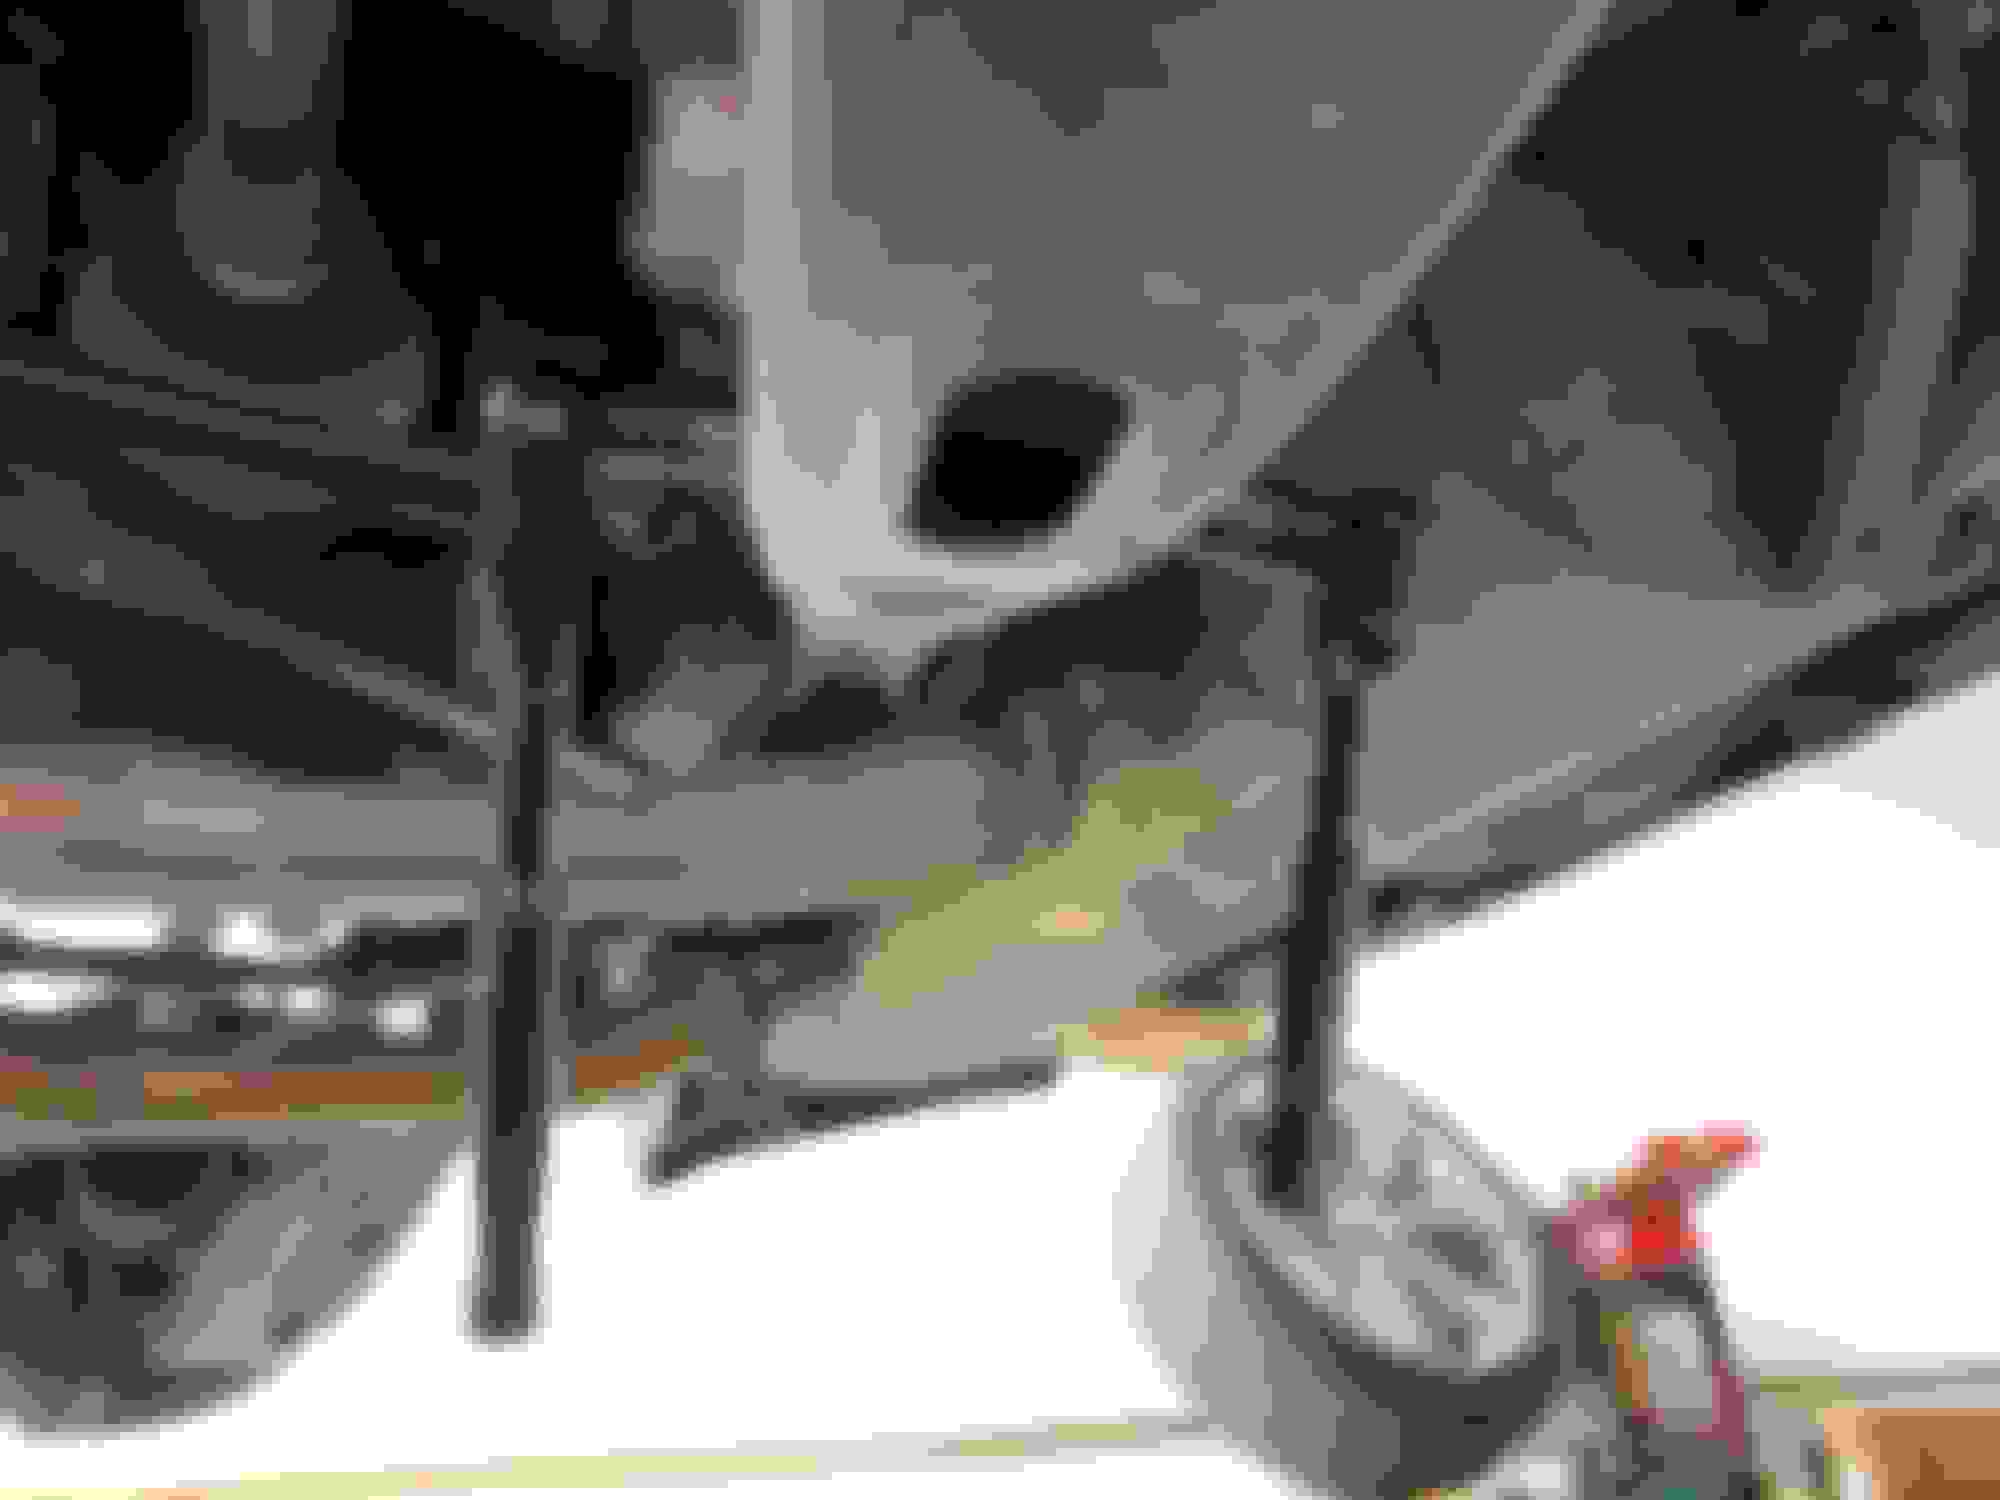
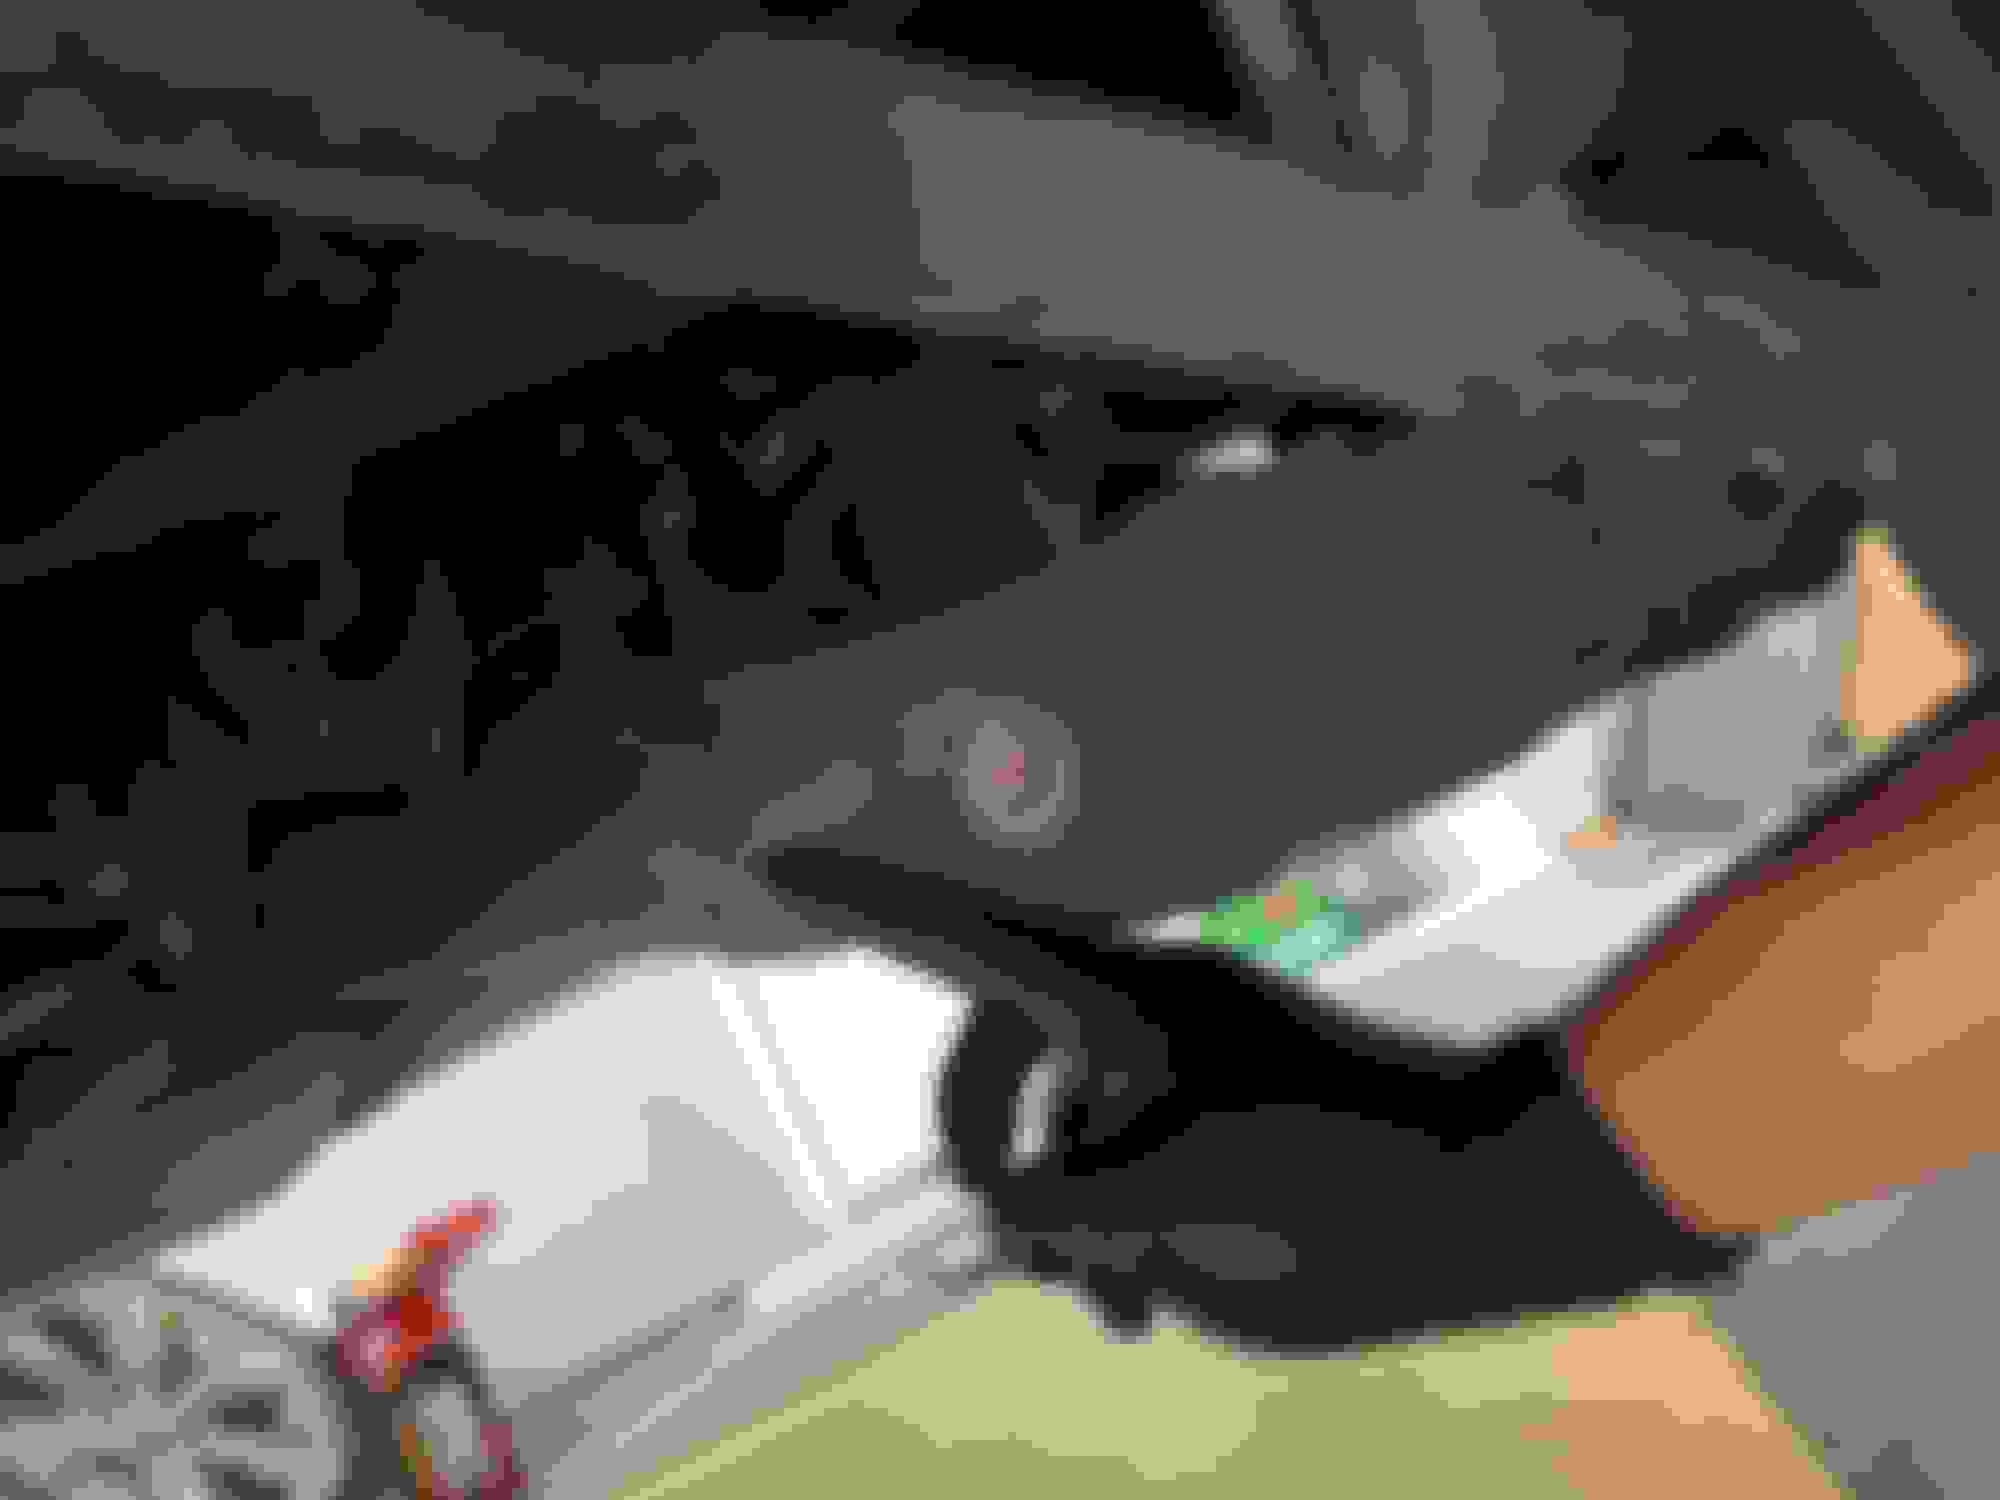
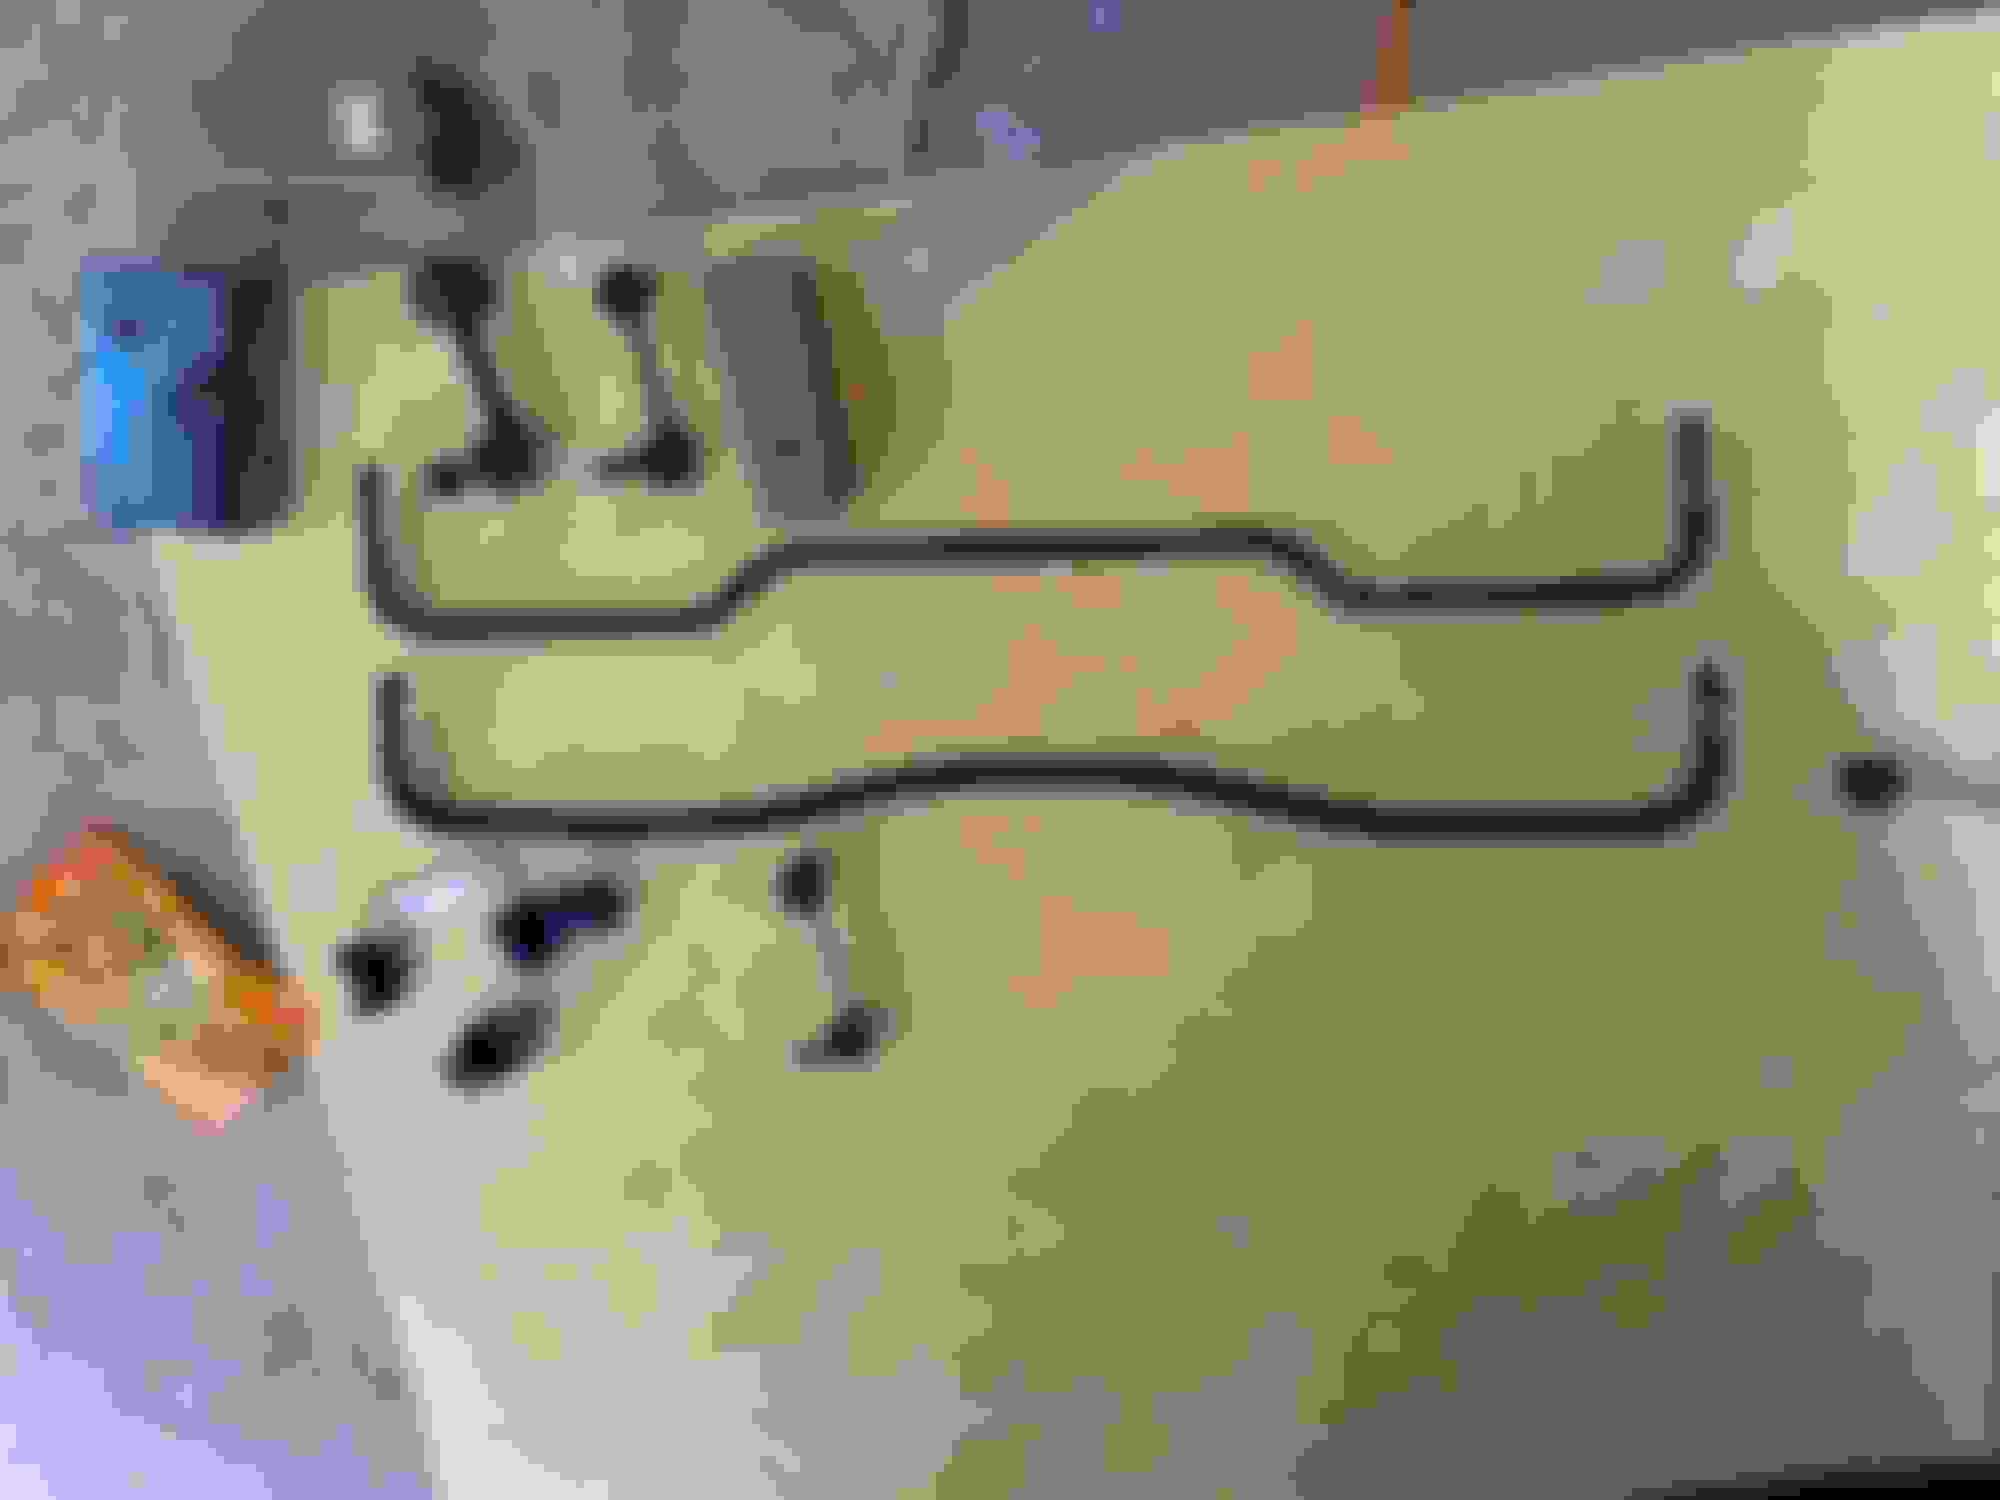
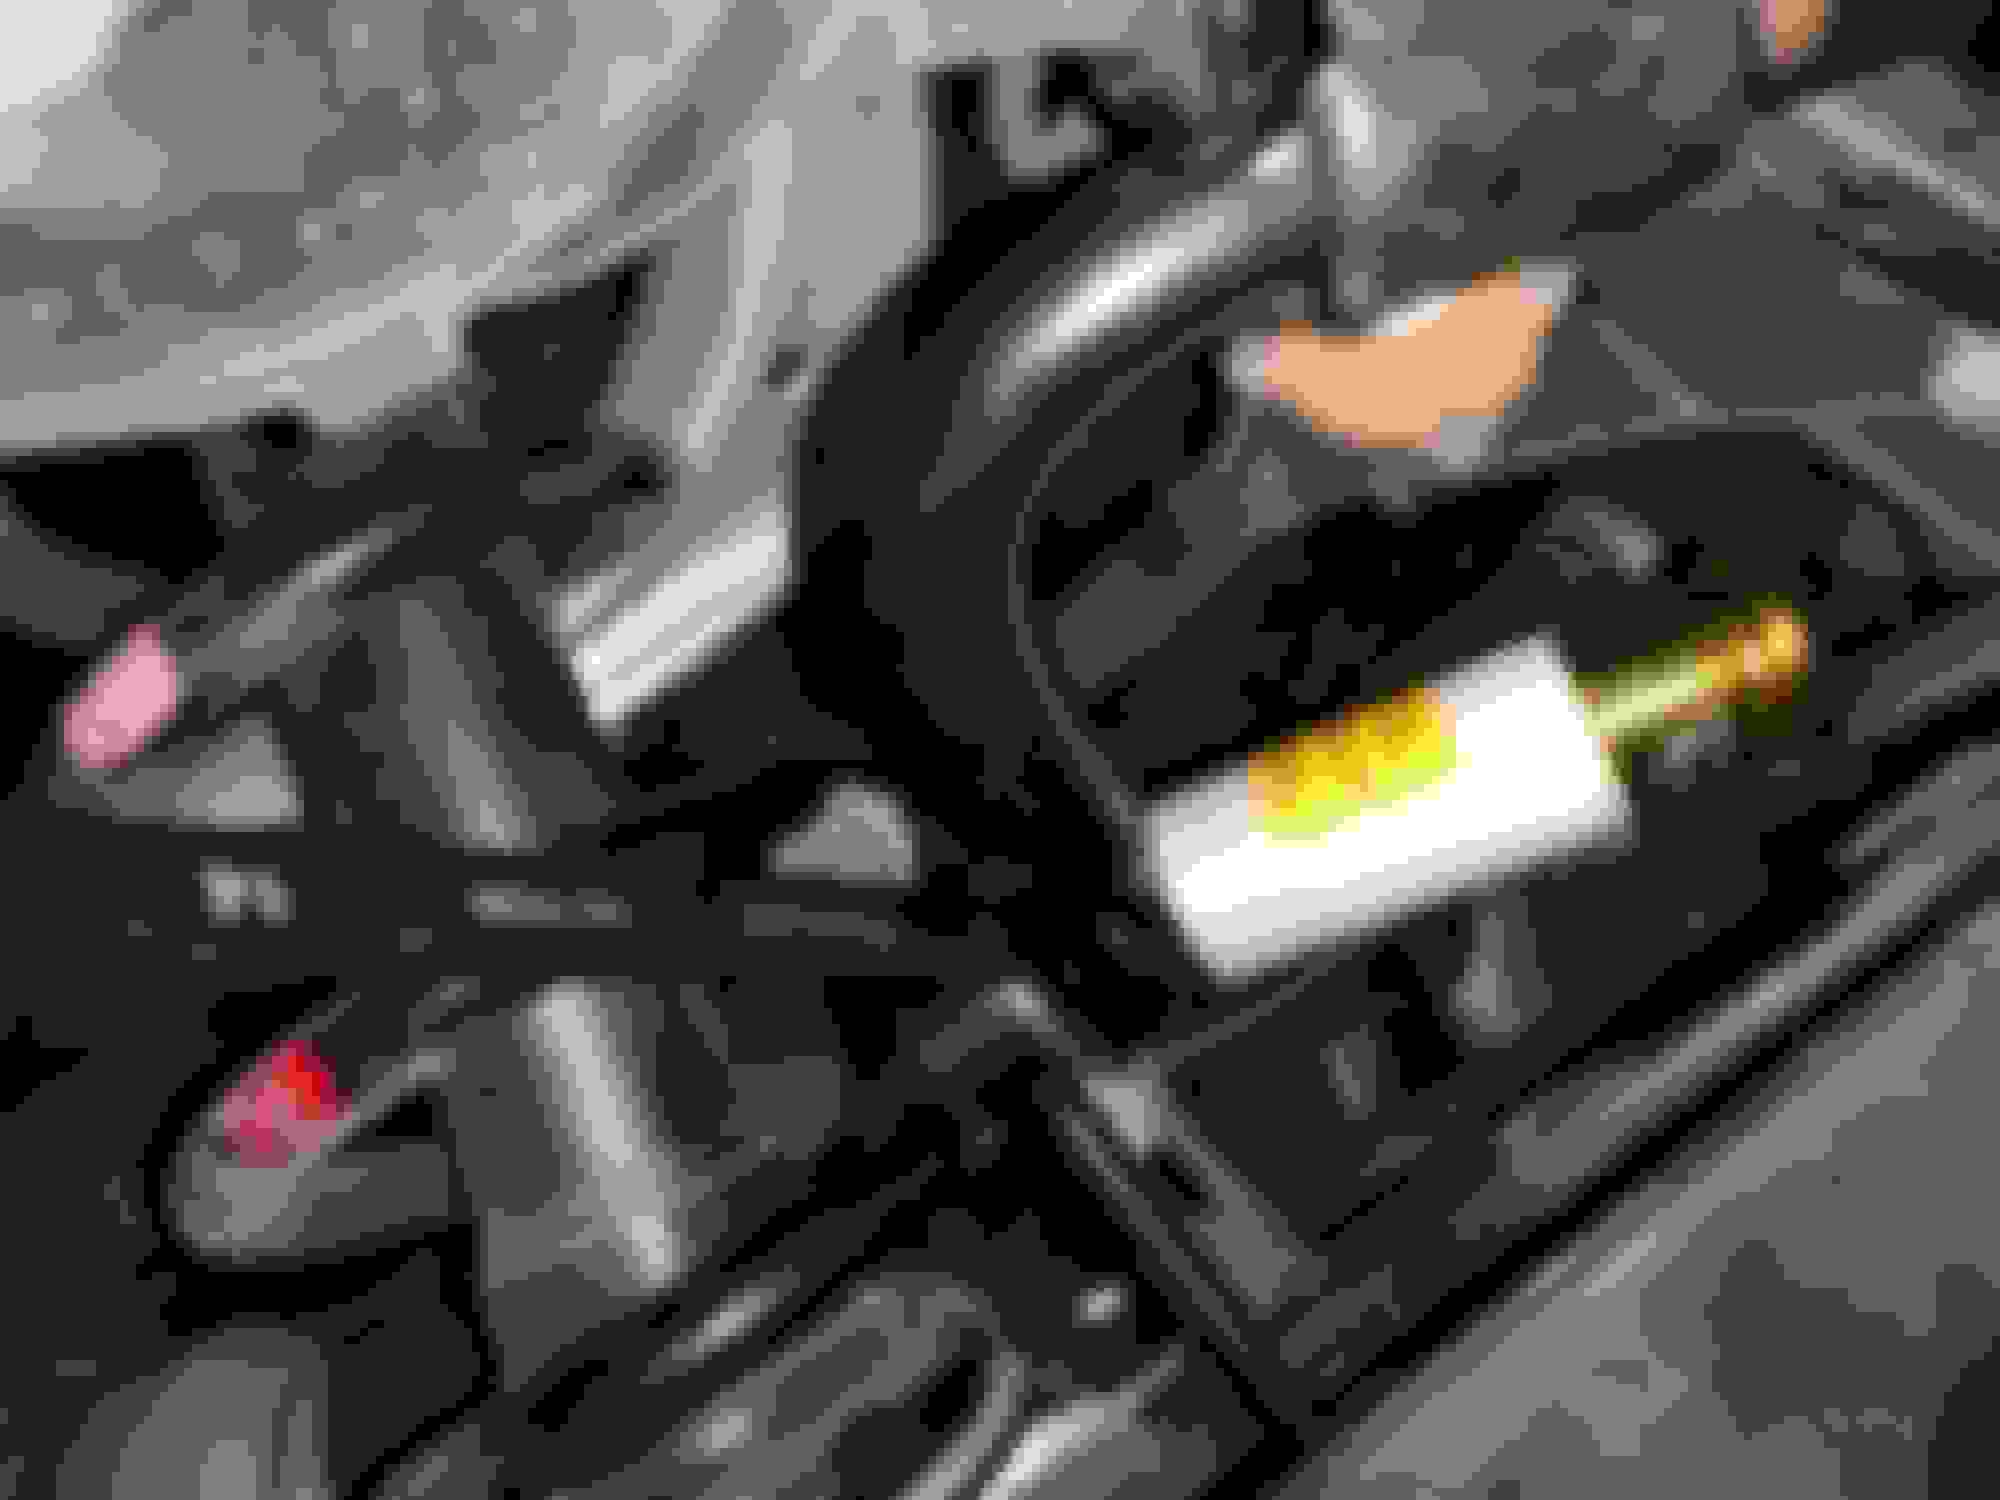
6 - Remove both 12mm bolts for the cross member braces (right below the middle of the sway bar)
6 - OPTIONAL or a must, depending on your patience.... remove exhaust. I DID NOT. I loosened the drivers side only, but I don�t think I needed to... make sure you use WD-40 before hand... it was a PAIN with a 3/8 ratchet -_-
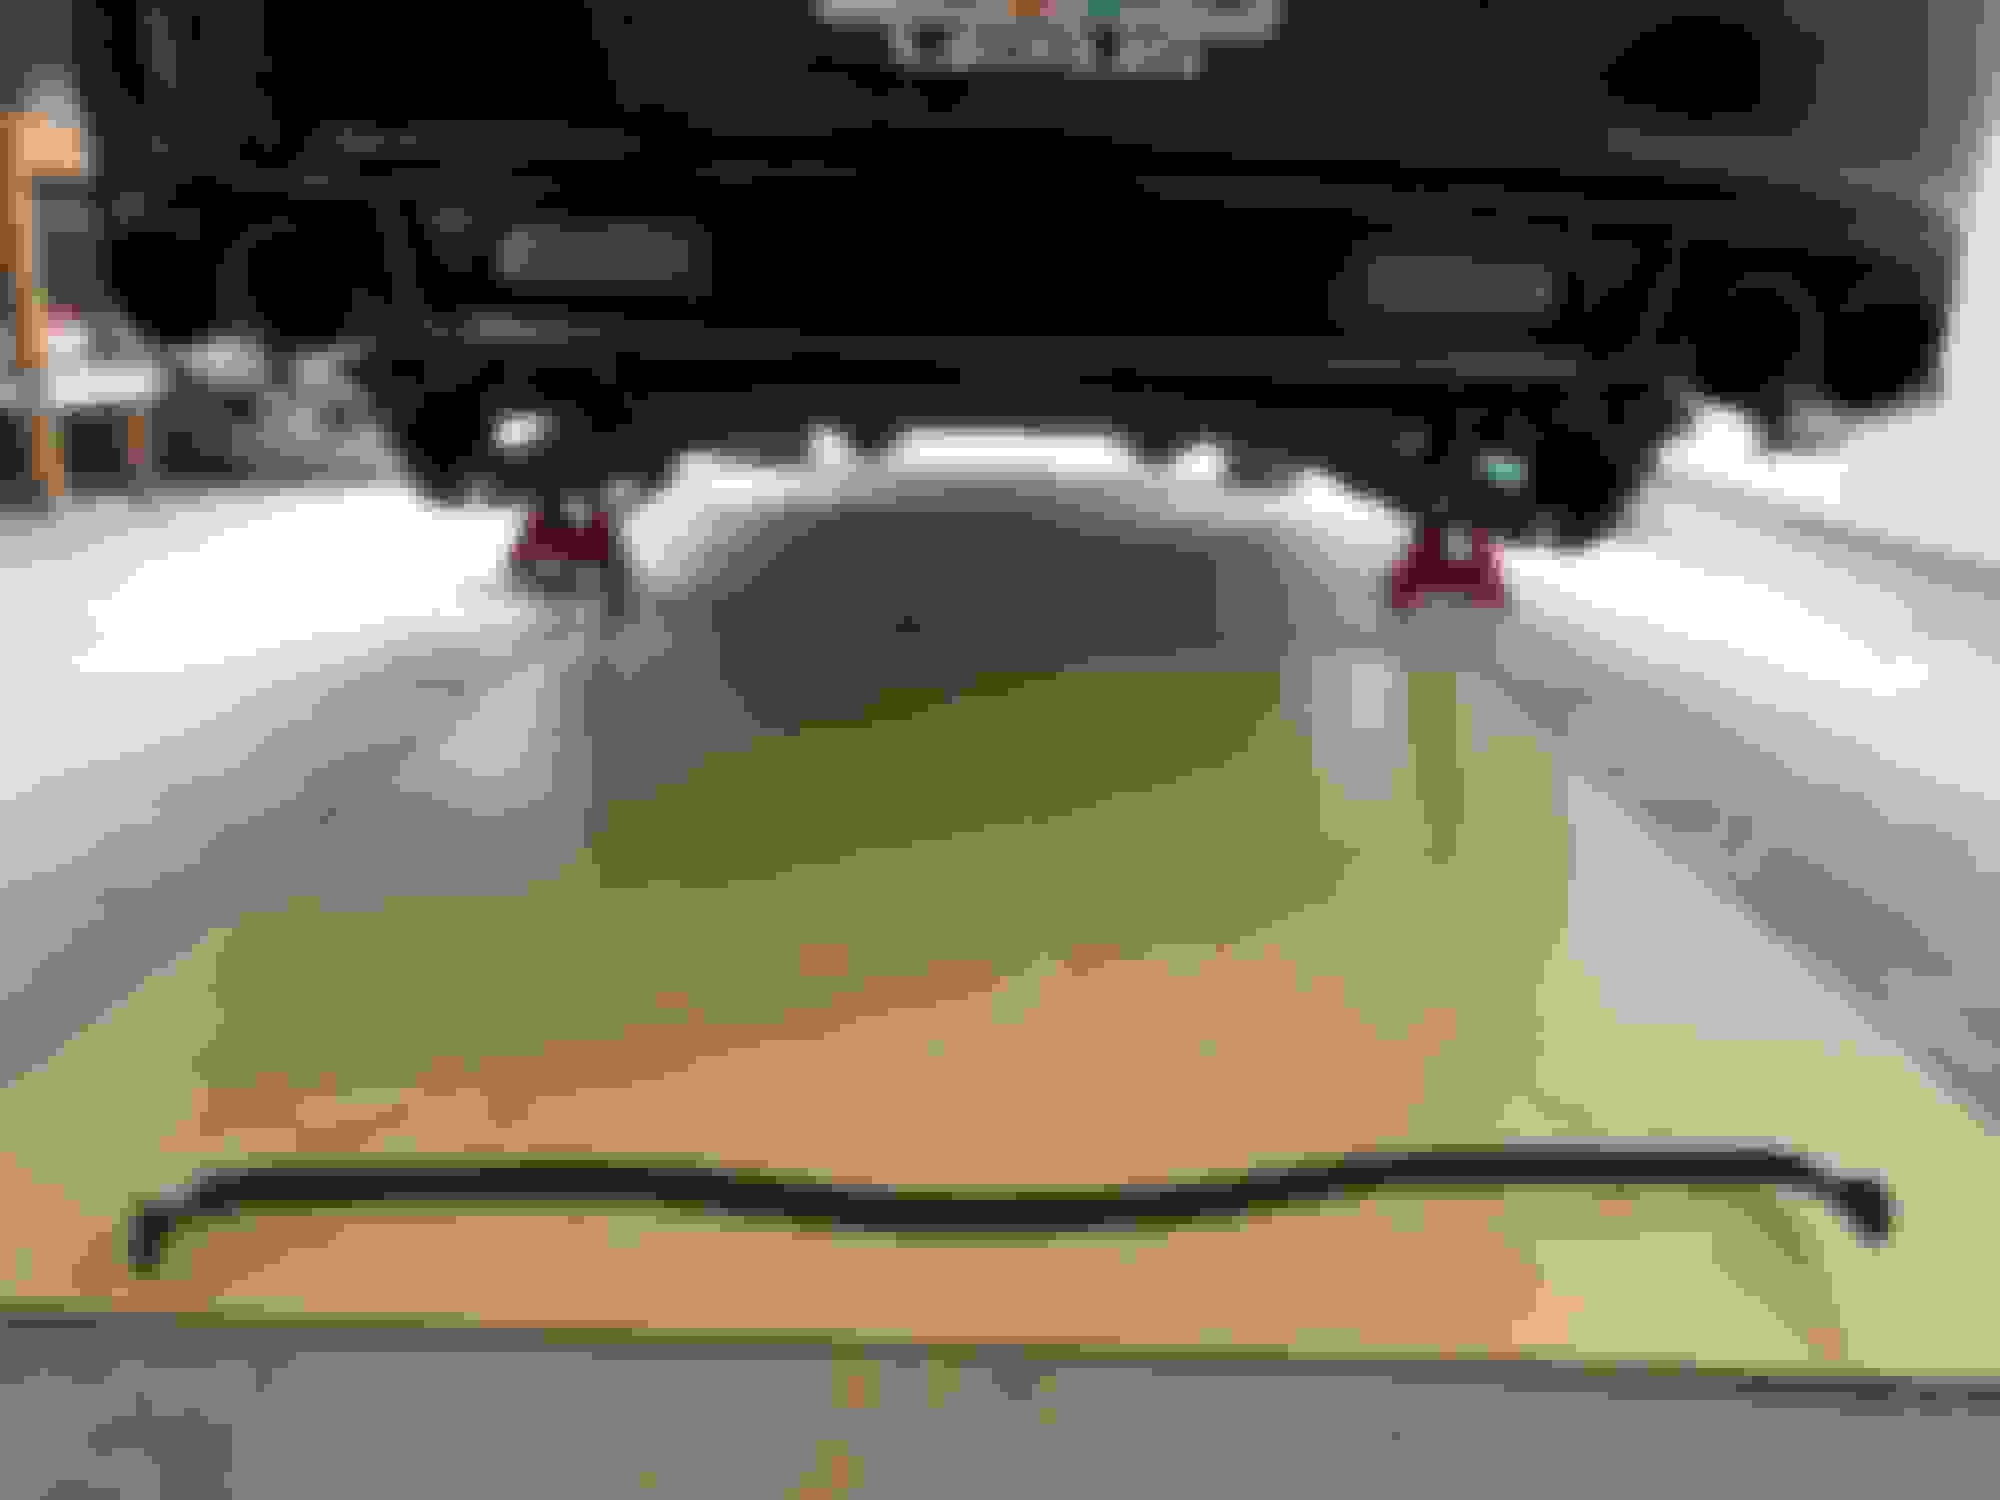
7 - EXAMINE your sway bar and all the room there is to slide this bad boy out. I slid it out from the drivers side with some force
8 - Slide your IS-F sway bar in, I did it from the drivers side. It will get stuck on the passenger side �frame� of the car. I basically pulled DOWN on the driver side to flex the cross member down with my left hand and used my right hand to pull the sway bar through. I�m tech savy, so if you decide to remove the exhaust to make it easier, buy some exhaust gaskets x2 to replace
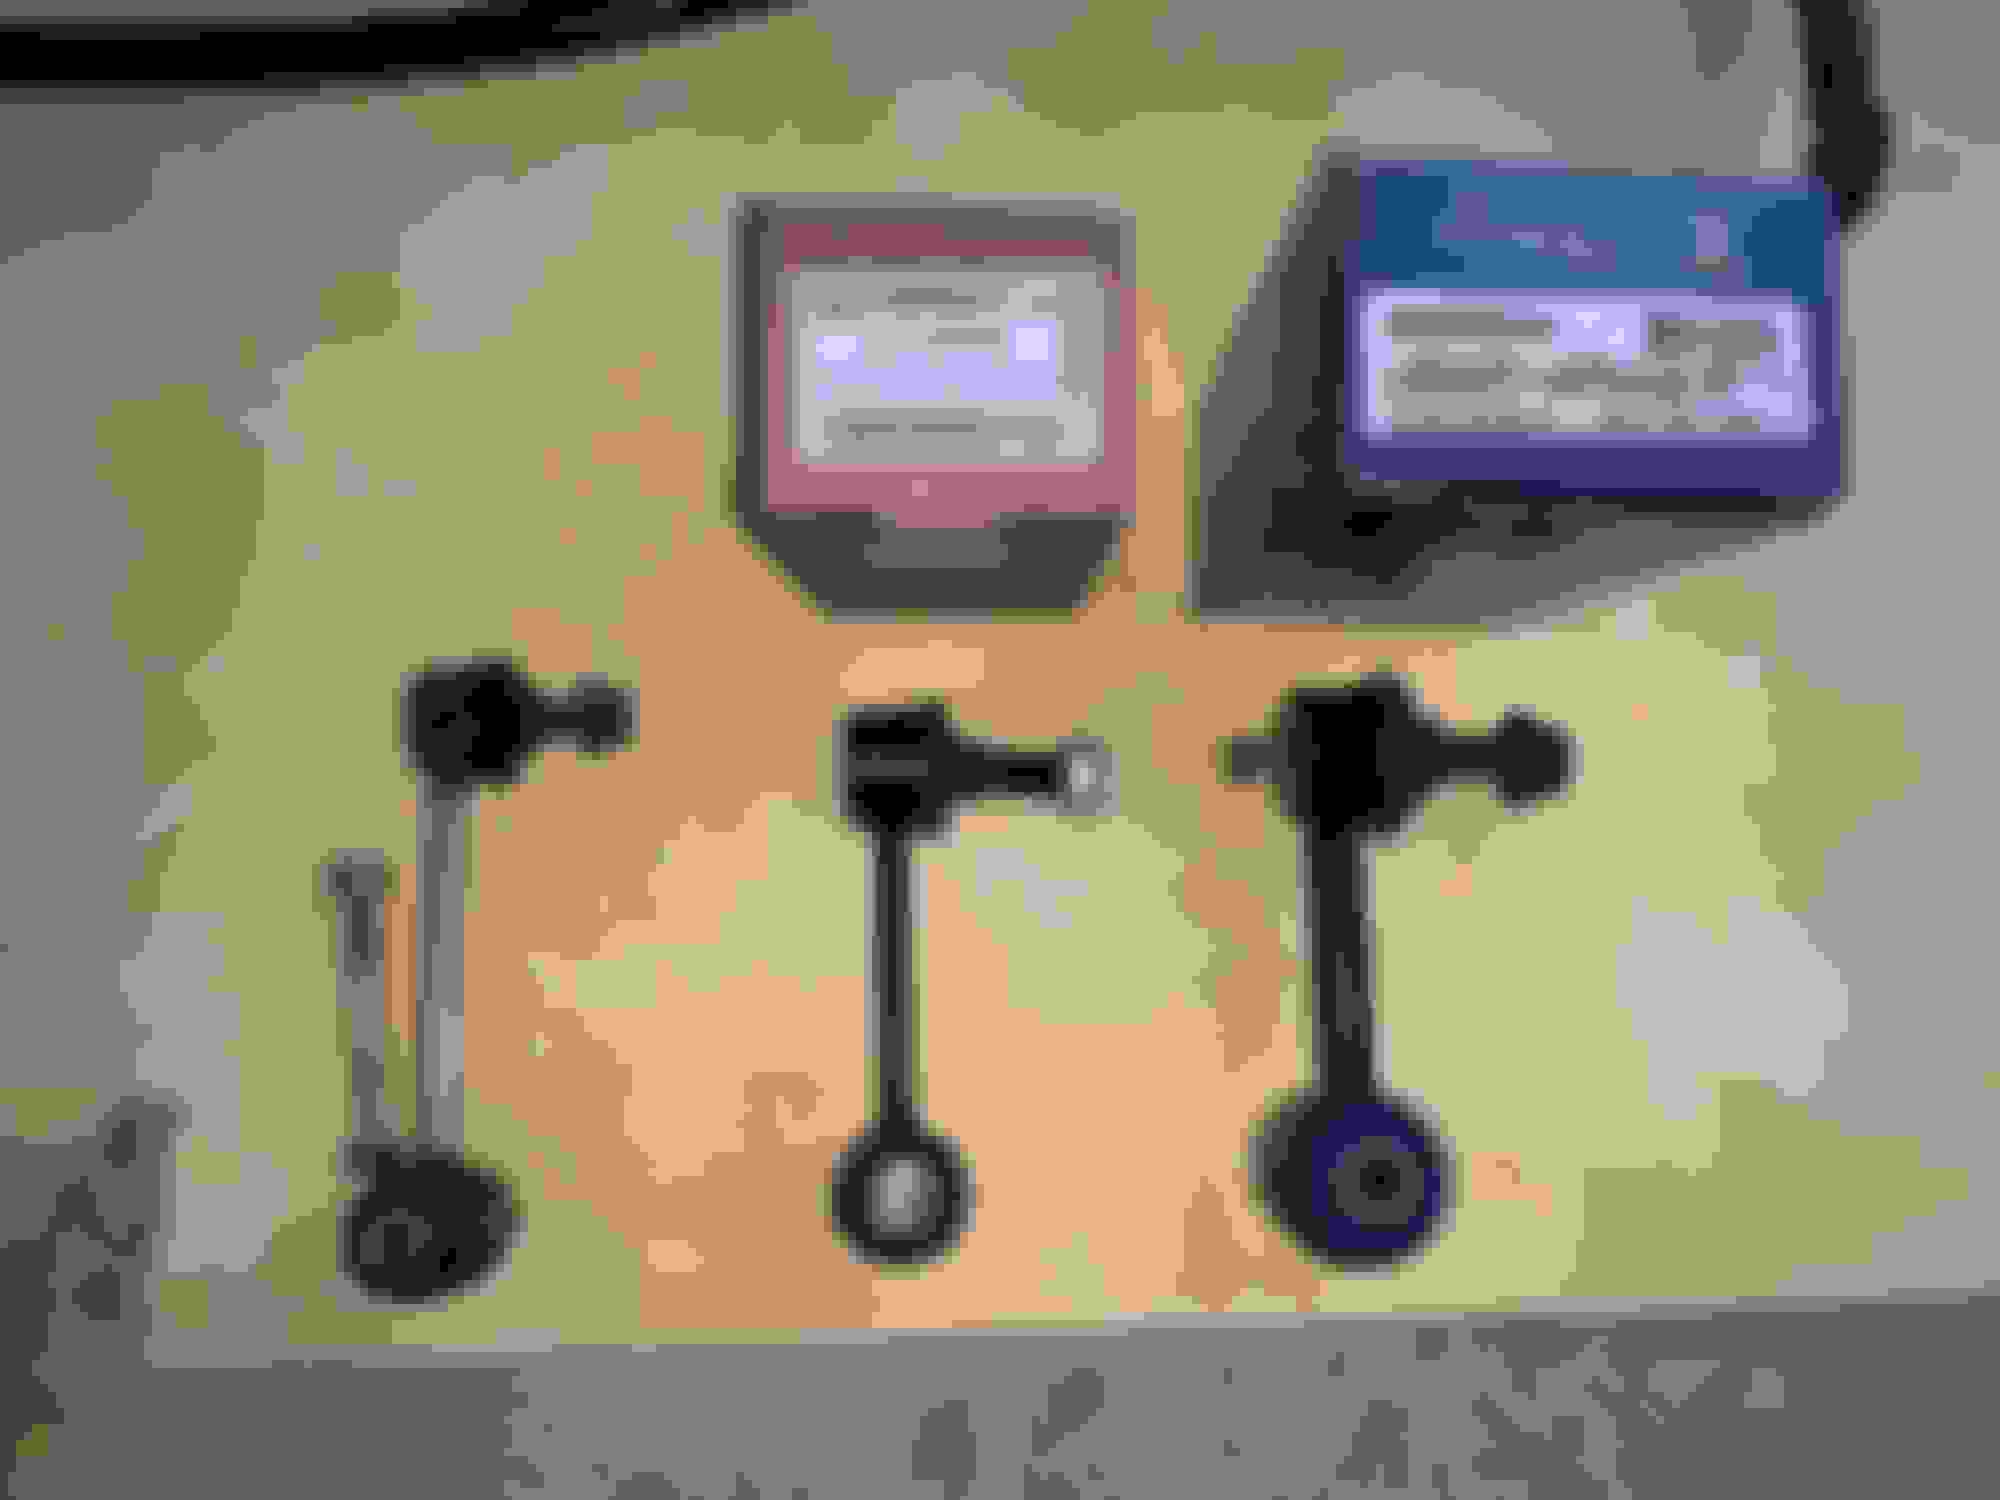
9 - Grease your new bushings. The FIGS bushing came with plenty of grease to utilize. Here is a comparison with the stabilizers.
OEM, Recommended, MEVOTECH (IS-F)
Rub that grease allllll over
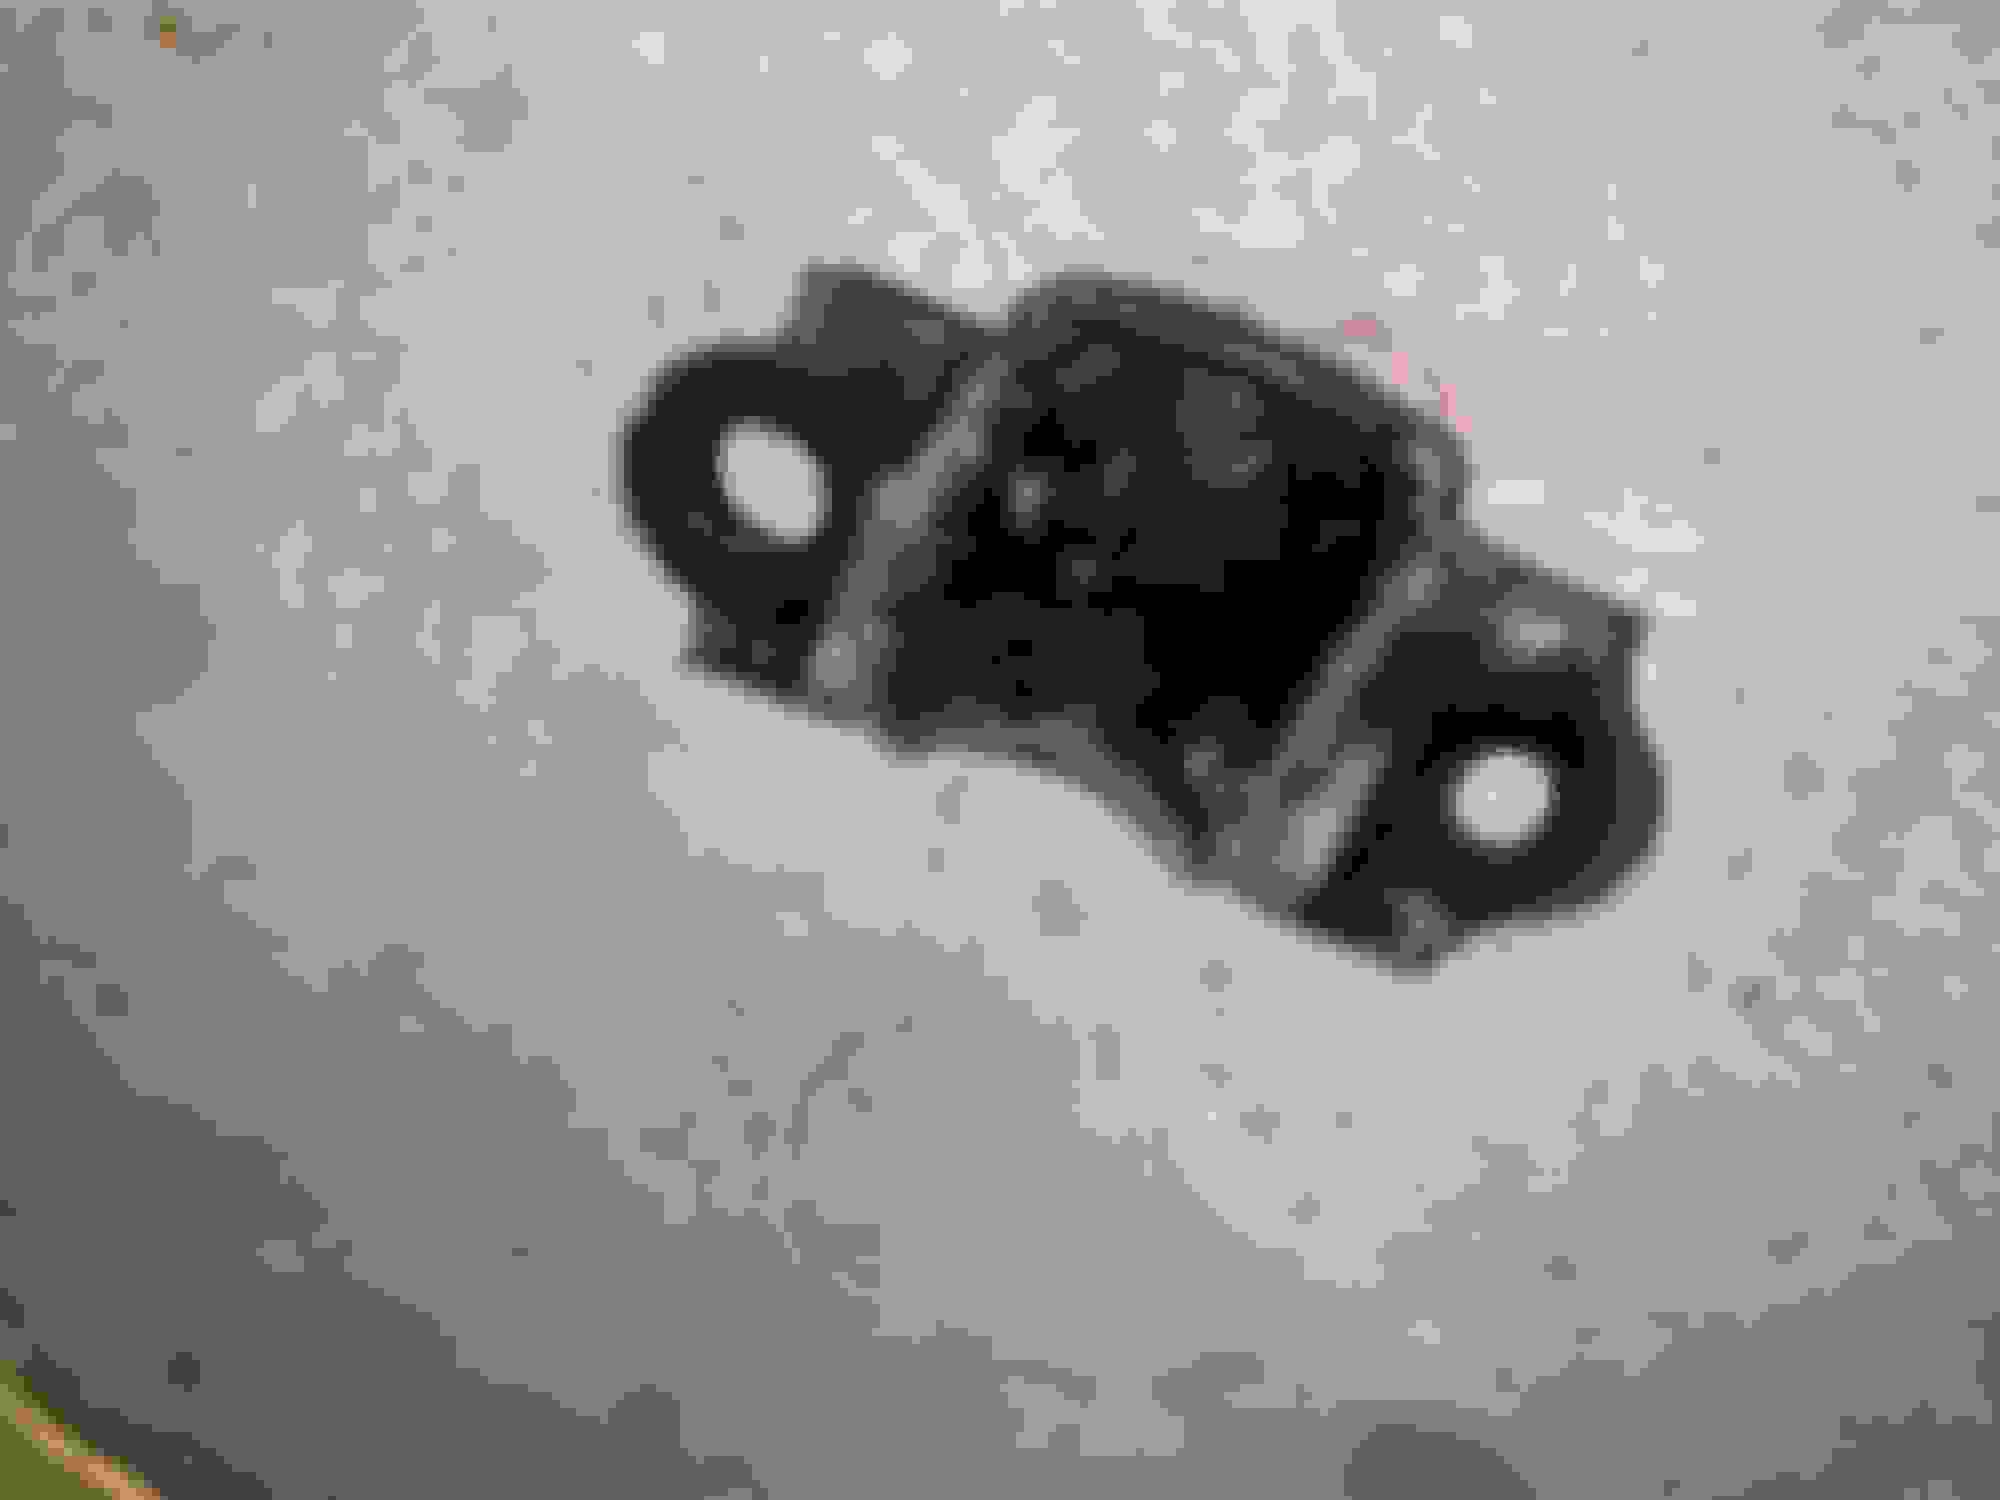
Clean up the oem bracket from old grease
Mevotech will NOT fit unless you are lowered. The grease fitting will hit your suspension
bushing slit will face the front of the car and if you analyze the OEM bracket, one of the holes is oblonged (faces the rear of the car).
10 - put everything back together but DO NOT TIGHTEN ANY OF IT DOWN. Just hand tighten it or use your tools to get it closed up
I recommend a short 19mm socket or ratchet wrench (the new sway bar link comes with a 19mm nut). Theres no room to tighten the drivers side. Use a 14mm wrench to keep the bolt in place when tightening the 19mm
11 - Put wheels back on and lower the car. THEN tighten it all up to torque specs (I don�t know them, i�m sure you can find it or someone can provide it in this thread)
per instructions of the bushings, you should tighten it all up under load to avoid the �squeek� people complain about. That is most likely because they did not do this step and tightened it all up with the car in the air.
This took about 3 hours. I didn�t have the correct tools.
I have not gotten to drive it because there is no front bumper as my front bumper is being customized. I ended up putting my 19� volk ce28n rims back on and now the car sits.
I initially ordered the "Aristo Bar" from the old thread, but I suppose the seller started shipping out the hollow tubing sway bars and not the solid one, so I unfortunately was not able to get one to upgrade! SAD
I recently completed swapping in an IS-F rear sway bar on my 2002. @Pnuge88 's DIY in this thread is excellent.
Here are a few points of clarification if you, like me, read several threads on this topic and received some conflicting information. Also, some notes on my experience with the swap.
1. You cannot use OEM IS-F rear anti sway bar bushings with the OEM SC430 brackets. They are way too thick. You want the Figs Engineering ones in Pnuge88's parts list.
2. I could not get the stock sway bar off of the SC430 without disconnecting the exhaust before the muffler. Despite no rust, three of the four bolts that attach the exhaust were seized. I used a Dremel with a metal cutting disk to cut off the nuts. I found the most efficient way to do this was to slice through the nut and bolt coming straight from the end of the bolt as if splitting a log. Once you get through the nut, pry off each half from the bolt, and the bolt will slide out of the exhaust flange. Get a multi-pack of blades, as they may wear out before you get through all four nuts and bolts. You will need 4 new bolts (if you have to cut them) and two new exhaust flange gaskets on hand.
3. Here are the torque specs from the shop manual: Stabilizer bar end link nut: 22 Ft. Lbs.
Stabilizer bar bushing bracket bolts: 13 Ft. Lbs.
4. If you are not replacing the sway bar end links, then you do not have to touch the control arms. Just detach the old bar from the end links.
5. To tighten everything up under load, I dropped my rear wheels onto stacks of 2x6s so I could easily fit under the car and reach everything.
6. It is worth the investment of time and money. I was pleasantly surprised at the improvement in handling feel.
Tools:
- 12mm wrench and socket
- 14mm wrench and socket
- 19mm wrench and socket
- IS-F Rear Sway Bar Part Number 48812-30400
- Sway Bar Link (stabilizer links) Part number is 48830-30090
- FIGS engineering is300 17mm sway bar bushing (perfect fit)
- you will use the OEM brackets for the sway bar bushings
here�s the quickie....
1- Jack up the car on both sides to release the suspension tension on the sways
2 - Remove the 14mm nut that holds the sway bar and stabilizer link (sway bar links) together on both sides
3 - Remove the 12mm bolt holding the stabilizer link (sway bar link) to the lower control arm on both sides
3.5 - NOTE: this is a leveling sensor on the drivers side. Don�t break it and make sure it sits just like the picture when you put it all back together later
4 - Loosen 19mm bolt (DO NOT REMOVE) lower spring/suspension bolt on the lower control arm
5 - Remove old sway bar links
6 - Remove both 12mm bolts for the cross member braces (right below the middle of the sway bar)
6 - OPTIONAL or a must, depending on your patience.... remove exhaust. I DID NOT. I loosened the drivers side only, but I don�t think I needed to... make sure you use WD-40 before hand... it was a PAIN with a 3/8 ratchet -_-
7 - EXAMINE your sway bar and all the room there is to slide this bad boy out. I slid it out from the drivers side with some force
8 - Slide your IS-F sway bar in, I did it from the drivers side. It will get stuck on the passenger side �frame� of the car. I basically pulled DOWN on the driver side to flex the cross member down with my left hand and used my right hand to pull the sway bar through. I�m tech savy, so if you decide to remove the exhaust to make it easier, buy some exhaust gaskets x2 to replace
9 - Grease your new bushings. The FIGS bushing came with plenty of grease to utilize. Here is a comparison with the stabilizers.
OEM, Recommended, MEVOTECH (IS-F)
Rub that grease allllll over
Clean up the oem bracket from old grease
Mevotech will NOT fit unless you are lowered. The grease fitting will hit your suspension
bushing slit will face the front of the car and if you analyze the OEM bracket, one of the holes is oblonged (faces the rear of the car).
10 - put everything back together but DO NOT TIGHTEN ANY OF IT DOWN. Just hand tighten it or use your tools to get it closed up
I recommend a short 19mm socket or ratchet wrench (the new sway bar link comes with a 19mm nut). Theres no room to tighten the drivers side. Use a 14mm wrench to keep the bolt in place when tightening the 19mm
11 - Put wheels back on and lower the car. THEN tighten it all up to torque specs (I don�t know them, i�m sure you can find it or someone can provide it in this thread)
per instructions of the bushings, you should tighten it all up under load to avoid the �squeek� people complain about. That is most likely because they did not do this step and tightened it all up with the car in the air.
This took about 3 hours. I didn�t have the correct tools.
I have not gotten to drive it because there is no front bumper as my front bumper is being customized. I ended up putting my 19� volk ce28n rims back on and now the car sits.
will chime back in on the handling.
Great write up!!! Looked into this mods and got it completed. Got the bar and the Figs bushings as recommended. The only difference from the procedures was I did not have to disconnect my muffler. Intallation is straight forward and the bar removal can be bit tricky but at the right angle it slides right out. Install of the ISF bar is similar but in reverse method. And yes it needs to come out and then back in from the driver side. The ISF bar really does the trick on the car!!! The feel is stiffer and not too loose. In my opinion it firms up the rear at the right force. Highly recommend this mod if your car is lowered on coils like I have.

 03-16-20, 04:48 PM