When you click on links to various merchants on this site and make a purchase, this can result in this site earning a commission. Affiliate programs and affiliations include, but are not limited to, the eBay Partner Network.
I don't mean the poly bushings to the subframe brackets. I mean the bolt hole size reduction bushings one needs to compensate for the ISF anti-sway bar 13 mm bolt holes being larger than the SC430 10 mm bolts.
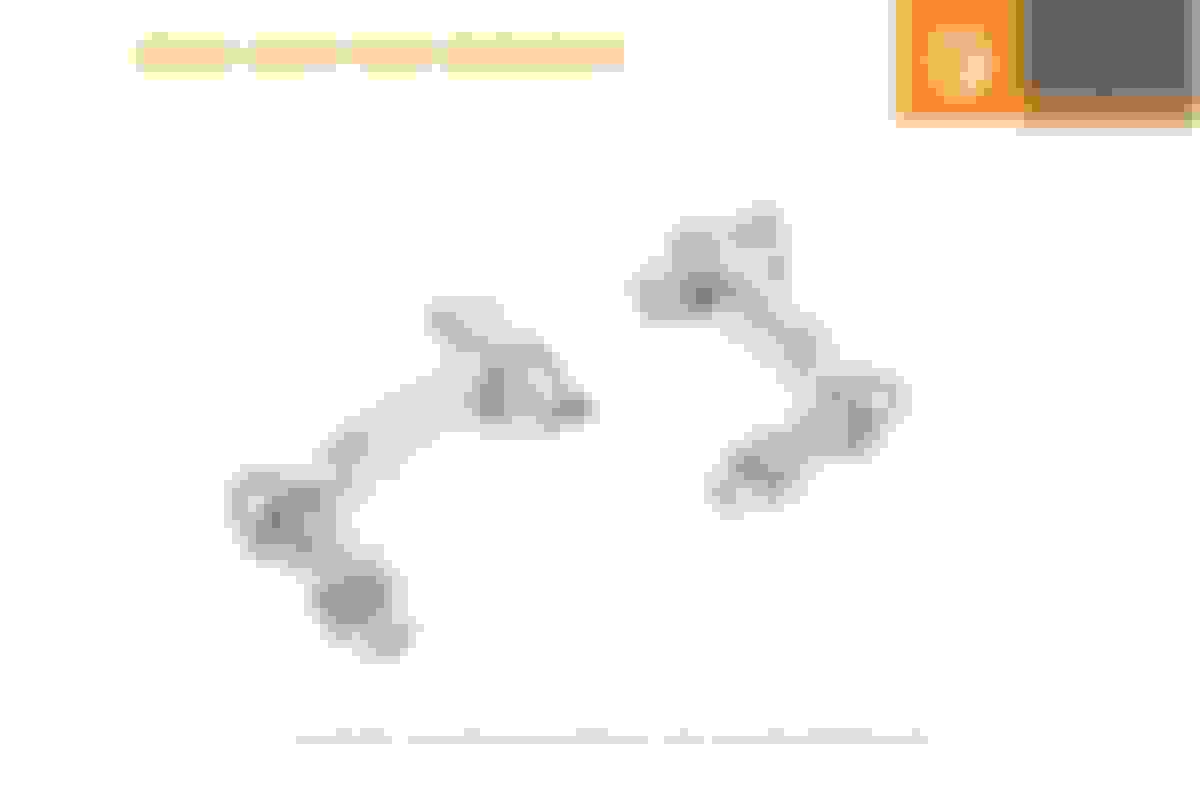
10 mm internal dia, 13 mm external diameter, ~6mm thick bushings must be created to fit the 10 mm SC430 bolt into the ISF bar's 13 mm bolt holes. I made with some aluminum tubing, saw and file, but having preper sized ones pre-made would be nice in the package.
__________________ Redefining Lexus Aftermarket Parts Since 2001 -- We are your Lexus suspension experts--
BCR - KW - PENSKE - OHLINS - HKS - GREDDY - STANCEPARTS
Links - Arms - SuperPro Poly Bushings - Solid Bearing Conversions - Motor Mounts
RB BBK's and 2P Rotors, G-Loc pads, Radium Fuel Systems
Custom Fabrication Design and Machining - Industrial 3D Printing - Laser Cutting 2018 USTCC Sportsman Class Champions - 2018 NASA ST5 National Champions
Will the factory bushings from the IS-F rear bar bit the brackets on the SC430?
no, they have a different outer profile.
__________________ Redefining Lexus Aftermarket Parts Since 2001 -- We are your Lexus suspension experts--
BCR - KW - PENSKE - OHLINS - HKS - GREDDY - STANCEPARTS
Links - Arms - SuperPro Poly Bushings - Solid Bearing Conversions - Motor Mounts
RB BBK's and 2P Rotors, G-Loc pads, Radium Fuel Systems
Custom Fabrication Design and Machining - Industrial 3D Printing - Laser Cutting 2018 USTCC Sportsman Class Champions - 2018 NASA ST5 National Champions
I don't mean the poly bushings to the subframe brackets. I mean the bolt hole size reduction bushings one needs to compensate for the ISF anti-sway bar 13 mm bolt holes being larger than the SC430 10 mm bolts.
10 mm internal dia, 13 mm external diameter, ~6mm thick bushings must be created to fit the 10 mm SC430 bolt into the ISF bar's 13 mm bolt holes. I made with some aluminum tubing, saw and file, but having preper sized ones pre-made would be nice in the package.
I will be doing front and rear sway bar installs tomorrow. I have a Megan 32mm front and the ISF 17mm rear bars going in.
With the rear bar, do I install the bar so the hump in the bar rises or falls when in the car? It appears that it can be installed either way given the way the bar is made.
"With the rear bar, do I install the bar so the hump in the bar rises or falls when in the car?"
Looking at mine, the middle hump of the rear bar is extending horizontally rearward with the end portions pointing slightly downward. Best advice would be to tape one end of your original bar so you have a reference after it is removed. Toughest part of the sway bars is feeding the rear one in or out.
Reposting from the long swaybar thread....
Installed my ISF rear sway bar thanks to this thread. My ISF Sway (48812-30400) was obtained from Japan via Megazip. Bushings were polyurethane SuperPros from Figs to fit 17 mm bar and use stock SC430 rear sway brackets. Was able to do it without removing or loosening the exhaust pipes, but it took a LOT of patience. Yes, it can be done once the rear brace end pieces are unbolted. I used a block of wood to keep the brace ends pulled down away from the support bump.
Definitely, undo the sway end link nut from the sway bar before loosening sway brackets. You need the brackets to counter torque during nut removal. I didn't need to remove the sway links from the lower suspension arm, nor did I need to loosen the lower strut bolt. Probably because I'm at stock height and my sway bar links are thus at zero preload.
Removing and inserting the sway bars took me hours to get the correct sequence of rotations and little moves needed to slide them in/out past the various obstructions. It was reminiscent of those old twisted, interlocked nail puzzles that one needed to move around just right to come apart. For most of the insertion and removal the sway bar ends are pointed towards the ground. There is one point in the process to get past the car frame that requires them to be rotated to point the ends partially rearward and give the bar a little nudge to go past the innermost lower suspension arm bolt. If you have the sway bar ends oriented at just the correct angle, the force is quite minimal. Any variation in angle and it is impassible. Truthfully, I never fully understood the geometry of how it suddenly releases and gets through when the angles are just right. It just magically pops across and you're wondering what exactly made it possible to slip through so easily.
One warning - Get the front sway bar correctly oriented. One of the members here installed upside down and destroyed an ABS sensor line. The front sway bar should go downward and then up on the ends to clear the chassis. Either keep the brackets on the old bar during removal or tape one end to indicate correct orientation. Once a bar is removed, correct orientation may no longer be obvious.
PS, I would have gotten FIGs adjustable end links, but I'm at stock height and (if I understand correctly) those are too short unless one reduces ride height.
"With the rear bar, do I install the bar so the hump in the bar rises or falls when in the car?"
Looking at mine, the middle hump of the rear bar is extending horizontally rearward with the end portions pointing slightly downward. Best advice would be to tape one end of your original bar so you have a reference after it is removed. Toughest part of the sway bars is feeding the rear one in or out.
Reposting from the long swaybar thread....
Installed my ISF rear sway bar thanks to this thread. My ISF Sway (48812-30400) was obtained from Japan via Megazip. Bushings were polyurethane SuperPros from Figs to fit 17 mm bar and use stock SC430 rear sway brackets. Was able to do it without removing or loosening the exhaust pipes, but it took a LOT of patience. Yes, it can be done once the rear brace end pieces are unbolted. I used a block of wood to keep the brace ends pulled down away from the support bump.
Definitely, undo the sway end link nut from the sway bar before loosening sway brackets. You need the brackets to counter torque during nut removal. I didn't need to remove the sway links from the lower suspension arm, nor did I need to loosen the lower strut bolt. Probably because I'm at stock height and my sway bar links are thus at zero preload.
Removing and inserting the sway bars took me hours to get the correct sequence of rotations and little moves needed to slide them in/out past the various obstructions. It was reminiscent of those old twisted, interlocked nail puzzles that one needed to move around just right to come apart. For most of the insertion and removal the sway bar ends are pointed towards the ground. There is one point in the process to get past the car frame that requires them to be rotated to point the ends partially rearward and give the bar a little nudge to go past the innermost lower suspension arm bolt. If you have the sway bar ends oriented at just the correct angle, the force is quite minimal. Any variation in angle and it is impassible. Truthfully, I never fully understood the geometry of how it suddenly releases and gets through when the angles are just right. It just magically pops across and you're wondering what exactly made it possible to slip through so easily.
Installed both Front and Rear bars tonight. Thanks for the advice Seattle SCone!! I was about to give up on the rear bar and then "Pop" in she went!!
I used the ISF 17mm rear bar and the FIGS 17mm bushings seemed way too large to fit using the stock bar clamps. Is there a secret there to using them with the stock clamps? I was able to squeeze the ISF stock 17mm bushings in the stock SC420 clamps.
The FIGS reduction spacer have an internal measurement of 11mm rather than 12mm giving 1mm of play, so I used the aluminum rod cut to 6mm length which worked perfect.
Good job getting the bar to pass through. It really is surprising when it finally "pops" through.
I don't recall the bushings being a fitment problem with the stock SC430 brackets. Did you order the same bushings as I used? Mine were these with 17 mm selected. https://www.shopfigs.com/v3/index.ph...HANE%20BUSHING
Last edited by Seattle SCone; 11-24-20 at 01:35 AM.
Here is a pict of my left rear Figs bushing with ISF sway bar. The bracket is stock SC430 bracket.
digitatc said the right side of the OEM bars are painted? I see a paint mark on my ISF bar here on the left side. Could I possible have mine in backwards? Doesn't seem to interfere with anything.
Last edited by Seattle SCone; 11-24-20 at 01:27 AM.
 11-17-20, 04:00 PM