When you click on links to various merchants on this site and make a purchase, this can result in this site earning a commission. Affiliate programs and affiliations include, but are not limited to, the eBay Partner Network.
Installed a Super Pro 30 mm front sway bar from Figs Engineering in my 2002 SC430 to match my ISF rear sway bar.
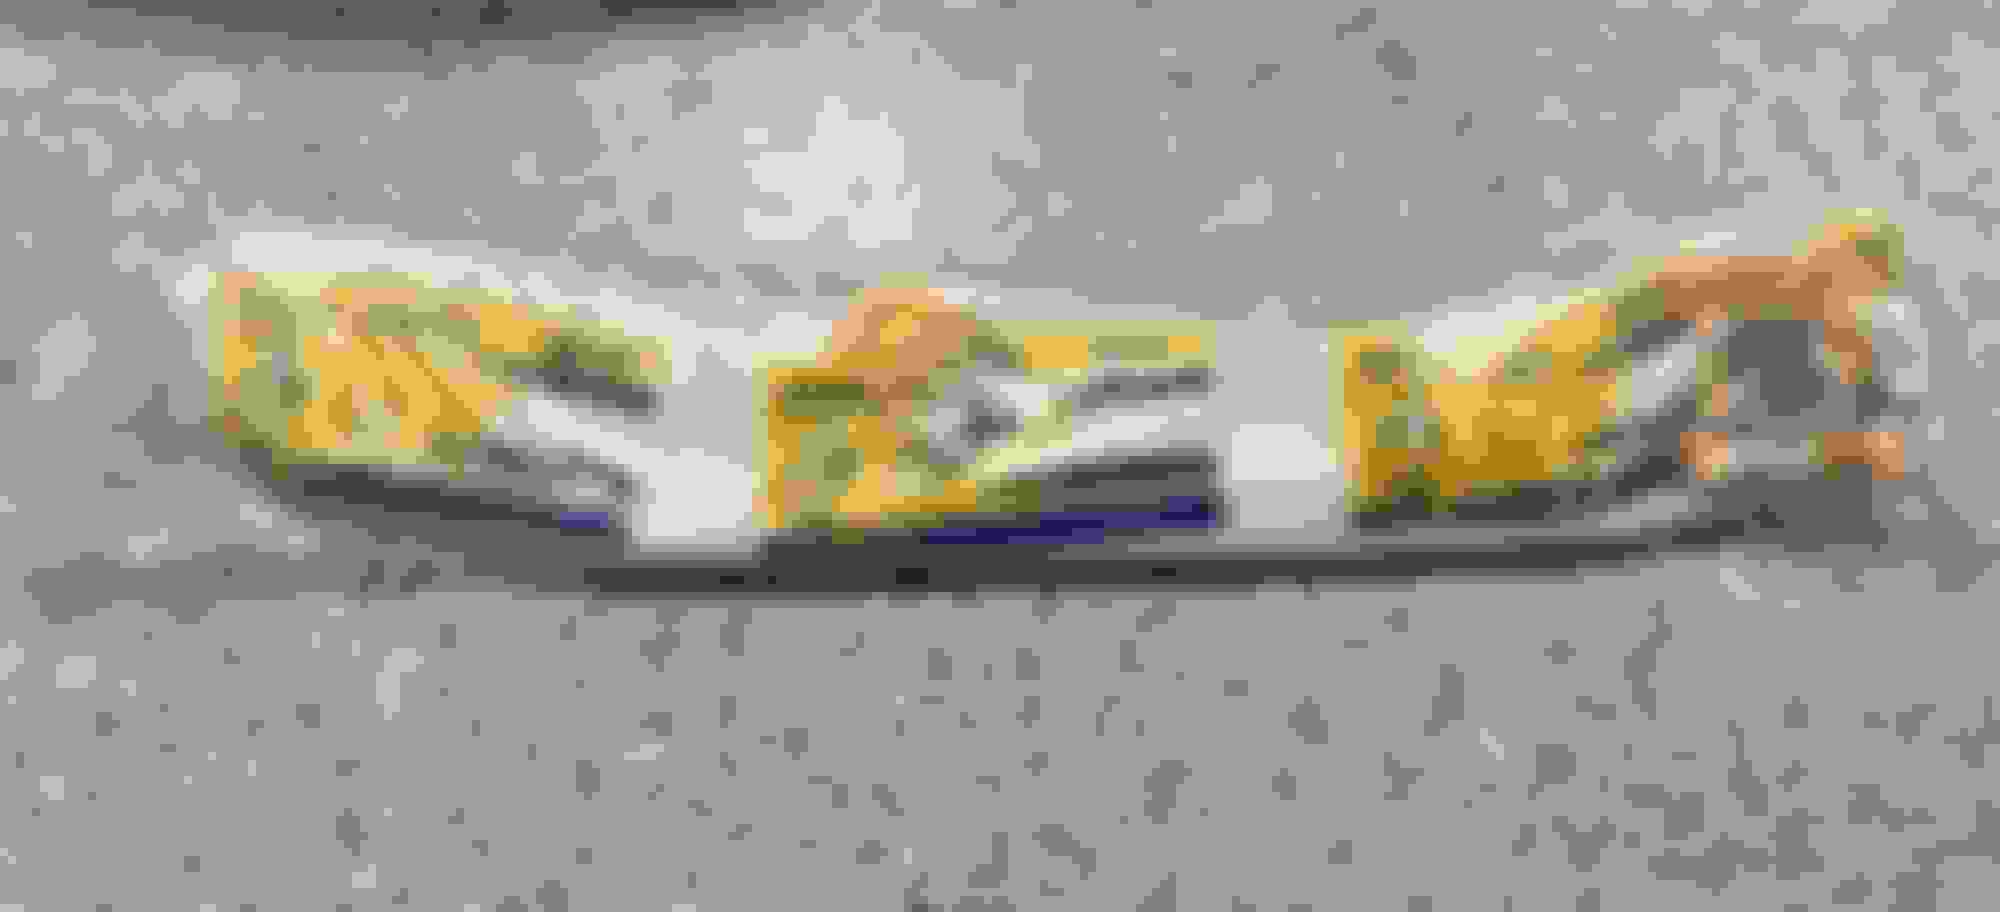
01 figs engineering super pro front sway bar
Arrived nicely wrapped in a single package that has the new sway bar, polyurethane bushings and a packet of silicone lube.
02 polyurethane bushings and lube
Bushings have grooves inside inner surface to better retain lube. The supplied lube is more than enough to fully coat interior and exterior of both bushings. The lube is quite viscous but smooths itself nicely in a few moments. Definitely wear neoprene gloves when applying the lube.
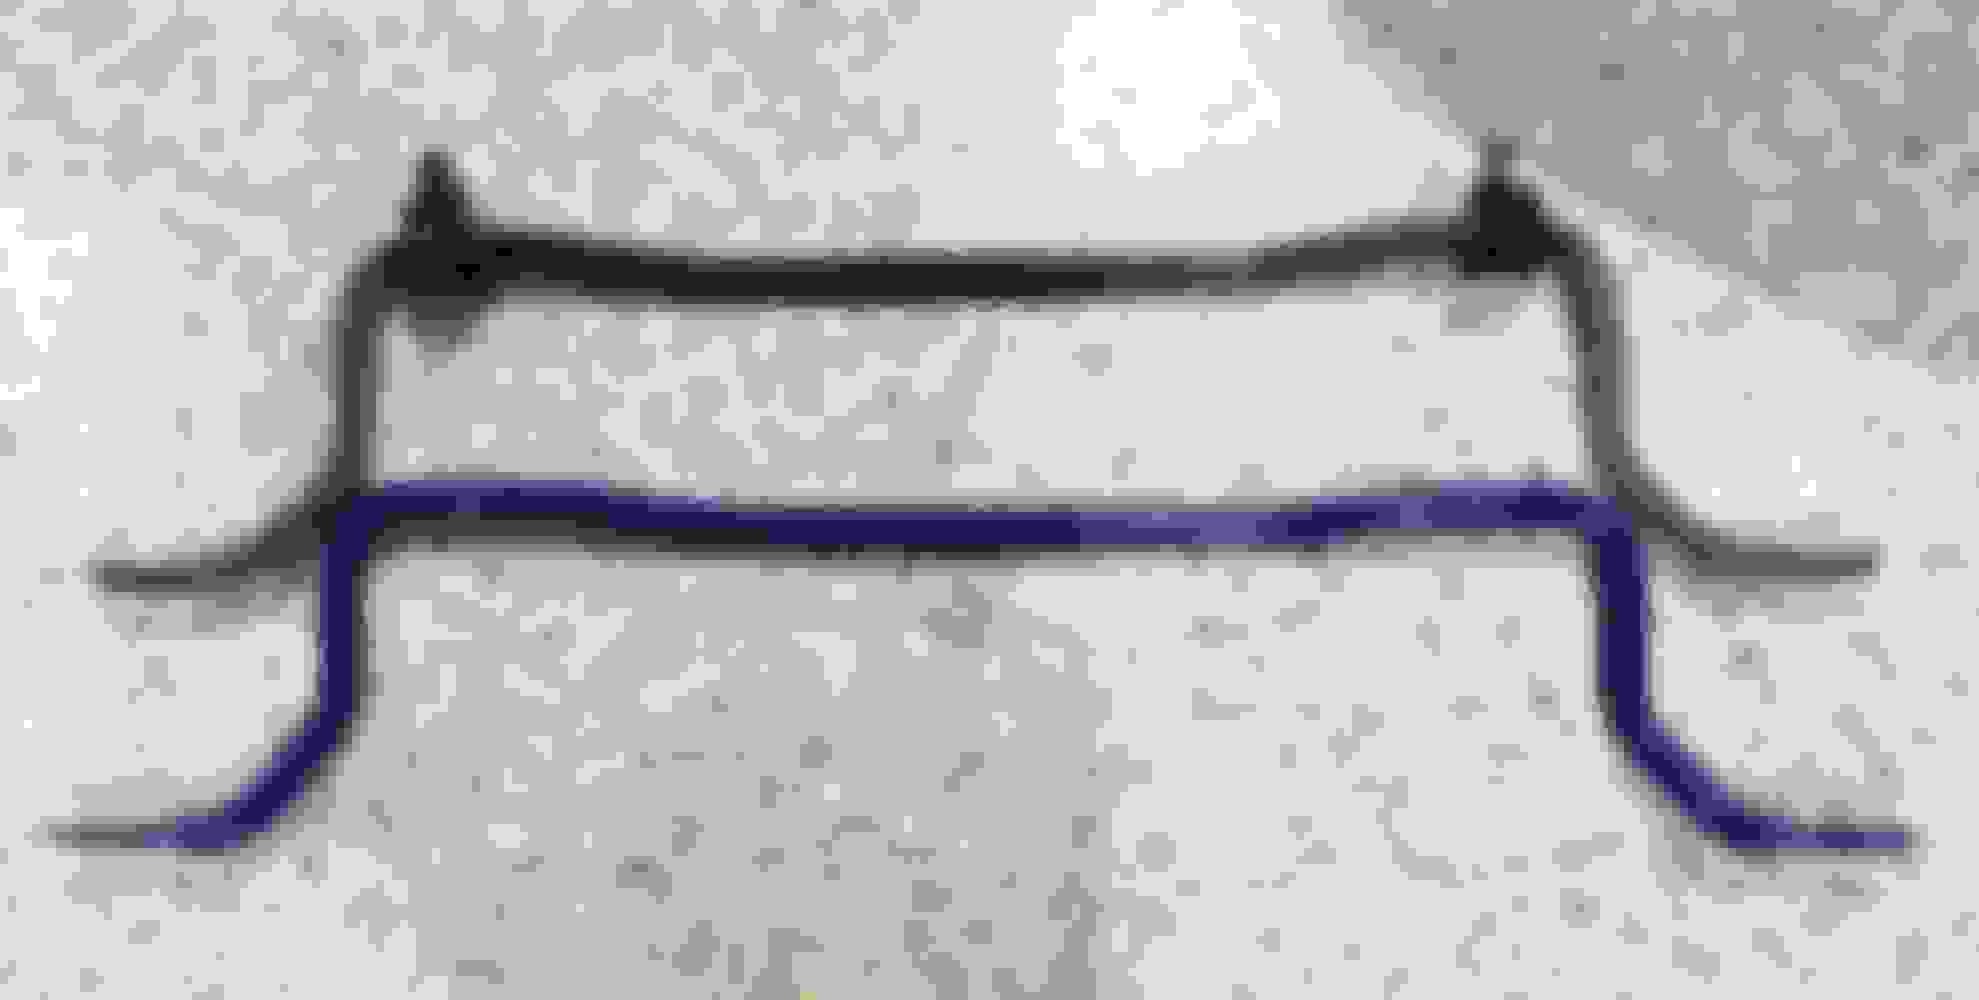
03 Figs vs OEM front sway bar
Comparison of new sway bar (blue) vs old. The difference is more striking when seen live vs in a photo. The 30 mm SuperPro bar is about 75% higher torsion than OEM. https://www.shopfigs.com/v3/SP-RC-2G...rch=sway%20bar It's pretty heavy, solid metal bar. Would not want it to drop on my face during installation!
Bar arrives with a white coating material that is easily wiped off. Be sure to clean it well especially where the bushings will mate.
Installation was easy - MUCH easier than feeding the rear sway bar into place.
After lifting with with my QuickJack and removing front wheels, it took an hour at a very leisurely pace including taking photos.
Removed 12 mm bolt from sway bar end links and loosened the 12 mm nut to free the end of the sway bar. I kept the nut on just barely threaded on to keep the bar from rotating out of control.
Removed front undercover and air diverter pieces with their myriad of 10 mm screws. Note which screws are the shorter ones. A couple of the push in receptors for the screws are colored plastic ones and may be damaged if you later put the longer screws through those locations.
04 side cover
Lateral to each sway bar bracket, the bar goes through the side covers. The covers are only held in place by two 10 mm screws. A long flex extension makes removing those easy.
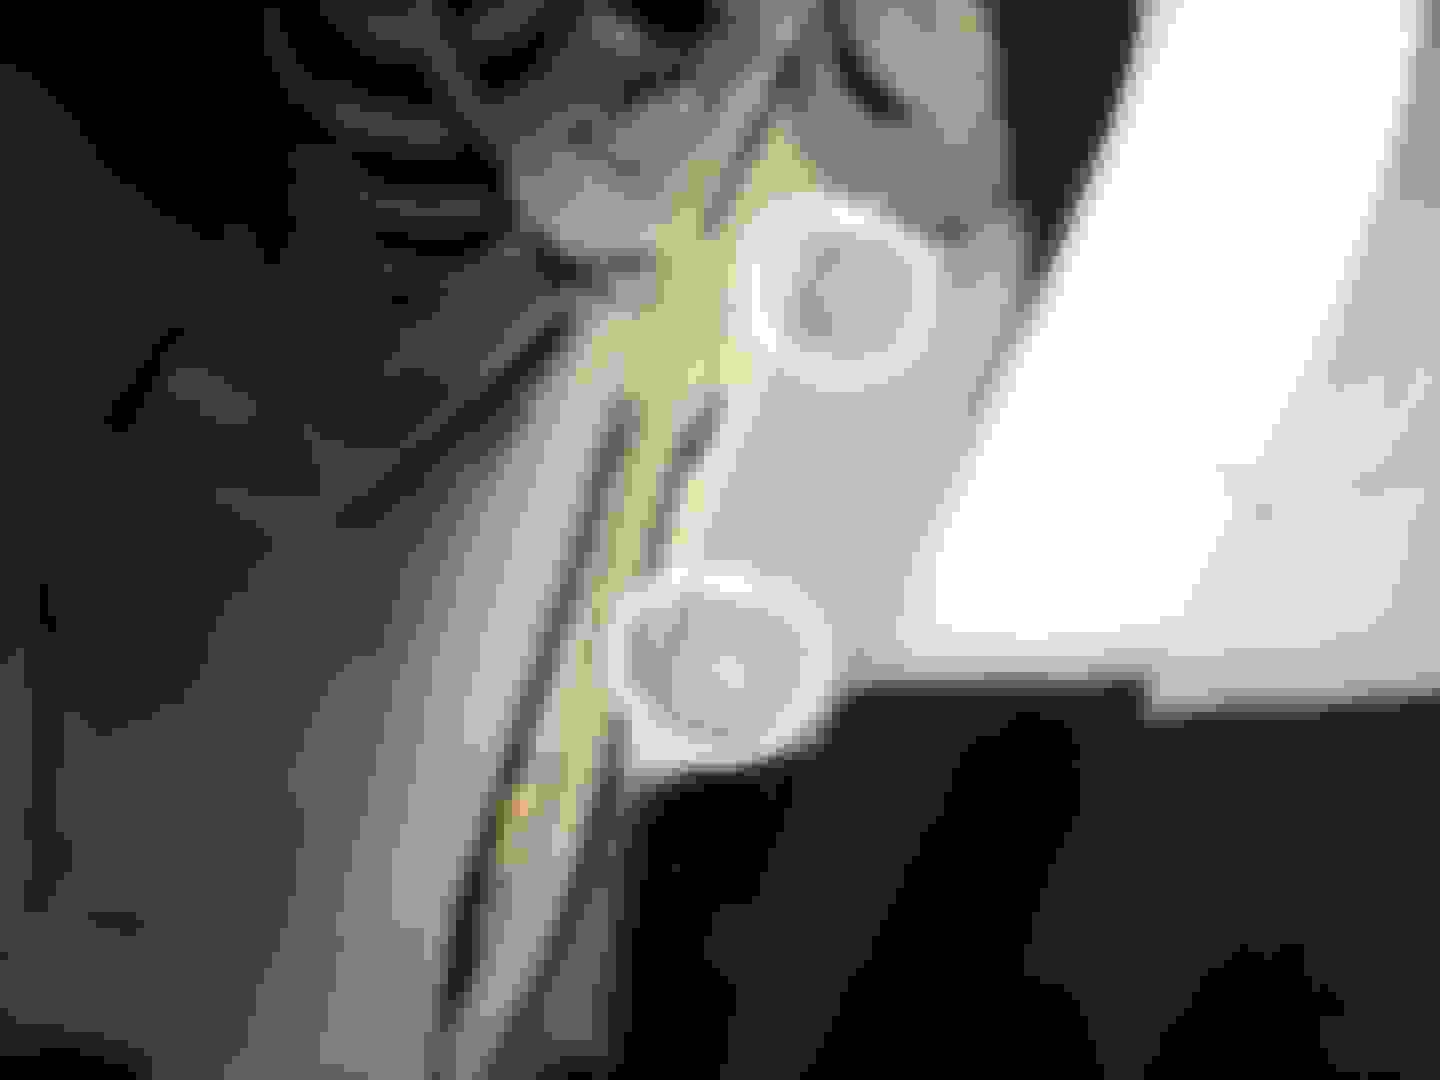
05 side cover screws
These are the two screws for the side covers. They are up top on the exterior side of the covers.
Remove the two 12 mm bolts from each sway bar bracket.
06 bracket hook supports bar
Conveniently, the brackets include a hook on the front end to support the bar after bolts are removed. That also makes re-installation easier. You don't have to hold the entire weight of the new bar while trying to thread in the bolts. The bracket hooks do the work for you.
07 new and old bars with brackets
I removed the sway bar, brackets and bushings all together. That makes it easy to get orientation correct for the new parts. (Hook extends towards rear of vehicle, gap in bushing it towards front, sway ends angle up)
08 brackets and bushing on new bar
Lubed interior, exterior of bushing and placed over new sway bar along with bracket. The lube will hold the bracket in place while you move it under car.
As mentioned previously, those hooks temporarily support the bar's weight while you get the bolts threaded in. I alternately hand tightened the bolts and then attached the sway bar links. 09 installed side cover still off
Used blue thread locker gel on all the nuts and bolts during reassembly. Torqued brackets to 25 ft lbs and links to 35 ft lbs. I did final torque of brackets with car still suspended. You should do final torque with suspension loaded when using unlubricated, non-rotating, rubber bushings, but these lubricated polyurethane bushings allow free rotation of the bar and its grooves ensured lube is well distributed on mating surfaces. No squeaking resulted from my torquing up with vehicle suspended.
10 new bar bolted to link
Here is the new bar bolted in place.
Took her out on some curves and she's definitely better unified front/back compared to being stiffer in rear when I only had the rear ISF sway bar and OEM front.
BTW, notice how little rust has occurred due to the the car spending 19 years in the pacific northwest. It's not a mid-west, salt environment for sure.
Definitely, was well worth the effort doing both of these sway bars. I agree the car feels great taking curves and hasn't become a rough or harsh ride with the sway bars.
The Figs 30 mm front pairs well with the ISF rear. The two together are a nice balance in terms of front/rear stability.
So much more predictable and flat going through curves and round abouts. It used to tilt so much, that my wife derided the SC430 experience as "getting thrown off a mountain."
As a final test of the install, I had her test drive after both sways and new bushings were installed.
"It sits up really up high, but I'm not having to downshift through these curves," she approved.
She now finds my 222K mile SC430 acceptable through curves - and her daily driver is an Aston. She is the gearhead of the family.
Yes, the sway bars made a big difference.
No end links because I am at stock height. The OEM sway links are correct length. Also, the included SuperPro bushings fit the stock sway bar bracket properly
==========
Rear sway bar from that page won't work because of need for special bend on SC430's. Fortunately the Lexus ISF rear sway bar does fit and pairs well with this Figs/SuperPro front sway bar. Together, they hugely improved stability through curves.
I got my rear ISF Bar, Stabilizer, Rear Toyota 48812-30400 through megazip.net $85 + $39 FedEx.
I used slices of this aluminum 13mm OD 10mm Inner Dia Seamless Aluminum Straight Tubing to make the required diameter change bushings to fit SC430 end links into the ISF rear sway bar.
In case you missed it, I had the ISF rear sway bar/Figs bushings installed earlier this year so I'll get this front one ordered soon, along with the appropriate FIG bushings (29mm or 31mm? The bar is 30mm, correct?). Or does the front sway bar already include bushings?
We will make a complete package based on your feedback with the factory IS-F bar.
Sorry about the outer tie rod thread issue as well. Thanks Mike
__________________ Redefining Lexus Aftermarket Parts Since 2001 -- We are your Lexus suspension experts--
BCR - KW - PENSKE - OHLINS - HKS - GREDDY - STANCEPARTS
Links - Arms - SuperPro Poly Bushings - Solid Bearing Conversions - Motor Mounts
RB BBK's and 2P Rotors, G-Loc pads, Radium Fuel Systems
Custom Fabrication Design and Machining - Industrial 3D Printing - Laser Cutting 2018 USTCC Sportsman Class Champions - 2018 NASA ST5 National Champions
That would be nice to have a package with both front and rear anti-sway bars that work for SC430.
Will help others avoid the worries of cobbling together the bars and bushings and hoping one got all the correct bits.
Even nicer would be the addition of pre-made bushings to fit the ISF sway to the stock SC430 links. Having to fashion the reduction bushings was a bit of a pain.
The is300 bushings fit the sc430 rear subframe and we have them in 17mm.
__________________ Redefining Lexus Aftermarket Parts Since 2001 -- We are your Lexus suspension experts--
BCR - KW - PENSKE - OHLINS - HKS - GREDDY - STANCEPARTS
Links - Arms - SuperPro Poly Bushings - Solid Bearing Conversions - Motor Mounts
RB BBK's and 2P Rotors, G-Loc pads, Radium Fuel Systems
Custom Fabrication Design and Machining - Industrial 3D Printing - Laser Cutting 2018 USTCC Sportsman Class Champions - 2018 NASA ST5 National Champions
I don't mean the poly bushings to the subframe brackets. I mean the bolt hole size reduction bushings one needs to compensate for the ISF anti-sway bar 13 mm bolt holes being larger than the SC430 10 mm bolts.
10 mm internal dia, 13 mm external diameter, ~6mm thick bushings must be created to fit the 10 mm SC430 bolt into the ISF bar's 13 mm bolt holes. I made with some aluminum tubing, saw and file, but having preper sized ones pre-made would be nice in the package.
 10-29-20, 11:28 PM