When you click on links to various merchants on this site and make a purchase, this can result in this site earning a commission. Affiliate programs and affiliations include, but are not limited to, the eBay Partner Network.
Amazing job @Seattle SCone ! I've been putting off installing the backup camera I bought due to having to remove all the interior trim. However, I plan on installing coilovers soon so figure I can knock both out at the same time and save myself some double work!
I greatly appreciate the time and detail you took with this install. I know firsthand it adds a lot of extra time stopping to take pictures, but it's certainly worth the extra effort!
Took all night to complete my four wheel alignment. I�m out on first drive with fully aligned setup and I can�t wipe the grin off my face
i can let go of the steering wheel and she just goes straight down the road. Still no weird vibrations at 65 mph. Goes through curves with good composure. Overall steering effort feels like half or a third of what I was accustomed. I thought the sway bars were a big improvement. Adding the new suspension and coilovers transformed her into a completely different car.
Time for a celebratory Arby�s raid. Just what I need after working on her all night.
Excellent wright up. Thank you!
I noticed in post 5 of this thread the suspension member braces (purple text) are missing on my car. How important are these braces and how urgent is it that I replace them? Does anyone know where I can find a salvage set (new these are ~$43 each plus ~$20 shipping)?
Our SC430's are jiggly enough with all its braces. Although, those are light braces, we can use all the help we can get keeping the chassis stiff.
Mine flexes so much that I routinely open all windows before lifting on QuickJack. Otherwise, it flexes enough that door won't re-close with windows up while up on QJ.
Car won't fall apart without that suspension member, but I would plan on eventually reinstalling the missing pieces.
Final alignment results using Paco Hubstands. Yes, they work, but you need to be VERY patient when completely redoing all four wheels.
My toe plates are effective 22.25 inches long.
front total toe = 1/16 inch toe in
front left camber -0.3 deg / front right camber -0.9 deg (just a bit more positive on left cancels out road camber so she goes straight ahead.)
steer ahead within 1/16 inch of straight ahead
rear total toe = 2/16 inch toe in
rear left camber -1.3 deg / rear right camber -1.5 deg
thrust angle within 1/16 inch of straight ahead
If you PACO hubstands, I recommend putting clear tape over all the scale notches of the toe plates to keep the wire from getting caught in a groove. Jounce the suspension, then let spring bounce the PACO wires up and down so they get most accurate measurement. Once you get close, small 1/8 and 1/4 rotation adjustments of inner tie rods is the magnitude of changes being made. Also, it was necessary to turn car on (not engine started) and move steering wheel left/right 1/4 turn to let front suspension settle. Jouncing was not enough.
Put back on scales to get cross balance data after final rebuild and alignment. My weight equivalent in driver's seat. Full tank of fuel as opposed to 1/2 full.
Cross balance yielded
Ended up with 49.74% cross balance.
(Ride heights measured from PACO toe plate to fender metal)
left front 26 4/16" right front 26 0/16"
left rear 26 3/16" right rear 26 2/16"
Based on this, I think the SC430 would likely be well enough corner balanced for street use by getting the ride heights equal all around. My corner balance was with 10Kg/mm springs. Softer OEM struts would be even less critical.
Figs Engineering really came through with their recommended spring rates. My gear head, wife approves of how the car drives and says it was worth the cost.
Last edited by Seattle SCone; 11-21-20 at 07:55 AM.
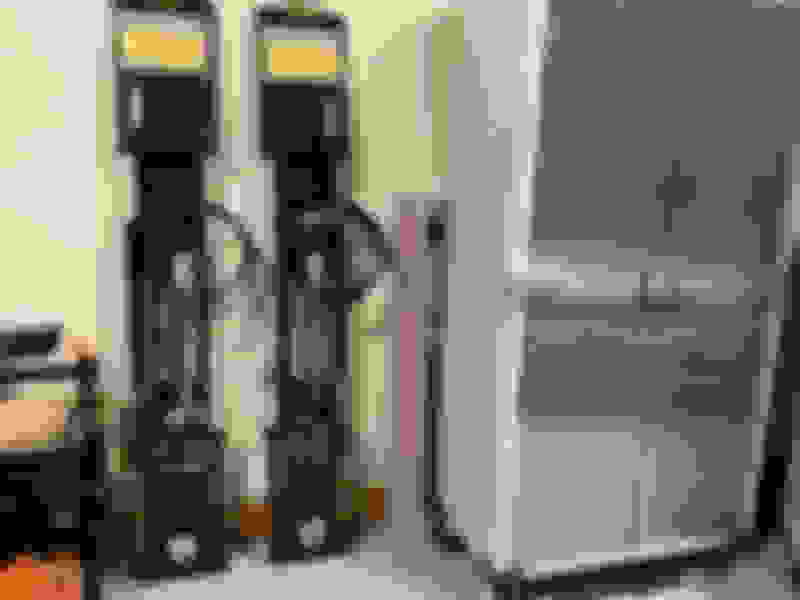
Although the QuickJack is difficult for getting wheels to land on a scale, it is otherwise pretty nifty when you want a portable vehicle jacking solution.
One thing I really like is how I can put it away.
Up on wall hooks
Then, I roll a cabinet in front of the Quickjacks. You'd never even suspect I have them in the garage.
Last edited by Seattle SCone; 11-21-20 at 07:52 AM.
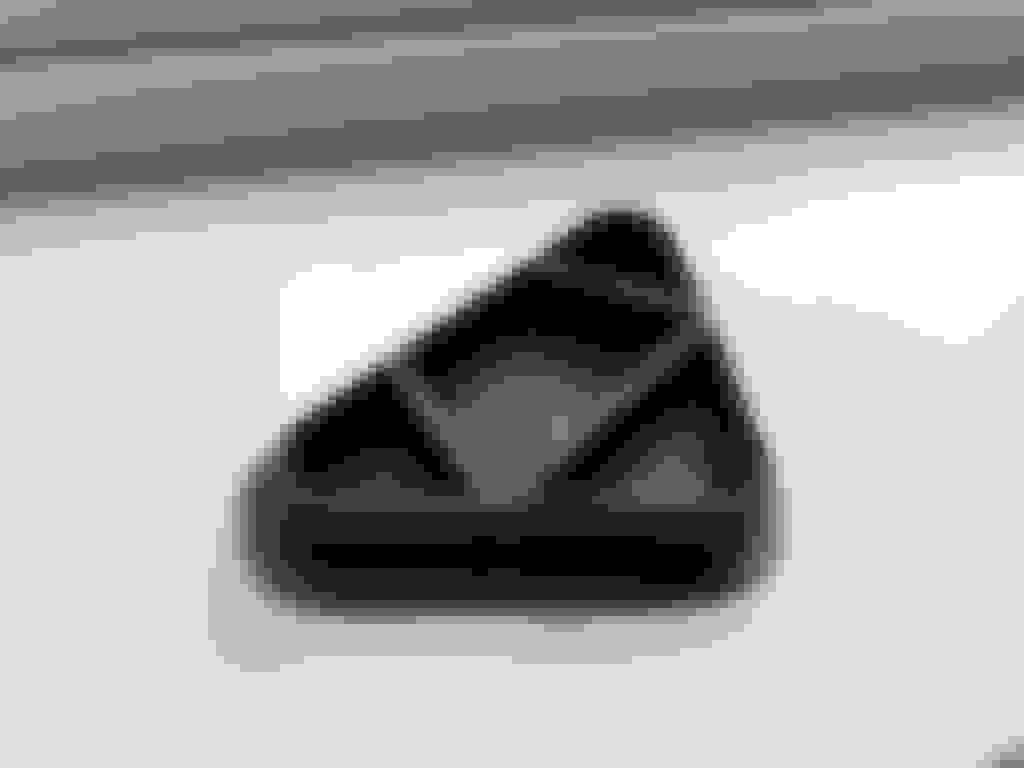
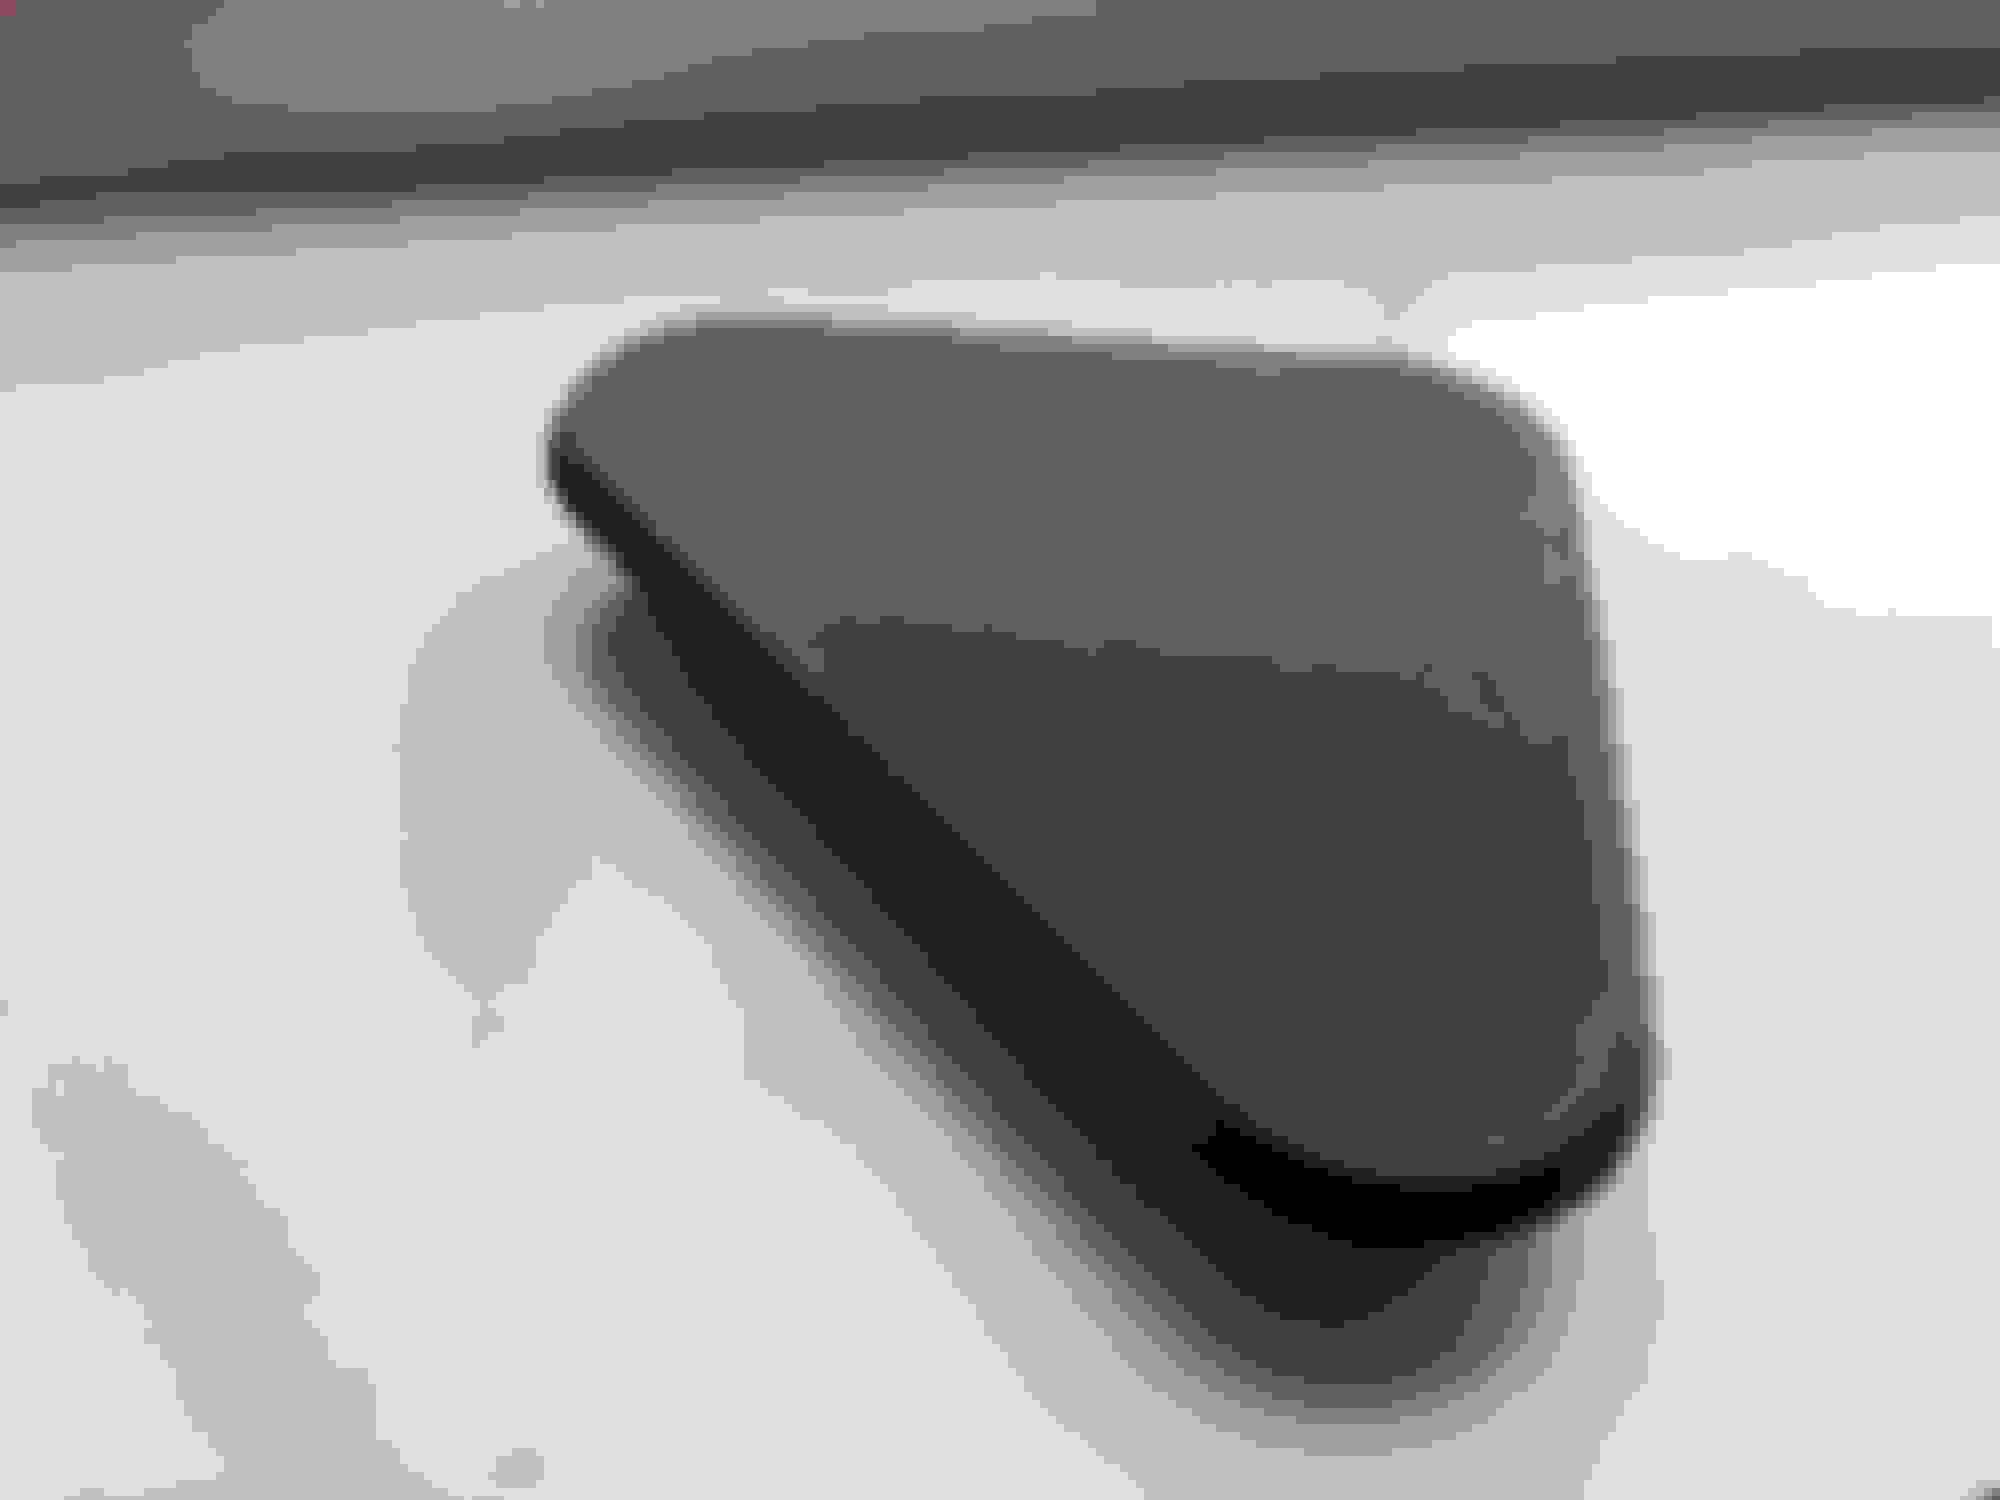
Here is a link to a zip archive of STL files for anyone who needs to 3D print my trunk panel coilover covers.
Both left and right hand versions supplied for triangular access hatches created as I described.
I recommend printing in PETG or polycarbonate. PLA will likely soften if left out in hot summer sun.
Mine are in black PETG. How visually intrusive are they? My wife didn't even notice the covers while loading groceries. If a better color match is desired then Paramount-3D makes PETG in both a "skin" and a "military khaki" colors.
BTW, she was very much unhappy with me after I drove us through a couple miles of sharp curves. I didn't think I was being crazy aggressive, but she complained that it was worse than a roller coaster and she had to brace herself into her seat with her legs. I guess that was good testimony that the suspension upgrade and new sway bars are doing their job.
Last edited by Seattle SCone; 11-21-20 at 11:34 PM.
I feel your pain, my wife gripes at me when I corner too aggressively (for her). There is nowhere for her to hold on, I wish our SCs had a hand hold on the center console for the passenger (something like the LC500?). The only solution for now is to slow down more in the corners when passengers are on board.
I have yet to hear a tire squeal in a corner, so I assume I'm nowhere near the limit or my hearing is really bad?
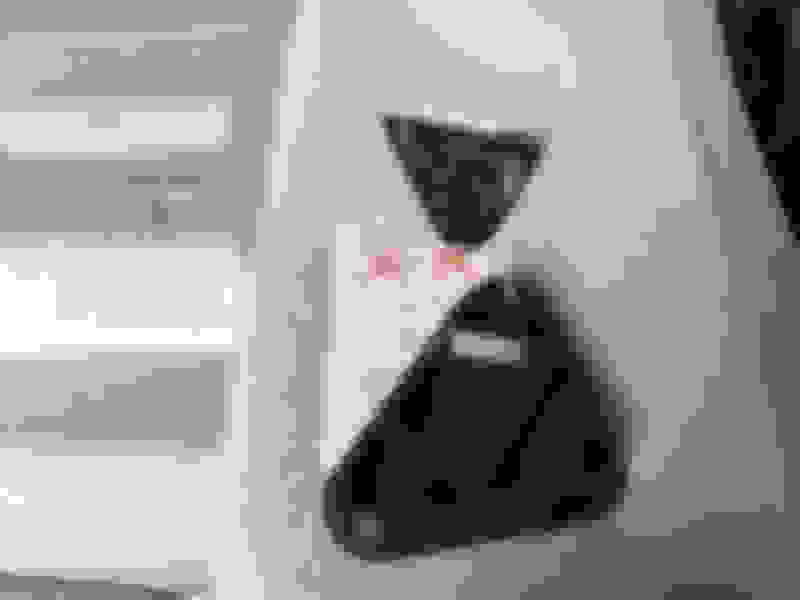
I'm curious, why would you cut a big triangle hole for the rear when you only need to cut the small hole to adjust the damper? Access to the mounting bolts will help future replacement of the shocks/coilovers but we don't have to do that for a while after all this.
Purely for future access to the bolts. I really hate wasting so much time pulling out the trunk liner. The creation of bolt access was a trivial bit more work - a cheap investment for the future.
To help with cutting rear strut access hole blind (without removing trunk liner), I was going to measure and post precise distances from hinge hardware structures to strut center position.
Thought more about that and decided it was a bad idea. The cutting process generates a mess. Cutting in situ would leave a lot of debris under the trunk liner that could possibly work its way into bad places.
A couple weeks of run in time, a second 4 wheel alignment refinement, and got my coilovers adjusted to be critically damped.
Still super happy with how she is driving. Deciding whether I want to totally tune out some grams feel of road camber by making my left front camber 0.2 more positive, but it's super minor niggling.
Let my wife drive it for the first time since the full rebuild.
She says it feels a lot like her Aston. I did tell Figs Engineering that was the ride sensation I wanted to approximate. Their recommended spring rates were on the money.
How is cowl shudder and steering wheel shudder over rough bumps? I removed my Megan Racing 32MM front sway bar as the steering wheel shudder was quite unpleasant with the top down over rough pavement. With 95,000 miles I may reassess once I have replaced the front struts with KYB units (factory spec).

 11-20-20, 12:56 PM


 Took all night to complete my four wheel alignment. I�m out on first drive with fully aligned setup and I can�t wipe the grin off my face