When you click on links to various merchants on this site and make a purchase, this can result in this site earning a commission. Affiliate programs and affiliations include, but are not limited to, the eBay Partner Network.
I really enjoyed your posts on the SC 430 fix up. Totally impressed with your work. I know that all you did is way over my head, but I loved seeing you bring my car's cousin back from neglect.
I really enjoyed your posts on the SC 430 fix up. Totally impressed with your work. I know that all you did is way over my head, but I loved seeing you bring my car's cousin back from neglect.
Thanks, Red! I've never done a timing belt before, so this was a learning process for me. But it's honestly pretty easy if you stay organized, have a service manual, and all the proper tools.
Now I can actually listed to music without a horrible rattle. I'm pretty sure I will need to repair the rear sub as well. Now that these door subs are repaired, I realize there isn't much bass coming from the rear. It doesn't rattle, but a hopefully a re-foam will help.
Great job on everything...car looks awesome!
you in Orlando?
I am near Cocoa Beach.
BTW, did you bleed the brakes yet?
if not, the rears are not bled the conventional way.
you just turn the key on, engine off, have your helper step on the brake pedal, then loosen the bleeder bolt and the pump will push the fluid out.
super easy.
Great job on everything...car looks awesome!
you in Orlando?
I am near Cocoa Beach.
BTW, did you bleed the brakes yet?
if not, the rears are not bled the conventional way.
you just turn the key on, engine off, have your helper step on the brake pedal, then loosen the bleeder bolt and they pump will push it out.
super easy.
Much appreciated!
I'm actually in Tallahassee.
I haven't bled the brakes yet, so thanks for the tip! I'll be putting my girlfriend to work pumping the brakes soon.
st3rnly, what a great, great tutorial you have provided complete with fabulous pictures on "before and after".... PERFECT!!!
Needless to say, well, well above my skill level, however, to know we have our younger crowd so talented and without hesitation - jump in and "remake" a beautiful elder lady ready for the road for many years. Thanks so much, you certainly made my day after reviewing your above post.
Lugnuts (75 years young, USAF Vietnam fighter pilot and many other venues)
Great rehab on the SC. It is well worth it. I do not know how much you like the pie plate rims, if you do not then the easiest way to make it current is the conversion to 5 Spoke SC430. The center "Pie Plate" can be replaced with a "star" plate, thereby converting it to a nice 5 spoke rim design. Here is a picture of an SC with the upgraded center caps. Some people had their rims chromed as shown below otherwise they will look like silver painted rims.
st3rnly, what a great, great tutorial you have provided complete with fabulous pictures on "before and after".... PERFECT!!!
Needless to say, well, well above my skill level, however, to know we have our younger crowd so talented and without hesitation - jump in and "remake" a beautiful elder lady ready for the road for many years. Thanks so much, you certainly made my day after reviewing your above post.
Lugnuts (75 years young, USAF Vietnam fighter pilot and many other venues)
Thanks Lugnuts! I appreciate the kind words. It's sort of a blessing the dealership wanted so much to do the timing belt/water pump rebuild as it gave me some fresh experience with the engine. I had never done a timing belt before, but they are actually quite easy on these engines. Plus the savings never hurts
Originally Posted by mandyfig
Great rehab on the SC. It is well worth it. I do not know how much you like the pie plate rims, if you do not then the easiest way to make it current is the conversion to 5 Spoke SC430. The center "Pie Plate" can be replaced with a "star" plate, thereby converting it to a nice 5 spoke rim design. Here is a picture of an SC with the upgraded center caps. Some people had their rims chromed as shown below otherwise they will look like silver painted rims.
Thanks for the heads up, mandy! I actually looked into buying some of those covers when I first got the car, but the pie plates have grown on me. I think I'm in the minority of those who actually like the wheels. I think in the future though, I'll swap to a staggered setup like this (all brushed/polished though).
Next up on the SC upgrades was modernizing the head unit connectivity. I see a lot of people replace the radio assembly with a new double din, but this requires an additional Beatsonic harness to the tune of ~$400. After factoring in a new headunit to the cost, I wasn't convinced this was the best solution for me. In doing some research into replacing the navigation unit with a screen, I came across this thread and decided it was the route I wanted to take. Huge thanks to both @evgeniy and @2006SC430 for their help along the way, I wouldn't have been able to do it without you both.
Please keep in mind, the below is specific to the earlier revision SC430; there are differences in the factory radio and navigation unit, but the end goal is still achievable in both.
Remove the HVAC control unit by prying on either side
Next comes the inner two AC vents/dash bezel
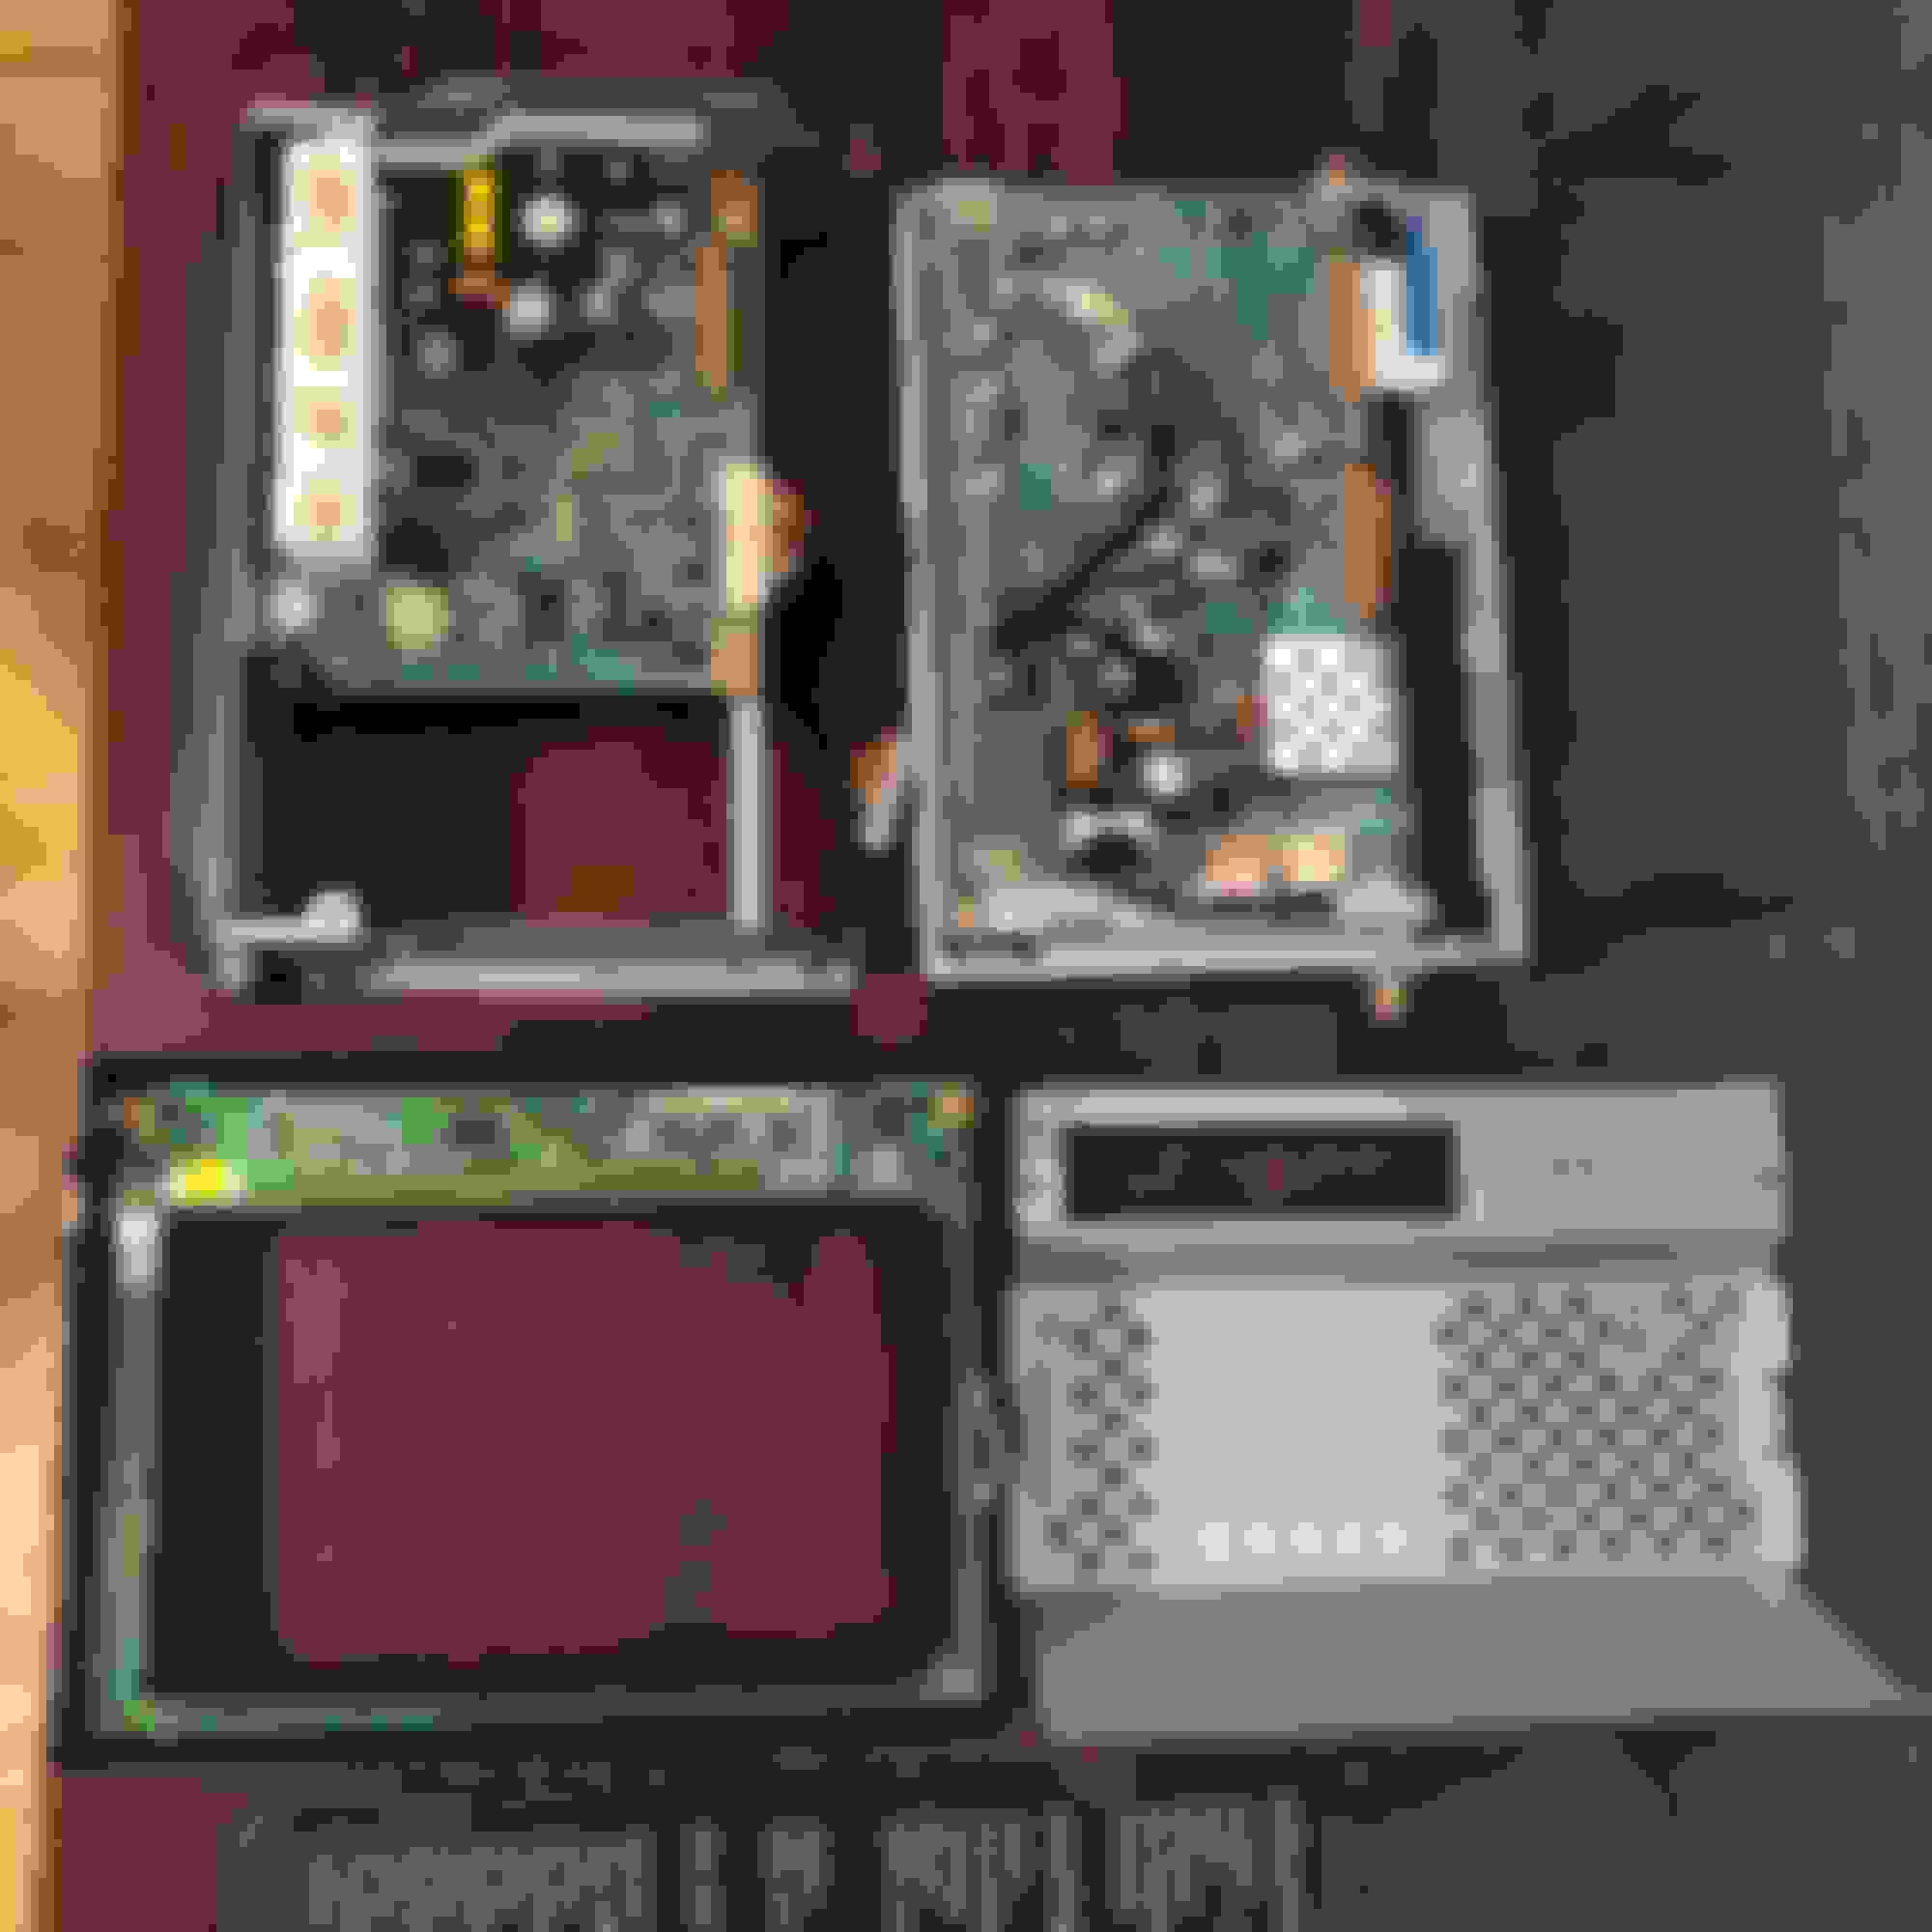
You now have access to the two bolts and two screws holding in the nav assembly. Remove them, disconnect the wiring and bring the navigation assembly to your workbench
Disassembly of the unit is pretty straightforward. Remove the metal support bracket, plastic side brackets, and the two screws connecting the screen to the tilt bracket.
Disassemble to nav screen assembly.
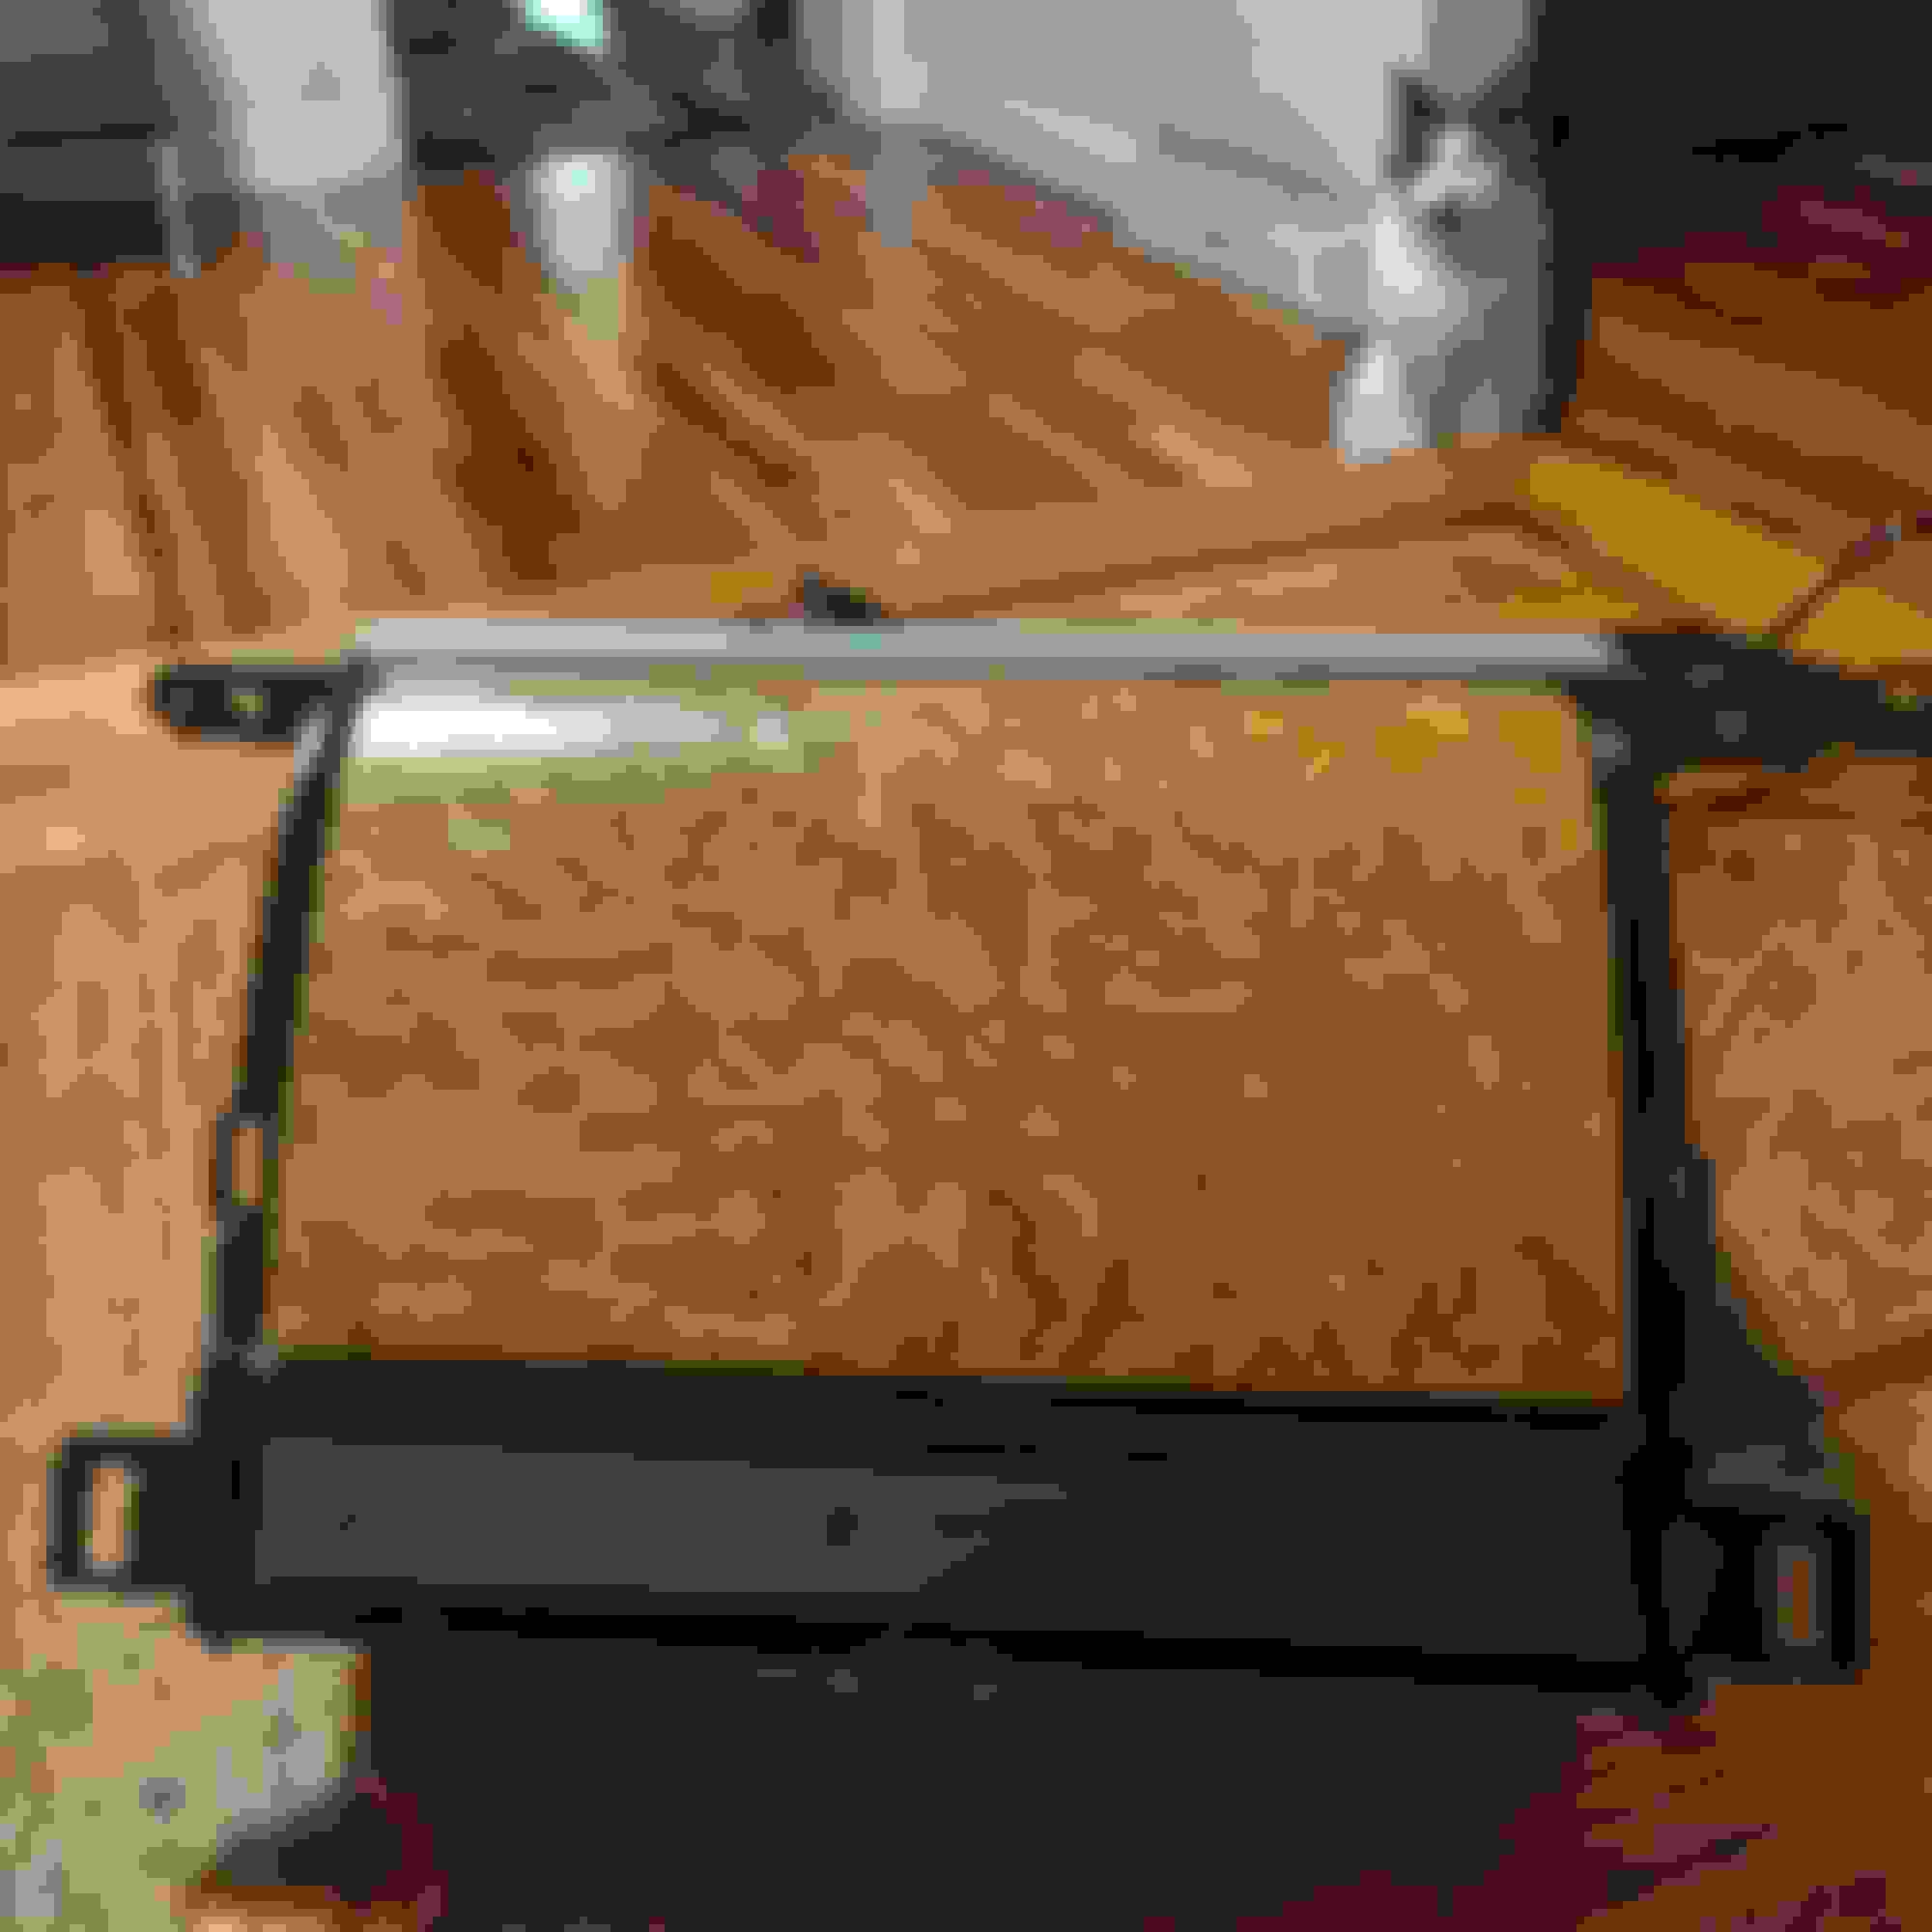
The new headunit will not fit directly into the nav screen enclosure (as you see below), so you will need to modify both to fit.
Before/after modifying the android unit and mounting brackets
I then had to mark and drill holes to mount the new unit to the bracket
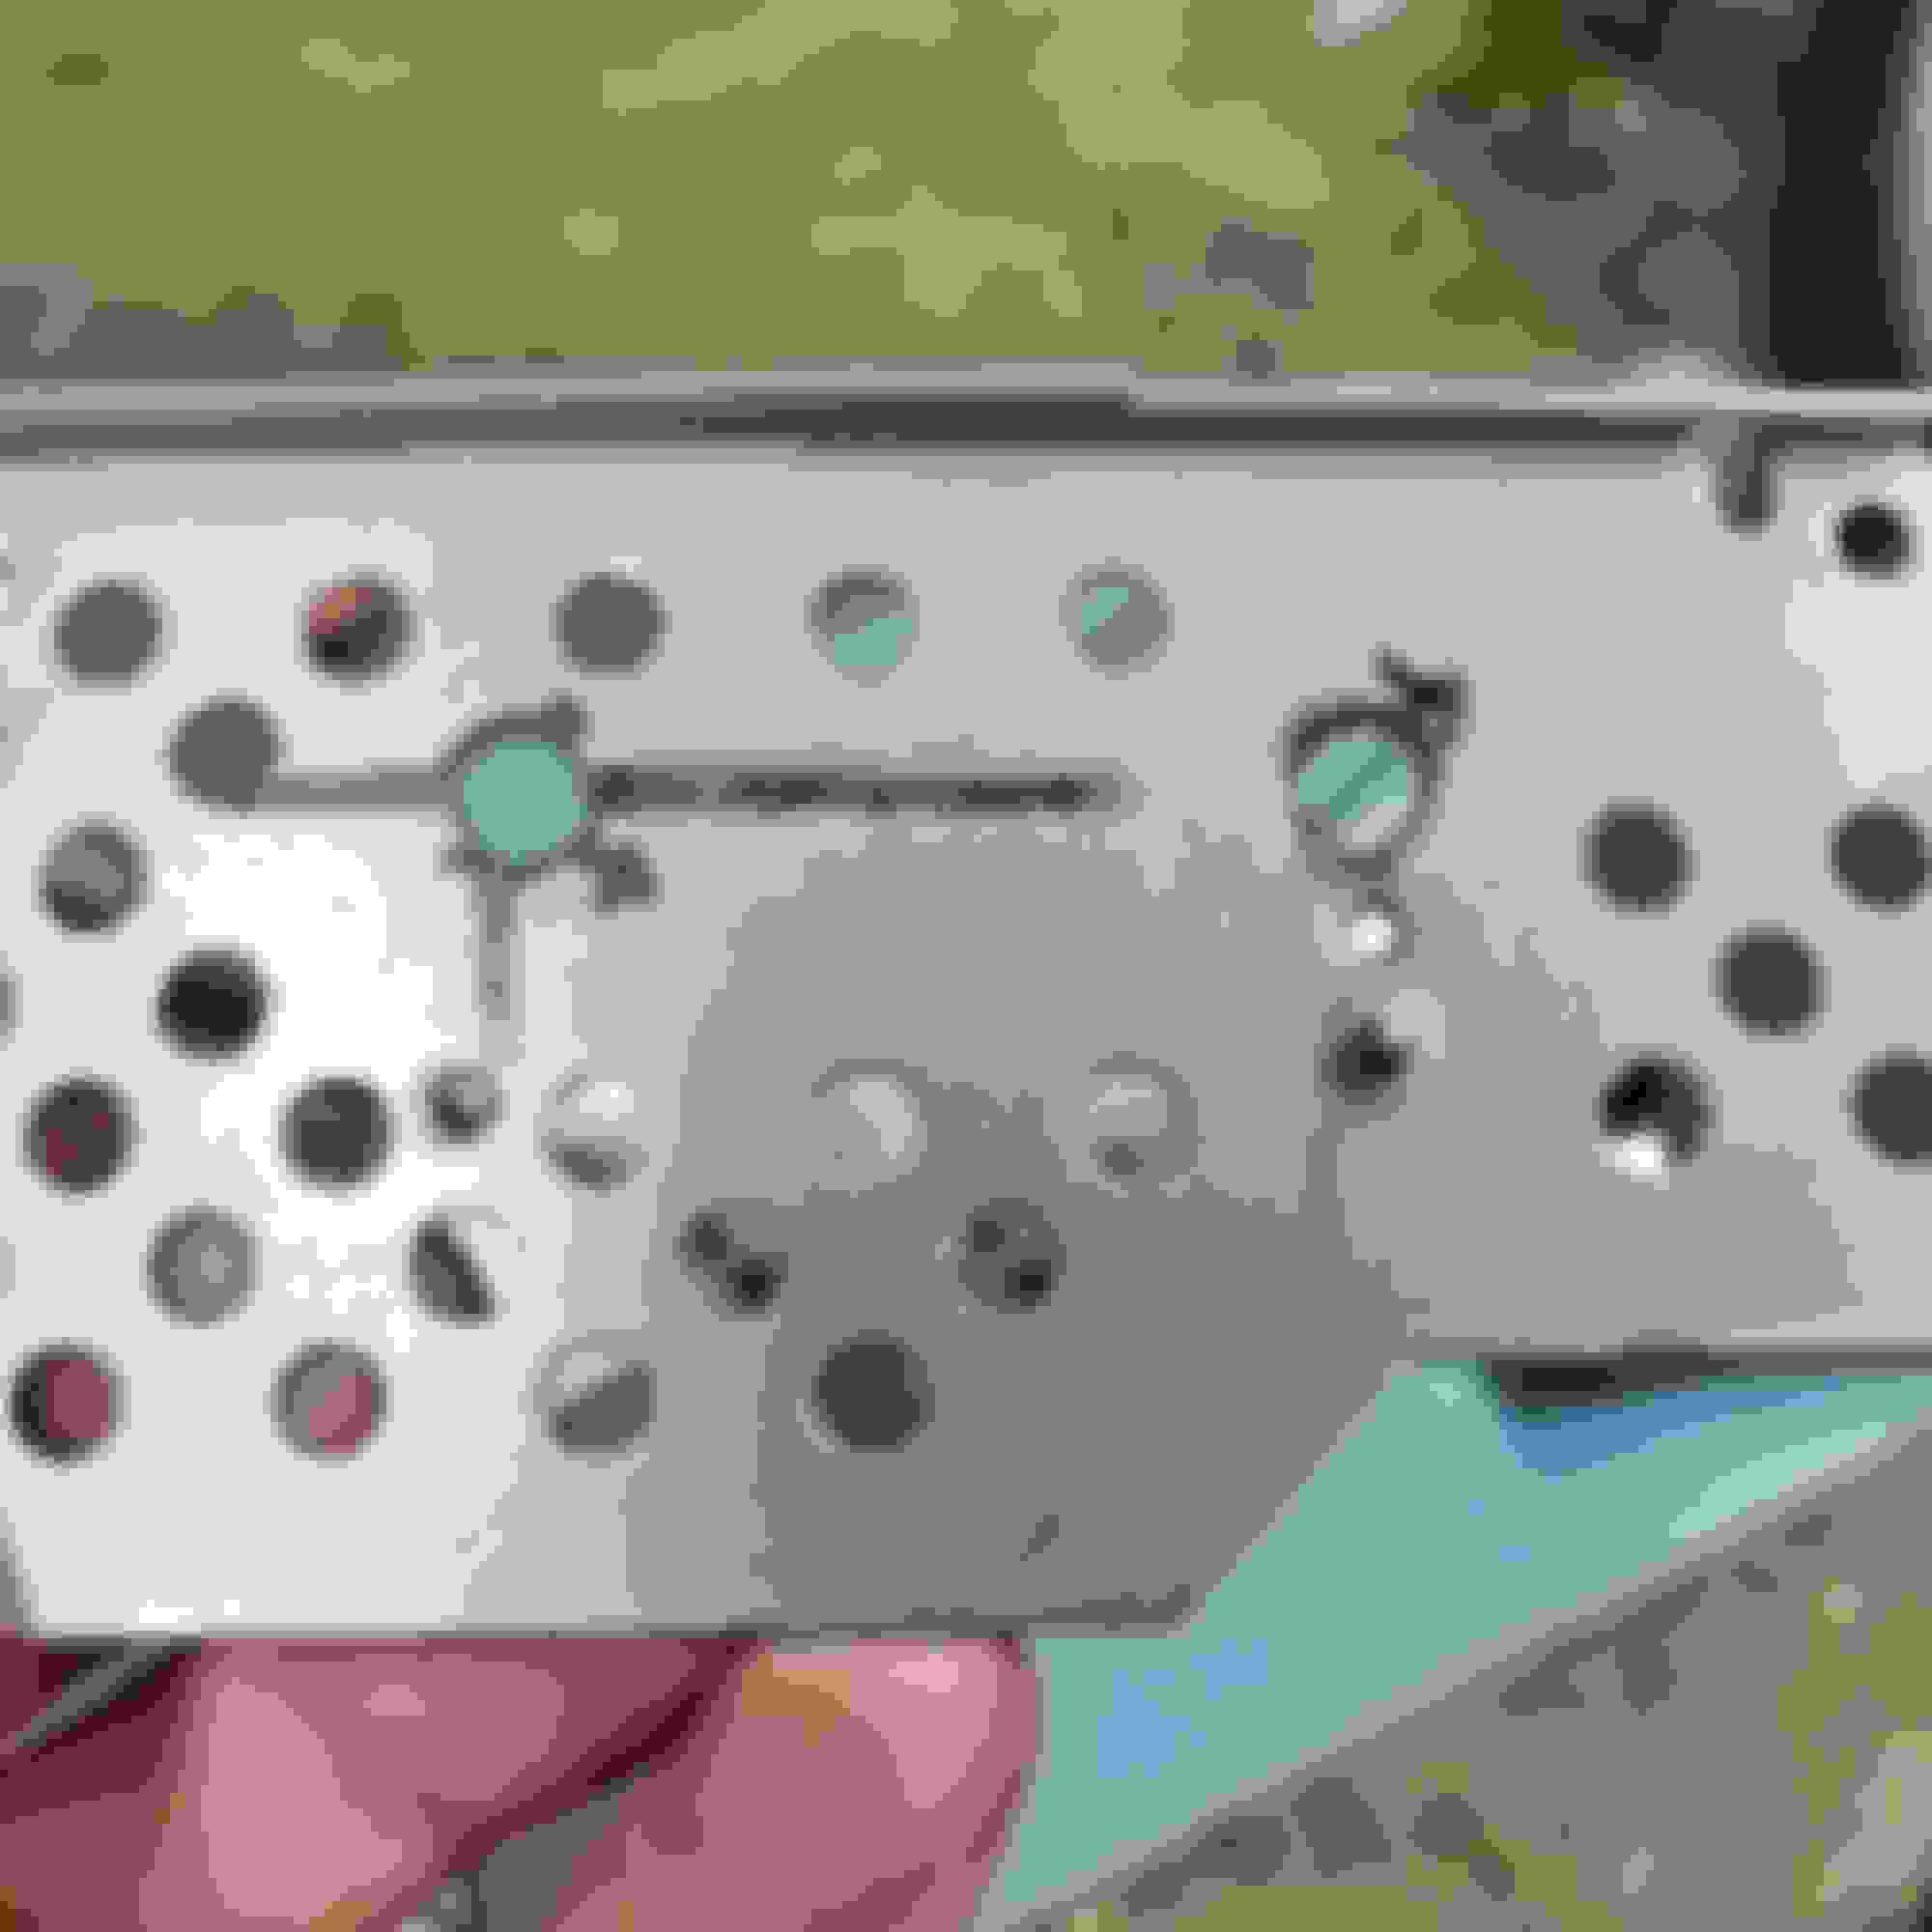
I harvested this bracket from the nav body to re-use as a base for the pcb that controls the tilt/open functionality of the nav assembly.
With the help of a friend, I built a 3D printed enclosure to house this control unit
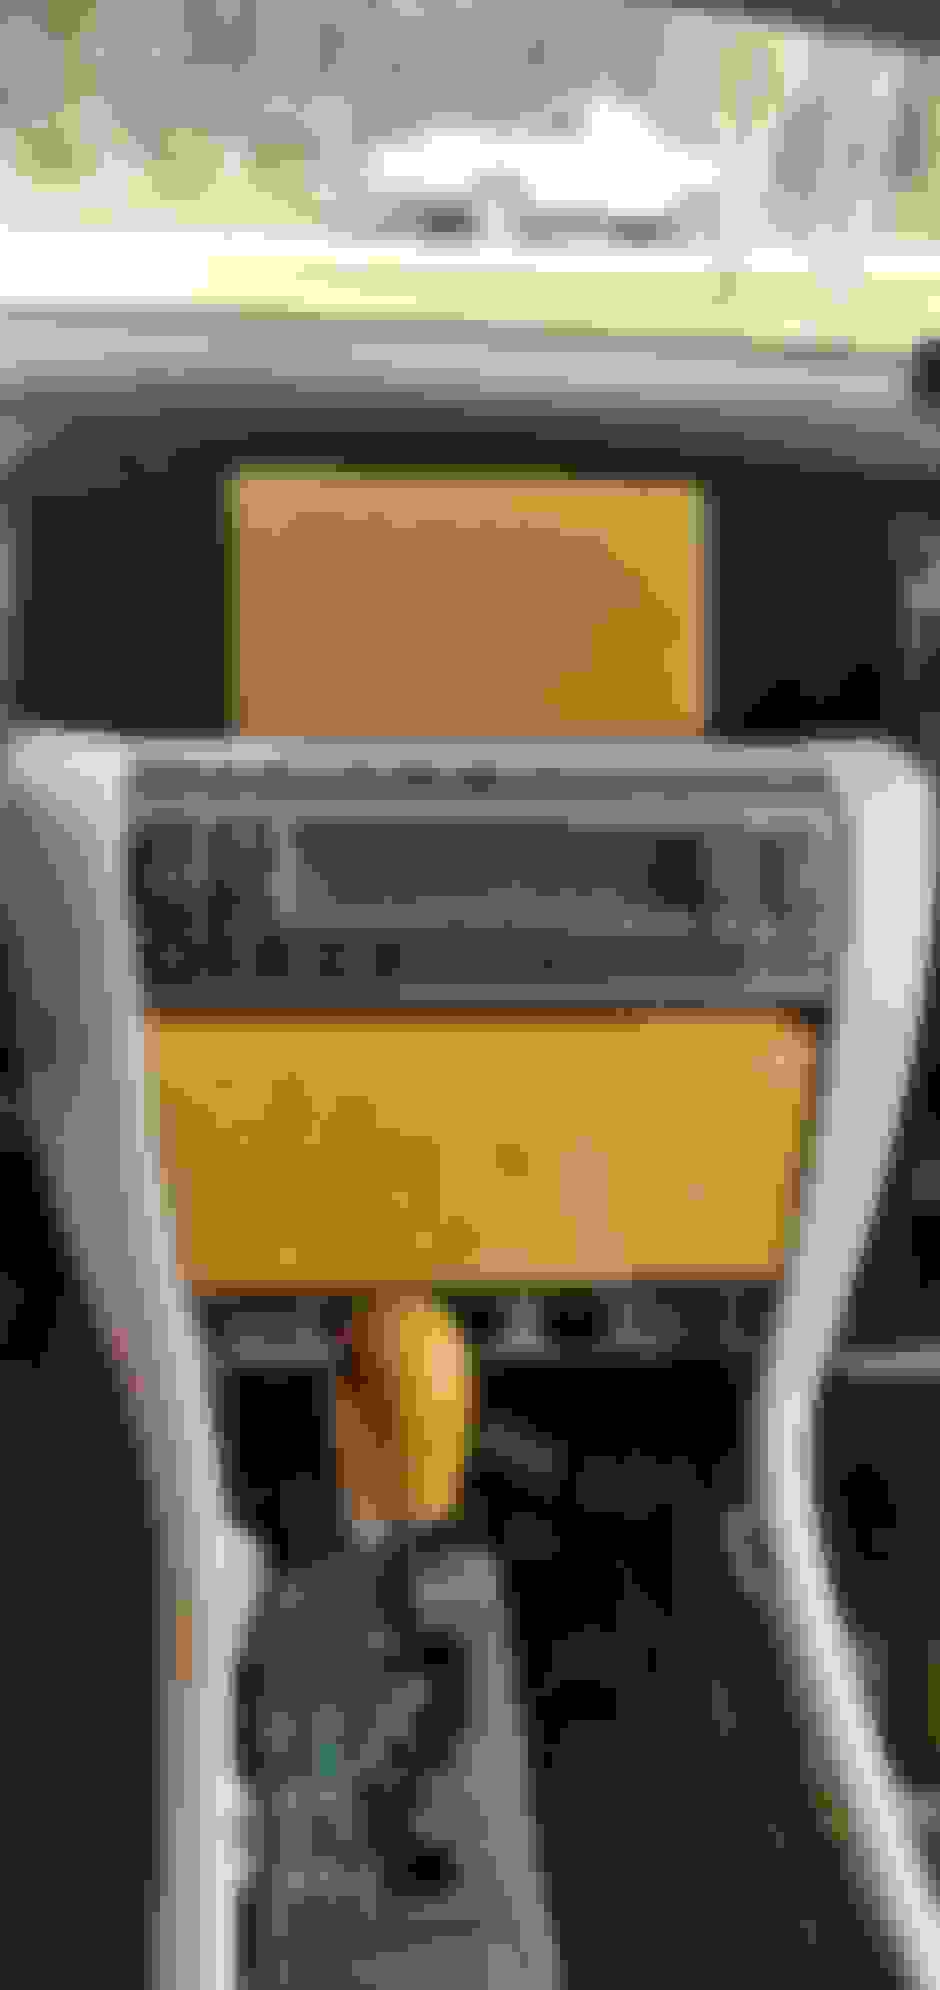
Now, back to the car we go to remove the factory radio. The heated seat controls are removed, followed by the shifter surround, and then finally the radio.
In order to power the android head unit, I decided to splice into the radio harness. The only wires needed are positive, ground, and accessory. For my model car, those are shown as follows.
I spliced those connections and extended them a couple feet, terminated with color coded heatshrink and quick connect spades
Back to the harness that came with the android, I removed all wires I didn't need and extended the remaining ones to matching connectors. The pink wire and video connection you see is the backup camera I pre-wired, but have yet to run to the rear.
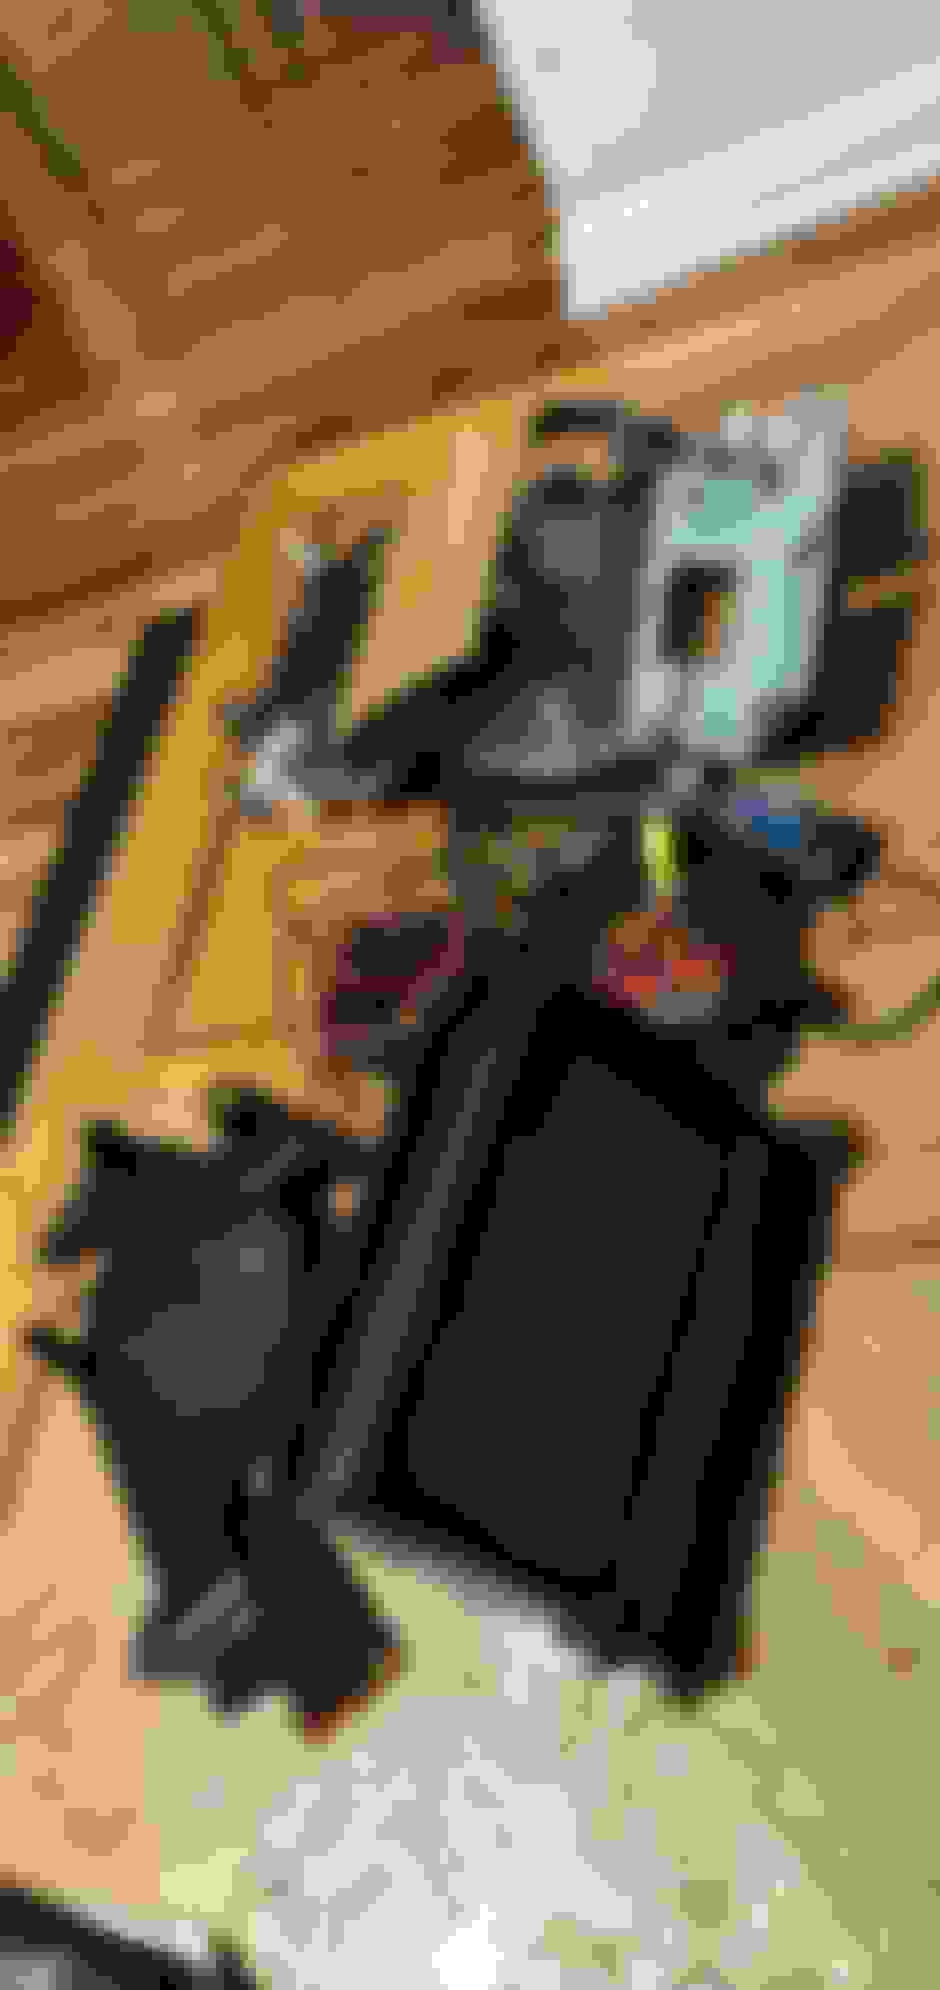
Everything ready to go back together.
Android assembly mounted in the nav body and cables ran the same route as factory. I used a zip-tie to secure them.
Plastic side rails and metal support bracket mounted, making sure to insert the door guide pins in their respective cutouts.
A note of importance - the nav door MUST be fully closed before reinstalling.
Back to the car. While I was in there, I decided to remove the TPMS plugs since I check pressures regularly and didn't want to splurge on new sensors.
I forgot to take picture of this, but at this point I installed the VAIS unit following the provided instructions. I also had to order a male to male RCA cable since both the VAIS and Android terminate to female. Once those connections were made, I reinstalled the radio.
Next, I removed the speedometer assembly so that I could mount the aforementioned 3D printed enclosure.
I also ran some female to female USB extensions to the glovebox for easy USB access to the headunit.
Great job man and good documentation for others to follow , I did the same mod during lockdown , but made the mistake of choosing a budget android head unit , which has taken the shine off the upgrade for me .Live & learn i guess .

 12-30-20, 09:48 AM