When you click on links to various merchants on this site and make a purchase, this can result in this site earning a commission. Affiliate programs and affiliations include, but are not limited to, the eBay Partner Network.
I actually used a Rain-x kit I had laying around to restore mine. It has a spray/wipe sealant vs using a clear coat, but has held up fine so far. I also used a DA with some polish to finish them off before sealing. If I had to do it again, I would just buy an assortment of sandpaper and a quality clear coat.
As for the new bulbs, the perceived brightness increase could be attributed to the color difference, or the fact that they are new. Unless you upgraded to a higher wattage bulb, 4300 and 6000 should be the same brightness, just different color. Here's some good reading on the subject
Perfect,.. I was originally going to buy a Rain-X or Rustoleum kit, but got the Turtle wax one instead.. Glad to see these kits yield impressive results. My headlights are not bad, just a little haze at the top forming, but I want to get them completely clear again like you got yours cleared up.. they look awesome and brand new!!
Ill likely use some of my finer sandpaper to sand down more after using the stuff in my kits, and then polish and seal after. I suppose if I use the sealant in the kit, I can always go over it later with ceramic coating. If it doesnt last, then ill resort to the meguiars clear coat for head lights.
I am doing things backwards with my SC and working on performance first, so Ill be paying close attention to this thread when I finally get to the point where Im throwing a lot of money at the coil overs, figs bushings, sway bars, etc...
I recently changed all the lights on the entire front end, and used stock Lexus 6000k lights - while they are supposed to be less bright than the 4300K, they arent.. They are brighter, though its likely because the headlights are fresh, and I LOVE the color!
I thought the higher the number , the brighter( and bluer) the light. You might want to check your bulbs again.
I checked the link st3rnly put out and was surpised to see that 4300 to 6K range is brightest.. I was always under the impression that 4300 to 4700 were the brightest you can get.
If anyone needs headlight bulbs, genuine OEM toyota/lexus bulbs on ebay can be found for around $20 for the pair and they are the same Philips you would buy anywhere else for triple the cost or more
[. The extra money was not worth it, since these are more than bright enough. I also changed out the daylight running bulbs with 5K Philips, new turn signals, and the little 194 bulbs at the top of the fixture which are Putco branded and are 6K as well, but I may change those out for some Philips LED 6K lights.
![/QUOTE]
@ SC430fun , How did you access the little 194 bulbs ? I need to replace mine but can't see an easy way to get to them .
[. The extra money was not worth it, since these are more than bright enough. I also changed out the daylight running bulbs with 5K Philips, new turn signals, and the little 194 bulbs at the top of the fixture which are Putco branded and are 6K as well, but I may change those out for some Philips LED 6K lights.
!
@ SC430fun , How did you access the little 194 bulbs ? I need to replace mine but can't see an easy way to get to them .[/QUOTE]
I was installing my most recent radiator (and other work under the hood) which started leaking at the top on my test drive the next morning, and used the chance while things were apart to do all the bulbs. I ended up removing my bumper cover completely so I could pull the entire headlight fixture out far enough to access everything including the ballast, although I did not replace them. If you have 2006 and up with the newer projector headlights the 194 bulb is at the top.. just be careful when dropping the bumper cover. When I did it, it pulled too hard on the headlight washer hose and I had to install a screw clamp since the original one "lost its grip." You can see in the pic, the little blue bulb at the top, which I wanted because it will give the headlight fixtures a bluish kind of look during the day which matches the color of the car well.. I am not liking these Putco bulbs however and found them to be cheap ****ty bulbs despite how pricey they were, so I am going to install some Philips 194 LED's, which I have multiple sets of and ended up using some of them on my side marker bulbs.
The fog lights were a bit of a pain in the ***... I ended up replacing them with Hella 6K lights and they look good. I almost converted them to HID's, and I might still do it in the future. I'm glad I did not convert the low or high beams to LED's since these HID's are more than bright enough! Of all the work I did that night, the headlights were the only thing that worked out well. The car is horribly filthy at the time of this work.
Thanks for the reply SC430fun , Mine is an 06 , I did the fog lights , that was a mission , I used bulbs out of china, ice blue colour , one side has already stopped working ,so I'll have to go back in there and maybe spend more to get reliable bulbs , My side markers have been plasti-dipped black by the previous owner , it's not a requirement to have them in New Zealand .
I found the Lexus Philips OEM 6K bulbs on eBay for under $20 for the pair which was a great deal. I chose the 6K because I like the color more, and saw them on the Prius. The brightness of these new bulbs is simply because they are not worn out... the lower the color temp, the brighter is supposed to be apparently. These have the shade of blue that I like will still being an OEM choice and completely legal. I almost dropped over $200 on some high end Philips 6700k bulbs which I could only find for sale on eBay from a seller in Japan.. While the bulbs have a higher lumen count, they would be bluer and are not DOT approved.. The extra money was not worth it, since these are more than bright enough. I also changed out the daylight running bulbs with 5K Philips, new turn signals, and the little 194 bulbs at the top of the fixture which are Putco branded and are 6K as well, but I may change those out for some Philips LED 6K lights.
I ran over a horrible pothole back in 2016, and lost my AFS.. when upgrading my brakes, I found the arm was completely bent. I found the extra one I have from my wrecked 2009, and I am going to finally swap them on so the damn AFS works again and the stupid light on the dash turns off!
Would you mind sharing some links to the bulbs you replaced? I'm planning on replacing all my front end lights soon and would like to order them all before pulling the bumper.
Finally back with an update now that my suspension project is completed. I ordered my Meister R Coilovers at the end of 2020, but they ran out of stock. I was given the option of a refund or to wait 6-8 weeks for new stock. I chose to wait, but unfortunately the timeline ended up being 20 weeks. All said and done, I'm still happy with my choice to use Meisters.
After reading @Seattle SCone 's suspension project thread, I decided I should also replace/refresh the remaining suspension consumables. If you haven't checked out his thread yet, do yourself a favor and give it a read. Since he covered the install in great detail, I chose not to document all the steps I took.
Now on to the good stuff. I'll link the parts I used below.
All parts listed above cost me just shy of $1,500. Well worth the price to have essentially brand new suspension on an 18 year old car. In hindsight, I forgot to order rear lower control arm bushings, but they looked to be in good condition. I'll still replace them in the near future. I also somehow forgot to take pictures of replacing the front lower control arm bushings. Removing them was a total pain in the ***, so I tried to power through that process as quickly as possible. I ended up needing an air chisel, a 20 ton press, and a couple beers.
New coilovers
Suspension goodies waiting for install
Disassembled the front first since this was the bulk of the project
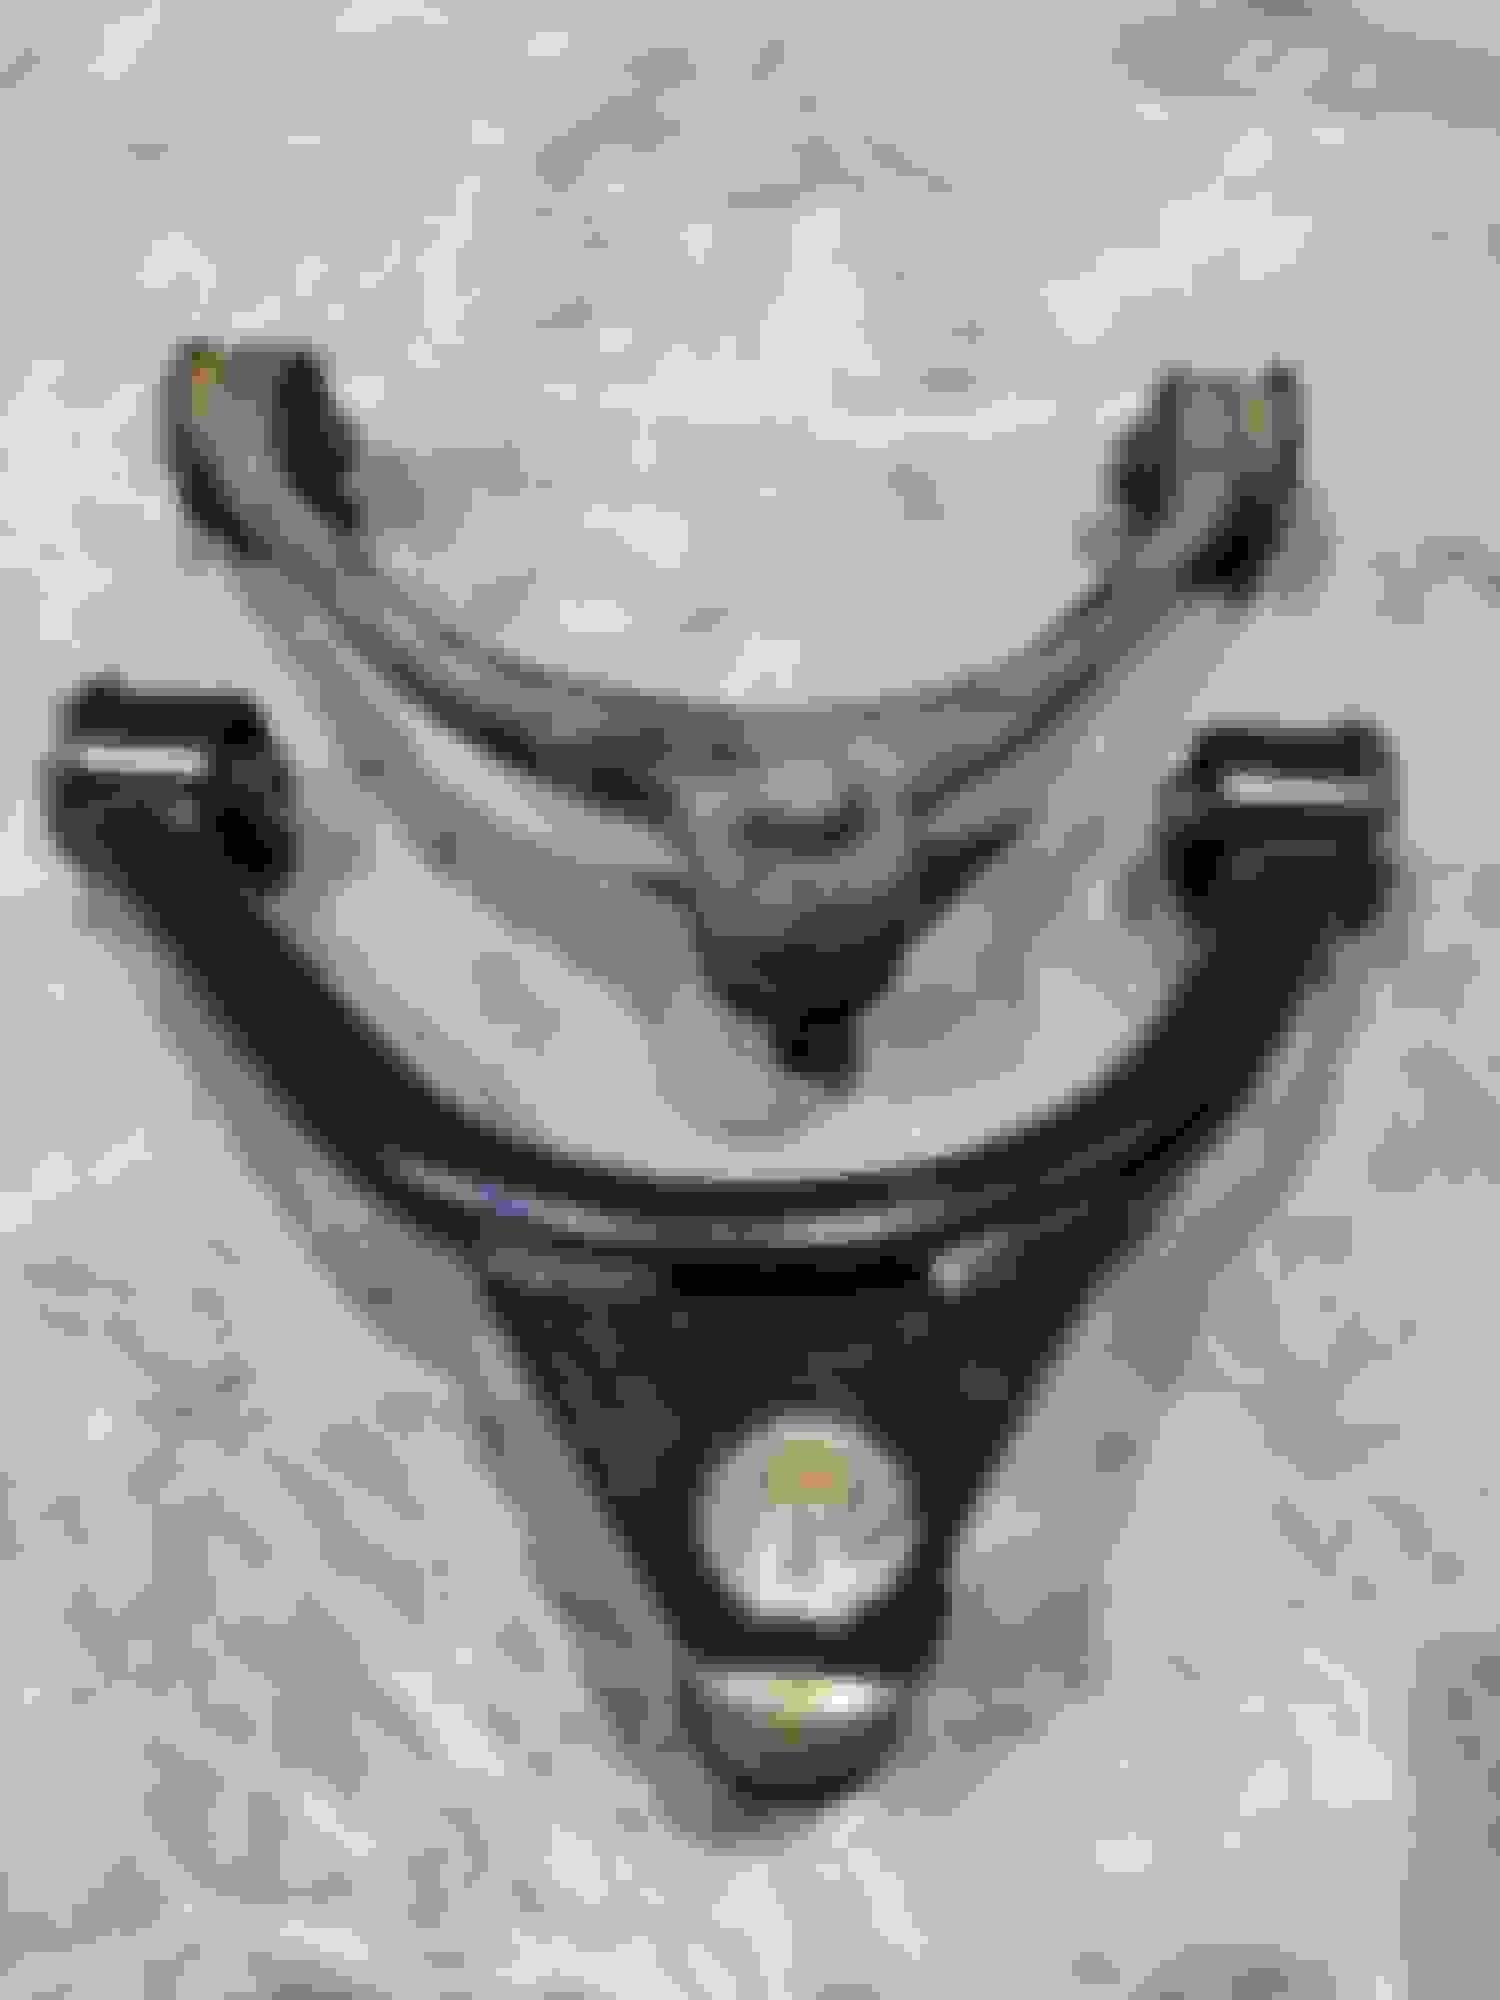
Comparisons of old vs new
Front end reassembled
Onto the rear, hardest part was removing the trunk panels
With the coilovers set to 100mm between collars, The ride height was too high for my taste.
I ended up lowering the car a bit more and dropped it off to my buddy who works at Toyota to get an alignment
After picking up the car, I'm blown away by the night and day difference. I still haven't played around with dialing in the dampening *****, but I'm already happy with how they came out of the box. The car tracks extremely straight, I no longer have vibration in the wheel around 60mph, and the car is flatter than ever through corners.
Here is how it currently sits. I will probably raise the car 1/4" in the front as it rubs slightly over big bumps or hard cornering, but I'm extremely happy with the new ride.
The lower look sure looks nice.
how did the alignment numbers work out?
I really liked the coilovers on my car driving at high speed. It felt so planted and solid.
also, I held on to my old springs and struts…Not saying you will but I ended up using the old spring with new struts. The D2 coilovers were too much for me and I sold them…around town was too stiff.
I think I need to raise mine up even more after seeing yours. Last week I was trying to do an alignment and the tech said, too low, can't put the alignment arms to the tires.
What's your alignment result ?
mine drives like crap right now with all the camber & toe messed up.
The lower look sure looks nice.
how did the alignment numbers work out?
I really liked the coilovers on my car driving at high speed. It felt so planted and solid.
also, I held on to my old springs and struts�Not saying you will but I ended up using the old spring with new struts. The D2 coilovers were too much for me and I sold them�around town was too stiff.
I think your D2 spring rates were too high for this car. I remember they were like 18 and 14.
Nice job st3rnly. I'm still trying to work up the nerve to do similar replacements.
Thanks Harold! It's well worth the effort and can be done in a day. Go for it!
Originally Posted by Bgw70
The lower look sure looks nice.
how did the alignment numbers work out?
I really liked the coilovers on my car driving at high speed. It felt so planted and solid.
also, I held on to my old springs and struts�Not saying you will but I ended up using the old spring with new struts. The D2 coilovers were too much for me and I sold them�around town was too stiff.
Thanks! I'm really happy with the lower ride height, I just need to raise it a hair.
Unfortunately I didn't get a printout with the specs because my buddy did it off the books as a favor. I asked him to set toe around zero and camber -2 front and -1.5 rear. I'm happy with the coilovers and don't think I'll ever swap back to stock springs/struts. Like digi said, I think your spring rates were off because these Meisters ride beautifully
Originally Posted by digitatc
I think I need to raise mine up even more after seeing yours. Last week I was trying to do an alignment and the tech said, too low, can't put the alignment arms to the tires.
What's your alignment result ?
mine drives like crap right now with all the camber & toe messed up.
I'm going to be raising mine up a hair from here. If I didn't have wheel spacers, I wouldn't rub, but I do scrape the front bumper if I'm going quick through steep intersections.
Unfortunately I didn't get a printout with the specs because my buddy did it off the books as a favor. I asked him to set toe around zero and camber -2 front and -1.5 rear.
mine was a little too low, that I could barely fit 1 finger in.
I saw you haven't upgraded the front sway bar yet. if you do, try to get something not too stiff otherwise you'll feel the bumps on the road. I have the front TRD bar and it's a little stiff.
I'll try to get toe to 0 and camber -1 in the front, -1 to -1.5 in the rear.
btw, when you do the rear knuckle bushings, make sure got the right tool to press the new ones back in. So much swearing in the garage that my wife complained.
Beautiful work. I have MeisterRs on the way. Arriving Friday, and I have some SuperPro bushings for the rack (recommended as best place to start with upgrading bushings on another thread here). But your post has me wondering if I shouldn't go for something more comprehensive like you've done and do the control arms etc as well...
Though as I look more closely at the pics, it looks like the other upgrades wouldn't require the removal of the coilovers. Or are there things I'm not seeing and should do that do require coilover removal?
Thanks for an exciting and educational thread!!
Last edited by roscoeiii; 05-26-21 at 04:19 PM.
Reason: grammar

 03-05-21, 01:34 PM