When you click on links to various merchants on this site and make a purchase, this can result in this site earning a commission. Affiliate programs and affiliations include, but are not limited to, the eBay Partner Network.
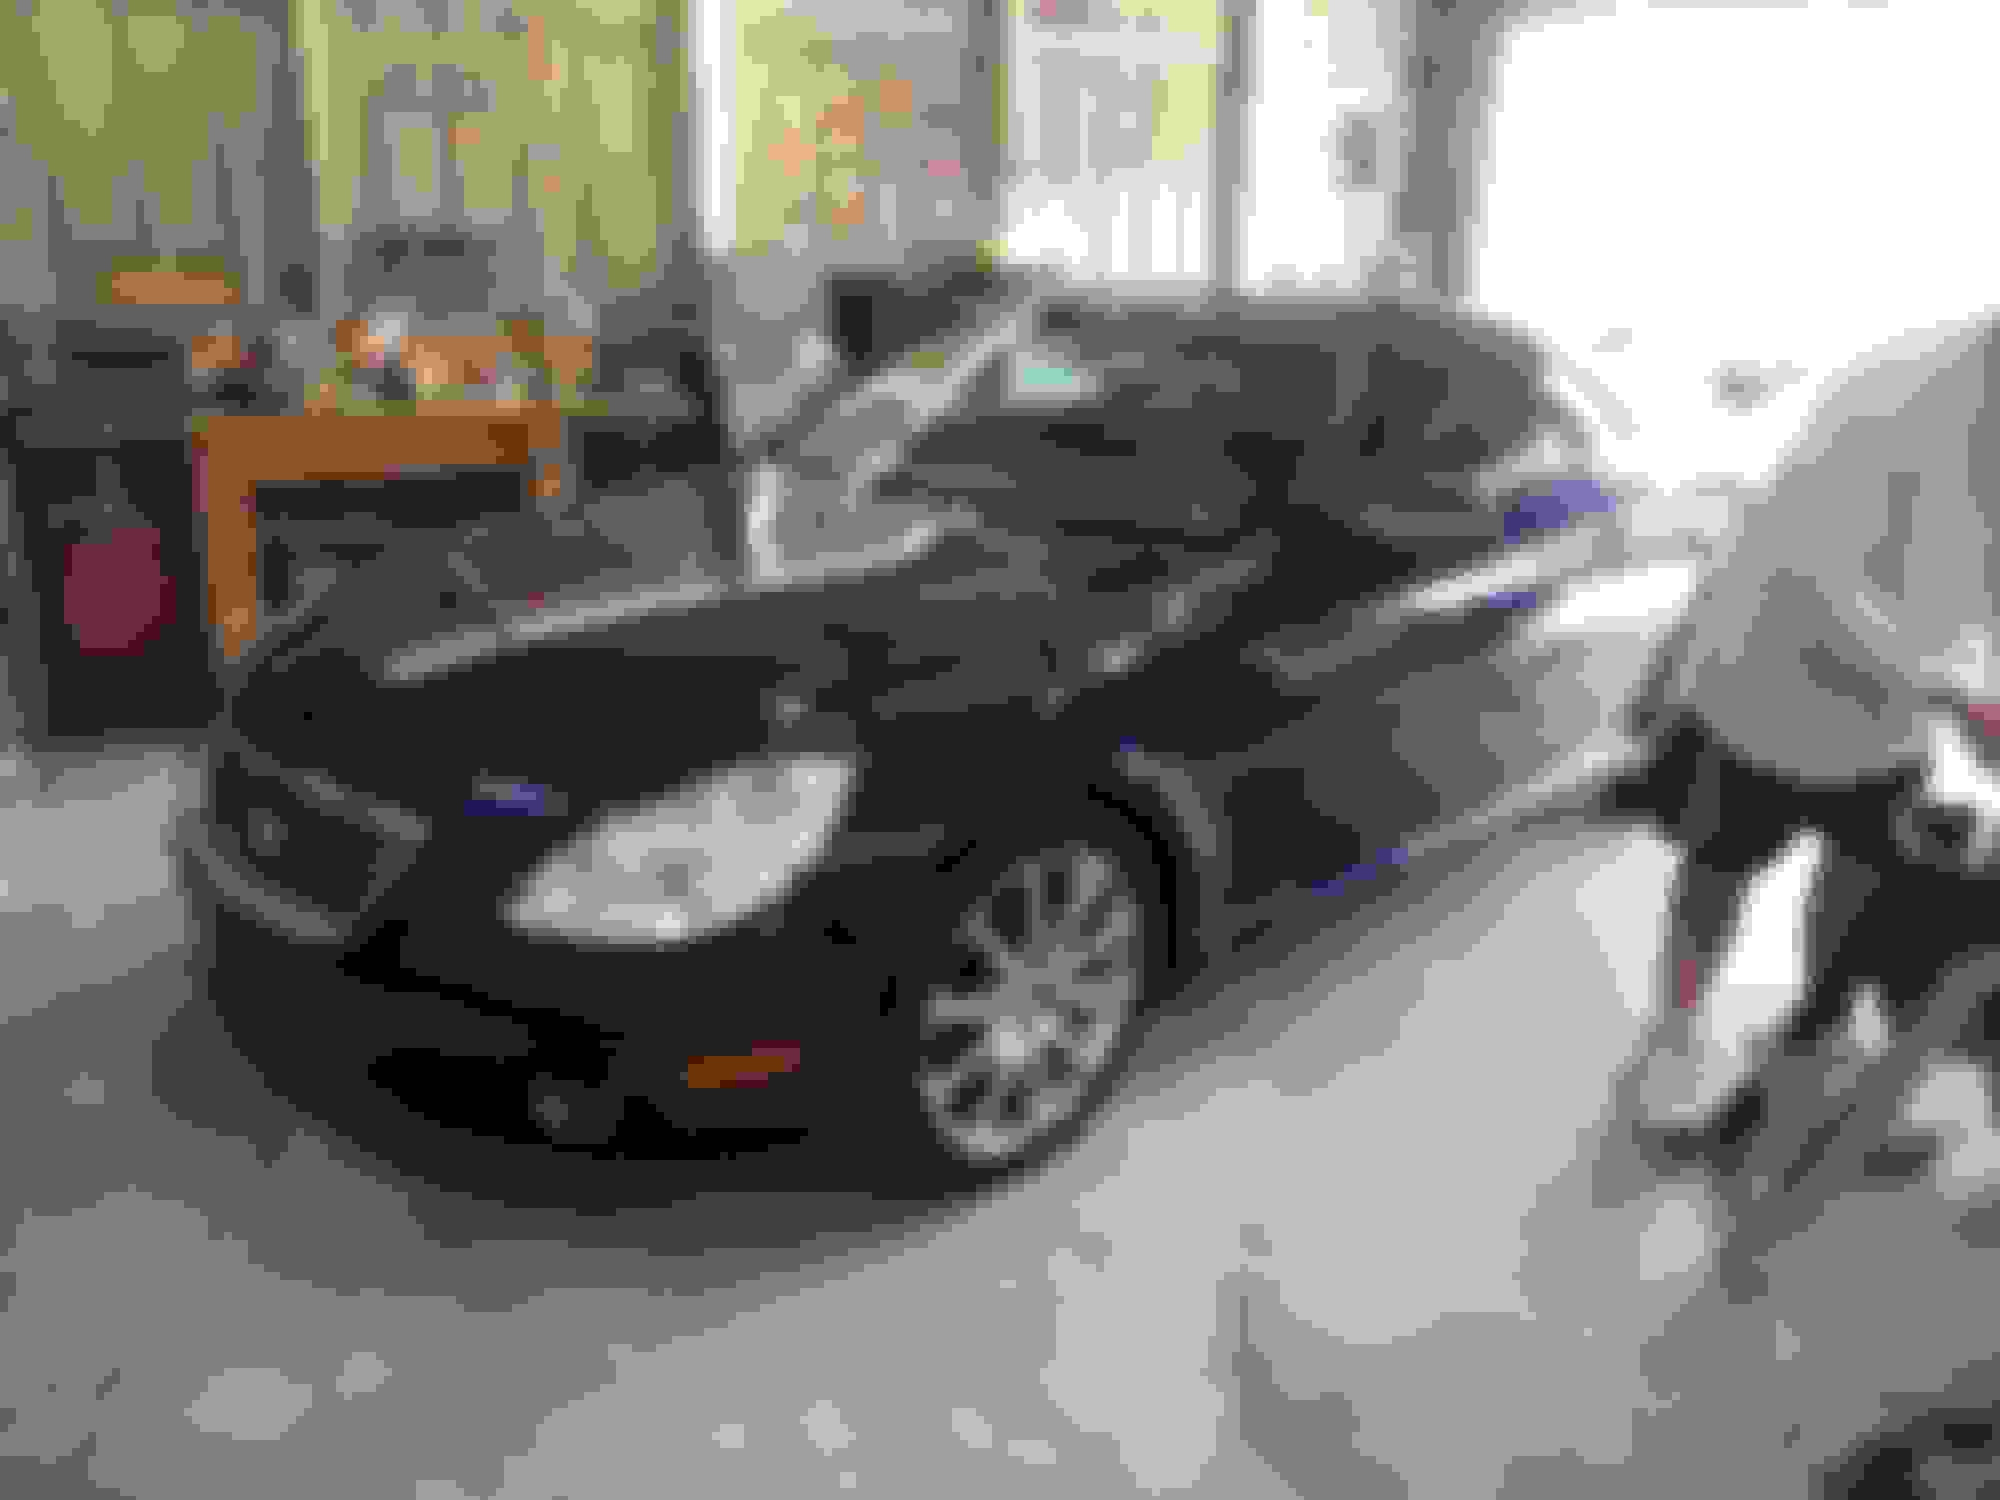
After practicing first on a different car, I decided to restore the headlights on our SC430. Here's the stuff I used:
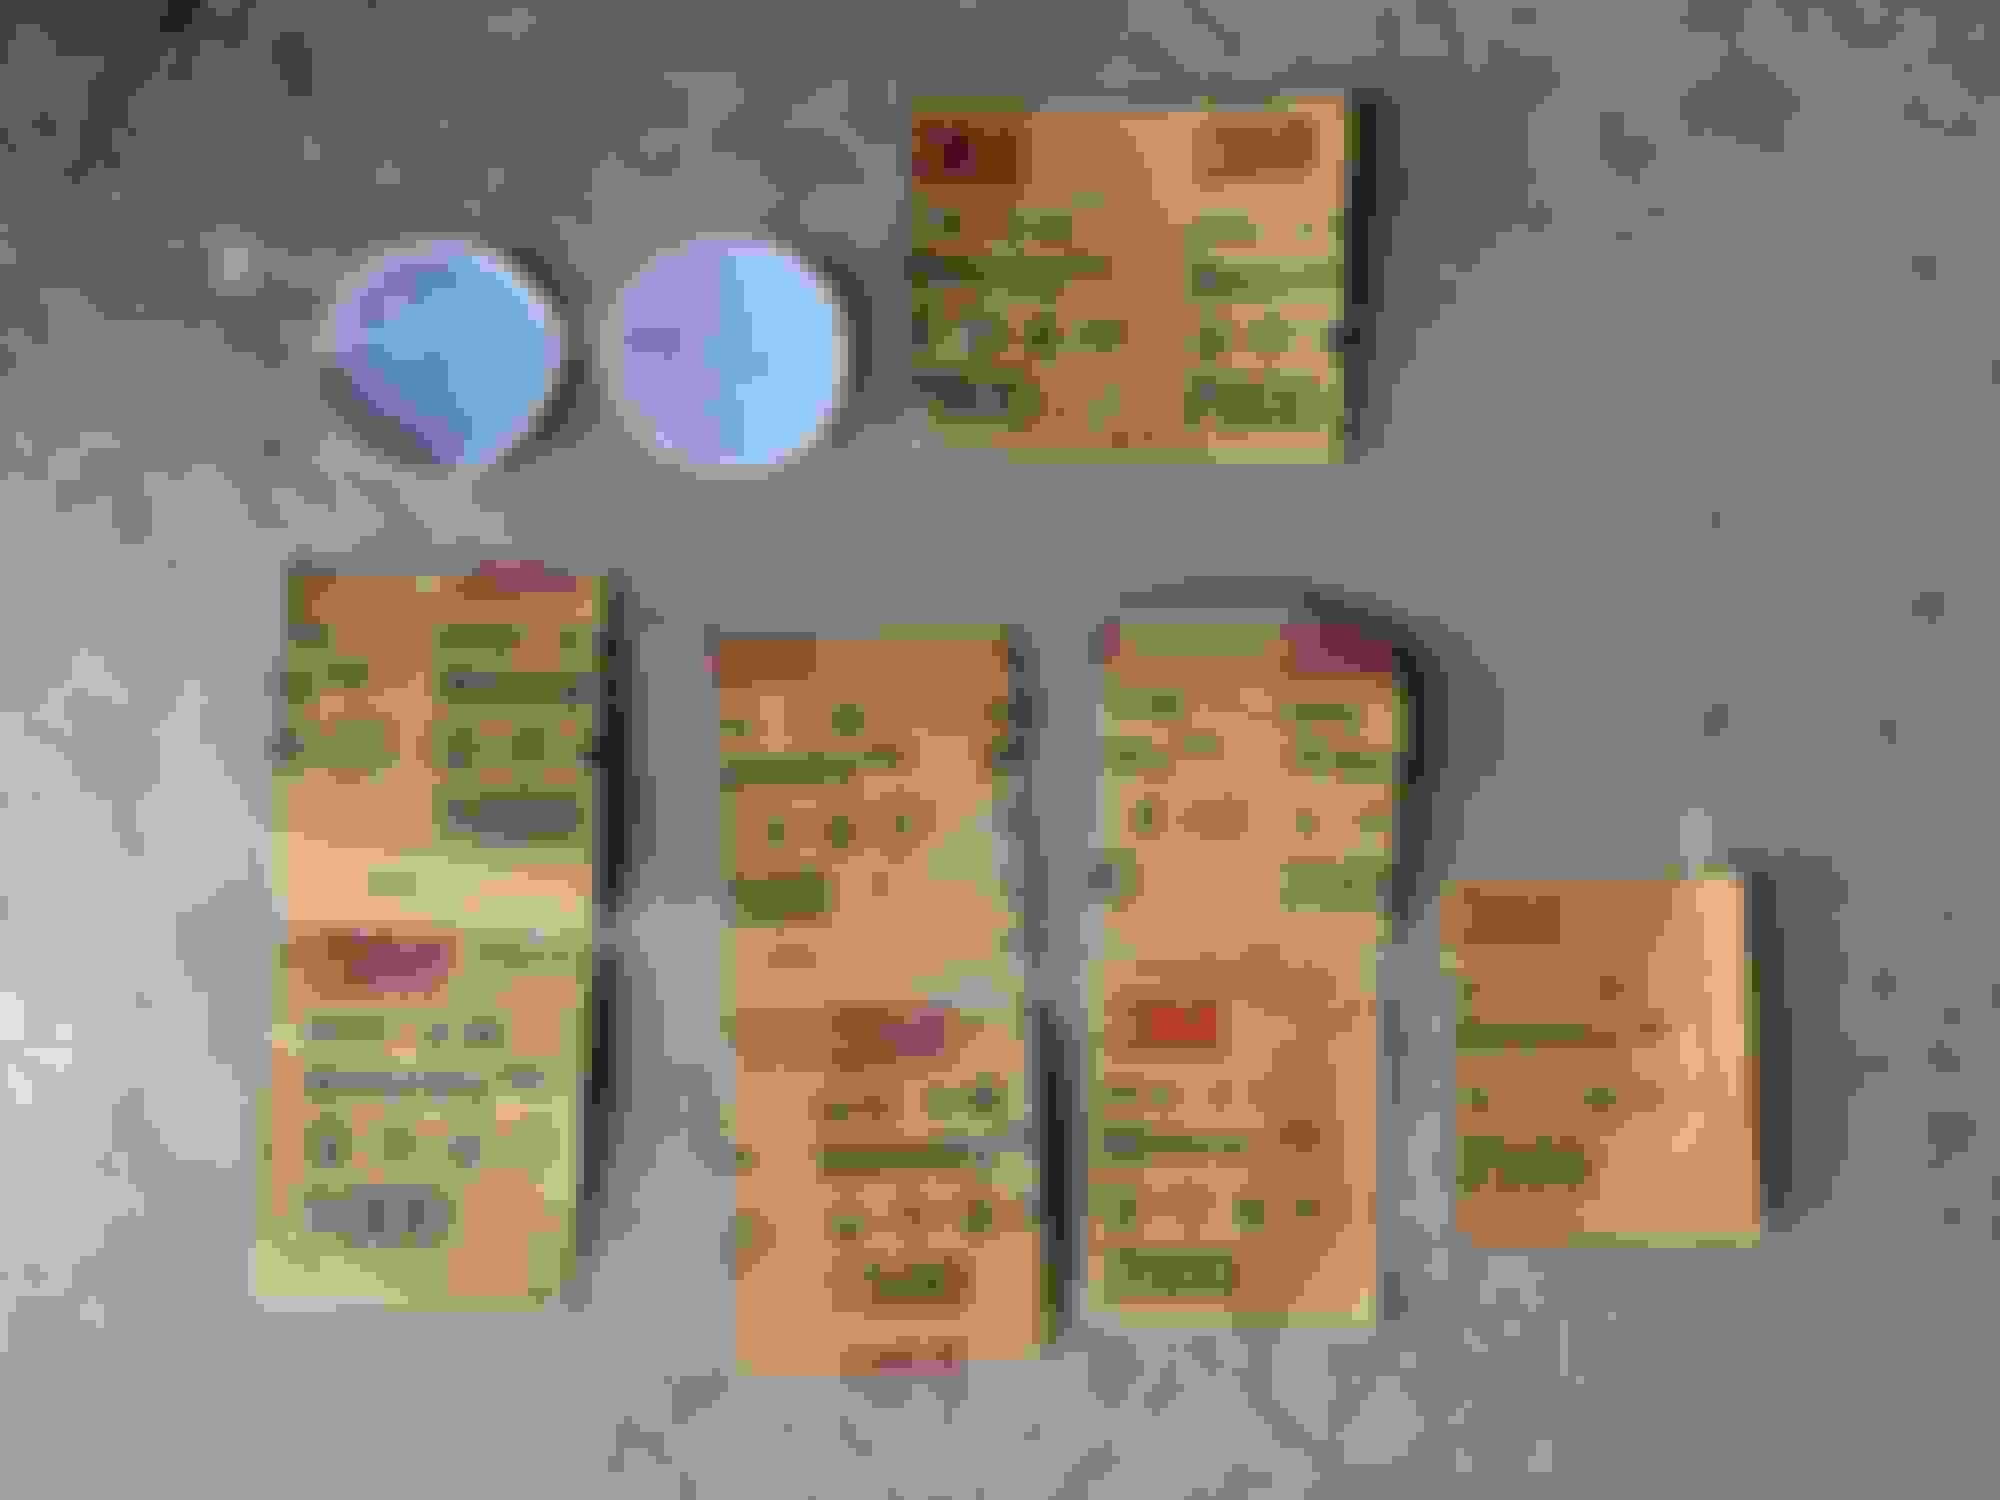
Eight pieces of 3M automotive wet/dry sandpaper with a spray bottle of water with a couple drops of dish soap.
500 & 800 with a drill. 800, And 1000x2, 1500x2, 2000x2, 2500 by hand.
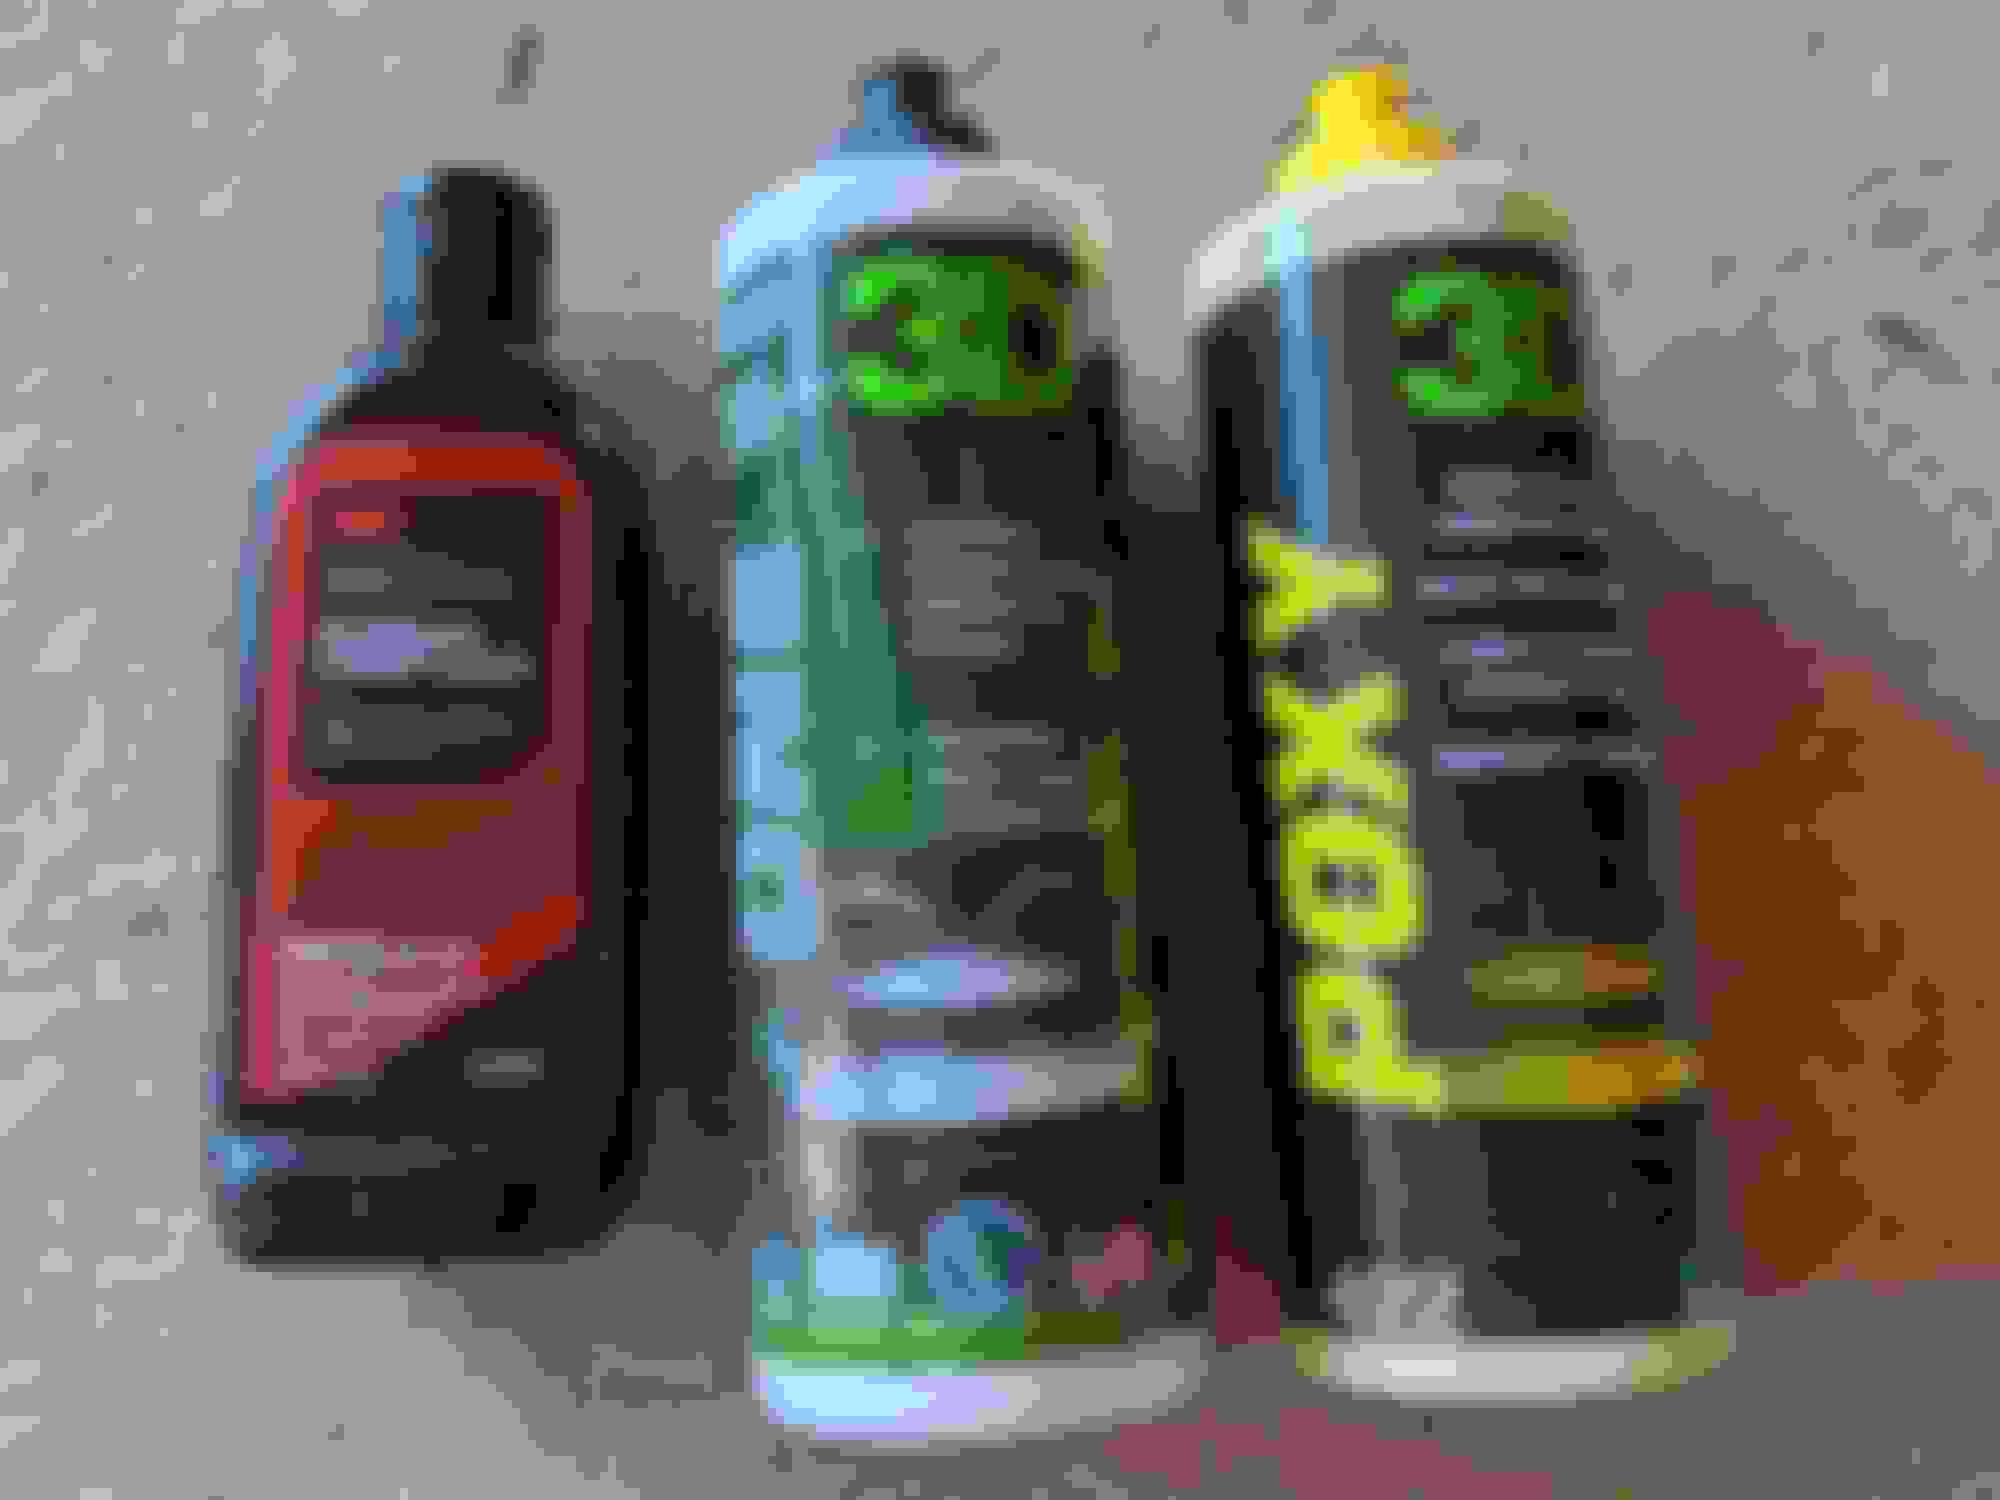
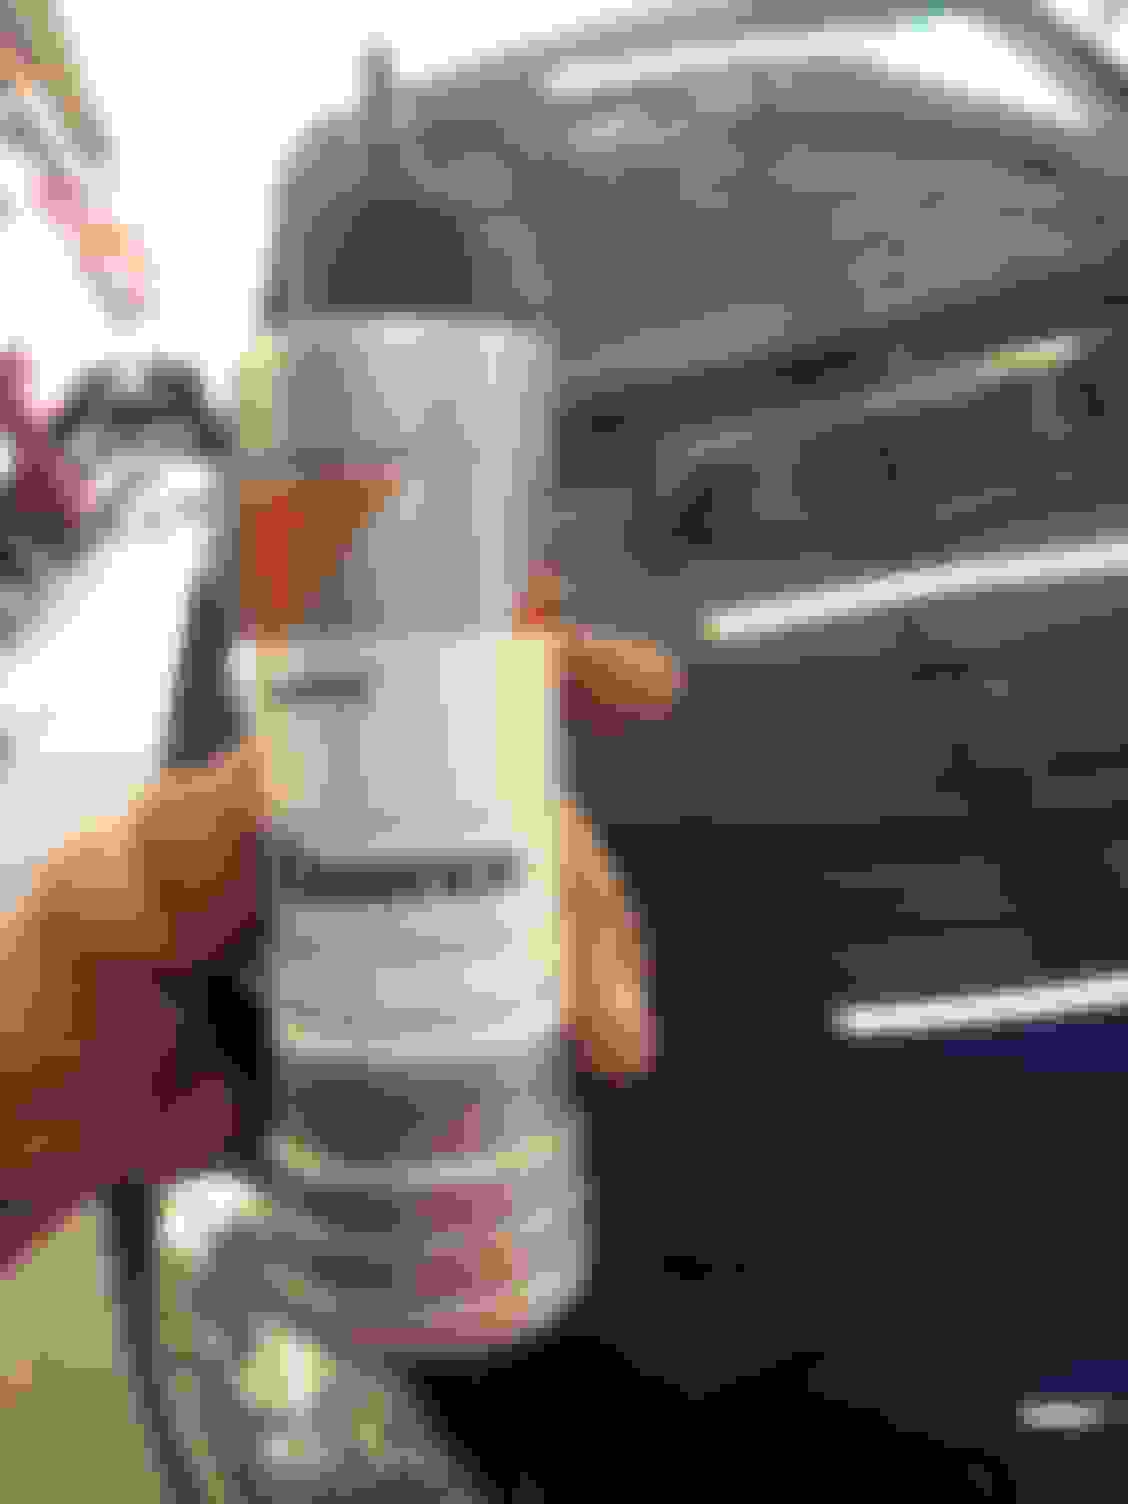
The water will turn milky as the rough surface is worked away. I used at least 2 liters of water on one headlight. I learned from the practice car that not using enough water makes the paper drag, which keeps you from feeling the rougher areas and I feel like the plastic debris acts as extra grit. Flecks of random dust (leaves are falling) can also easily cause scratches if there isn't enough water on the headlight. You'll feel foreign debris right away under the paper if there is sufficient water. I would occasionally thoroughly spray off the headlight, wipe it with a dustless towel, and let it air dry a few minutes before feeling around on the surface with a very clean and dry finger. After the hand sanding was finally done I used these, from left to right:
For the compounds, I used a clean 7" wool pad on a random orbital buffer. I used a different pad for each compound. Between stages I wiped the headlight with one of those yellow fleece auto towels. For the wax, because I don't have any protective film yet, I used a foam crosscut finishing pad and will leave the wax to dry overnight per the directions which say "the longer the better."
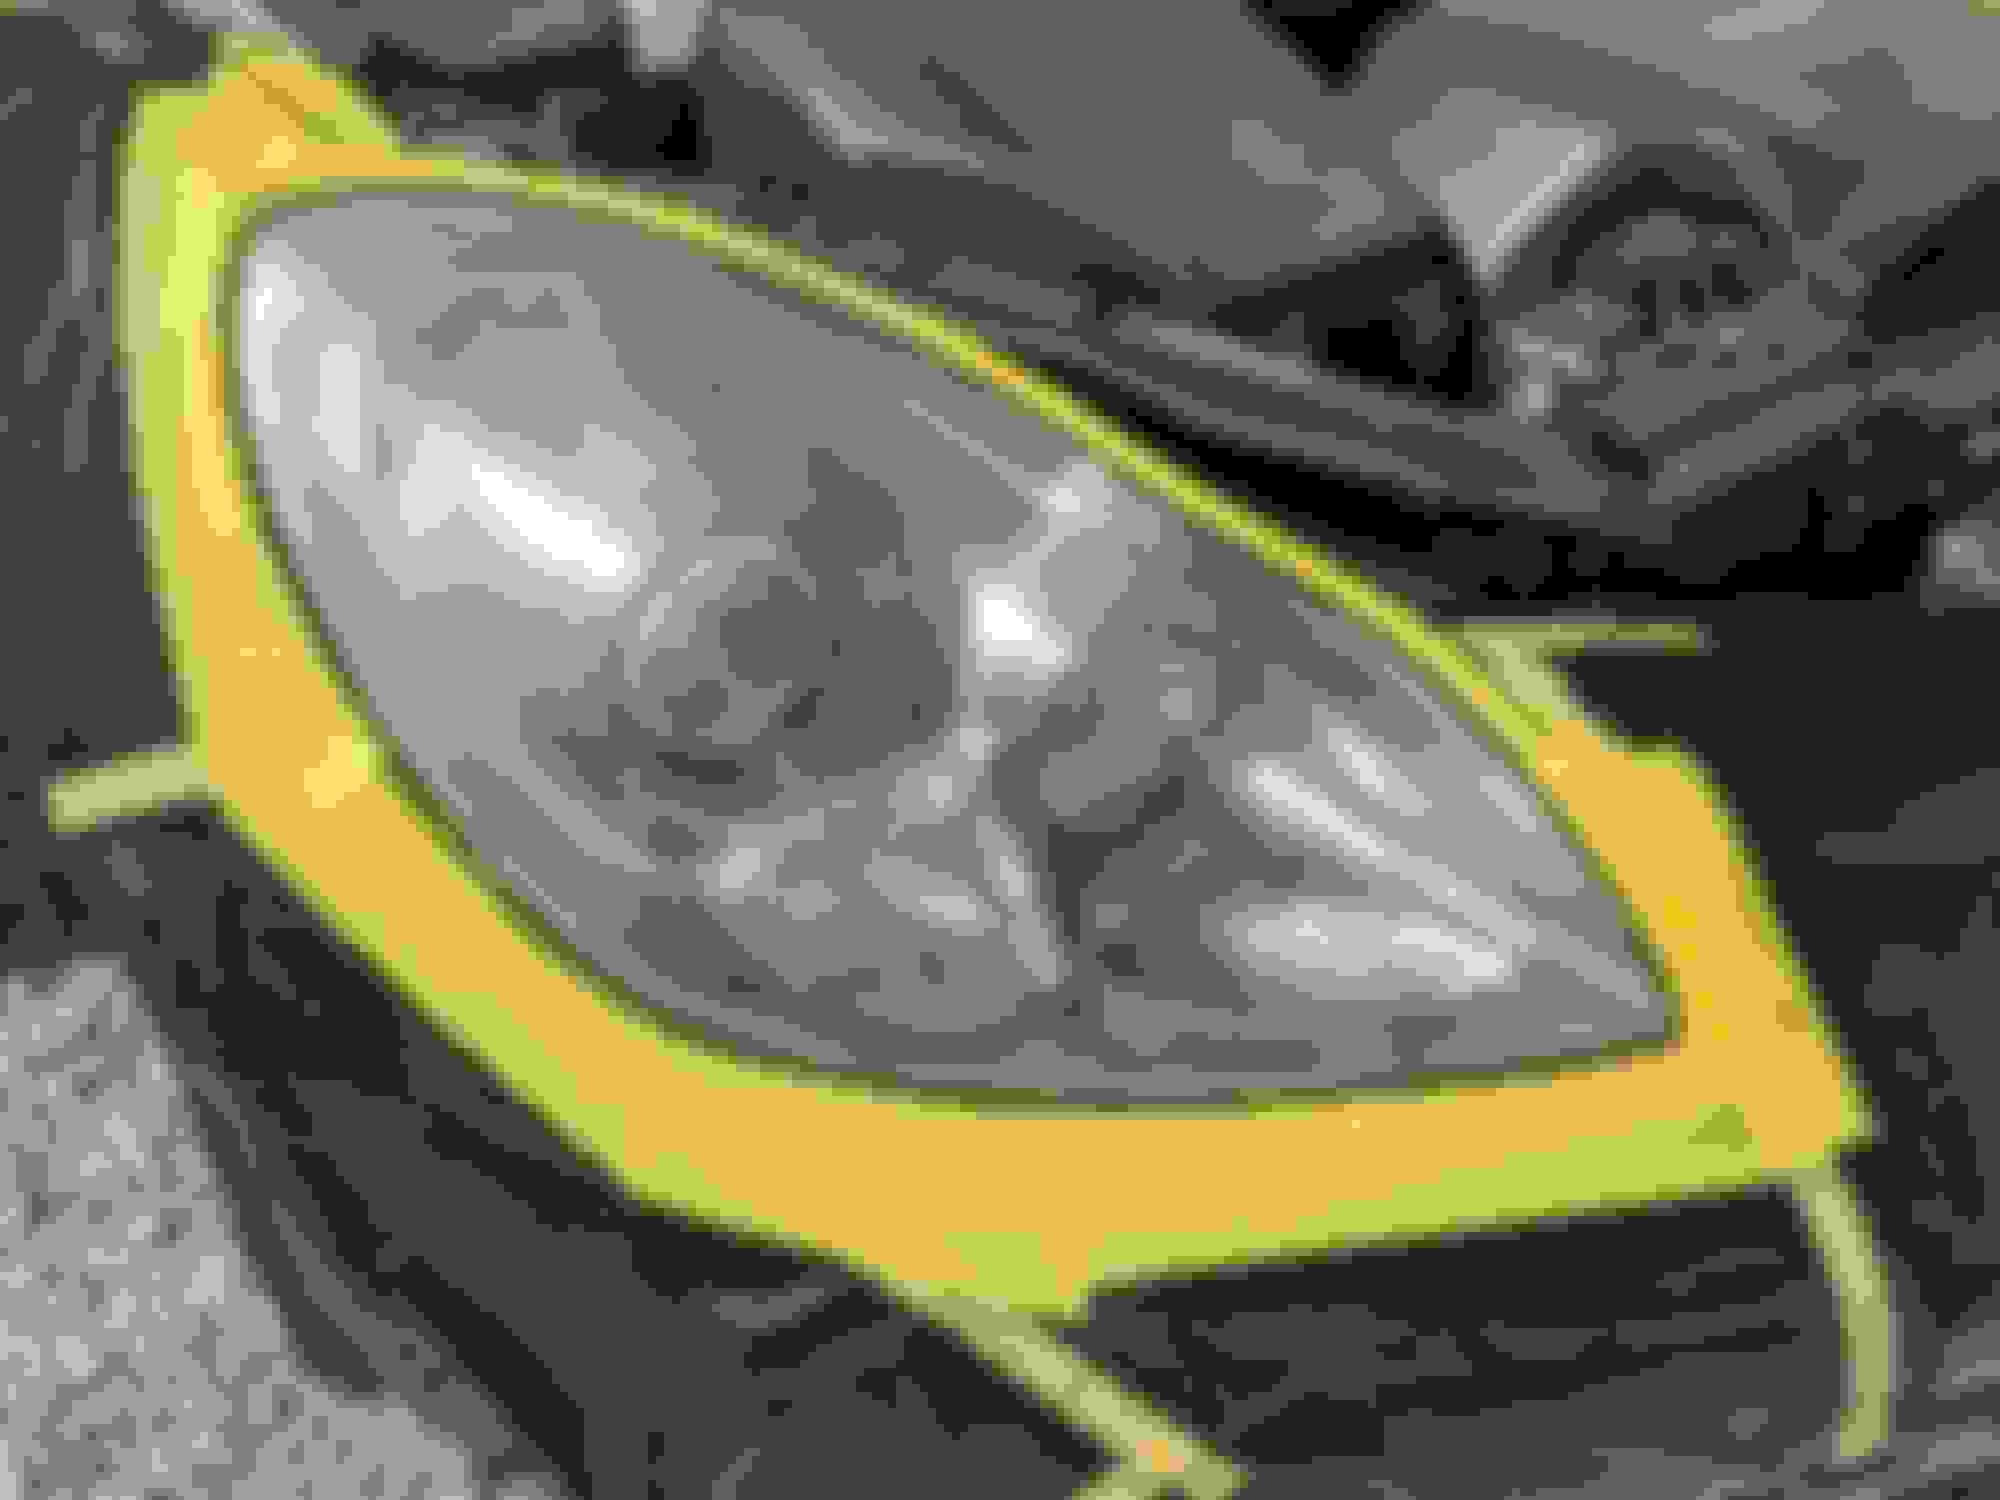
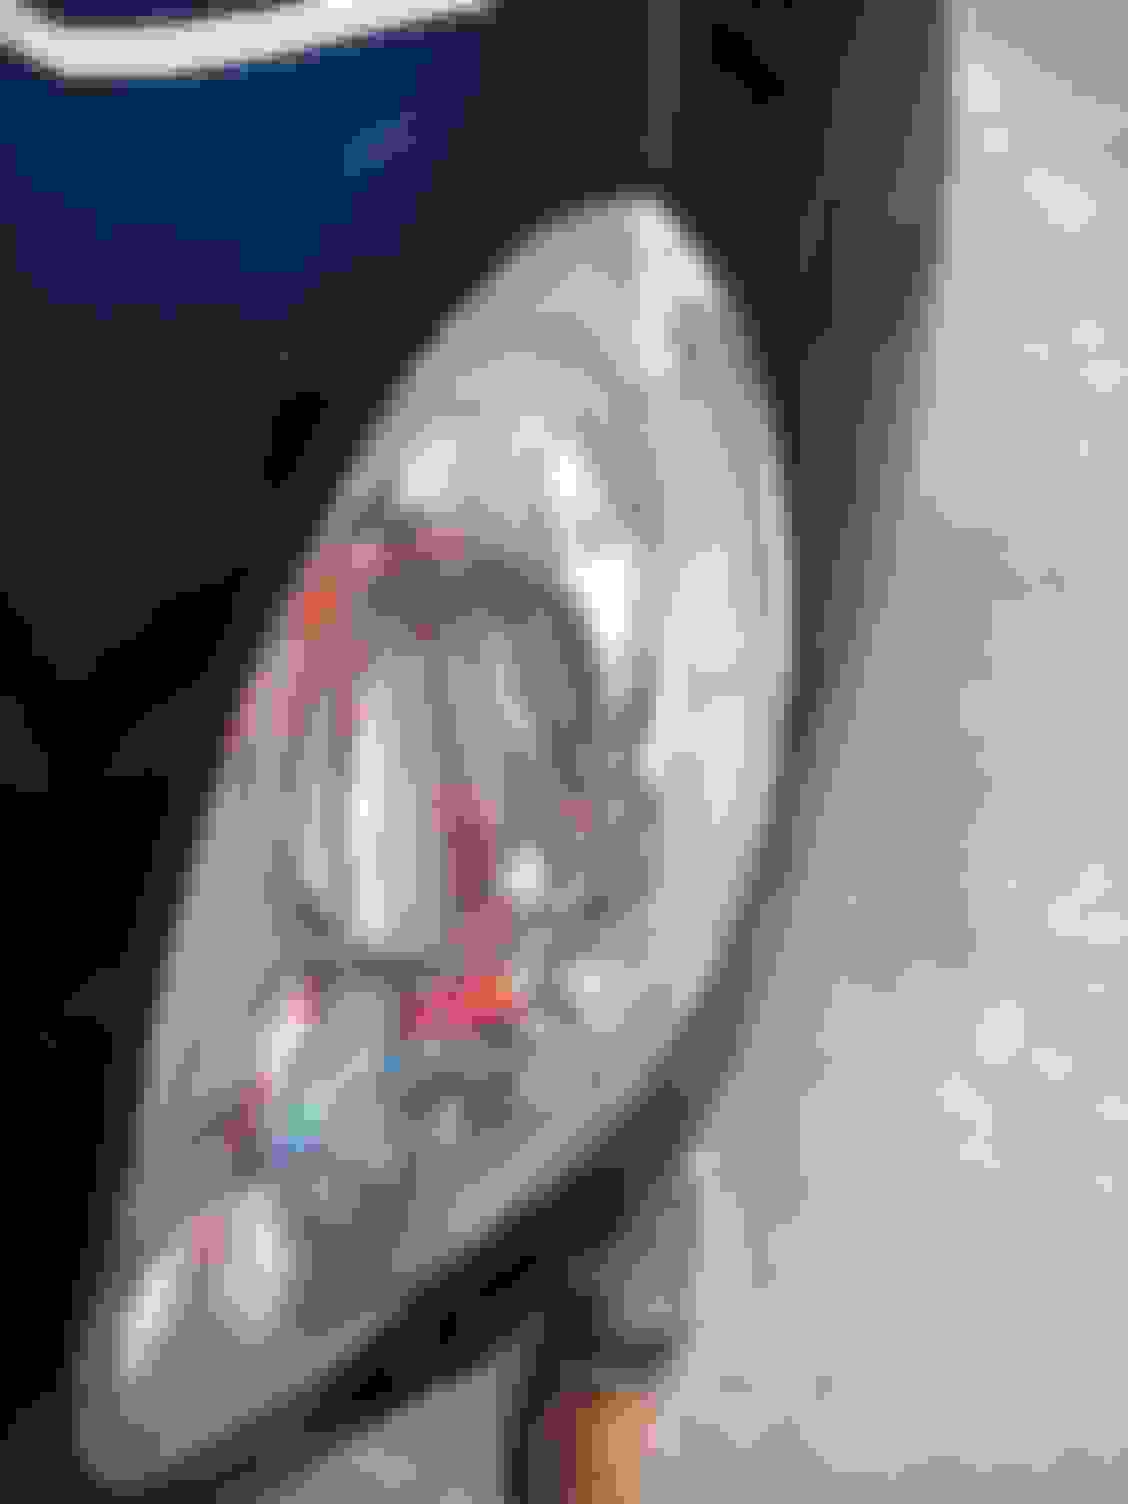
Thanks for reading this far. Almost to the question. Here is the before headlight:
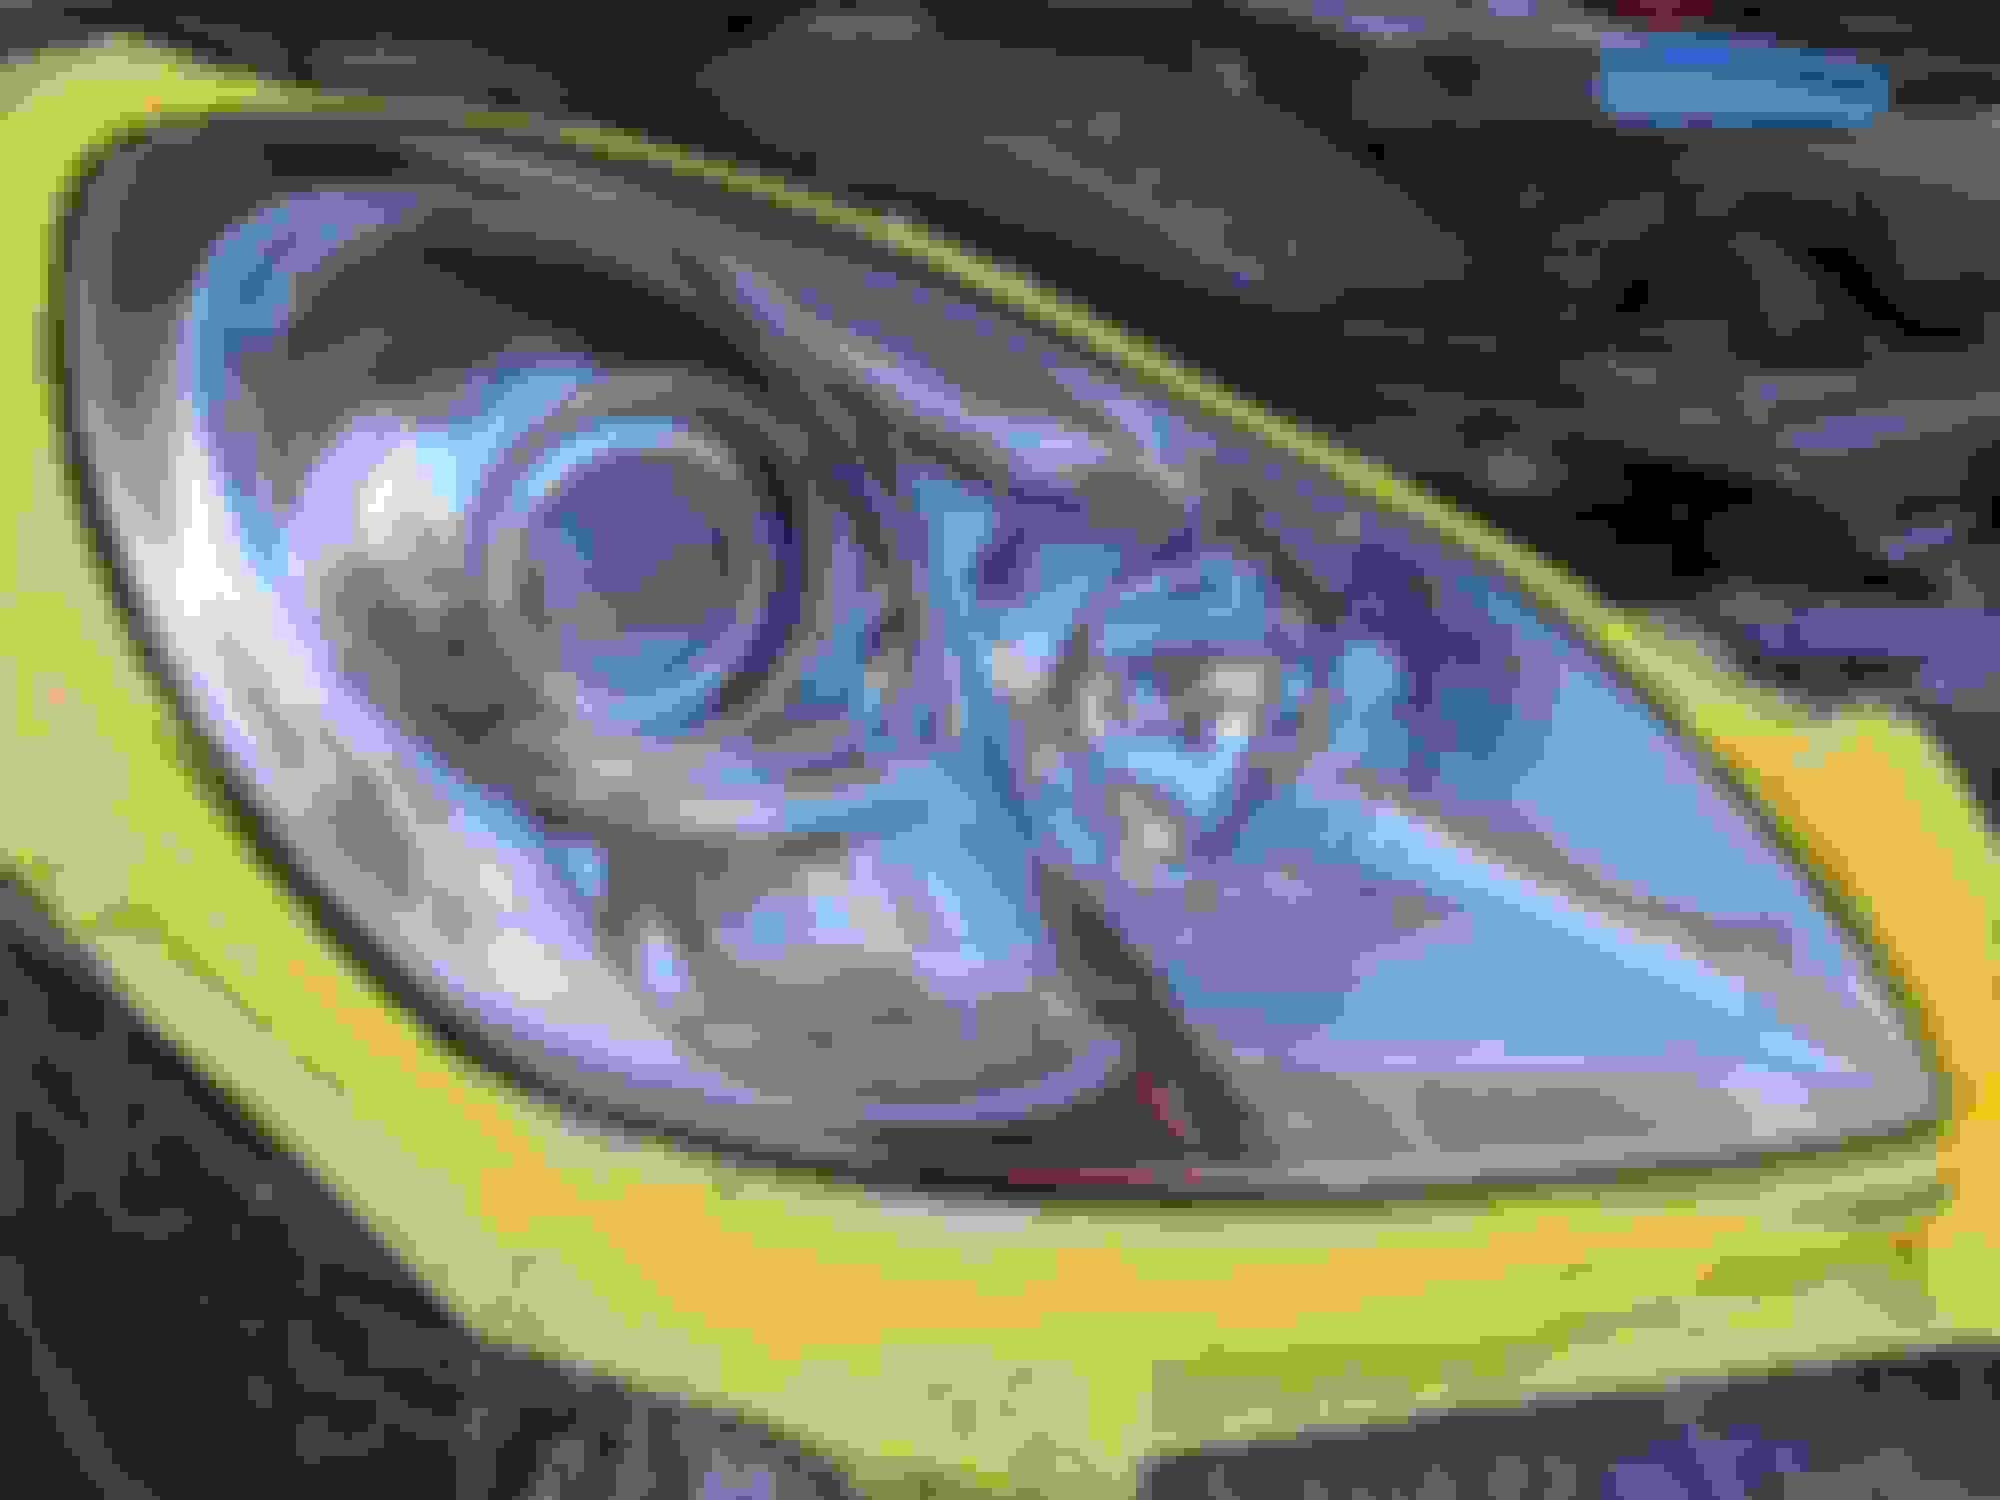
And after a little over two hours of constant and careful work, here is the after photo:
I'm shot for the day so I will do the other headlight tomorrow. My question is:
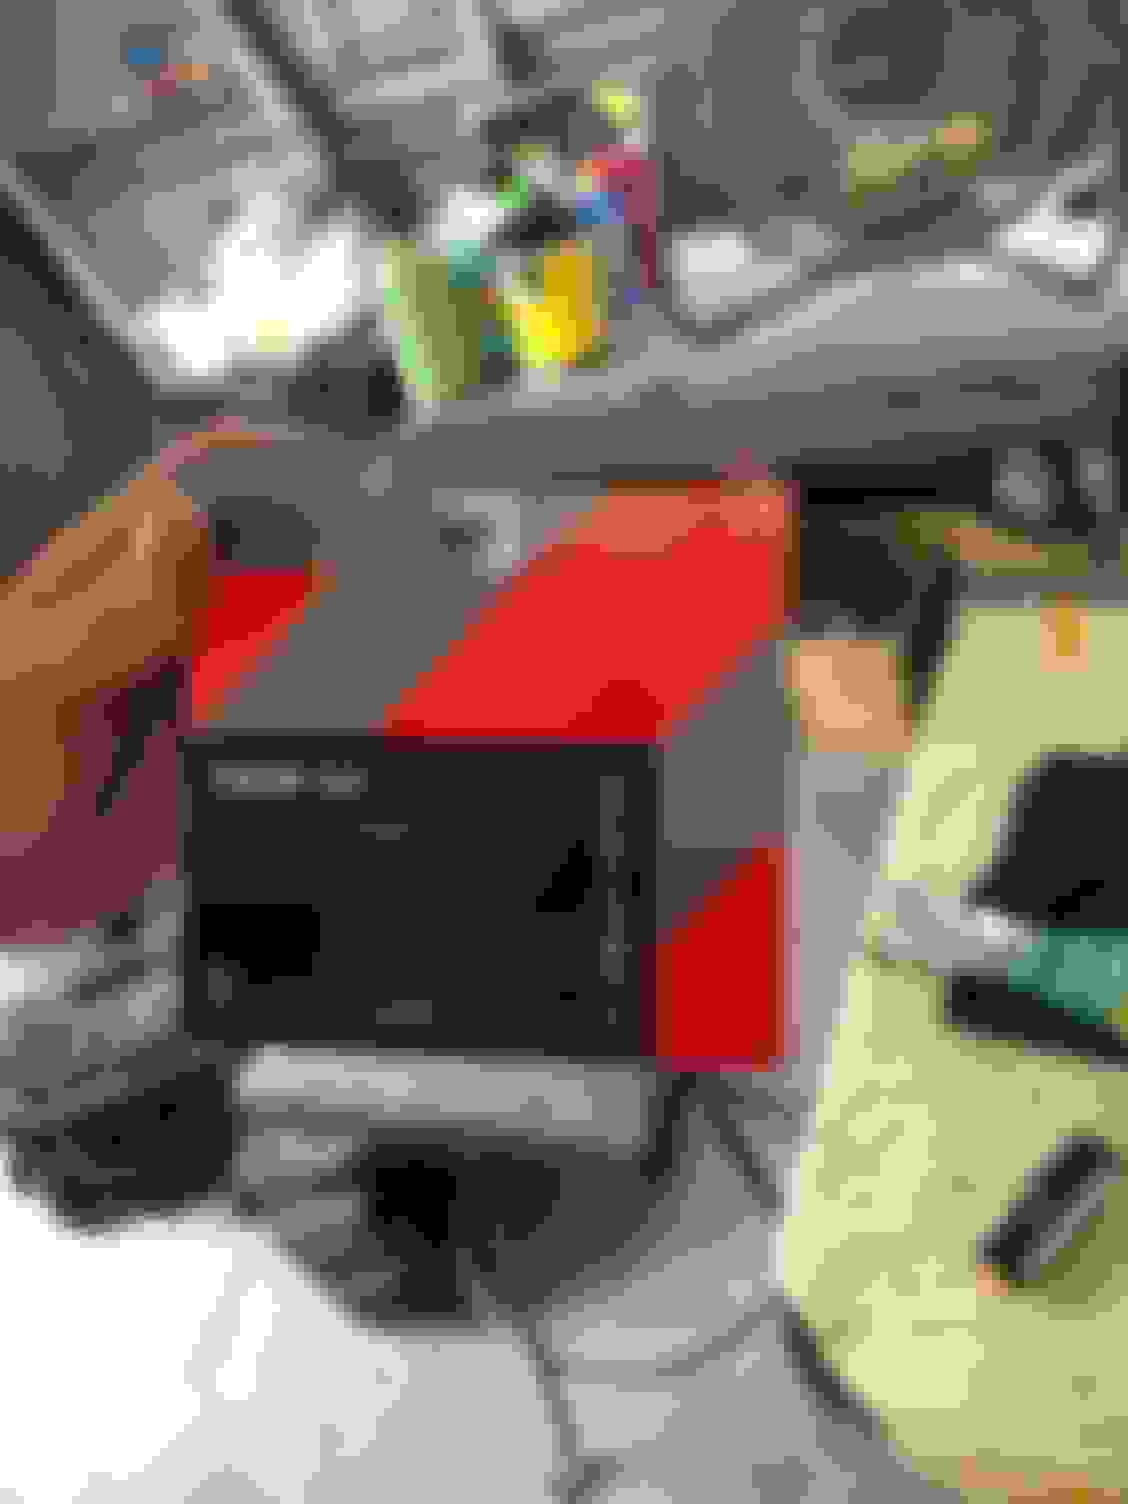
For crazing, crack-like imperfections that appear inside a heavily oxidized lens, is there any way to take a headlight apart (and seal it back together without destroying it) and do this on the interior side of the plastic?
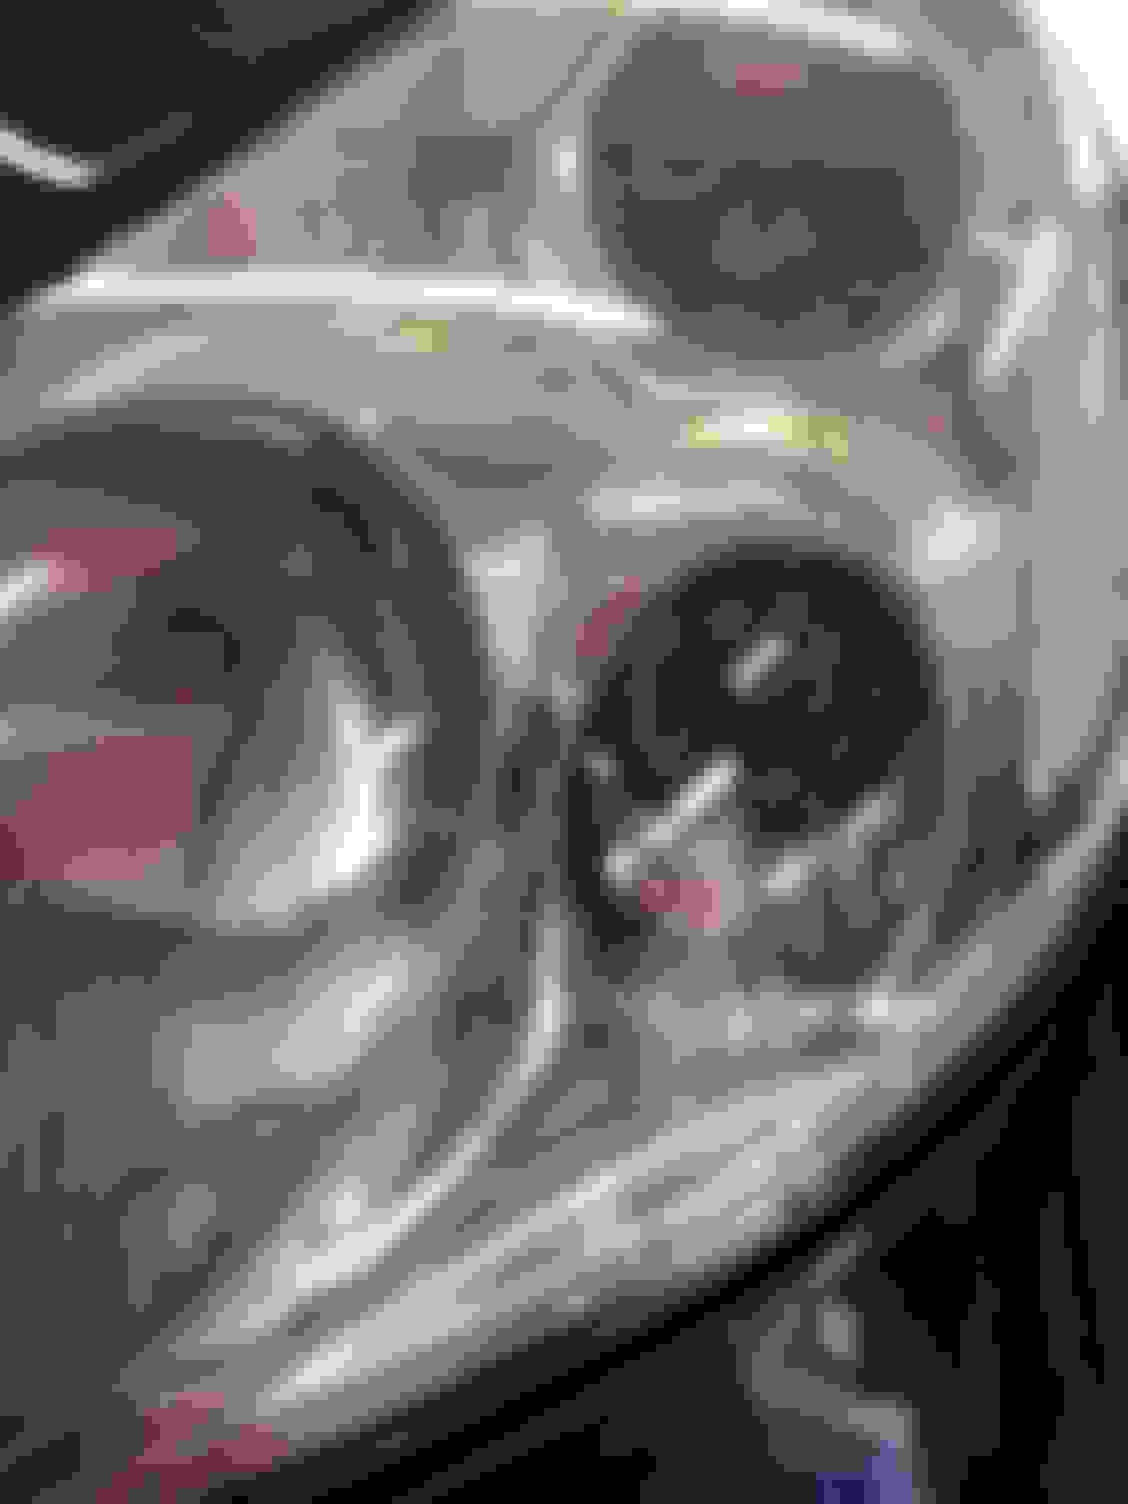
Here is a picture of the crazing:
Randomly came across your photo in the photos section, and I want to try on my 07 ES again because I don't think I did a good job the last time. How do you know when the yellow has been completed been removed from the headlight? Which grit should remove it all before you continue onto the next, I assume the starting grit? I saw people say oh when it looks cloudy white the yellow is gone, but I did that and they still looked yellowish after.
I have crazing too but unfortunately it's not repairable. I found one place in Australia that claims they can repair them but I'm not in AU, and their YT he said he doesn't want to give the trade secret away.
There isn't any secret to this other than hard work, lots of water, and changing the sandpaper when it stops doing anything. I forgot to mention that between grades and even papers of the same grade, I alternated from a side-to-side, front-to-back, or circular sanding pattern so I could make sure I was getting even coverage across the entire surface of the headlight. When I practiced on our other car, I noticed it's easy for your attention to wander and forget which areas you sanded. You can easily tell on the rougher grades but as they get finer you won't be able to without changing the directional pattern.
The cloudy white is the polycarbonate (or whatever) material of the lens cover. A lot will come off in the beginning because of the rougher paper and the presence of degraded material. To my eyes, it looked white from the beginning to the end. You can make the water cloudy all day long, theoretically until you rubbed through the plastic if you want to keep sanding for ages. On the practice car, just for comparison, I cut out 80% of the hand sanding effort on one of the headlights and tried to make up for it with the buffer. You can get 90% of the end result that way but for it to be a stunning difference I had to put in the effort in the hand sanding stage. You get tactile feedback through the sandpaper that you can't through a heavy buffer. Maybe someone who does this professionally can, but not me. Plus, with sandpaper you're not going to risk scorching the uneven lens plastic and the polishing/buffing/waxing stage goes by in just a couple minutes because of all the effort put in beforehand. It's hard to get into corners with a big buffing wheel without grinding through the edge tape. Even 3M tape wore through a bit when I tried the quick way on the practice car. Knockoff tape flew off at the first touch of the buffer even though I had used a flexible trim popping spatula to smooth and press the tape onto the paint.
If you still have yellowed plastic and it hasn't gotten to the point there are leaking cracks or holes in it, then there is still degraded material on the outer surface. You won't be able to tell for sure until the buffing stage but by the time you get into the 2000 grit paper you should already be able to tell if the yellowing is gone whenever you spray water on the lens. I think this is what the extra 10% difference was on the practice lens I tried the shortcut method on - leftover degraded material. After the 2500 grit (I didn't have any 3000), the lens should already look good just from the water.
For the crazing, from what I've read, I think people put the lens in a relatively low temperature oven to relax the sealant around the perimeter of the lens cover. Then they cut along the edge with a hard plastic tool to open it up. Once it's open and cooled down, they can do this process on the inside surface but it requires a special industrial adhesive/sealant to put it back together properly.
Good luck on your headlights.
EDIT: After more research, I figured out what people use to open their headlights. I may do this in the future because the driver side headlight has extensive crazing. On Amazn, search for item B01N5PM29J. It will bring up the butyl headlight sealant and several reviewers posted guides about how to do it.
Last edited by poopycat01; 10-12-22 at 10:36 AM.
Reason: added sealant info
I did mine at first and they came out good, but had the cracks�I too thought they were on the inside�then I paid a guy�WOW, what a difference and the cracks were gone.
your lights look awesome.
Guys, the way to ensure your headlights remain � clear� without yellowing
again is to add a PPF on the lights after you polish them.
Otherwise within 3-6 months the lights will haze and turn yellow again from the UV.
This is my biggest issue. I make them clear, they haze up after 3-6 months, then i gotta do it all over again. Pain in the ***.
PPF sounds good, ill try this but doesnt the heat of the headlights cause it to "melt" onto the plastic?
No it doesn’t. Don’t mess around with the Amazon PPF.
Get the one from Expel or 3M and your SC will thank you
The PPF is the secret sauce most owners are not doing as the last step.
I have owned 3 SC and a few other LS and they are all crystal clear with the head lights .
All high end cars add PPF to the head lights and you will not have an issue.
No it doesn�t. Don�t mess around with the Amazon PPF.
Get the one from Expel or 3M and your SC will thank you
The PPF is the secret sauce most owners are not doing as the last step.
I have owned 3 SC and a few other LS and they are all crystal clear with the head lights .
All high end cars add PPF to the head lights and you will not have an issue.
hi Jonas,
is this the PPF film you are referring to?
thanks :-)
Brian
Yea but I would recommend you get the PPF installed from someone who actually does the PPF for the entire car. The installer does the hood, bumper etc. I would not bother doing the entire car as you only need typically the headlights and bumper from road rash and light yellowing over time.
Regarding the headlights, it should cost you no more than $100-$150 to get them done from a professional installer. The reason to get them done with an professional installer is you would never be able to get the exact shape of the lights yourself if you did it yourself AND the bubbles will never be all out if you did yourself. The installer has exact match for all headlights and you will also never have to worry about a cracked lens with the PPF. Finally, expel and 3M design their PPF for the headlights and it will never burn or melt the lens when you have your lights on.
I have the PPF on my Tesla, my SC and my LS. Once the lights turn yellow and owners try to rebuff them , the lights will turn yellow every time because the UV coating is buffed away. Hope my explanation make sense.
 10-11-22, 02:39 PM