When you click on links to various merchants on this site and make a purchase, this can result in this site earning a commission. Affiliate programs and affiliations include, but are not limited to, the eBay Partner Network.
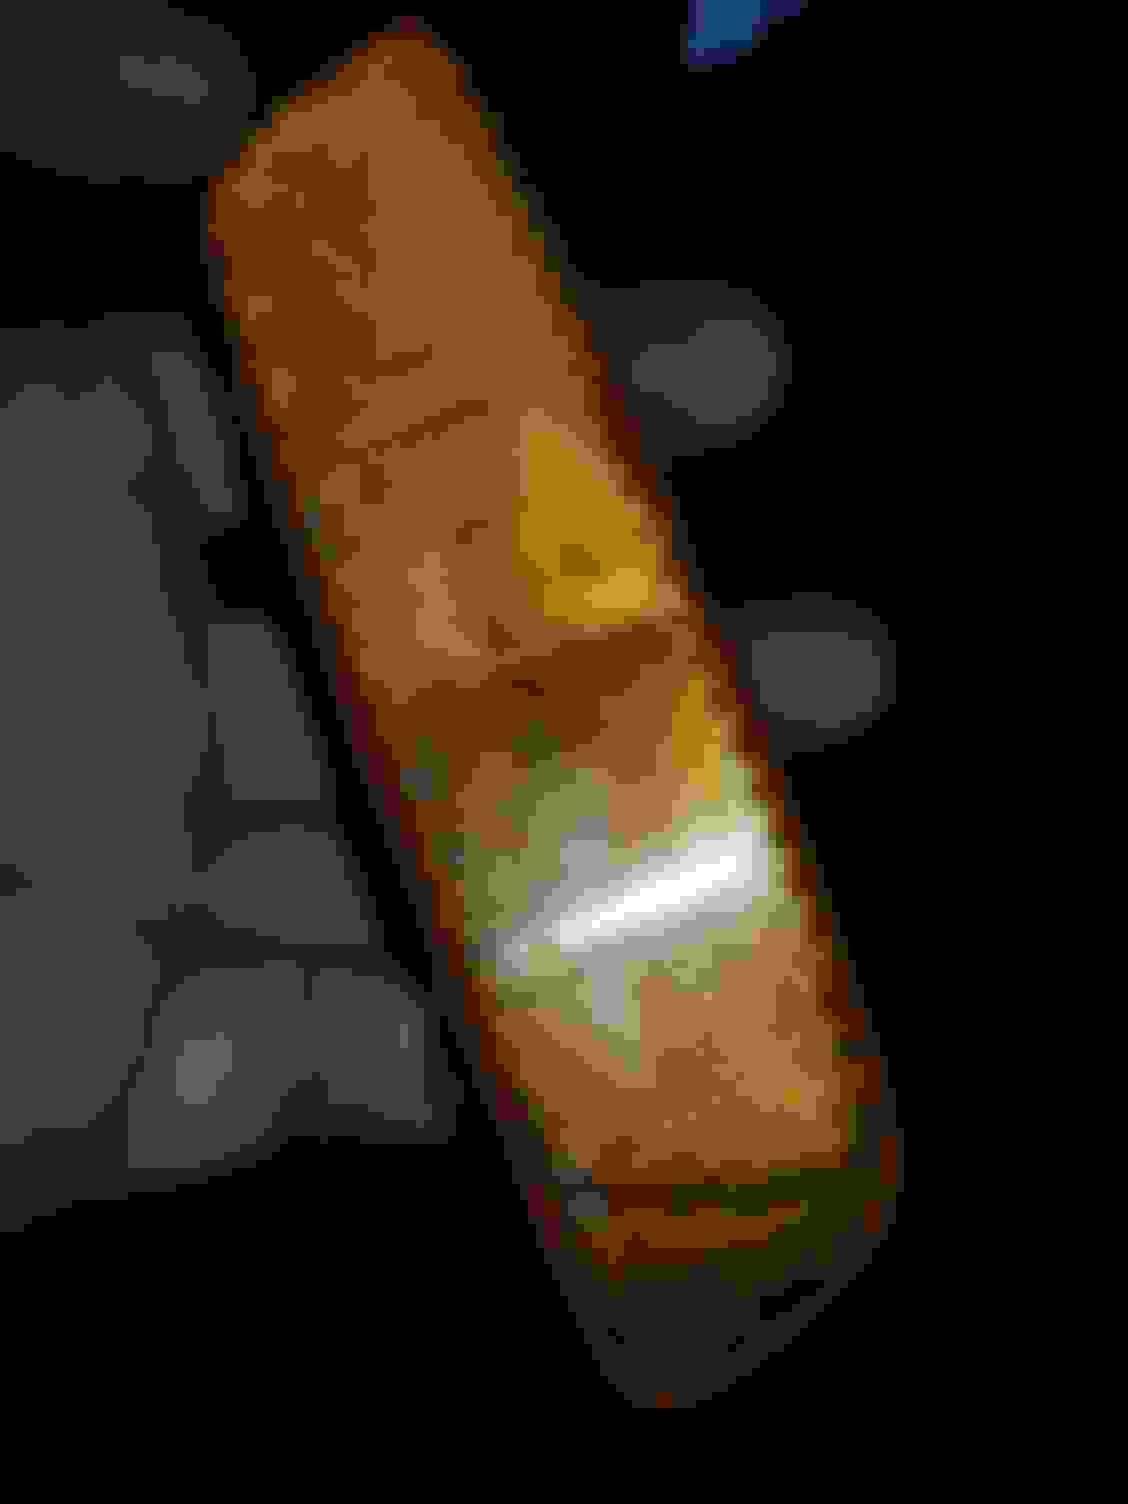
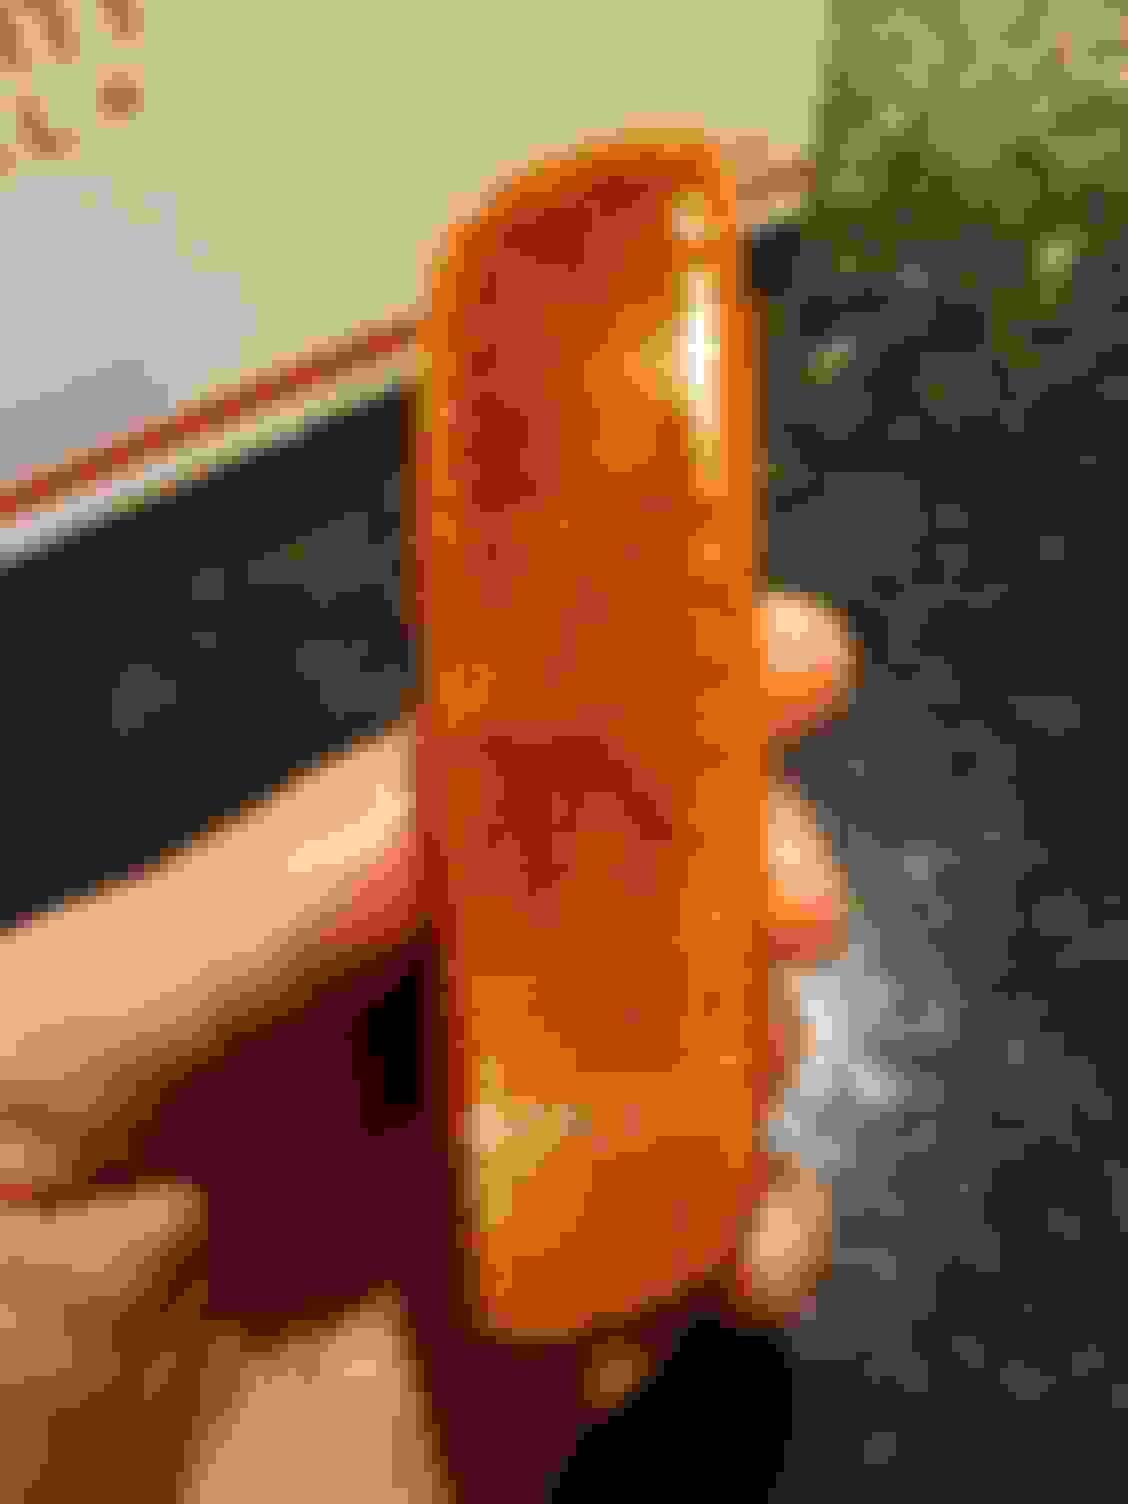
The front side marker lenses (orange peels) use #194 T3-1/4 all-glass wedge base bulbs.
The original bulbs were tired (blackened glass envelope) and the author observed the unformity and color rendering throufg the lense face was not uniform and displayed hot spots.
One of the lenses had water build up, so after draining resealed with clear silicone.
Both sockets were replaced because the contacts were corroded and the rubber sealing washers were tired. Old bulbs still worked but were blackened inside glass envelope suggesting end of life Side reflector was filled with water due to separation of bottom and top half of assembly.
Drained and resealed backside with clear silicone sealer Purchased Silikromes from Mouser.
These same high grade silicone color filters are used over the climate control and dash bulbs to provide green or blue color tint. (White correcting blue) They increase bulb life about 5% by damping shock and vibration Side marker lense incandescent bulb experiences hot spots due to lack of diffusion from unfrosted (clear) bulb. Sealing gasket is tired... Significant improvement in diffusion and color uniformity, not to mention the color is now amber from the source, so no white hot spots on lense face where top of bulb glass envelope is closest to lense face. The silicone Silikrome filters are much more durable than painted bulbs..Shortening of silikrome required to avoid interference with socket. (easy with scissors) Available from Mouser...no minimum quantity.
Newark and Digi-Key couldn't hack it. Replaced left and right side sockets. Fresh gaskets and bulb contacts.
For access to passenger side bulb requires partial removal of the plastic wheel well.
The same for Driver's side, however the washer solvment resorvoir also required extraction for access to the bulb (!)
The lense backlighting was uniformly "orange" and brighter with replacement lamps.
It proved difficult to photograph the lense in a way to present before and after, but an improvement to the naked eye.
nice work on the details. where did you get the new bulb holders? OE?
wouldn't putting a bulb condom on reduce the light output a bit, and limit the dispersal across the inside reflector? any pics with the lens on?
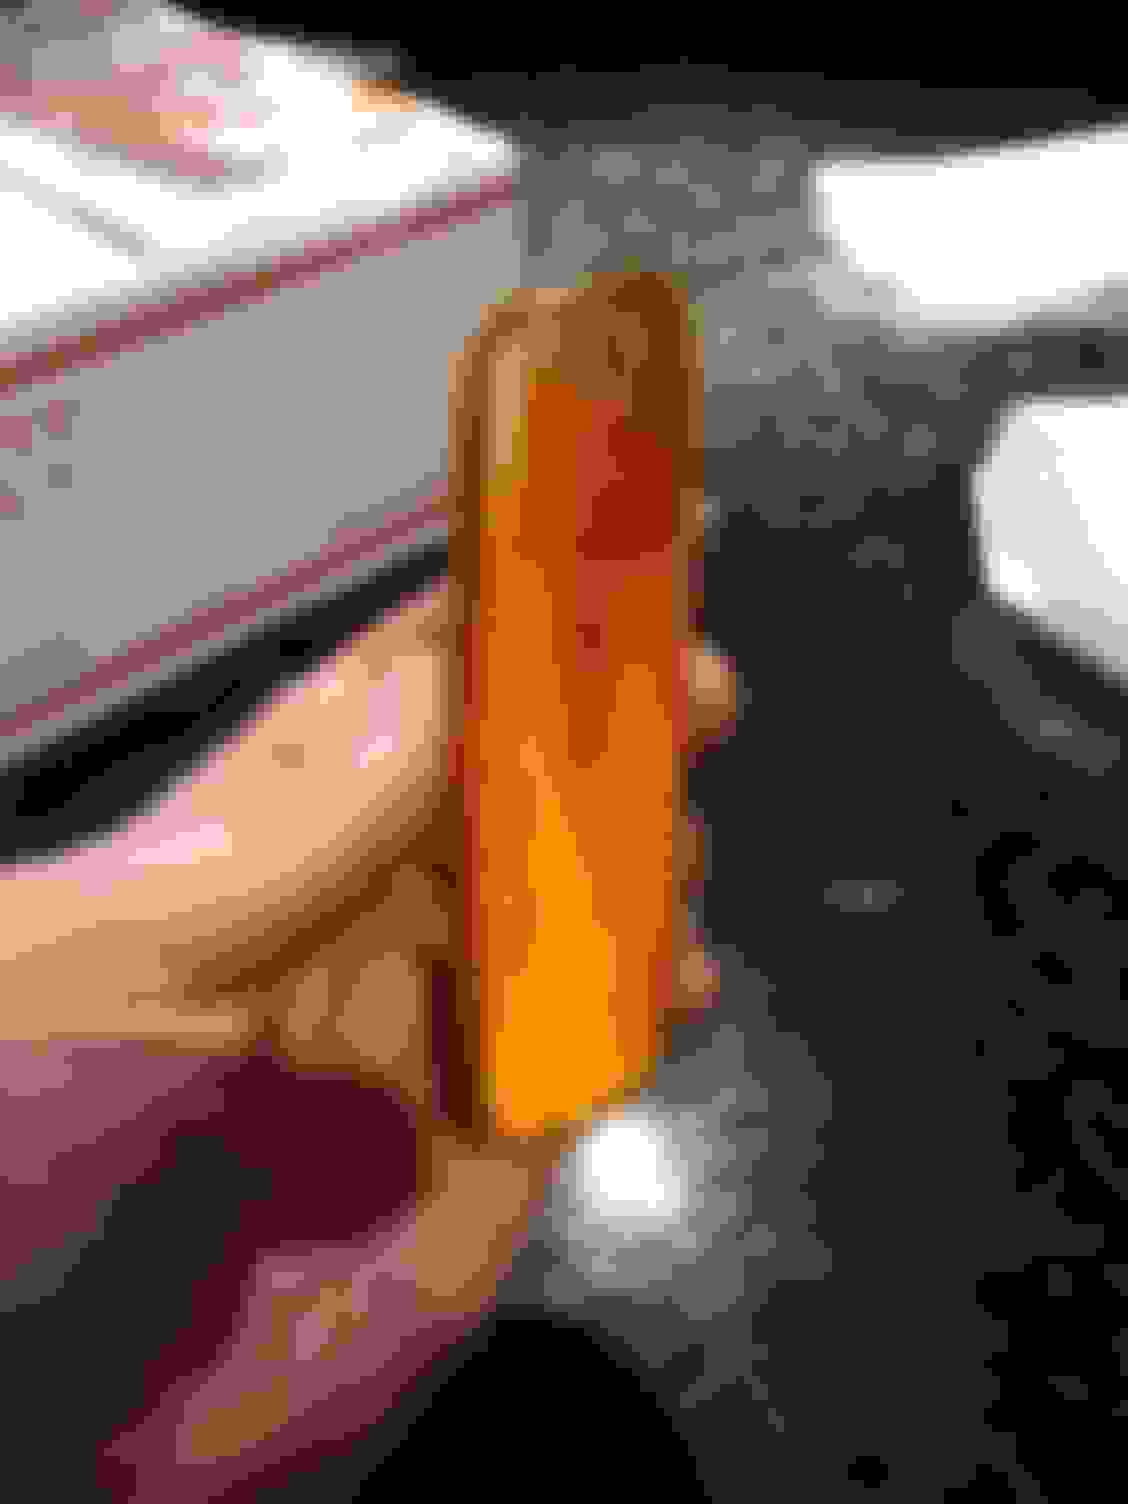
The backside is made of gray plastic....very nonreflective.
My original goal was to separate lense assembly and foil the back half..
The lense will never offer 100% uniformity in light.
I suppose you lose some light output, but it improves the appearance.
Have not been able to capture illumimated lense in camera as it appears visible to the eye.
nice work on the details. where did you get the new bulb holders? OE?
wouldn't putting a bulb condom on reduce the light output a bit, and limit the dispersal across the inside reflector? any pics with the lens on?
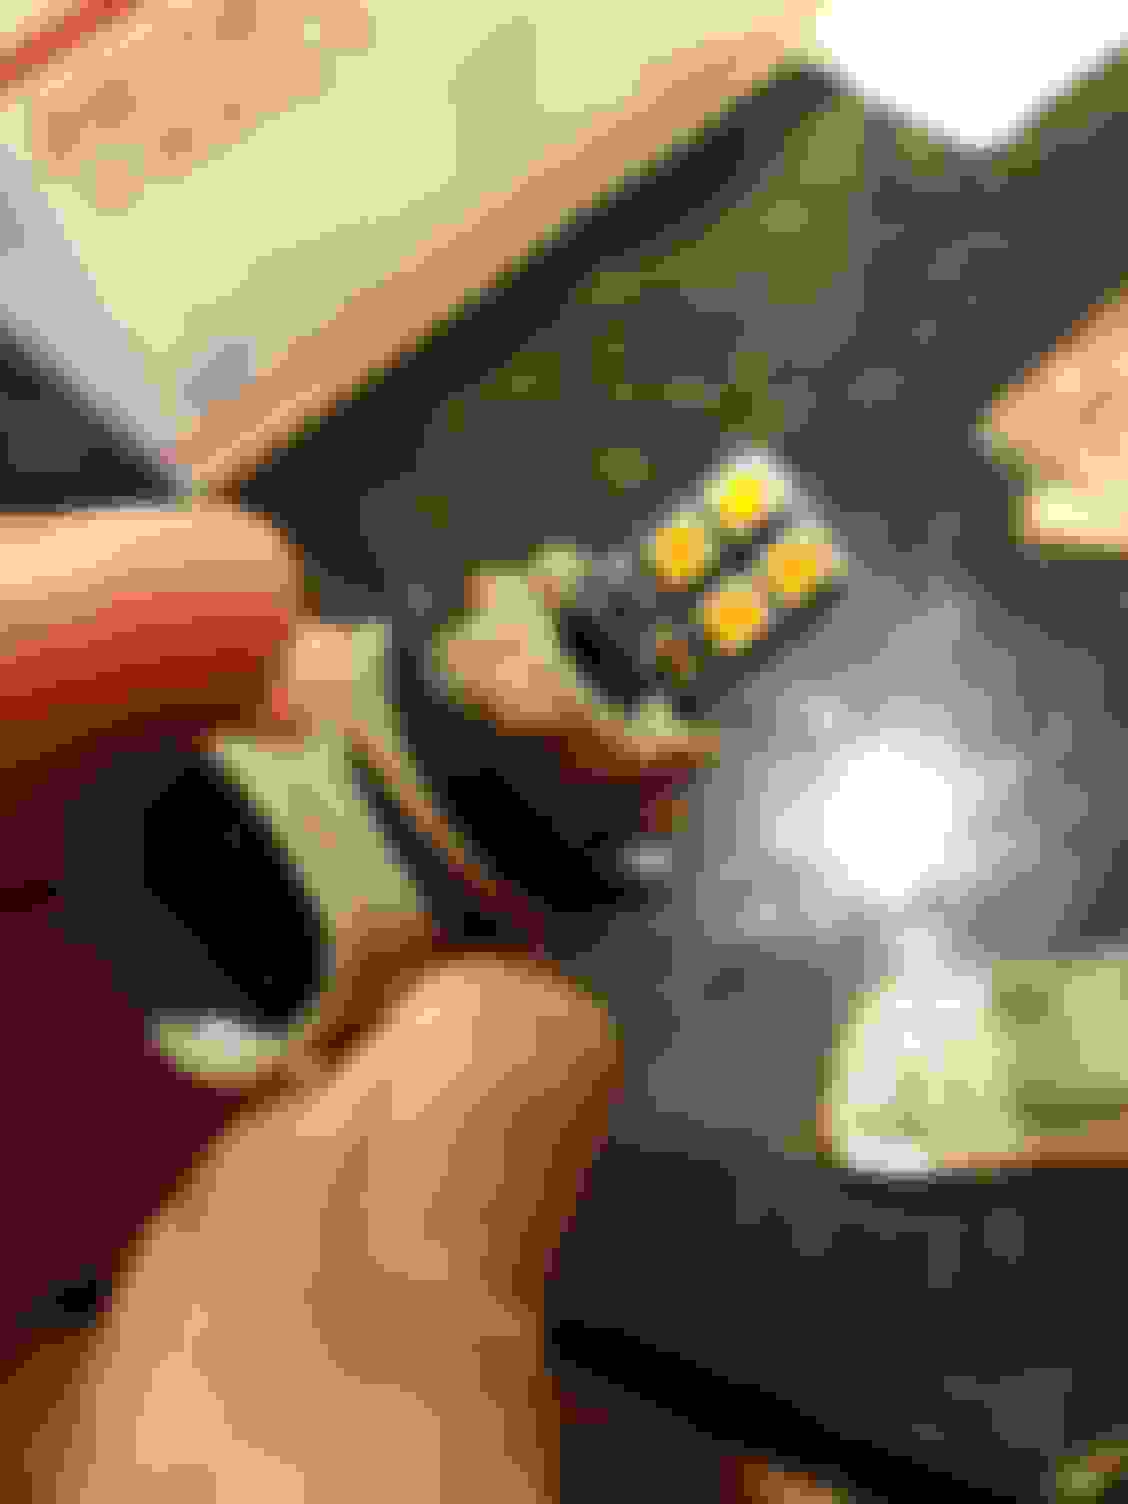
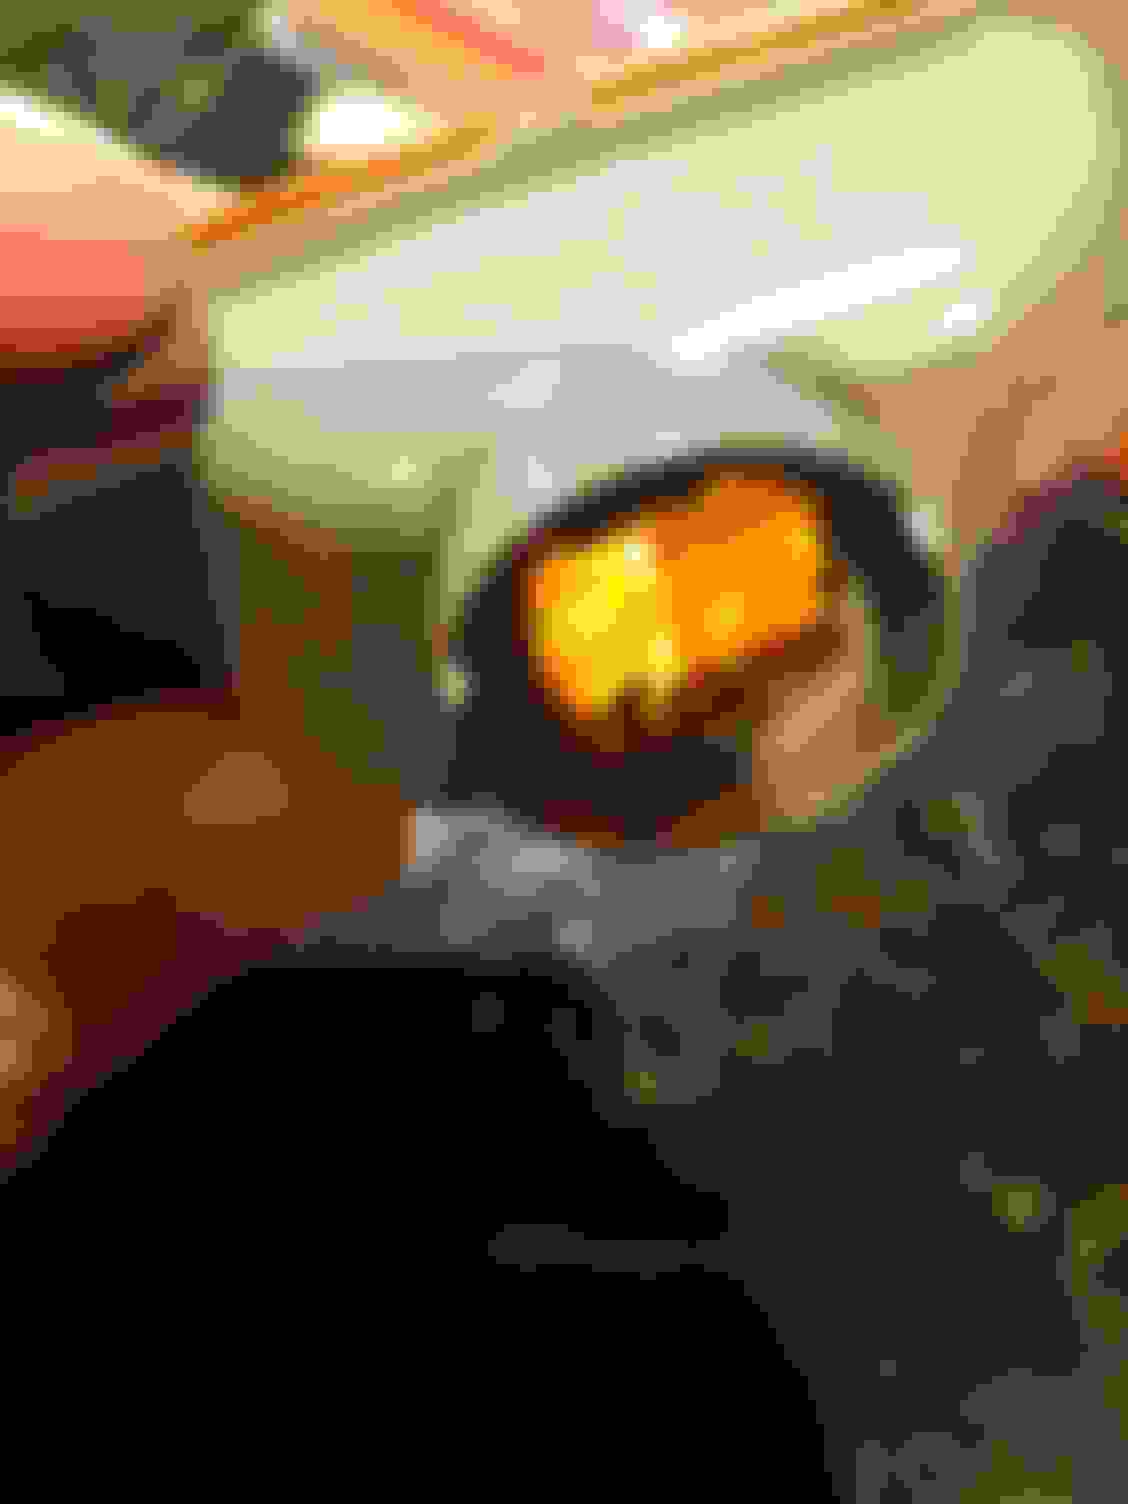
After image depicting illuminated side marker lense Illuminated side marker lense up close
The light from the incandescent bulb is much more diffused, evenly disperesed and uniform aided by color filter.
The far edges suffer light deprivation due to non-reflective gray plastic socke/bulb pocket...
Inseparable top and bottom halves prevent application of Aluminum foil...
Despite resealing the front amber side marker lenses, I discovered right side pocket was full.of water, so decided to replace.
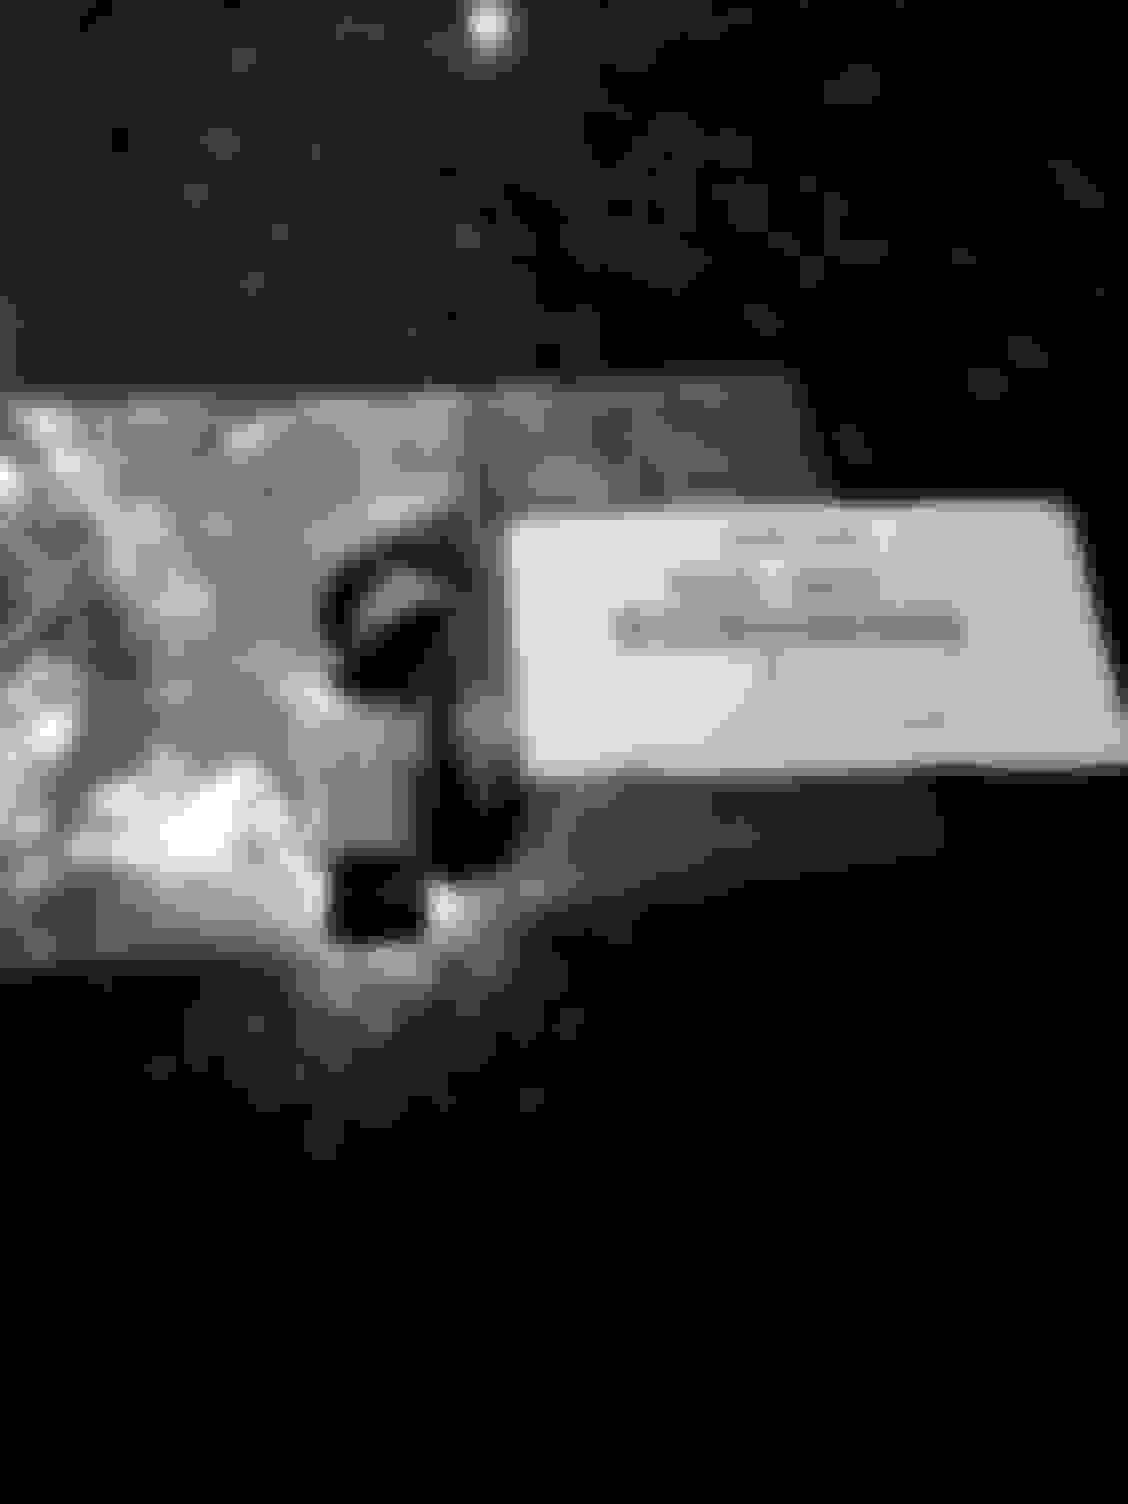
Purchased new left and right lens assemblies from Lexus at $23 each. P.N. right is 81731-30110 and left 81741-30120
After 20 years the old lenses appeared a bit tired.....possibly plastic polish would cure that problem...but felt time and money ahead by replacing.
I used Dr. LED brand 8 chip lamps to replace the T3-1/4 incandescent bulbs.
Dr. LED has a solid reputation for quality marine LED lighting...where some pretty harsh environments.
Bulbs are not polarized so plug and play.
The difference was like night and day.
The led's far surpassed my expectation in brightness, diffusion and color rendering/uniformity..
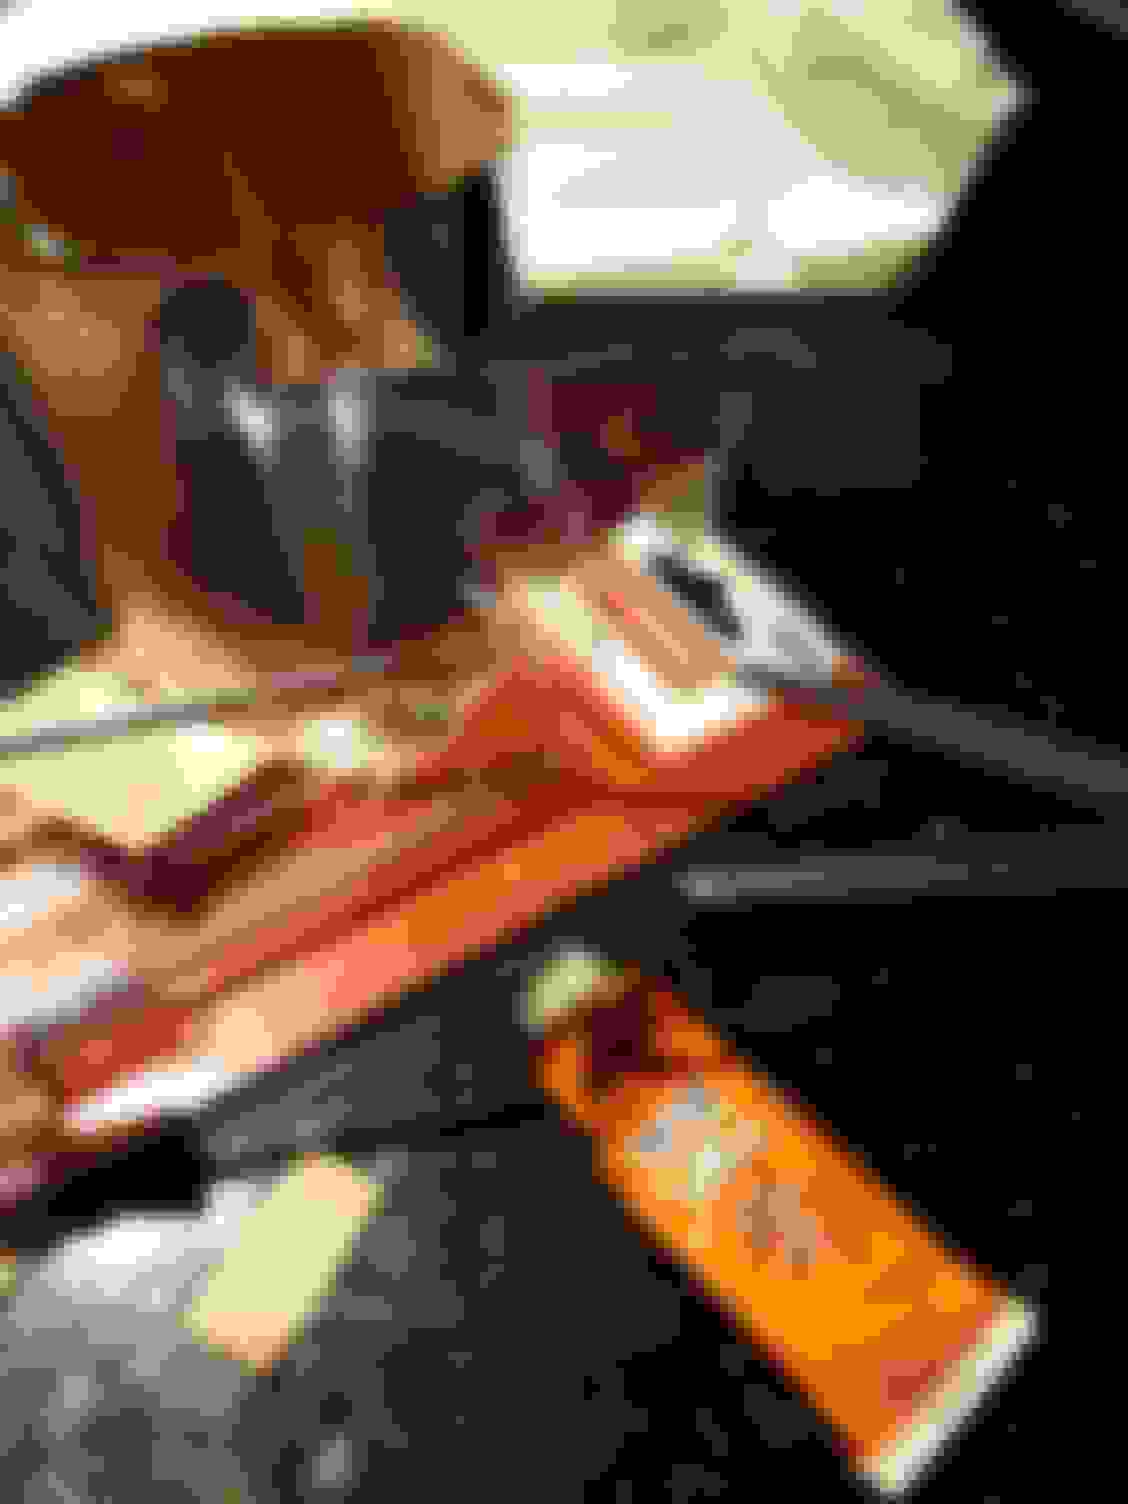
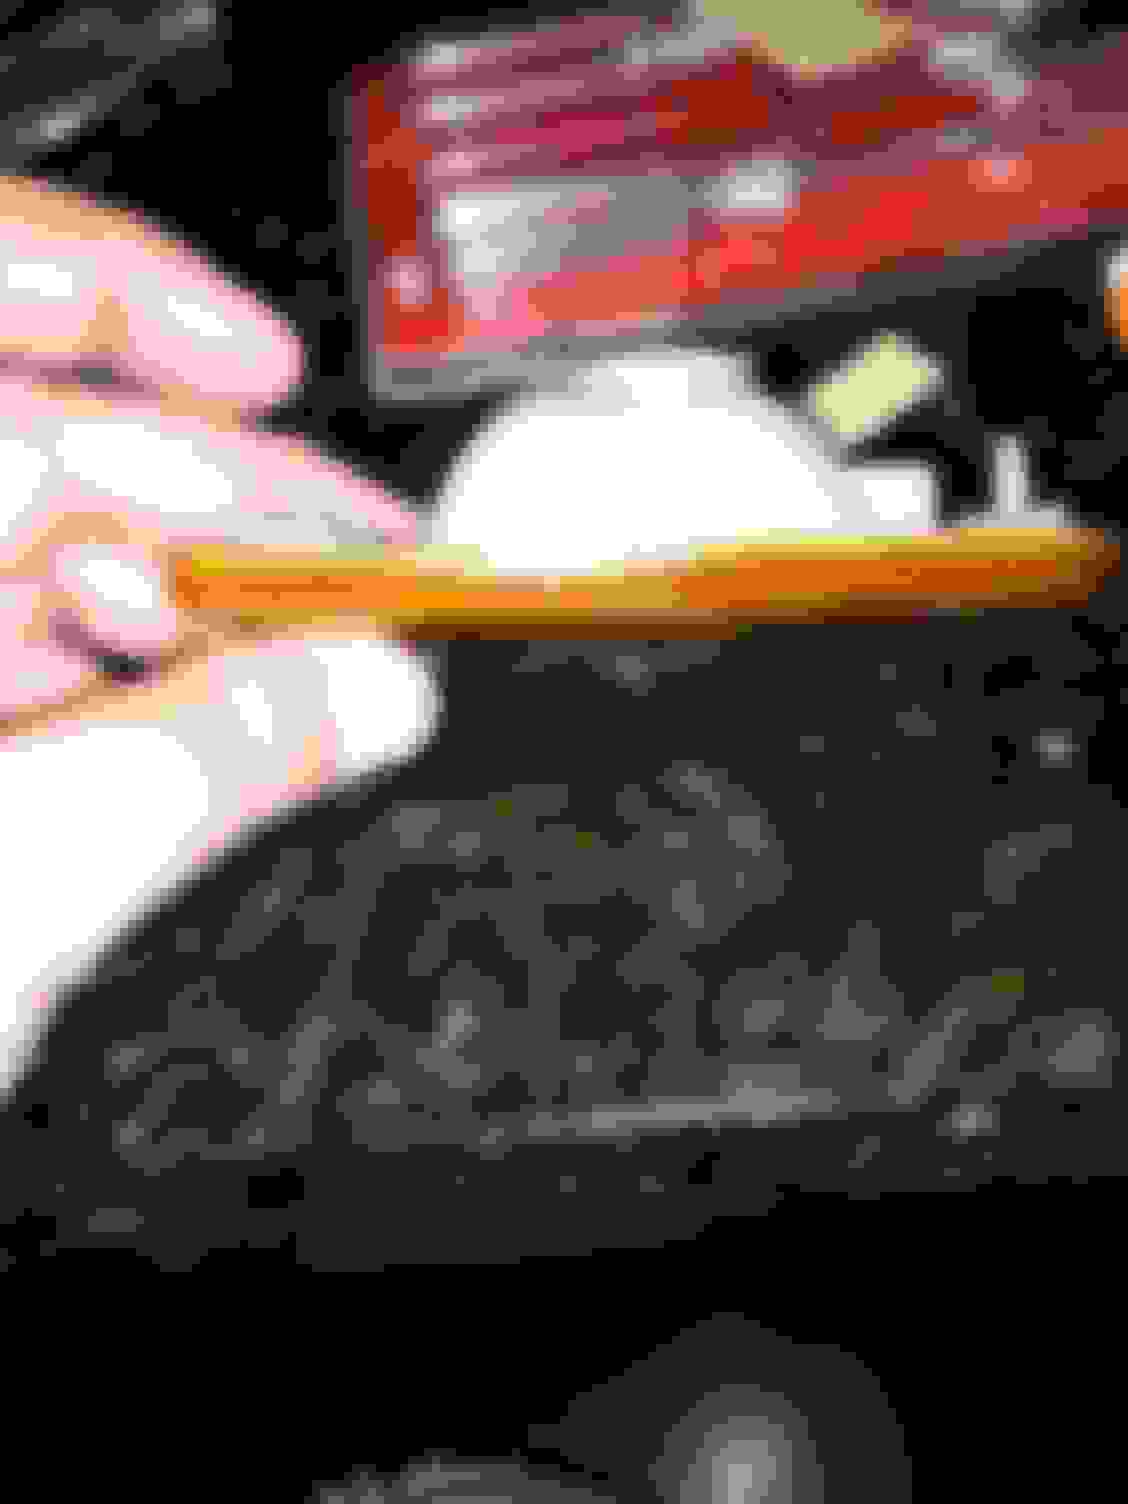
Some images of the project.
The gray plastic is a poor reflector of light so I applied outdoor rated reflective aluminum foil with pressure sensitive adhesive to the top and bottom of the pockets....
Working the tacky foil into the pocket through the lamp hole and smoothing it out with a pick is akin to building a ship in a bottle.
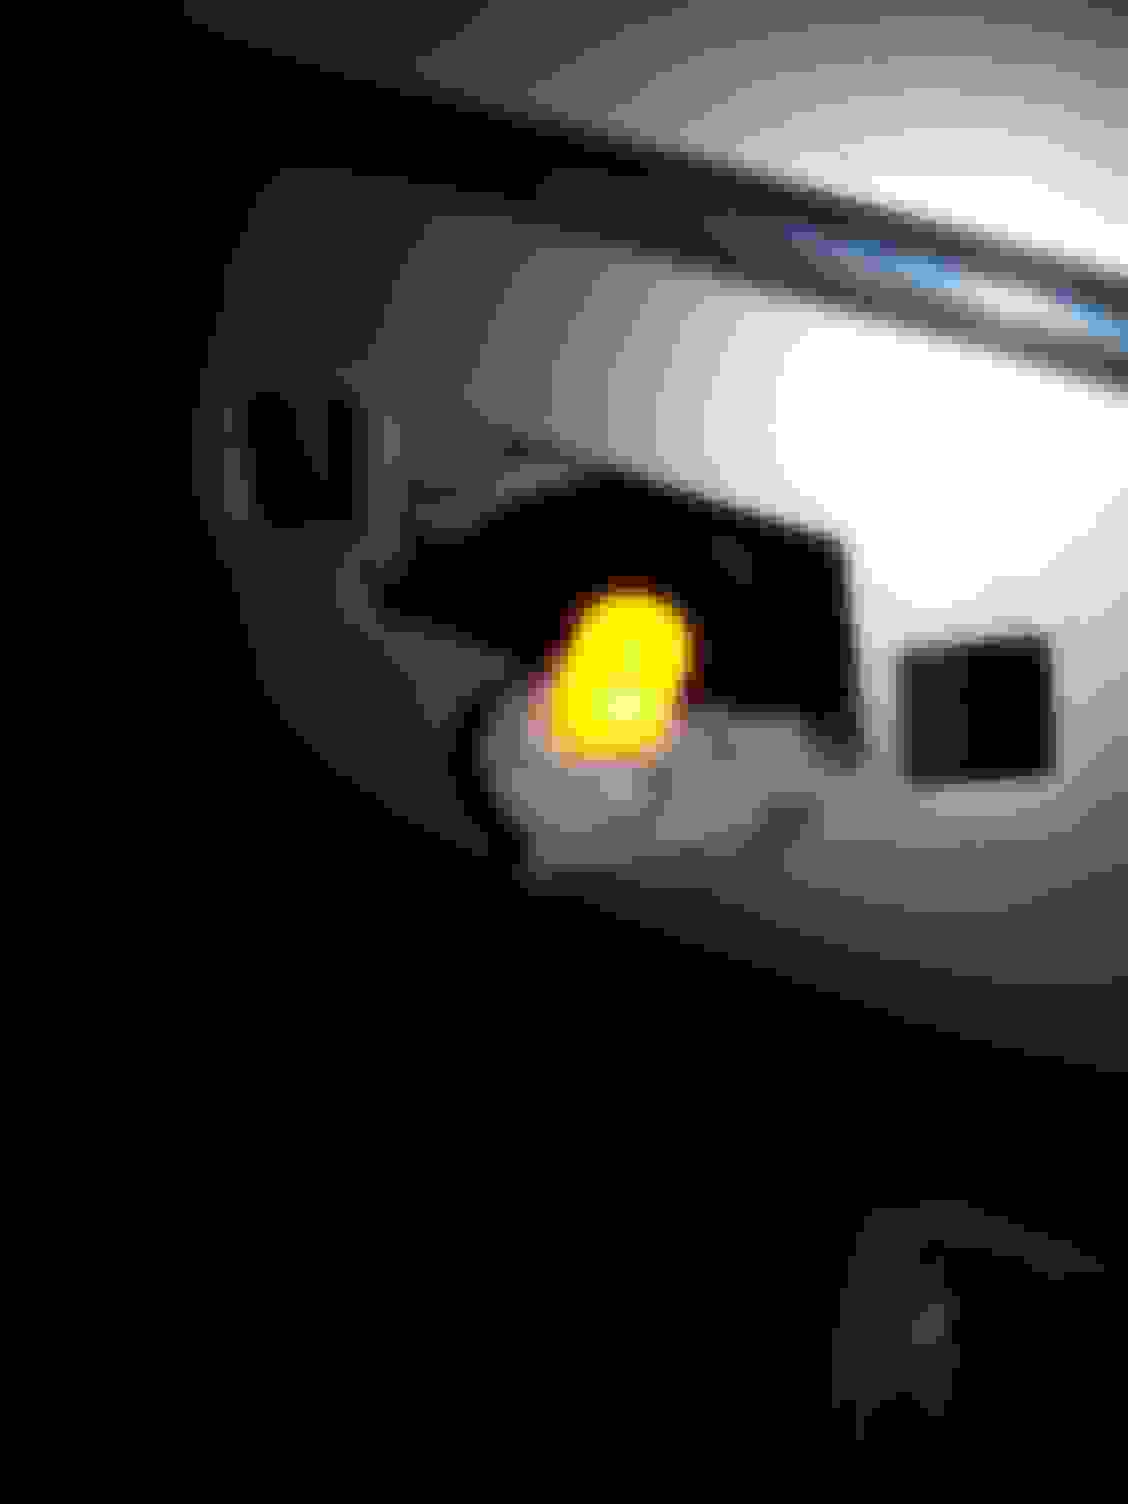
New side marker assembly Original lense has lost its sheen and appears scuffy. Dr LED lamp has 4 LED''s on each side. PC board and components are sealed. The socket hole is indexxed, so LED chips index facing the top and bottom of the plastic pocket, thus adding refective foil assists light dispersion. Tools used.... A side view of the reflector assembly. Pinched ends impede proper light dispersion and uniformity at the ends, so hot spots. From an aesthetics standpoint, I completely abhor this design. Newer Toyota/Lexus suffer same light uniformity/hot spots.
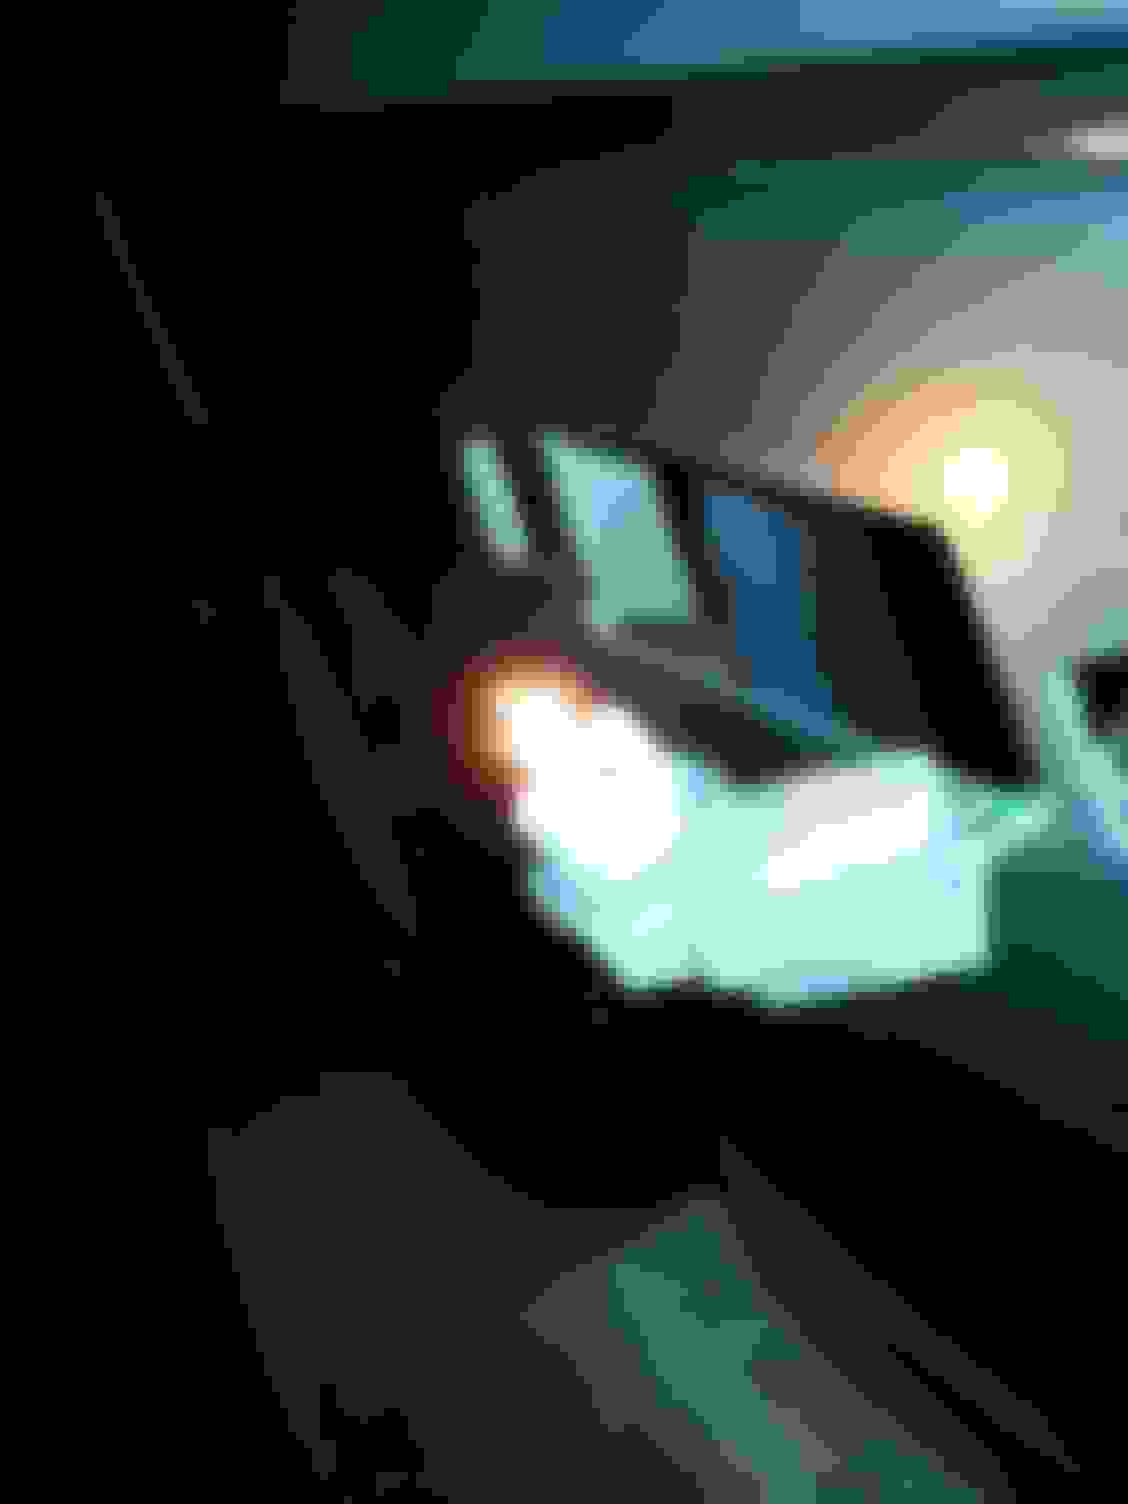
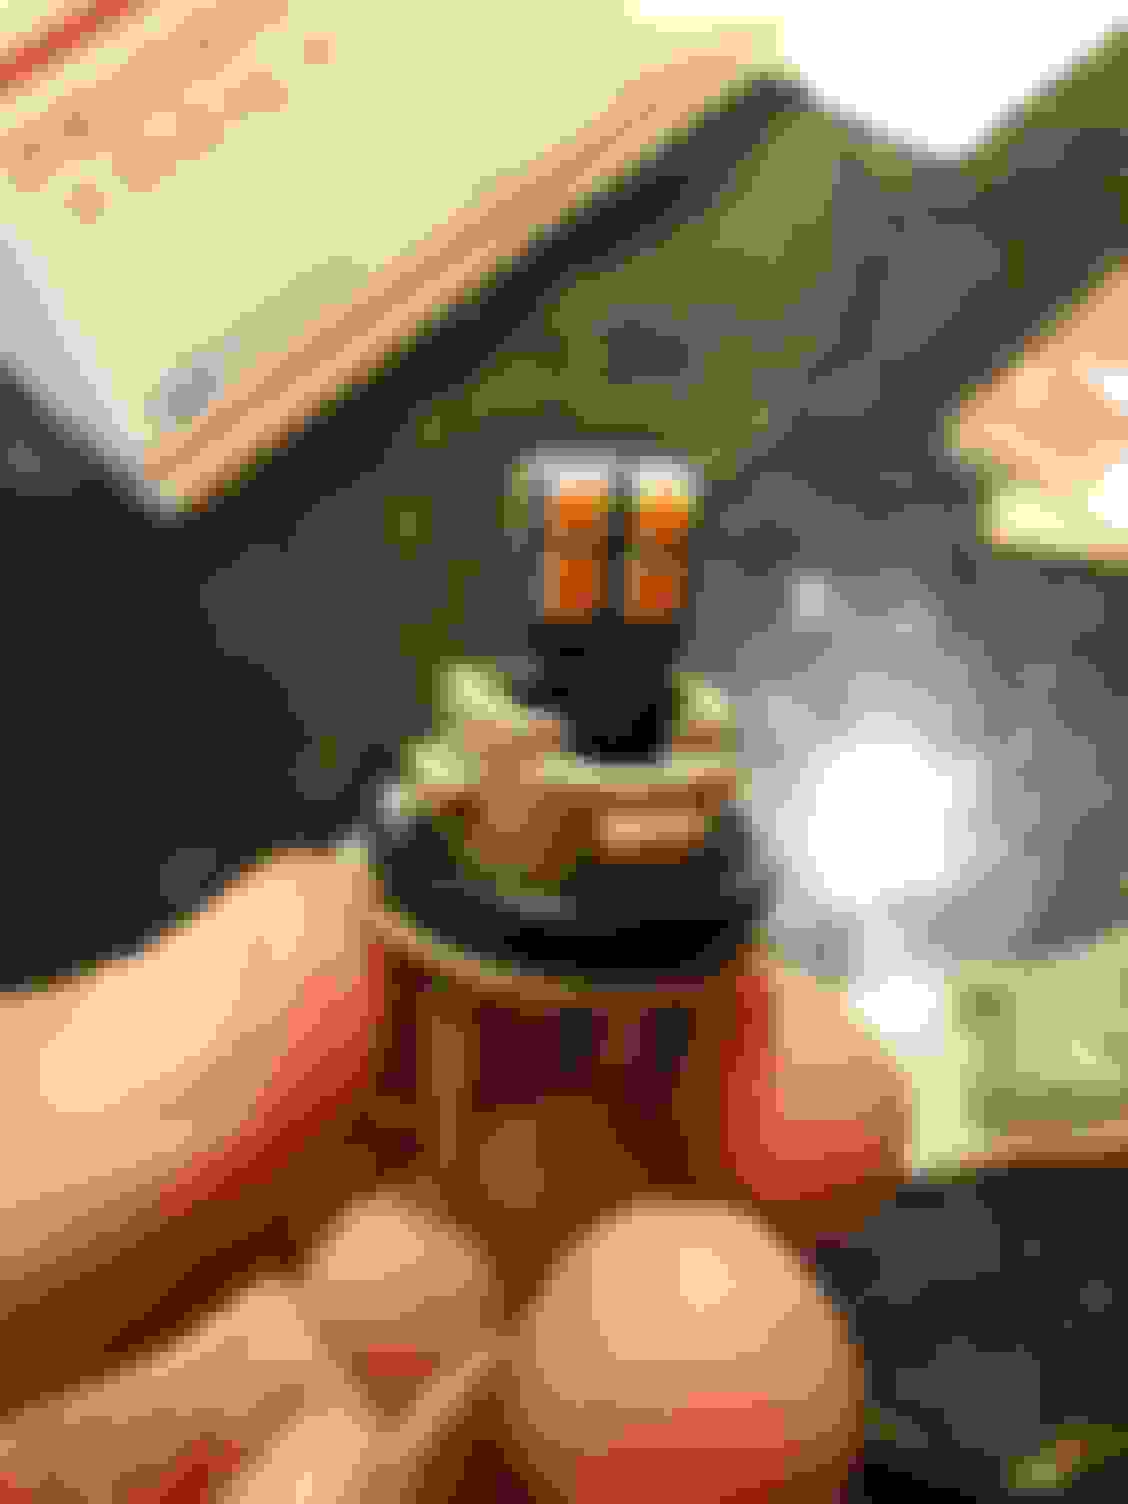
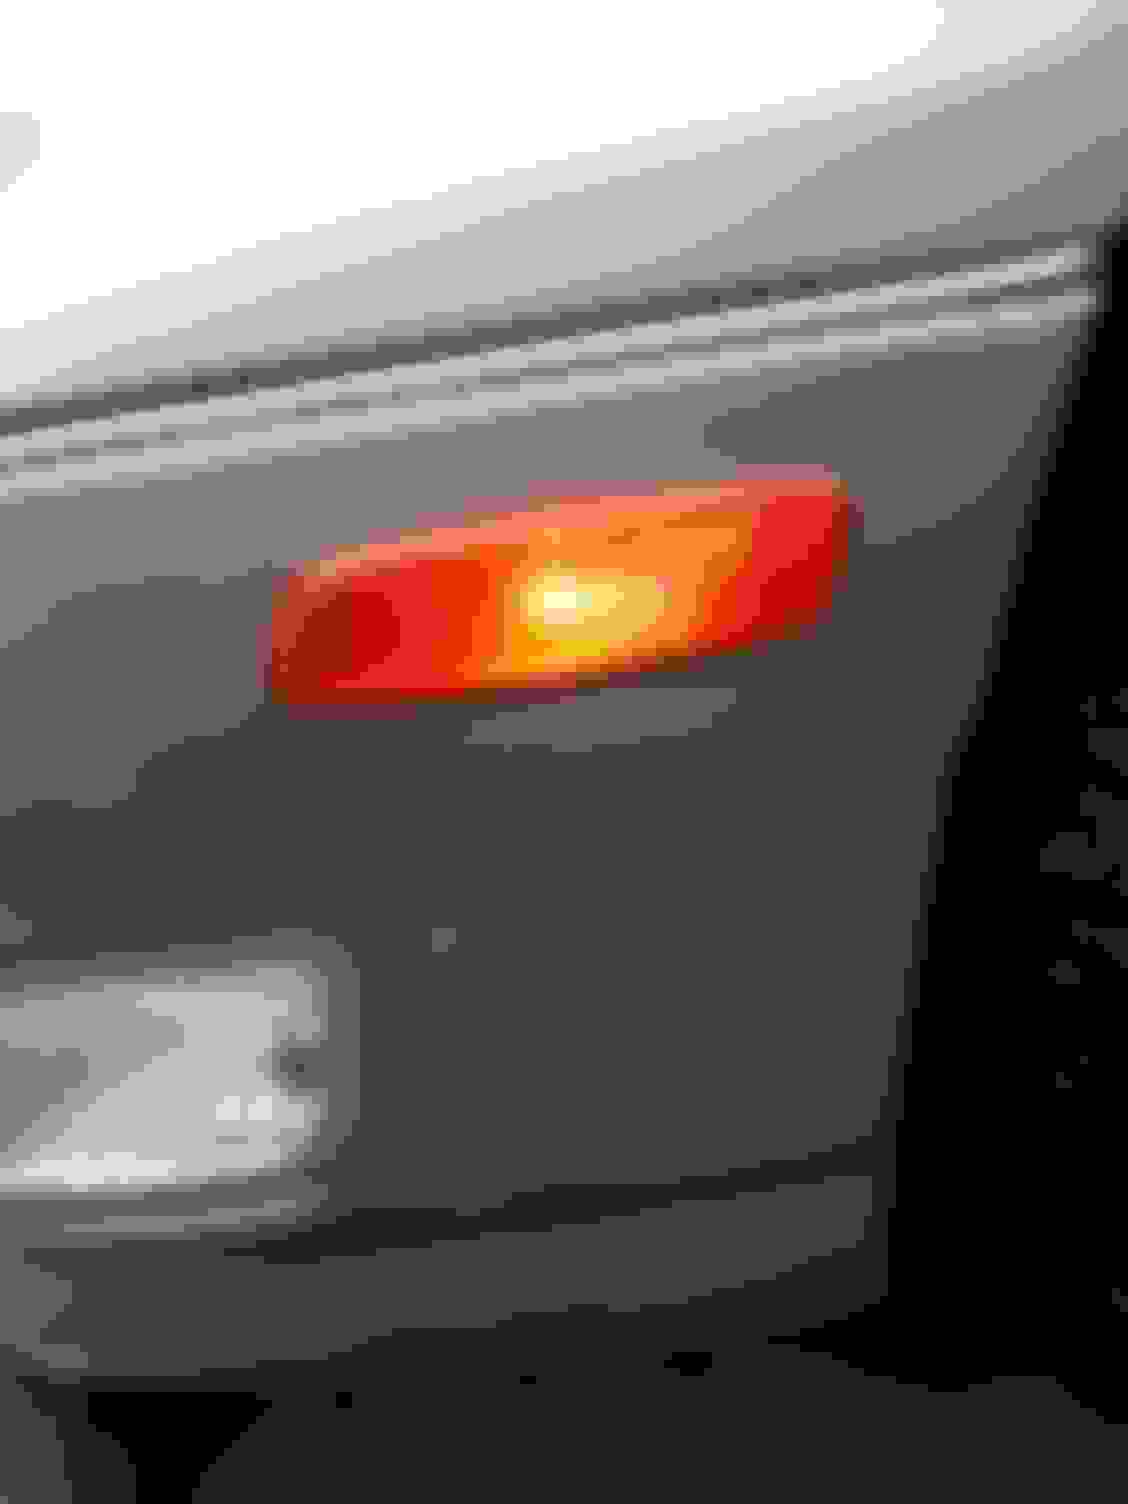
Before left side image with incandescent bulb taken at dusk.
After right side image taken with LED lamp installed. Gained access by removing fog lamp assembly. The left side requires removal or partial removal of the wheel well and washer solvent reservoir.
Night image with incandescent bulb installed. Night image with Dr. LED bulb installed....same camera angle.. ...now street illumination too..almost like cornering lamps.
Despite resealing the front amber side marker lenses, I discovered right side pocket was full.of water, so decided to replace. ...
I have had similar issues with lights on my '91 getting water in them (headlights, for example). After initial results similar to yours, I opted for the lazier solution of drilling a drain hole so at least the water that does get in there can easily get out. That solves things well enough for me.
And actually, thinking about it now, with the drain holes in there, I then took the opportunity to spray some water inside the headlights to wash out two decades+ of residue (from ???) that had accumulated on the interior surface of the headlight assemblies. That really brightened things up.

 12-07-17, 10:20 PM