When you click on links to various merchants on this site and make a purchase, this can result in this site earning a commission. Affiliate programs and affiliations include, but are not limited to, the eBay Partner Network.
I want to see this work! I dont want to spend money on a shifter which costs more than the damn transmission itself.
Yeah, close to $400 is hard to fork over for just a shifter mod. I seen a CBF performance shifter on ebay now for $380. Looks like they raised the prices. And who knows what kind of mods will need to be made to the trans to make it work.
nice going buddy! Keeping an eye on your shifter setup, this might be what i upgrade to next time i have the trans out.
interesting that you had to bash the tunnel in, on my 92 sc400 everything fit, the only thing that touched the tunnel was the neutral position switch on the passenger side of the tranny that i had to break off.
Marko
Thanks Marko! I can't wait until its all done and buttoned up
Yeah, I think that the 5/8" that you shaved off really goes a long way. Getting everything 5/8" closer gives more room near the firewall for the mounting bolts, and also moves the fattest part of the trans away from where the tunnel bottlenecks. It really wasn't too bad though (although I probably shouldn't hold my breath yet because the trans isn't in yet haha). But the little bit on the firewall near the mounting bolts and then using the car jack to spread the tunnel made it a ton easier. I would suggest doing that even if you dont really have to. It should make getting it in and out easier, and also give more room for the tranny to sit right, as opposed to potentially butting up against the tunnel and have slight misalignments in driveshaft and/or stressing the bellhousing/motor union. But again, we will see how it fits now haha
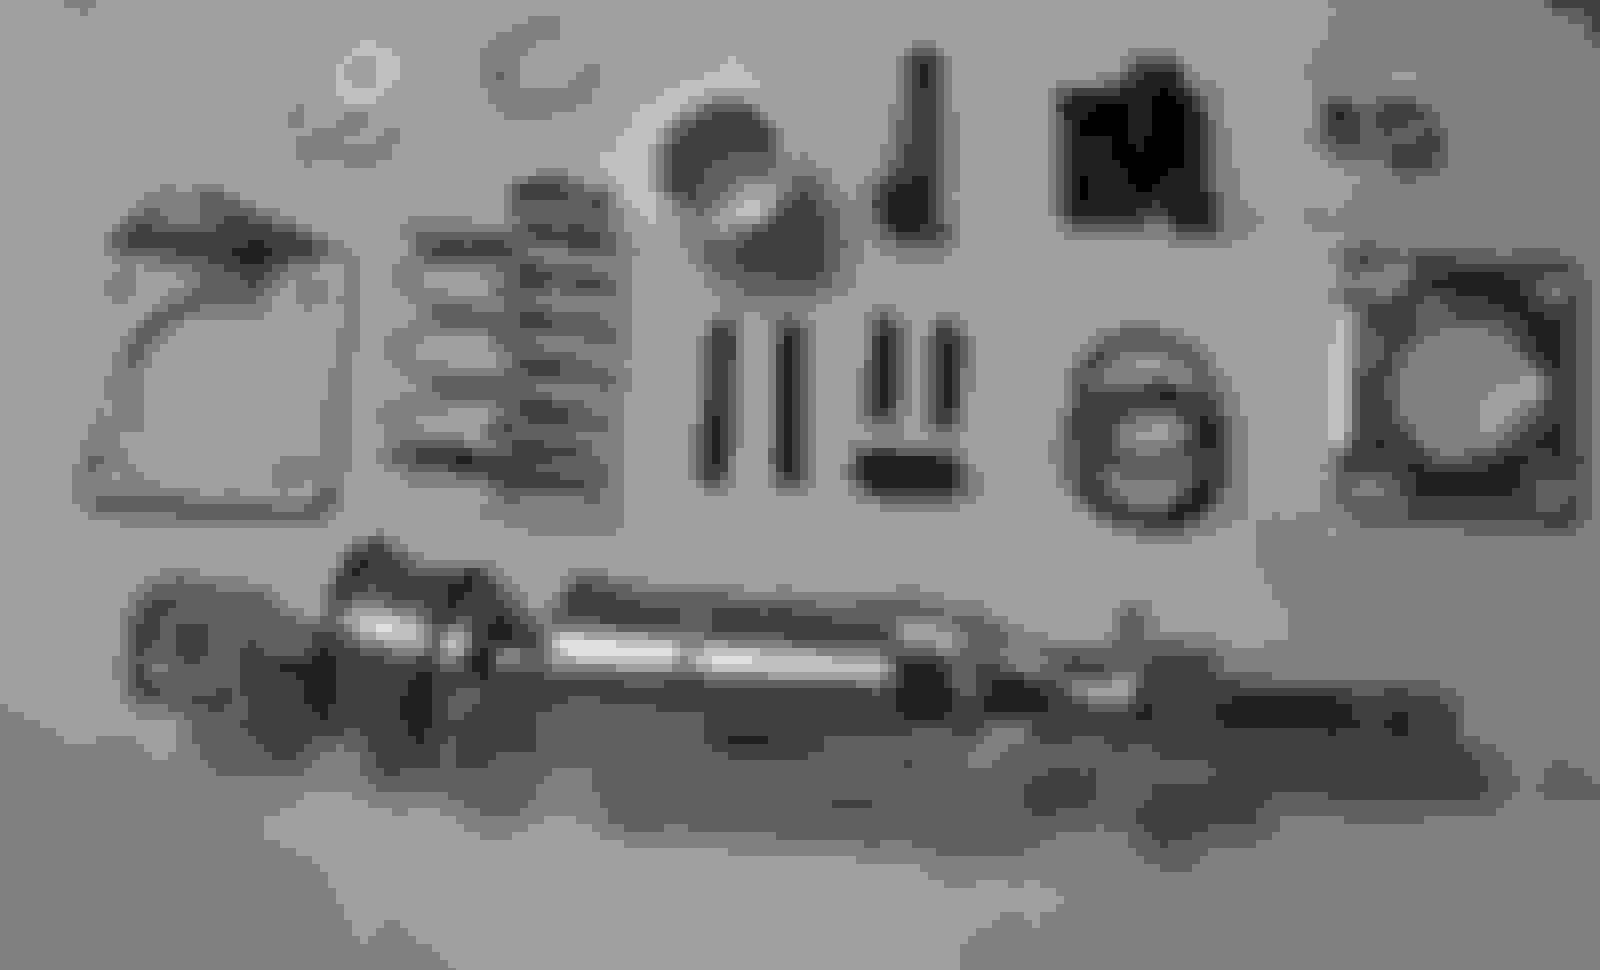
Got some busy work done today. I'm going to need new hardware to mount the shifter to the trans:
The bolts that fastened the OEM remote shifter are M8x1.25mm bolts. I determined that to mount the shifter plate where I anticipate having it, I will need M8x1.25x50mm, and I will use washers as spacers. I will need about 20mm worth of washers on both sides. I will be replacing the roll pin with a screw to make it easier to remove the shifter in the future because I will have the plastic cup/bushing on the bottom of the shifter JB welded to the linkage. So, in order to remove the shifter, I will need to be able to easily remove the linkage. The roll pin OD is 6.09mm. So, I figure an M6 screw with locknut will work fine there. There are 4 bolts on the 240sx shifter cover plate. They are M6x1.00. I will have to make a custom stopper for the reverse lockout and will likely mount it on that "cover plate" and use 2 of the 4 screws to fasten it. I figure a couple M6x1.00x20mm bolts should be long enough.
Also, there were a couple holes in my firewall that I was using to run wires through into the bay. The holes were right where the clutch pedal mounts, so had to disconnect those wires and pull them back through:
Here is a pic of where the clutch pedal will be mounted. I have read that there will be a little diamond imprinted in the foam where the clutch pedal mounts. I drilled those holes for the wires a few years ago, so can't remember if that is the case or not. Not much room in there, gonna be fun.. I will have to remove that bracket that's in the way there to get more room.
Also, got the gated shifter bezel in today. Here is a comparison between the gated bezel and 5 spd bezel. Looks like the gated bezel will shift the center point down about 1.5", which should get the shifter pretty much centered, but we will see
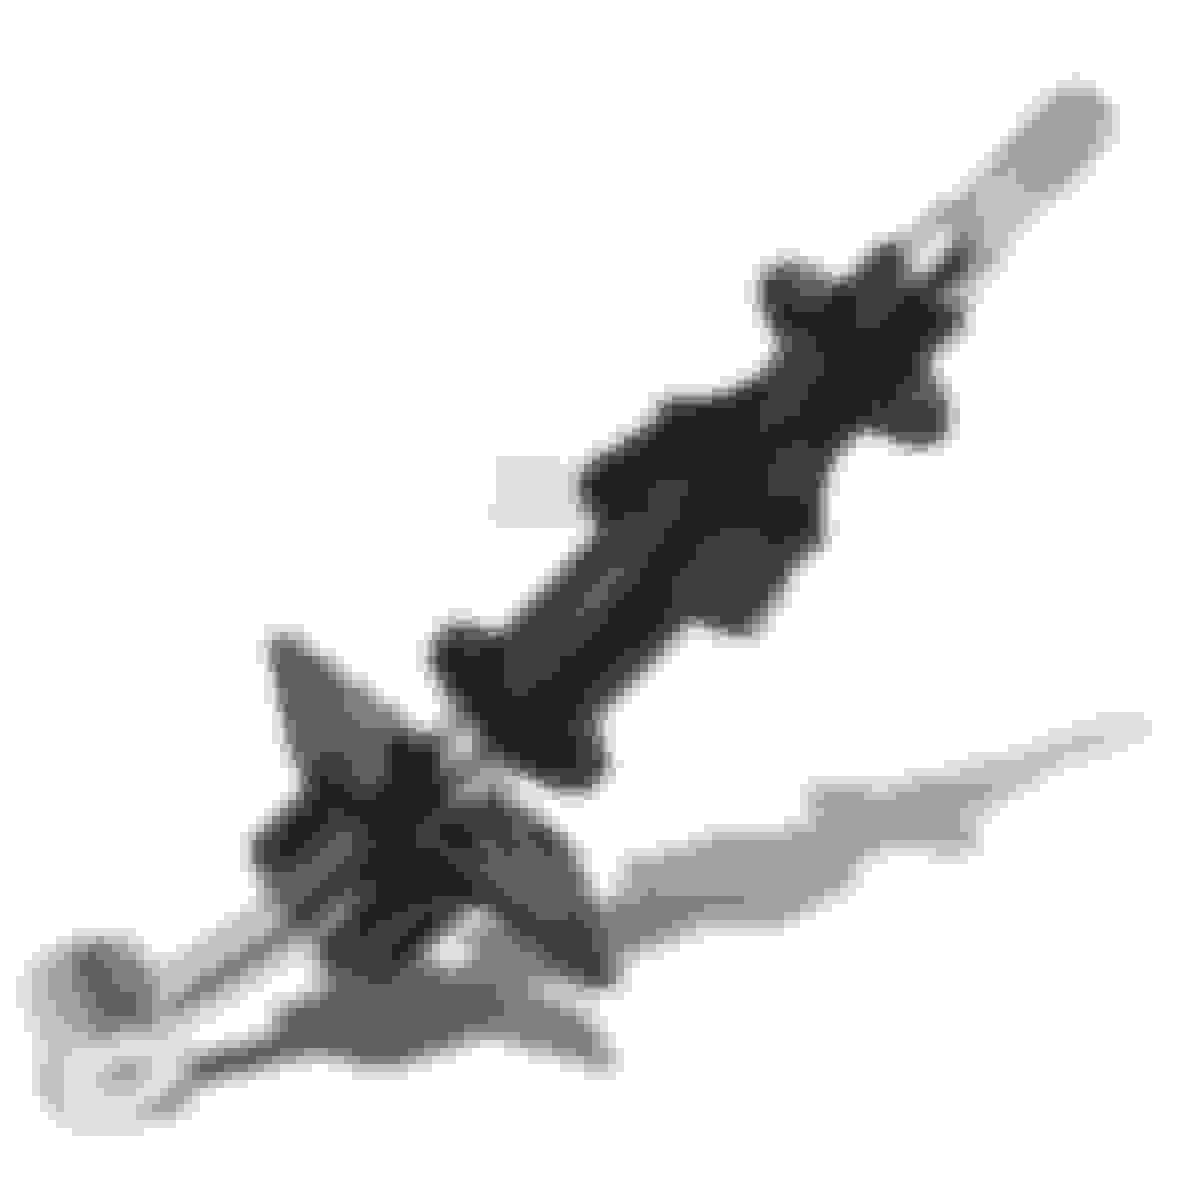
I've decided to go with a BRZ short shifter instead of the V160 short shifter. The BRZ shifter seemed to have a little more of skinny shaft sticking out from under the fatter part used for reverse lockout. This will make it easier for me to adapt it to the cut down 240 shifter. If I end up getting it welded, it will keep the weld further from the throw of the fatter reverse lockout part as well. Also, the reverse lockout spring is built into the shifter, so no need for spring on top of fat part, and no need for shift **** with recess to accept spring. So, I have pick of the litter for shift *****. I will get a piece of metal bent and drilled to mount on the shifter housing plate that will interfere with the bottom of the shifter unless raised
Modified the shifter and got it mounted: But I have to open up the mounting holes a bit, which I was hoping to hit dead on, but ended up off a tad. Where it's mounted now, I can't get all the way into 1,3,5 gears.:
Chopping the mounting plate:
Scribe crosshairs for mounting holes centerpoint:
Holes drilled:
Drill out the hole on the linkage with stepper bit until the plastic bushing on the shifter fits snug:
Take a belt sander to the round profile above the brass piece. You can see it here in this pic. Also notice how the bushing sits snug in the hole:
Shifter mounted. I used 10 washers as spacers and taped them together to keep them together:
Tomorrow, I have to drill new holes to bring the shifter to the correct position, and JB weld the bushing in the hole. Then, should be good Only thing I am noticing with the shifter mounted is that it seems to have a backward lean to it, so when in neutral, the shifter will be leaning back. This sucks because I don't know if it's going to come out centered in the trim. But we will see
I have the shifter bushing sitting in the linkage hole surrounded by JB weld on both the top and bottom. I centered the bushing so that there was about the same amount sticking out from the top and bottom. Have to let it cure for 24 hours. I have an electric heater pointed right at it so hopefully hot dry air helps it cure as best as possible.
I scraped up the bushing surface and linkage surface with 80 grit sandpaper, then washed with soap and water, dried it off, then wiped down with Acetone to have a nice clean and grease free surface for the JB weld to bond to. Hopefully it comes out nice and strong. We don't want that bushing to move around at all, just the shifter tip ball to move around inside of it.
Going to head back out now and try to get these clutch pedal holes drilled, swap out the brake pedals, and hopefully get to cutting the tunnel. Funny thing is that where the 240 shifter is sitting on the trans is pretty darn close to the cutout on the auto tunnel. But I'm going to open it up because I want to be able to easily remove the shifter if needed without having to drop the trans.
haha yeah, it took me an hour of staring at the parts to figure out how it all went together with the springs and whatnot, but either one sounds plausible. hey the BRZ lockout mechanism might even slide over the 240sx shaft if the thickness is the same, I know on the v160 one they were not so something else to give a try.
Just drilled/punched out the mounting holes for the clutch pedal / master cylinder:
You can see that the clutch pedal assembly holes are pre-marked on the firewall. You can see the outline for the large hole, and you can see the outline for the bolts.
These two holes here were already drilled from before because I was running some wires through to the bay. Luckily the smaller hole was drilled perfectly through the marking for the clutch pedal bolt. You can see the marking for the other clutch pedal bolt just up and to the left of the big hole.
You have to unclip the wire harnesses from the tilt and telescoping wheel control unit, and remove the bracket that its mounted to in order to make room for a drill to drill out the holes. I used a drill for the other bolt hole that needed to be drilled, and I used a knockout punch for the large hole.
Also, made a cardboard template for the adapter that I will be making for the Wilwood clutch master cylinder upgrade:
I determined that I can just get a 3x3 square piece of aluminum stock, chop a couple diagonal pieces off, round some edges with a belt sander for aesthetics, and then just drill and tap a few holes
Got a lot done today. Feel very accomplished because it's stuff I was dreading doing. I HATE working under the dash. Can't stand it. No room for anything, no light, body is bent around like a contortionist, just altogether not peasant. But, I got the clutch pedal assembly mounted (the 1 bolt up top under steering column), got brake pedal swapped out, cleaned up wiring under the dash (wait til you see the pic....previous owners WOW), and did some more work with the shifter
First things first, the wiring. This is only part of what was removed from under my dash. Hooked up to nothing mind you...
I had to take flush cut snips and snip down the bushing flush to the clutch pedal because the clevis fork rod end that I am using with the Wilwood master cylinder is narrower than the stock one. There will be more to come with this master cylinder prep / install when I get all the parts in:
Brake pedal swapped out because the auto brake pedal is wider than the manual brake pedal. Just pull that spring off and let it hang, pull the cotter pin and remove clevis pin. Then there is a bolt a little further up the brake pedal arm that needs to be removed to take it out. You will need to remove a couple bolts to swing the ecu things out of the way to make it easier to get to that brake pedal bolt:
Then install the manual brake pedal.
Here is pic of the clutch pedal assembly mounted. You can barely see the one bolt right above the clutch pressed down switch. It has little shards of blue masking tape on it still because I had to tape it to the socket to keep it in place while I tried to find the hole. Sorry, it's hard to get a frame of reference with these pics under the dash because there is no room to get decent pics..
Here is pic with 3 pedals! I know, my car is dirty as hell. Can't wait til this is done, then it's getting a good spring clean job.
I fixed my mounting holes for the 240sx shifter because they were off by less than 1/4" and I couldn't shift into 1,3,5 gears. Crap part is that I couldn't just drill more holes because the center point of the new holes were right on the edge of the current holes... Luckily I had a router bit that I had purchased some time ago, and used that to slot the holes up to the perfect spot. Note: a router bit for machining, not a wood router bit lol.
I then figured out that the stock remote shifter frame can be chopped up and used as support for the 240sx shifter housing:
Just have to take those top cut pieces in the pic above, mock fit them in place, mark the holes to drill, and drill them through so that you can use bolt-washer-washer-nut. This is how it looks with framing and with shifter sitting perfect. This pic is with shifter in neutral. You can see how the shifter has a gangster lean going on. I measured that the distance from the front of the bellhousing to the shifter tip is about 32.5". I mocked up that gated shifter bezel, and it looks as if the shifter will be just about centered!! We will see when it's in though
And here is a pic of the plastic shifter bushing JB welded into the linkage piece. That thing ain't going nowhere:


 03-17-16, 07:44 AM