When you click on links to various merchants on this site and make a purchase, this can result in this site earning a commission. Affiliate programs and affiliations include, but are not limited to, the eBay Partner Network.
Yes, it's been done a thousand times. I've done it 6 times myself on different SC's. But there just doesn't seem to be a great write up of HOW. There is one that I referenced my first time and it helped tremendously. But I thought I'd give it a try. So here goes...
remember that I accept no liability if you break something, hurt yourself, or can't put your car back together. For a nominal fee I will come out it back together for you lol. also remember that there is more than 1 way to do this. Some will start with the a-pillars, I started with the center console. This is on a 1997 with a gated shifter swap.
DISCONNECT YOUR BATTERY!!!
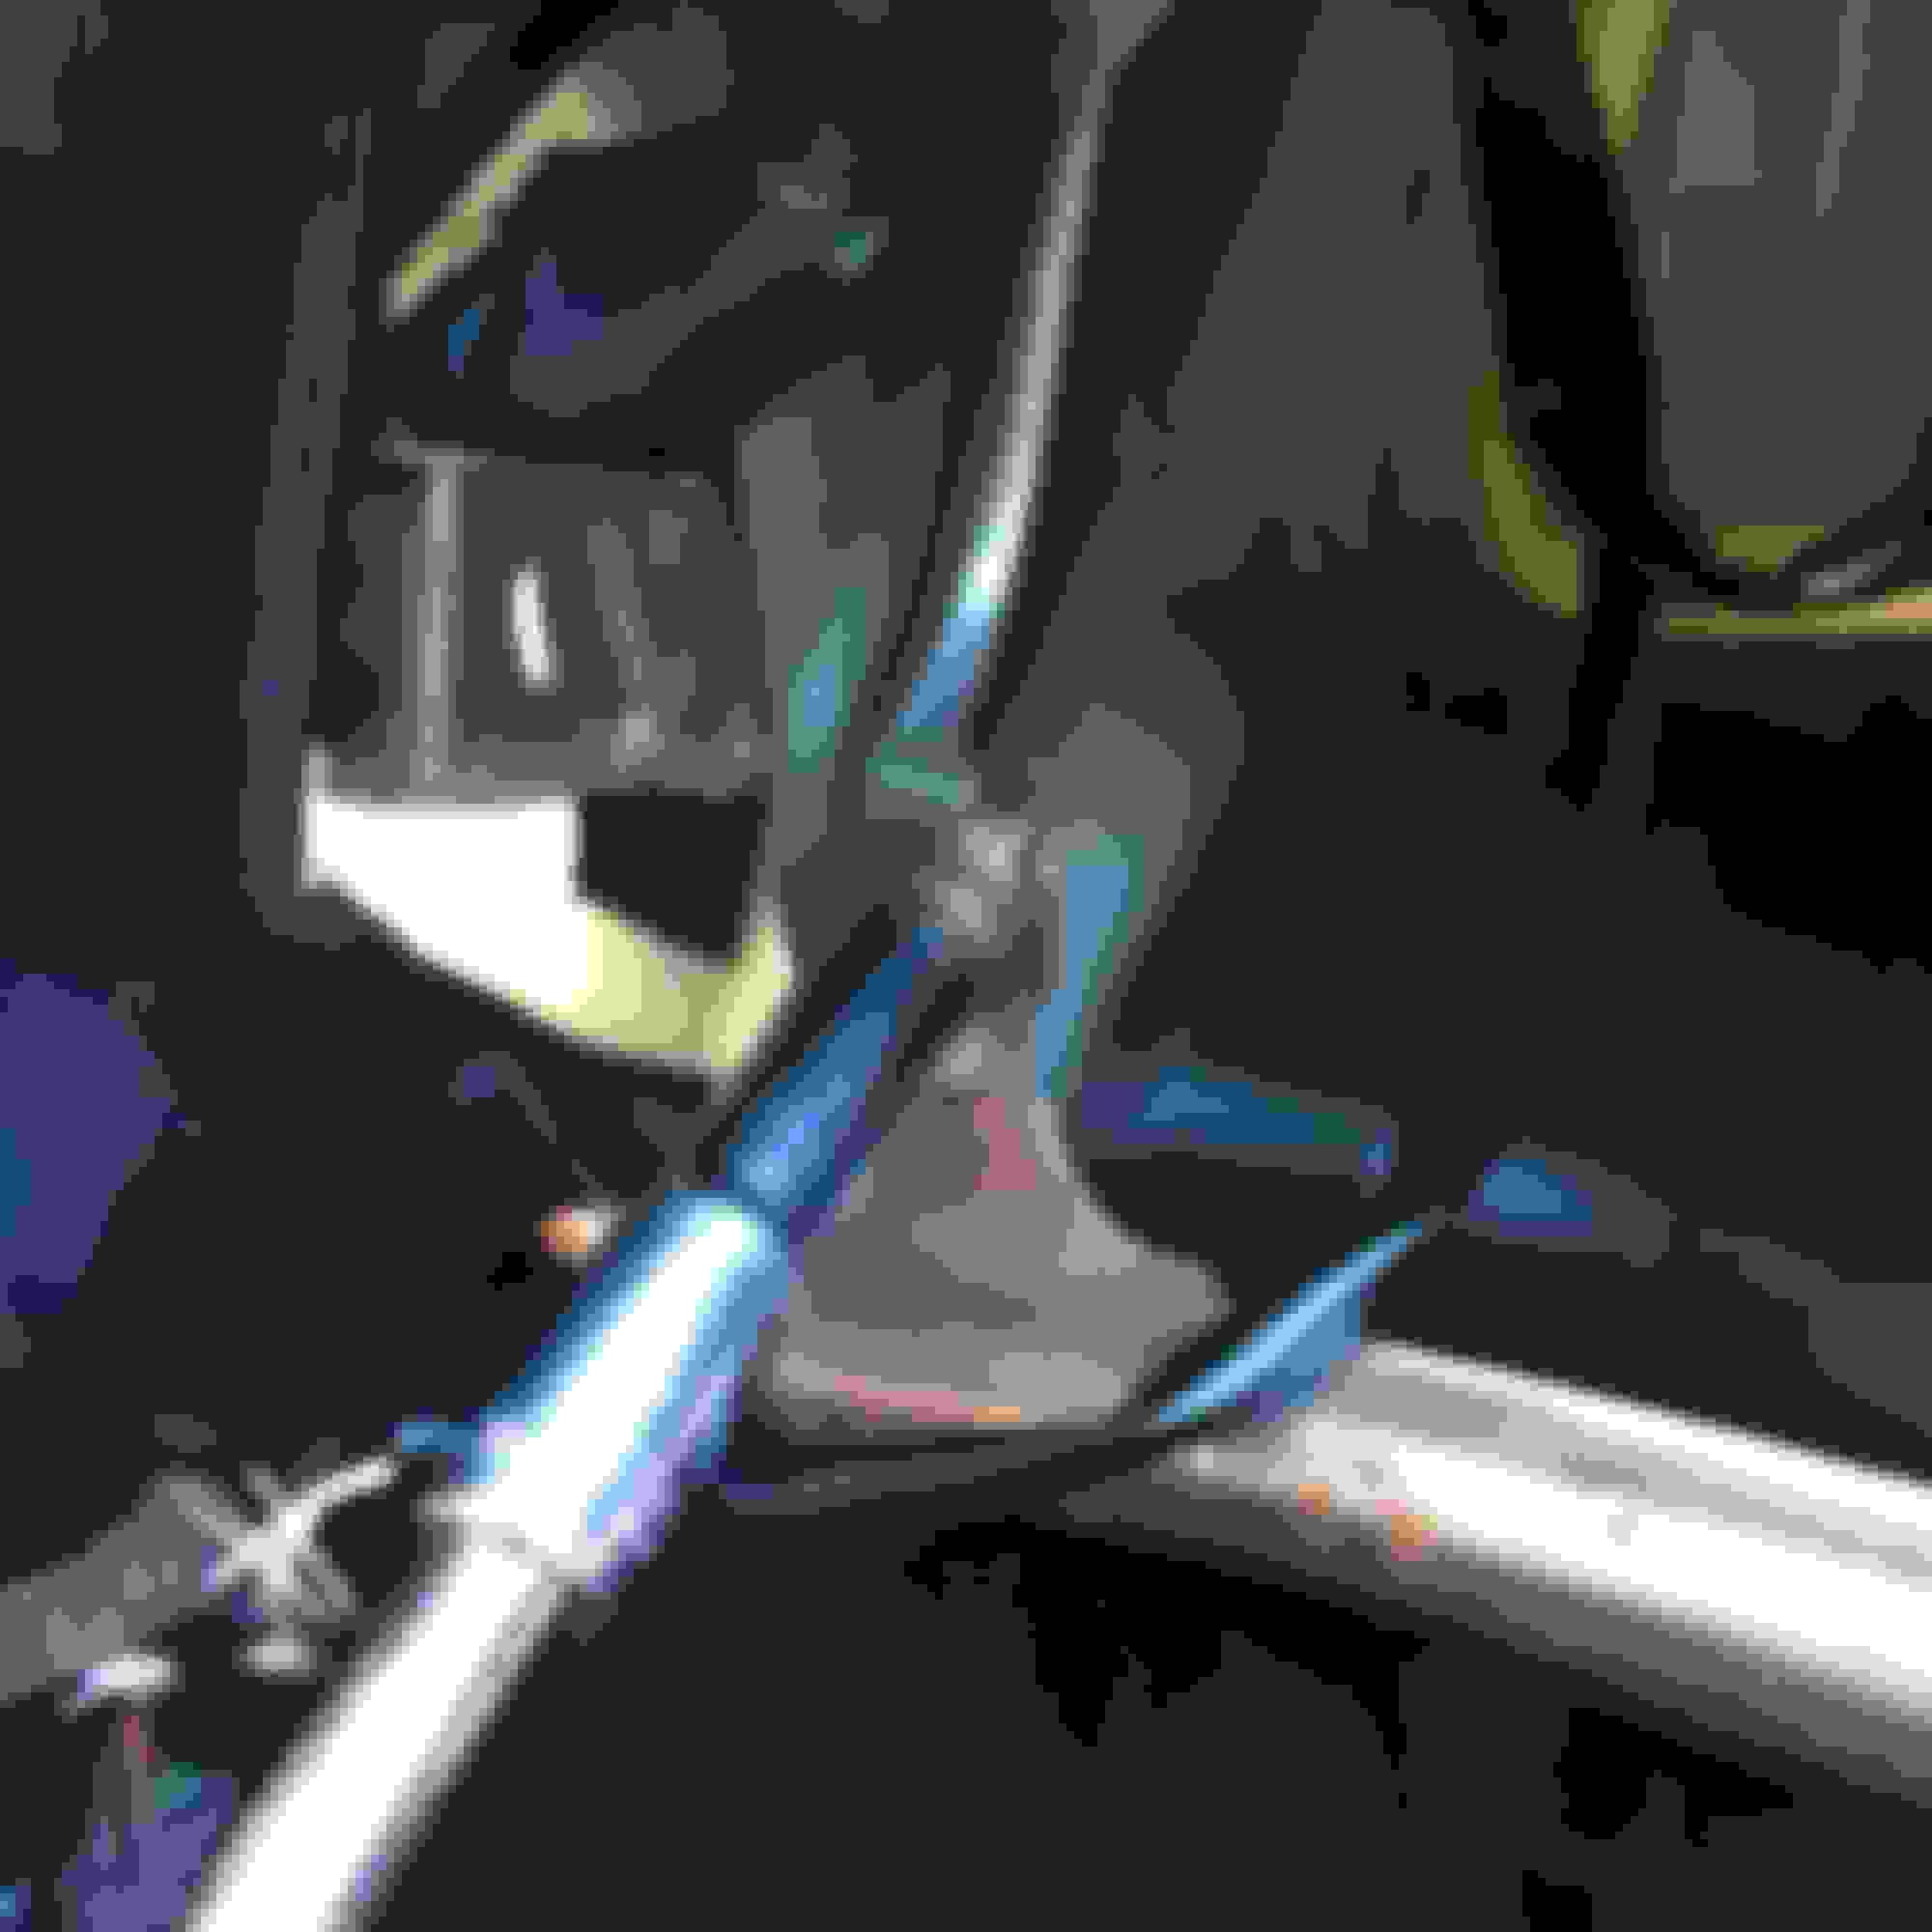
1. Remove shift ****. On a gated shifter you simple turn it counterclockwise. (If you have a 92-97 auto, you pull up on the e-brake, move the shifter to neutral, press down on the lower plastic trim piece revealing 2 Phillips screws on the base of the shifter. Remove those and pull up on the shift ****).
2. Open the ashtray, center console arm rest, remove the middle cup holder by firmly pulling up. Remove the small carpet trim piece inside the center console to reveal 3 10mm bolts.
3. Pull up firmly on the shifter trim bezel (it's held in with clips). Unplug connectors on back side and set it aside.
4. Now you can remove the 6 Phillips screws that hold the upper center console trim in place.
5. Pull the center console upper trim up from the back first and pull the it out from around the radio and climate control (it is help in by clips). Disconnect the hazard switch and climate control/radio ***** and set upper console aside.
6. Next remove 4 Phillips screws around the shifter that hold the lower center console in.
7. Remove 3 10mm bolts from inside center console box holding center console to the floor.
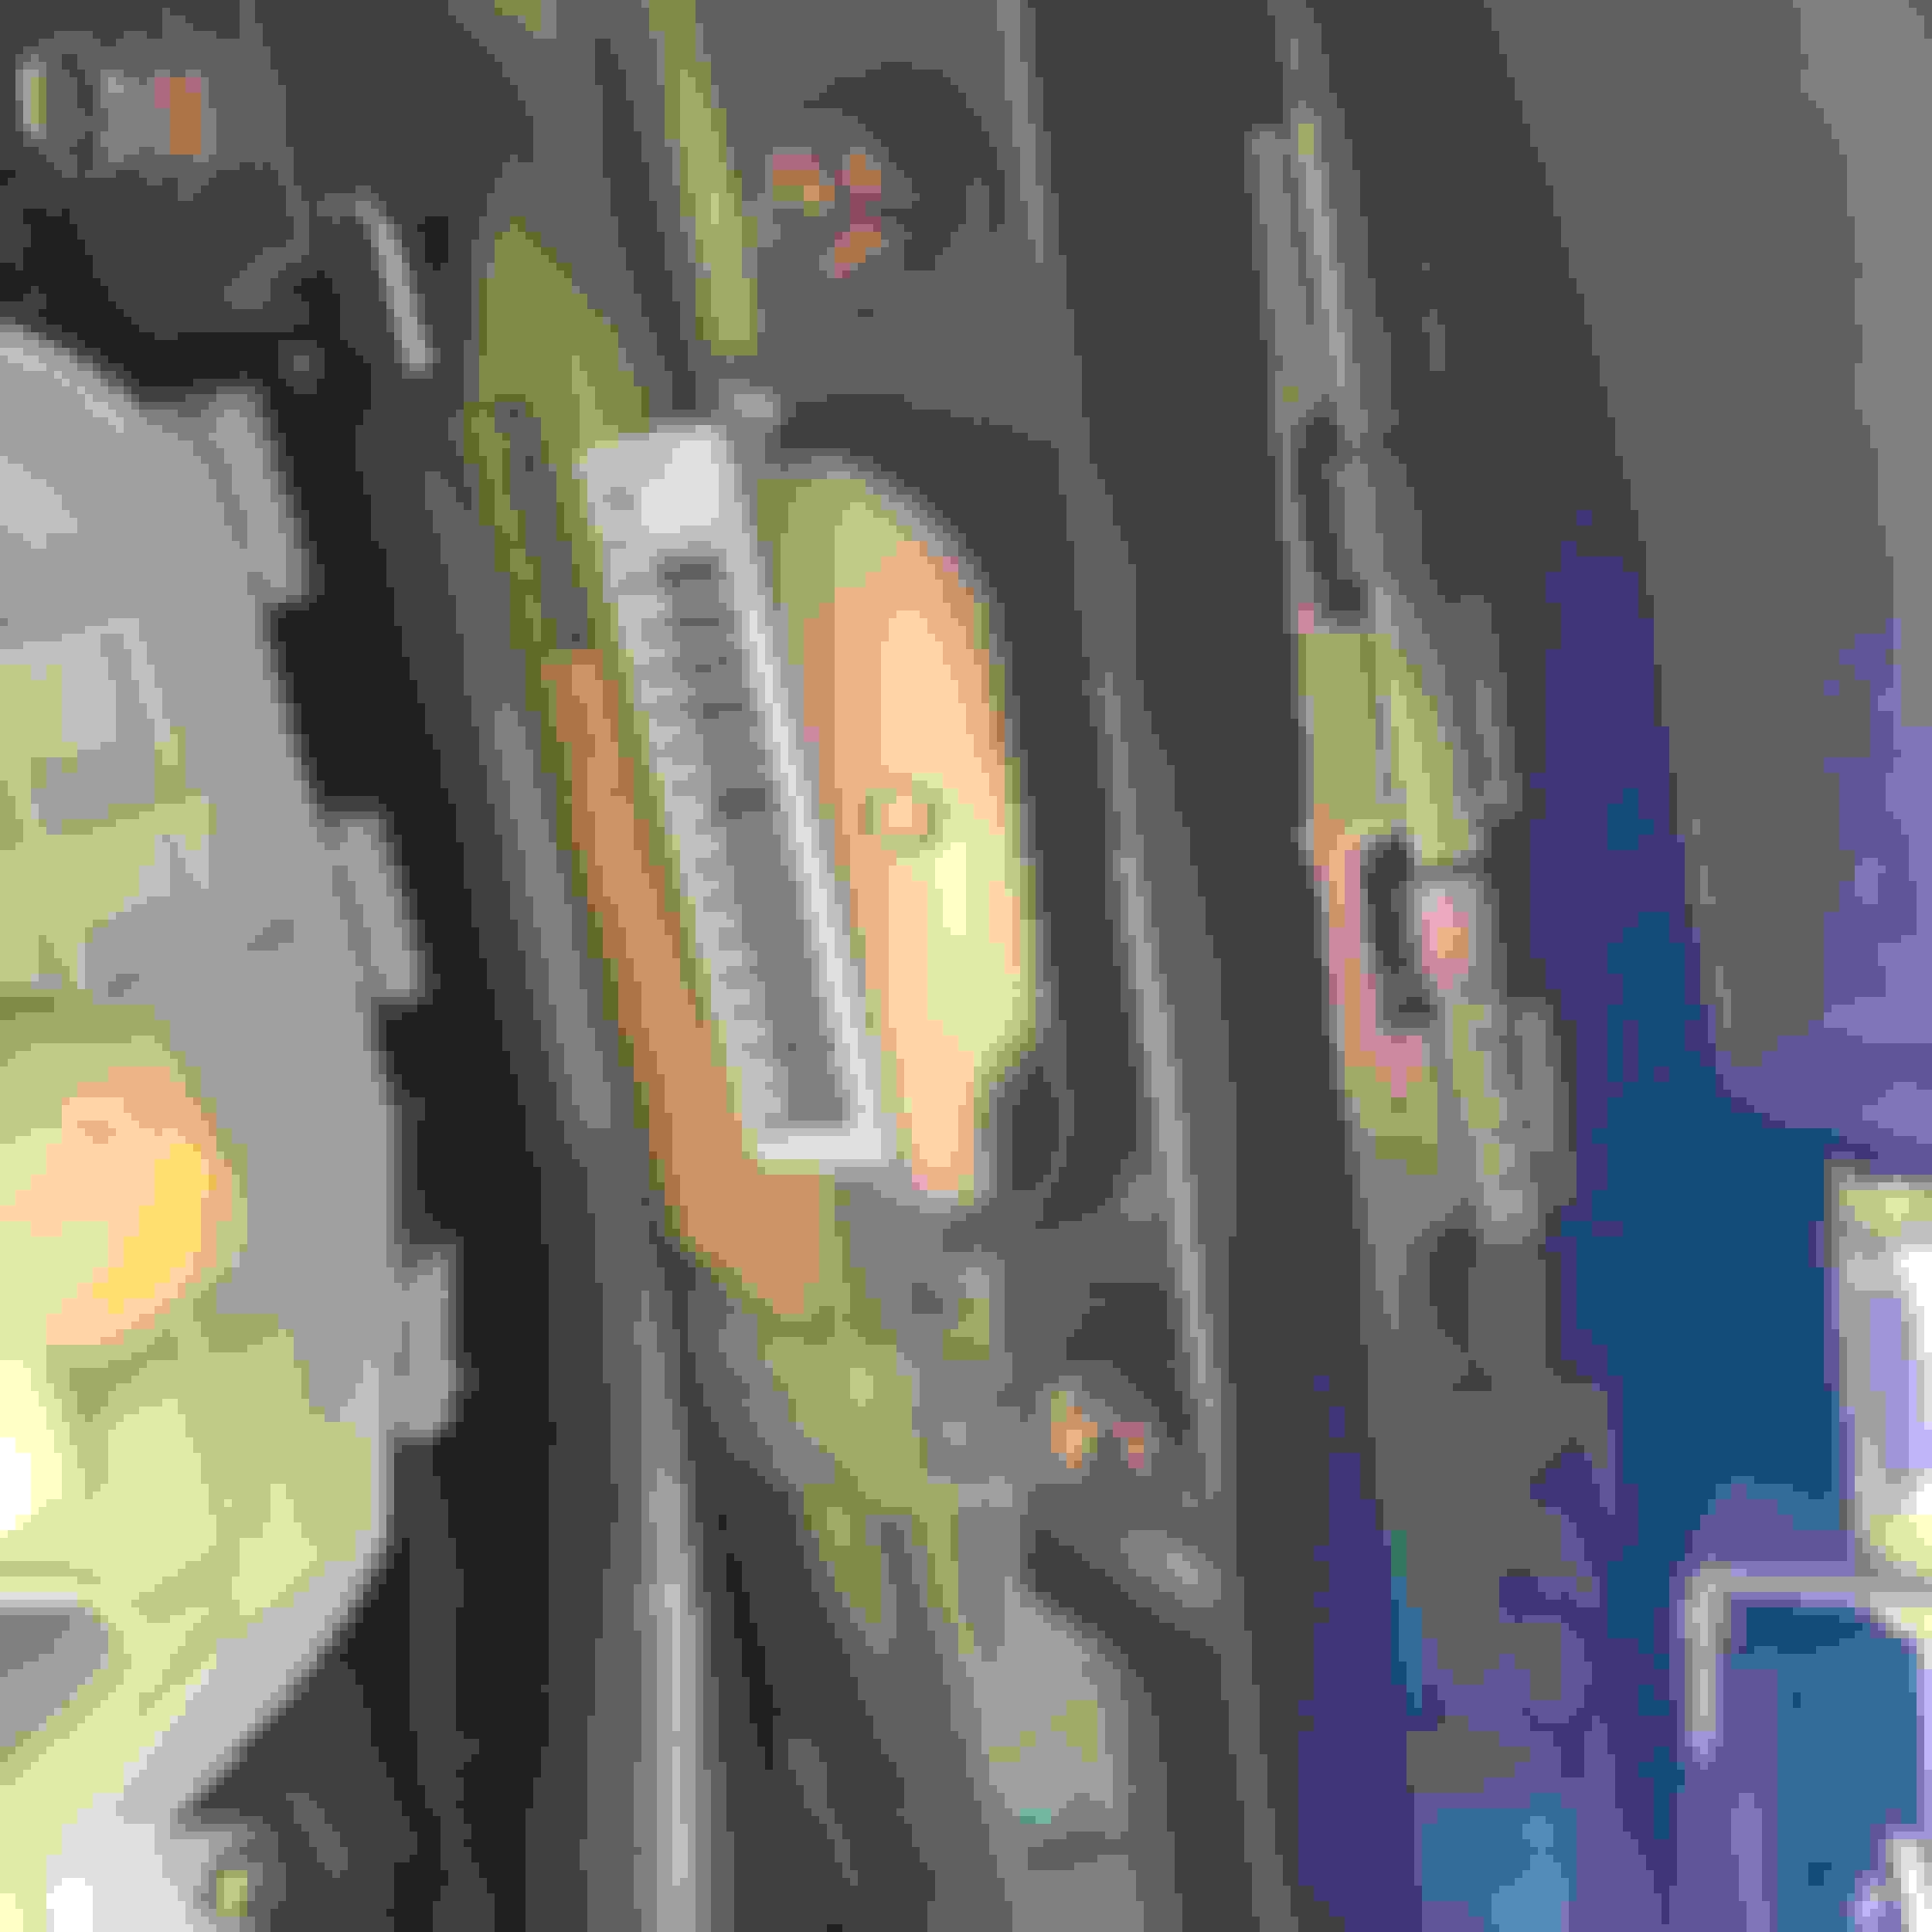
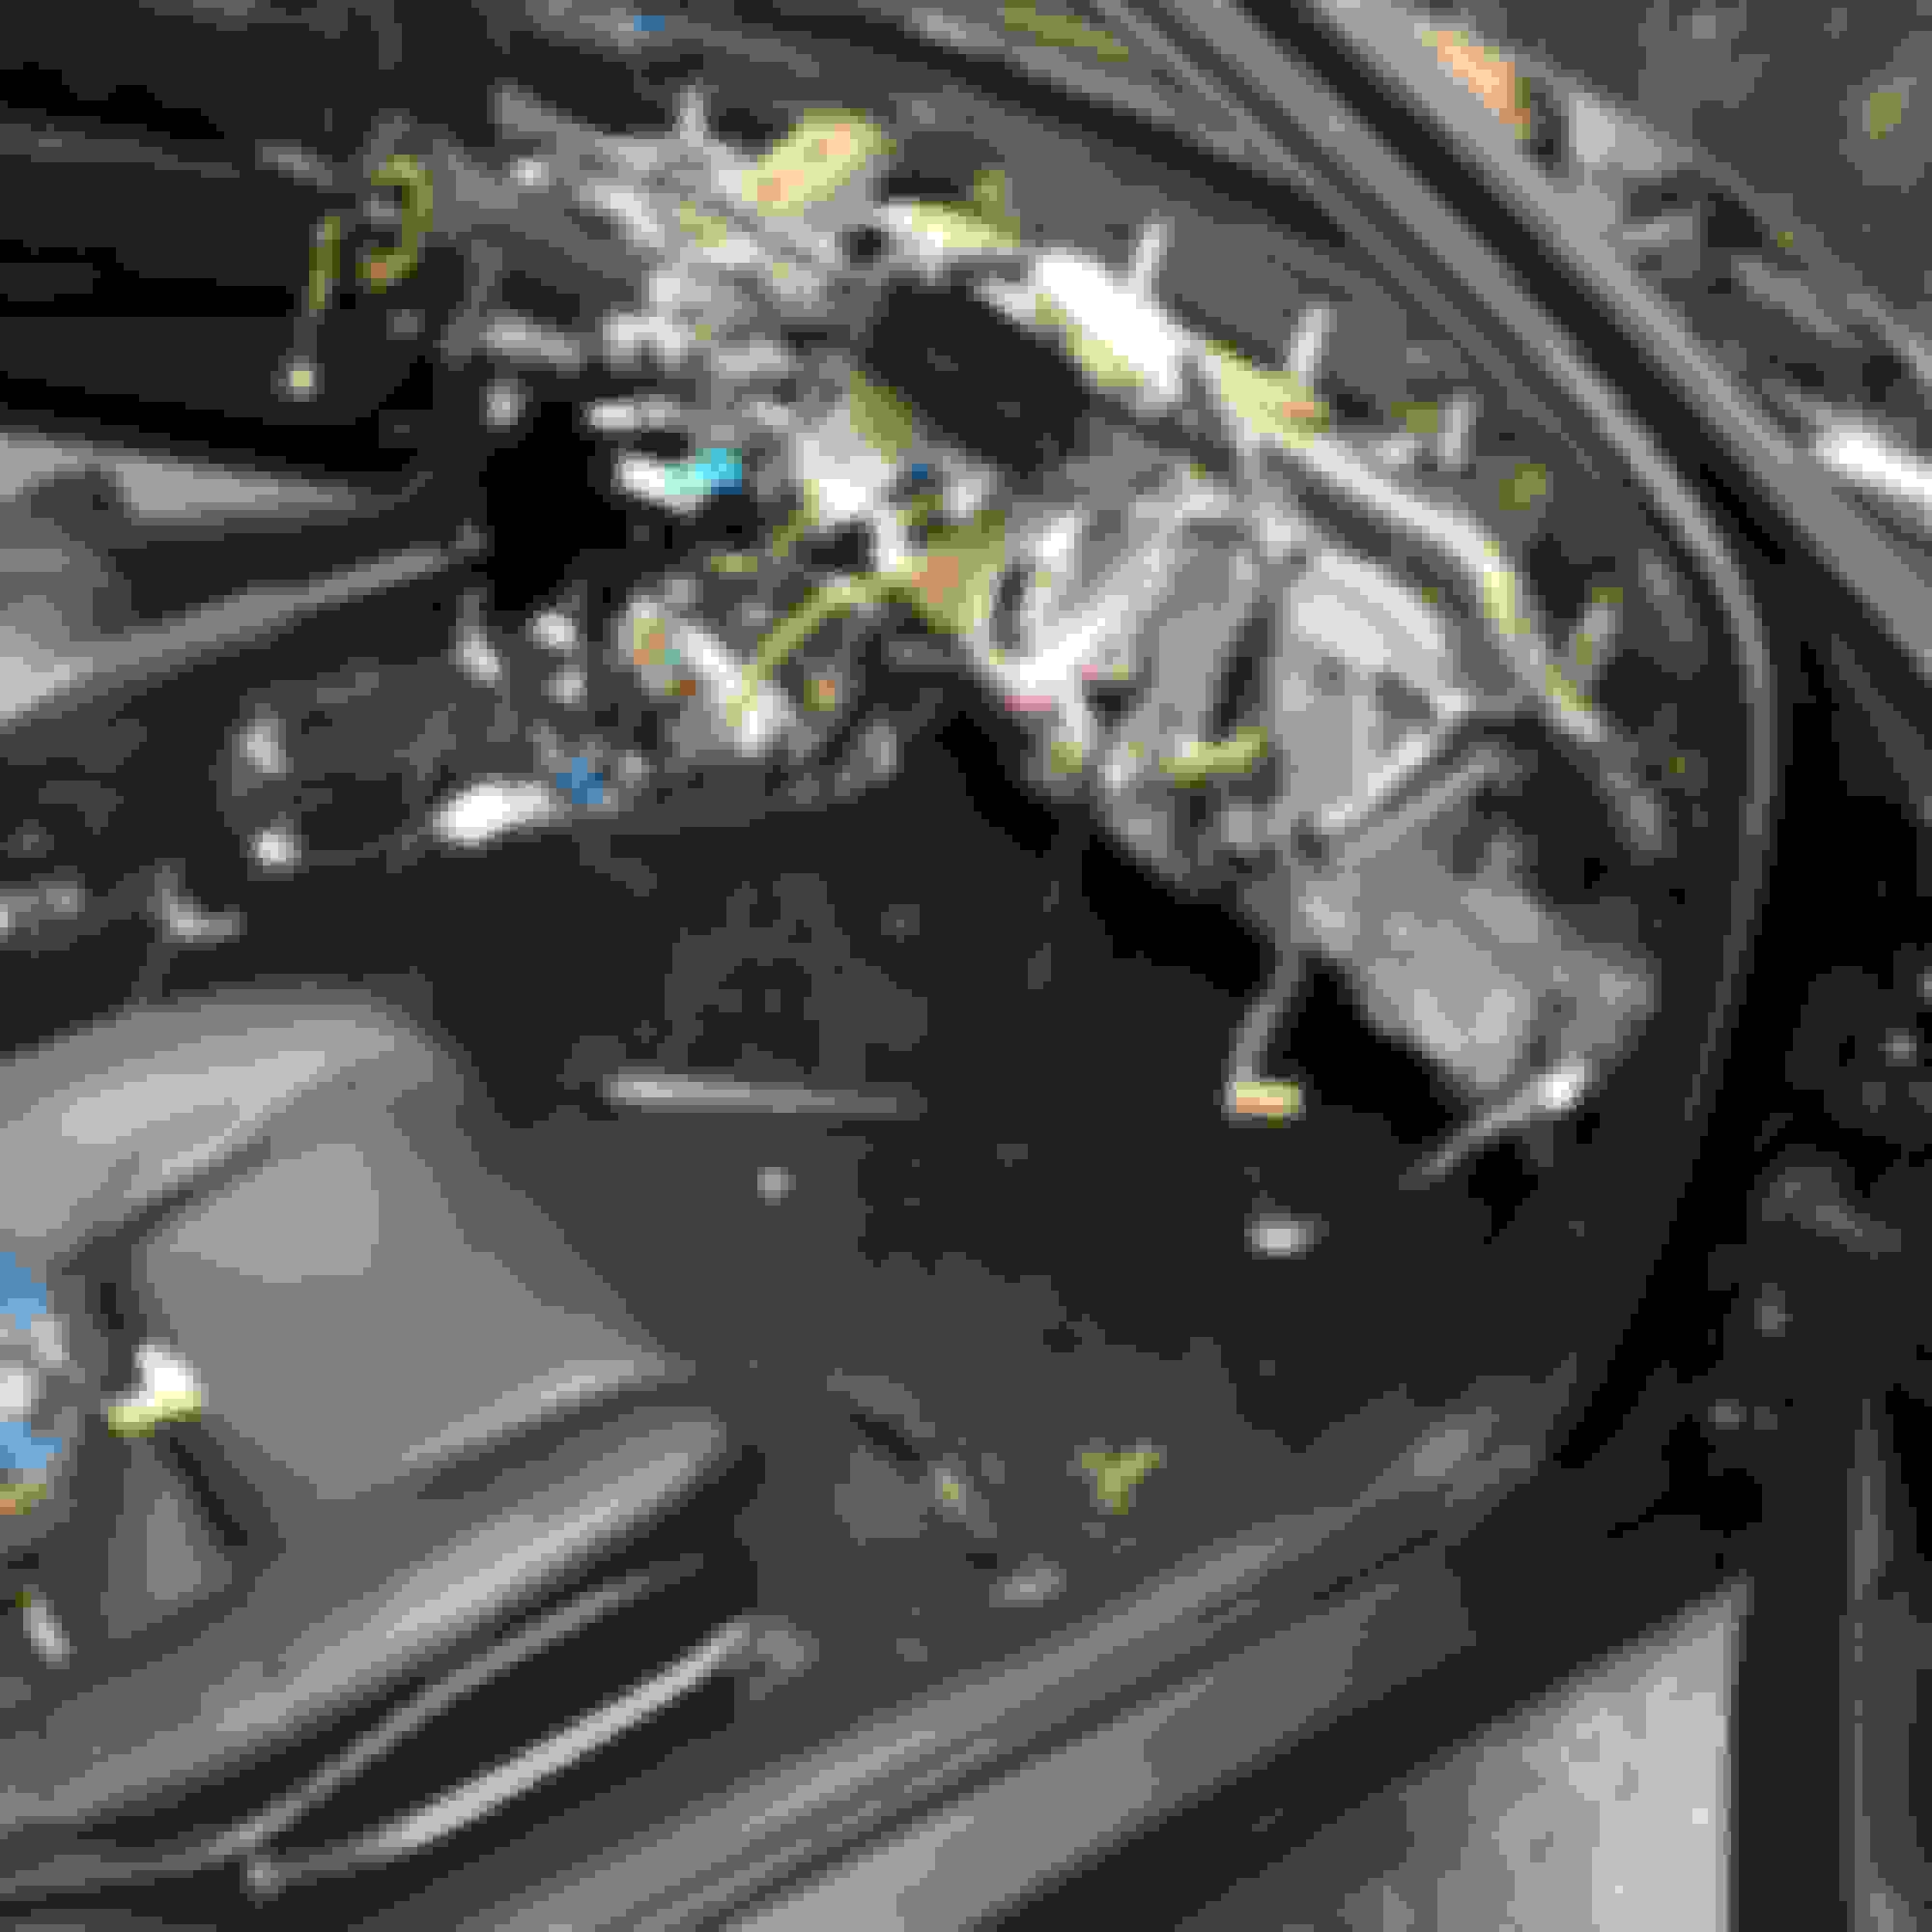
8. Now remove the 4 8mm/Phillips screws that hold the radio/climate control in and remove the 2 10mm bolts holding it in a little further back (see pics)
9. The wiring loom under the radio is held in by the radio brackets. Simply press the sides at the bottom and slide the harness out (it's the large with plastic piece attached to the base of the side radio brackets) disconnect the 3 connectors for the climate control, the radio connectors, and the antenna and pull the entire climate/radio unit out.
10. Remove the lower glove box panel by pulling down on it. It is held in by two ouch fasteners and 4 clips along the base of the glove box.
11. Open the glove box and remove the two plastic caps over the screws that hold the glovebox in. You can use a pocket screwdriver to do this.
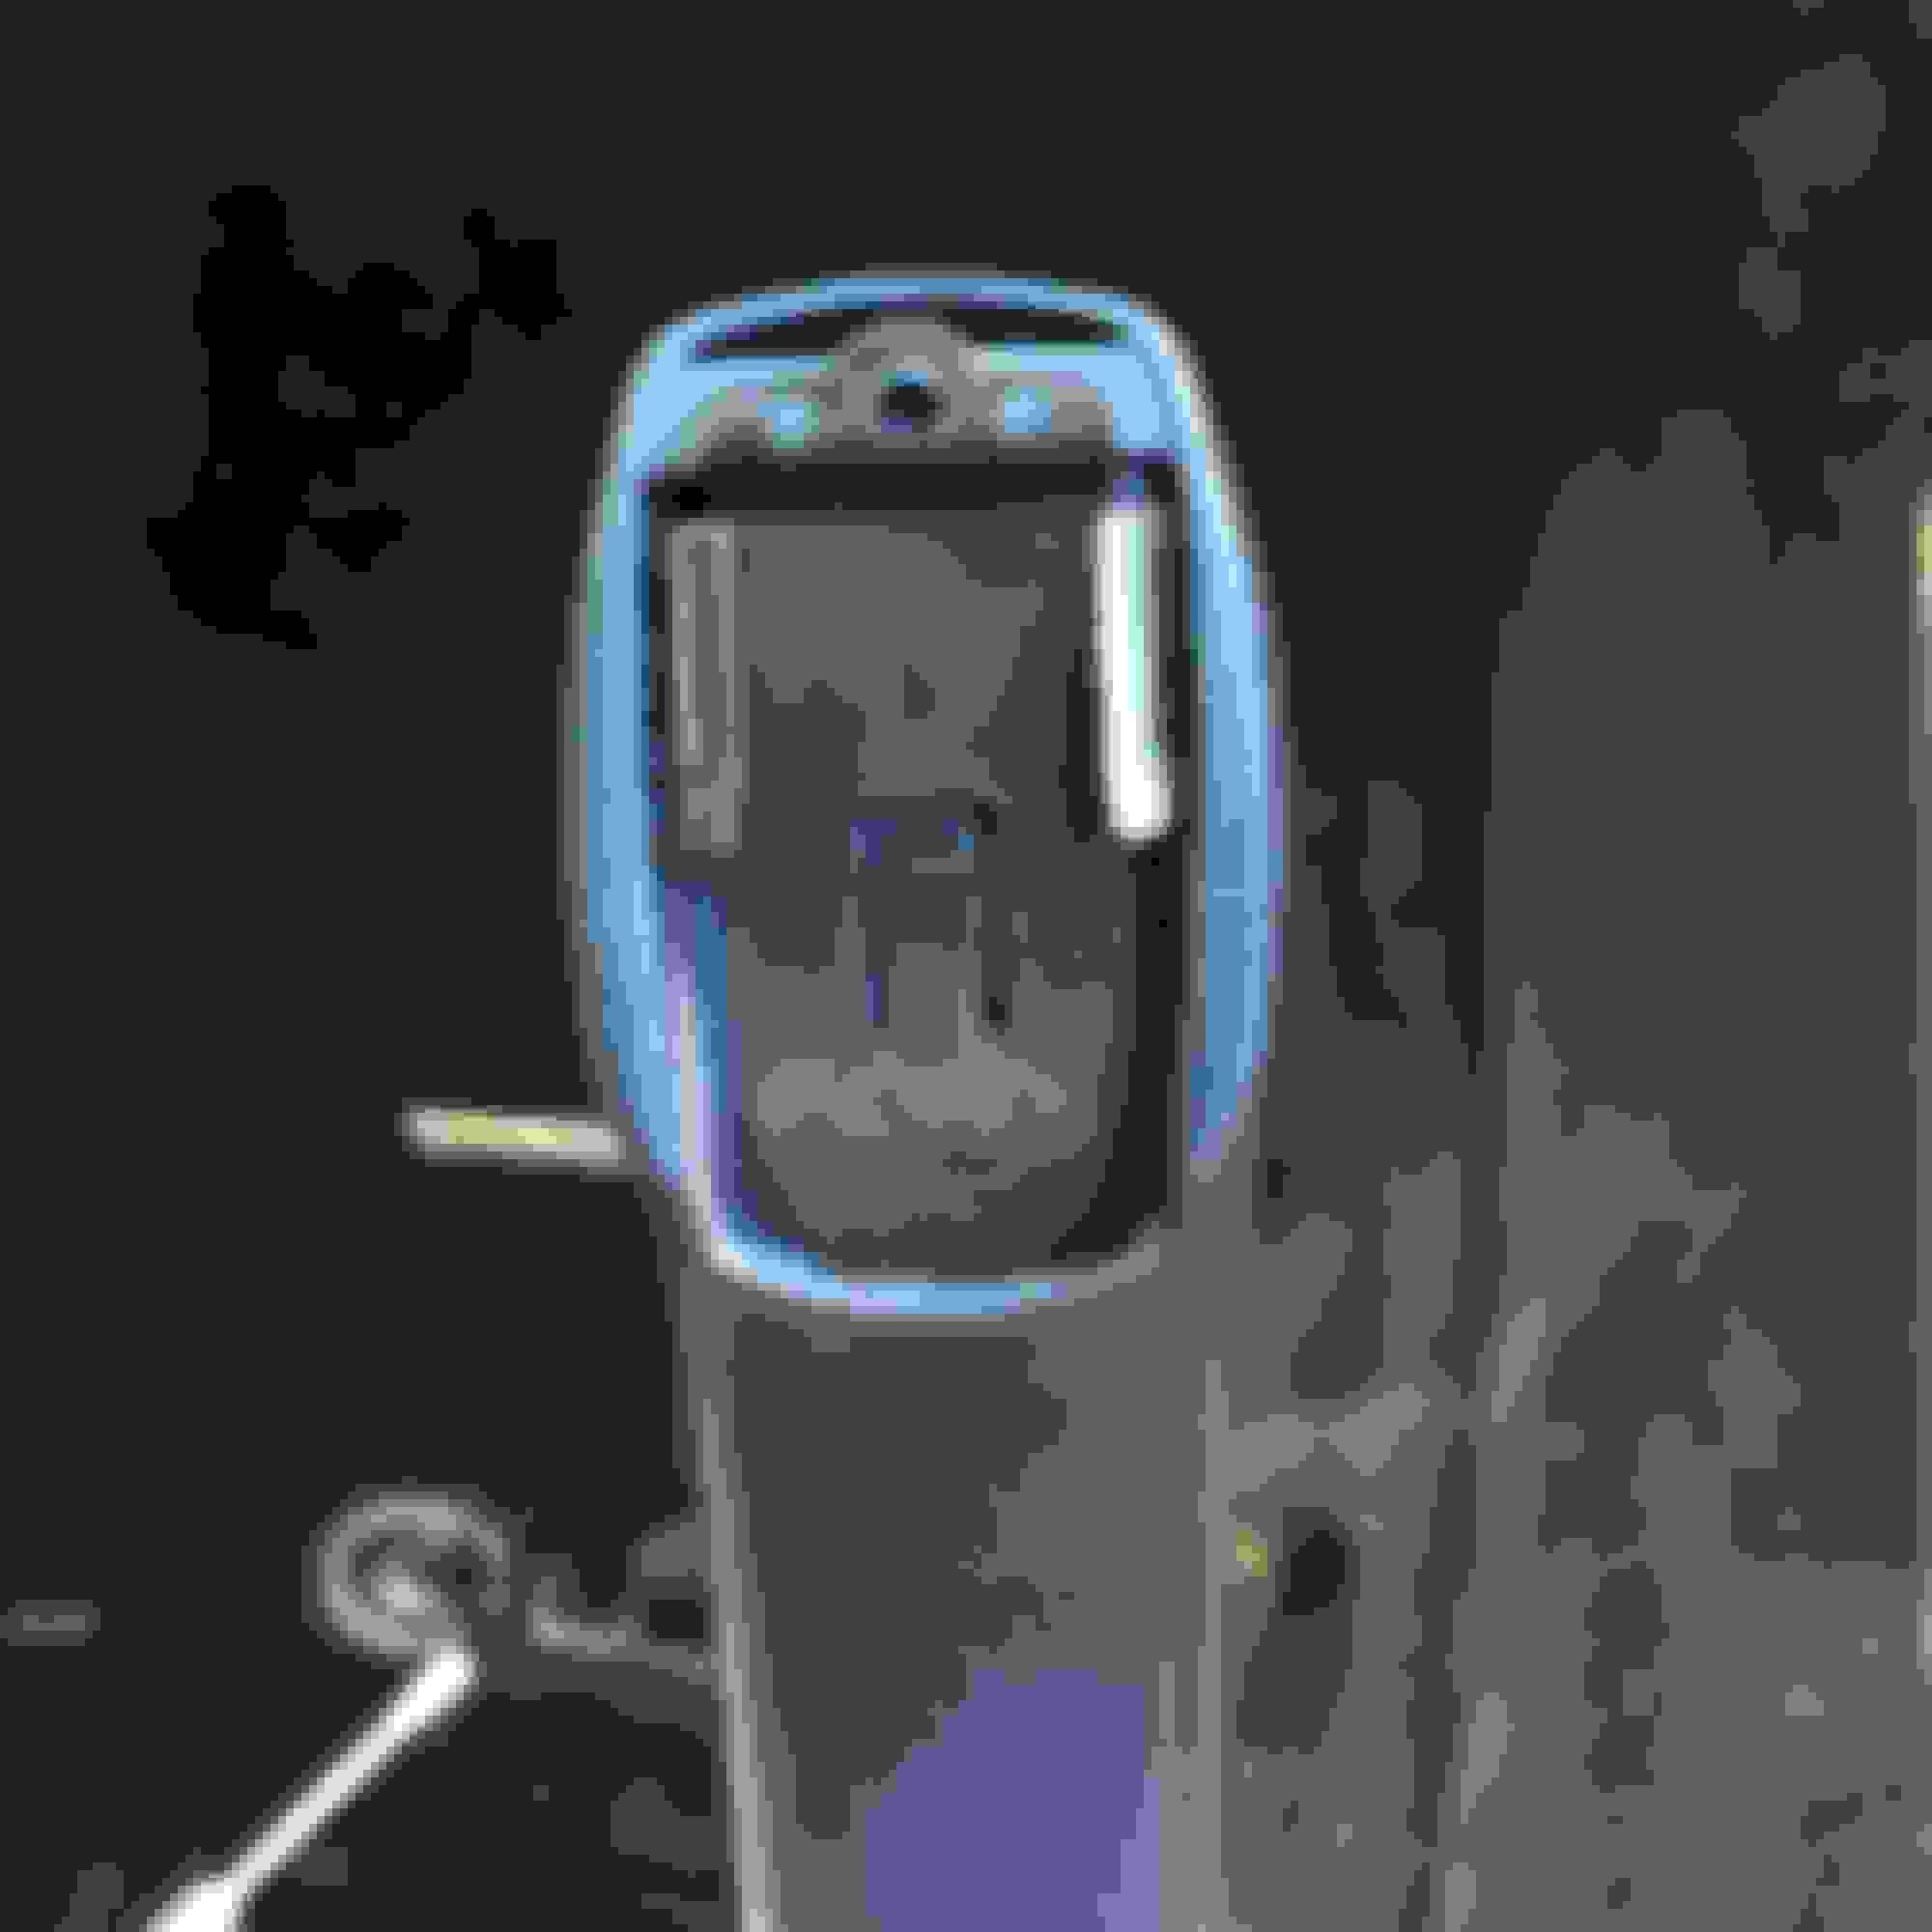
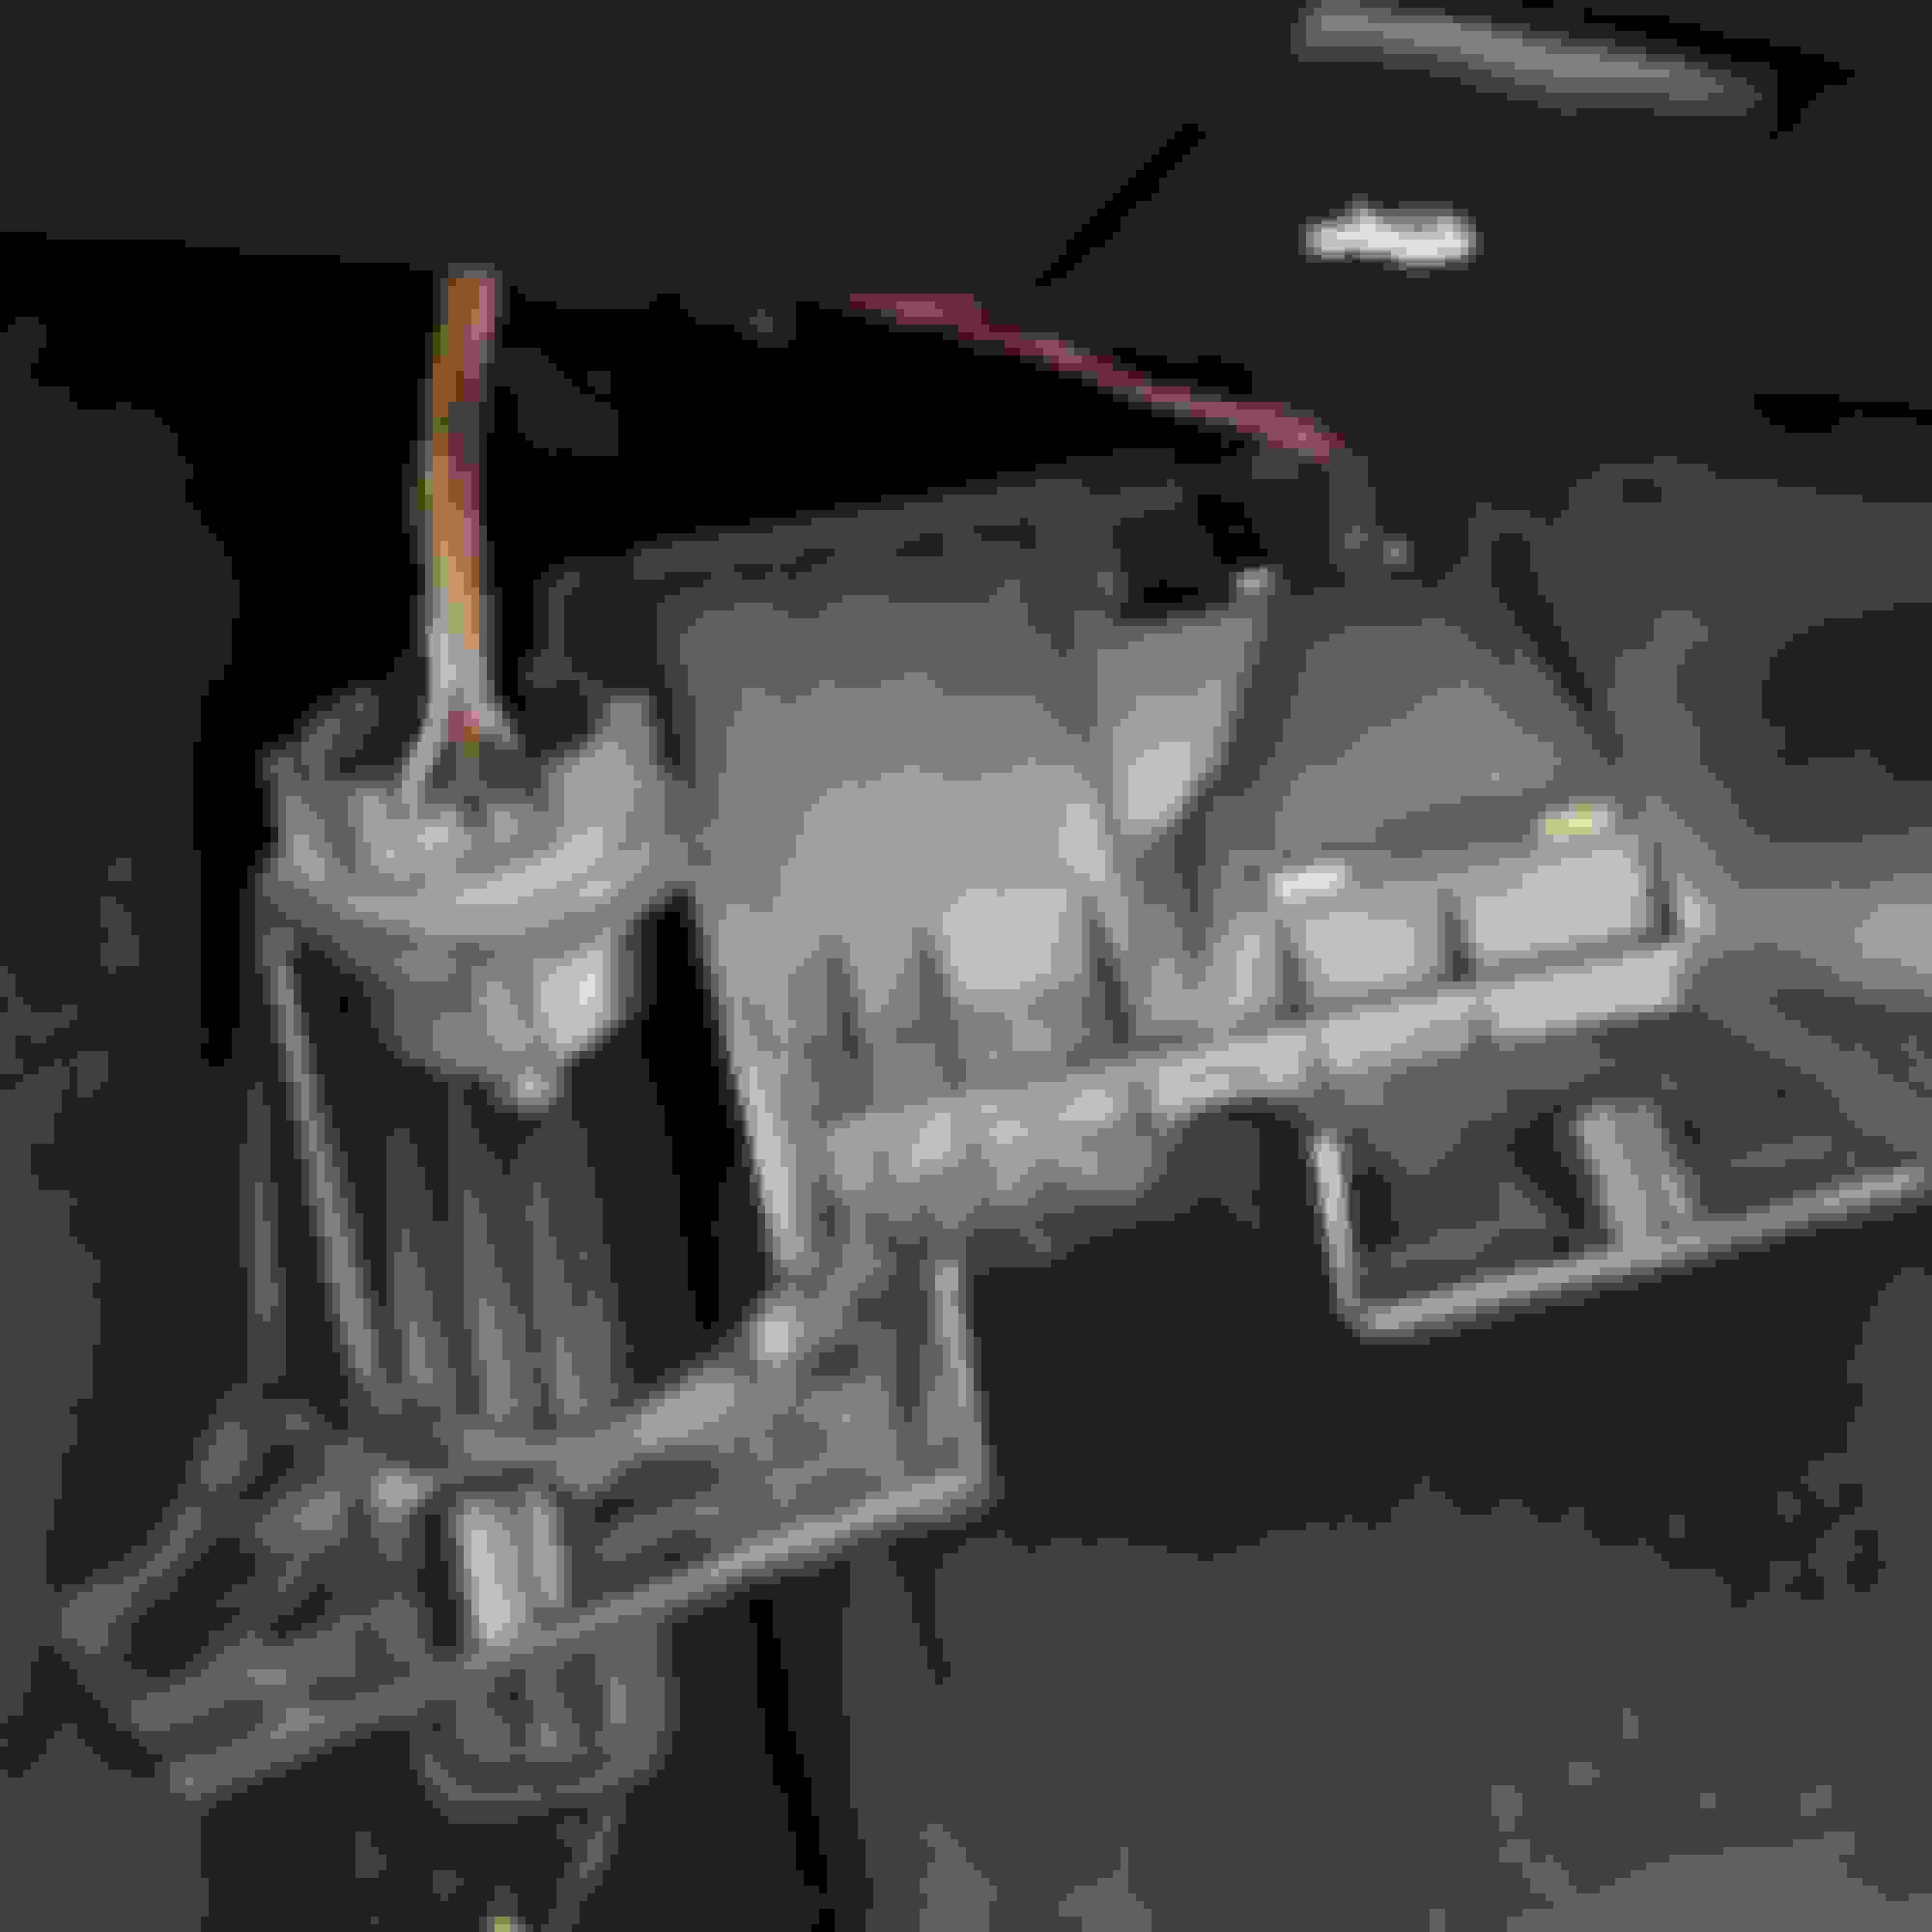
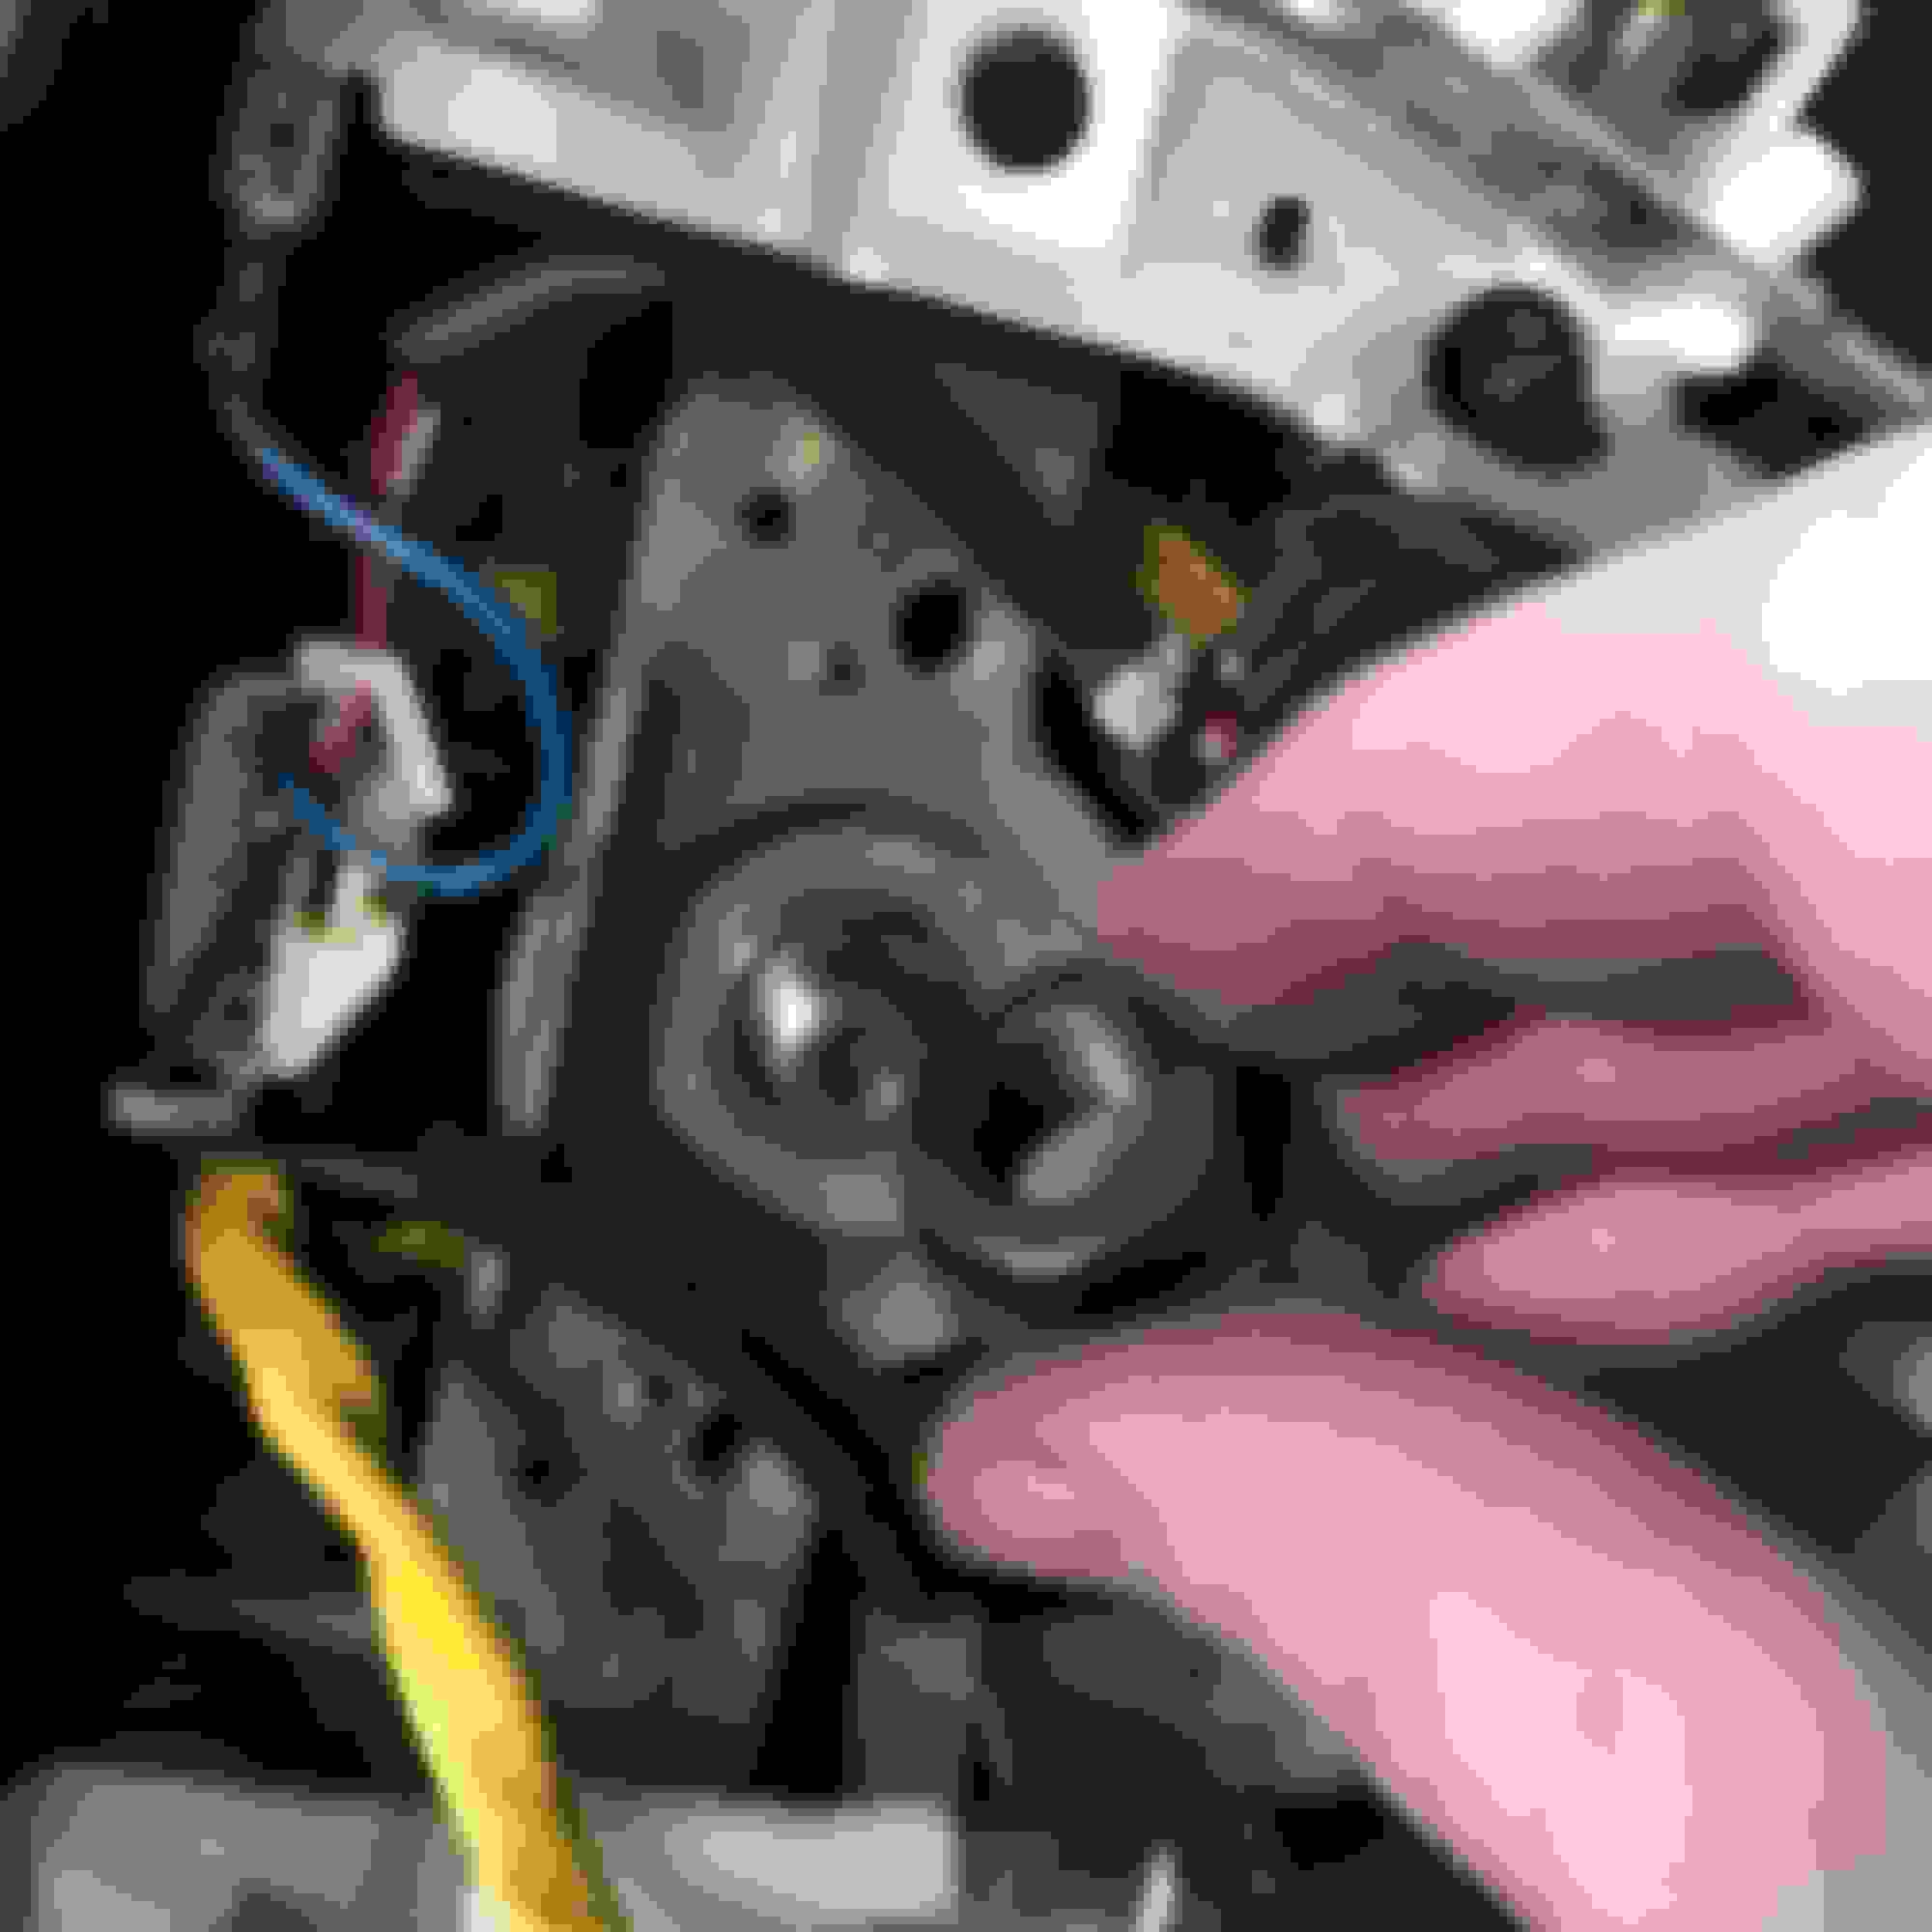
12. Remove those 2 screws and the 2 screws and the base of the glovebox (one connect to the lower center console which is why we haven't remove the center console yet. If you did, you broke it). DON'T yank on the glovebox just yet! There is a screw in push fastener that needs to be removed. I used a 1/4" ratchet with a #2 1/4" Phillips socket to get to it. Here's where it is.
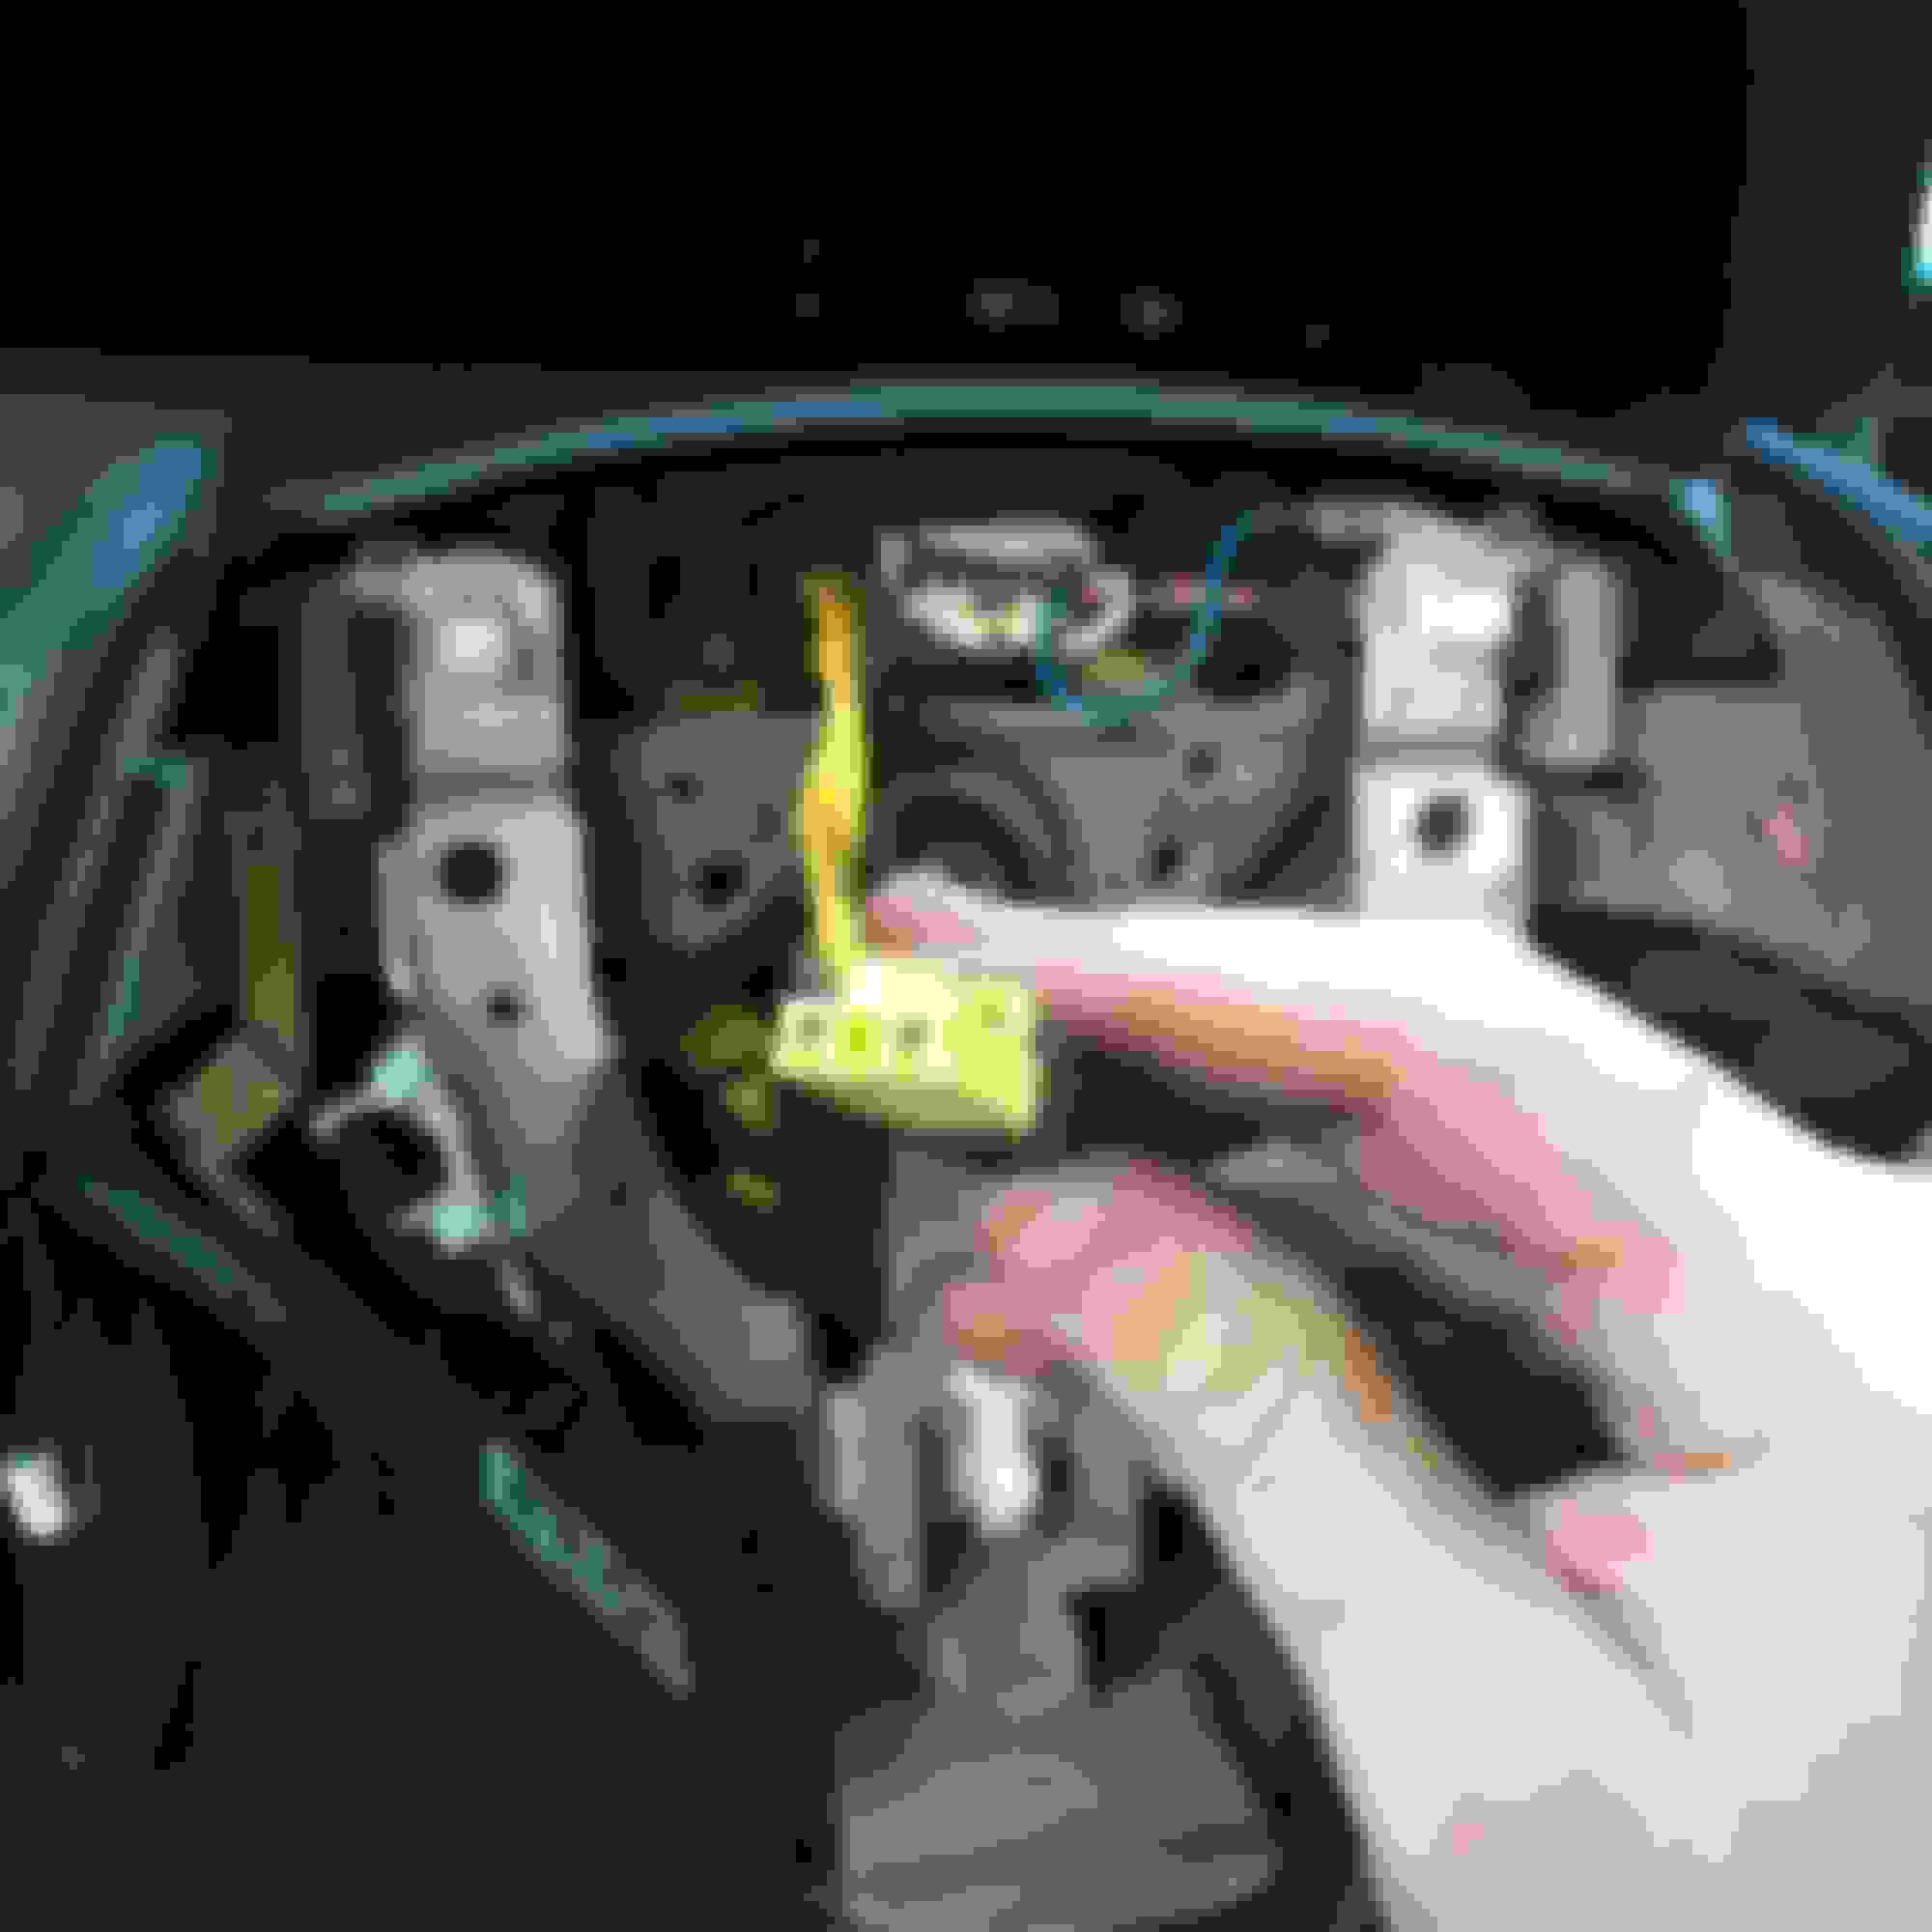
13. Now you can pull the glovebox out. It's a bit stubborn around the latch. Just be careful and it'll come out. Once it's free, you have to disconnect the pass side air bag (1992 owners won't have to do this). You disconnected the battery, right? Ok, good. Unplug this by separating the connector from the trim piece and folding back the white clip to reveal the tab to disconnect the airbag.
14. Two other electrical connectors on the glovebox get disconnected and the glovebox comes out and gets set aside.
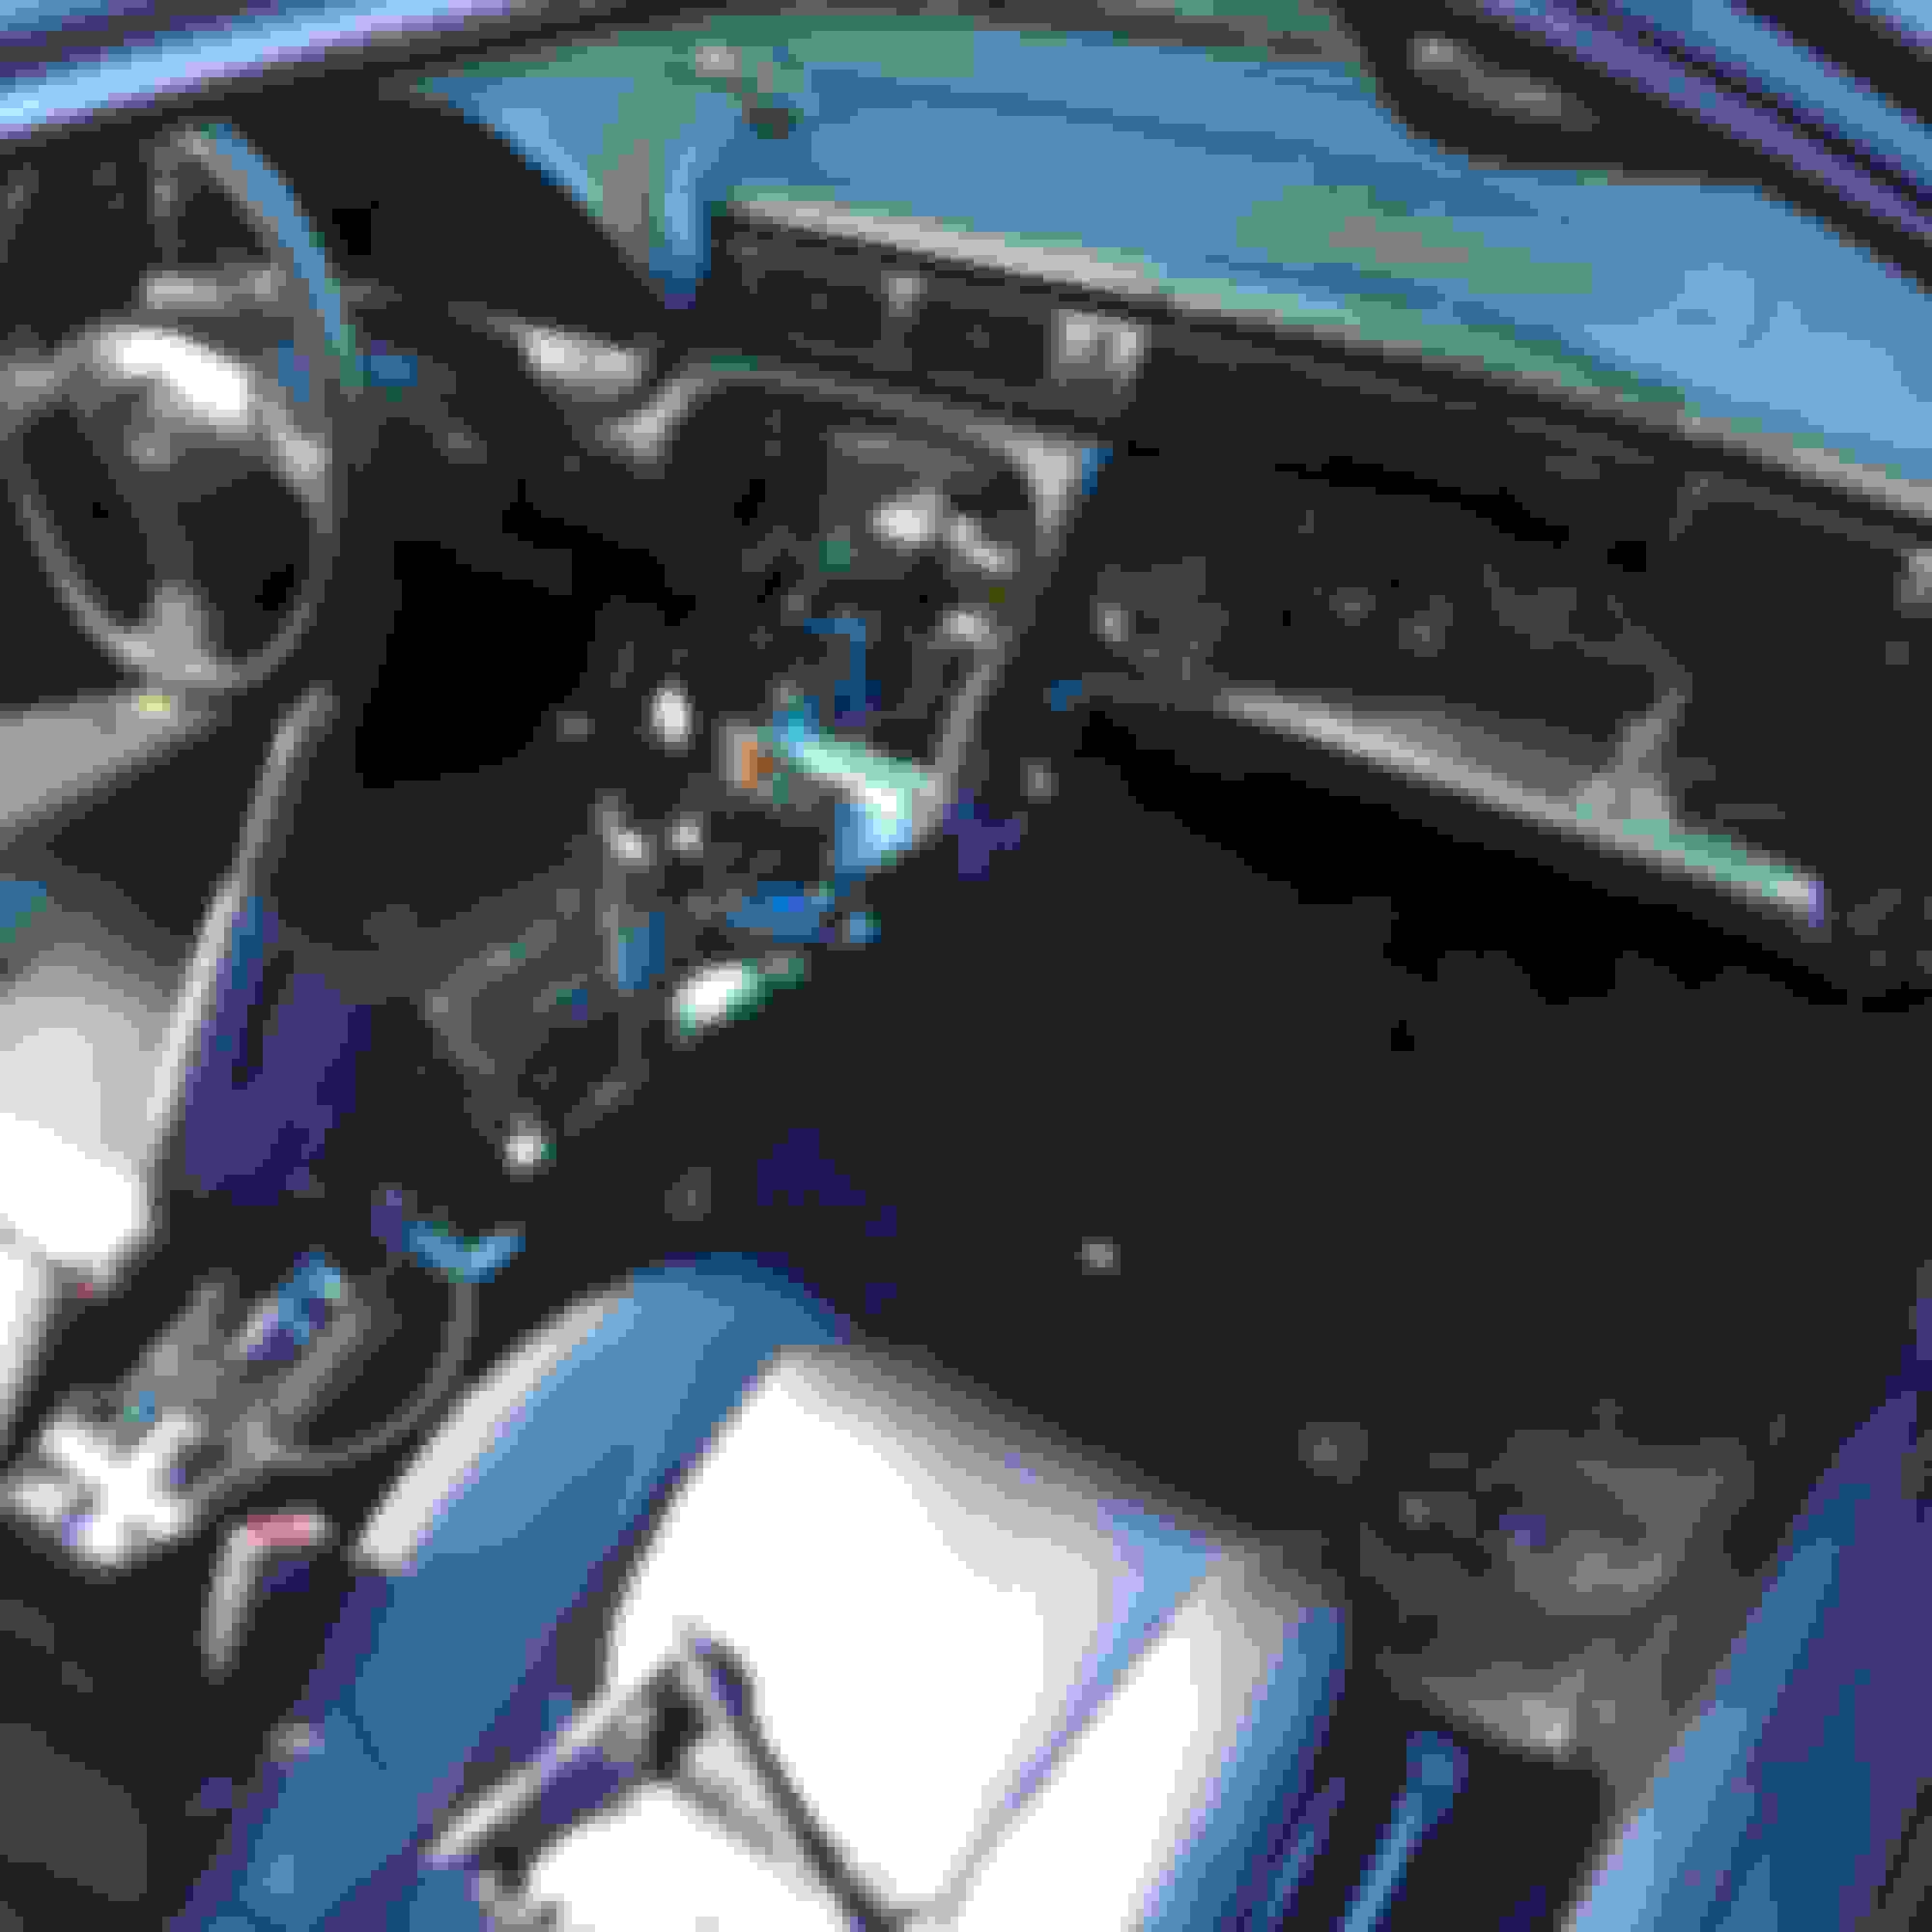
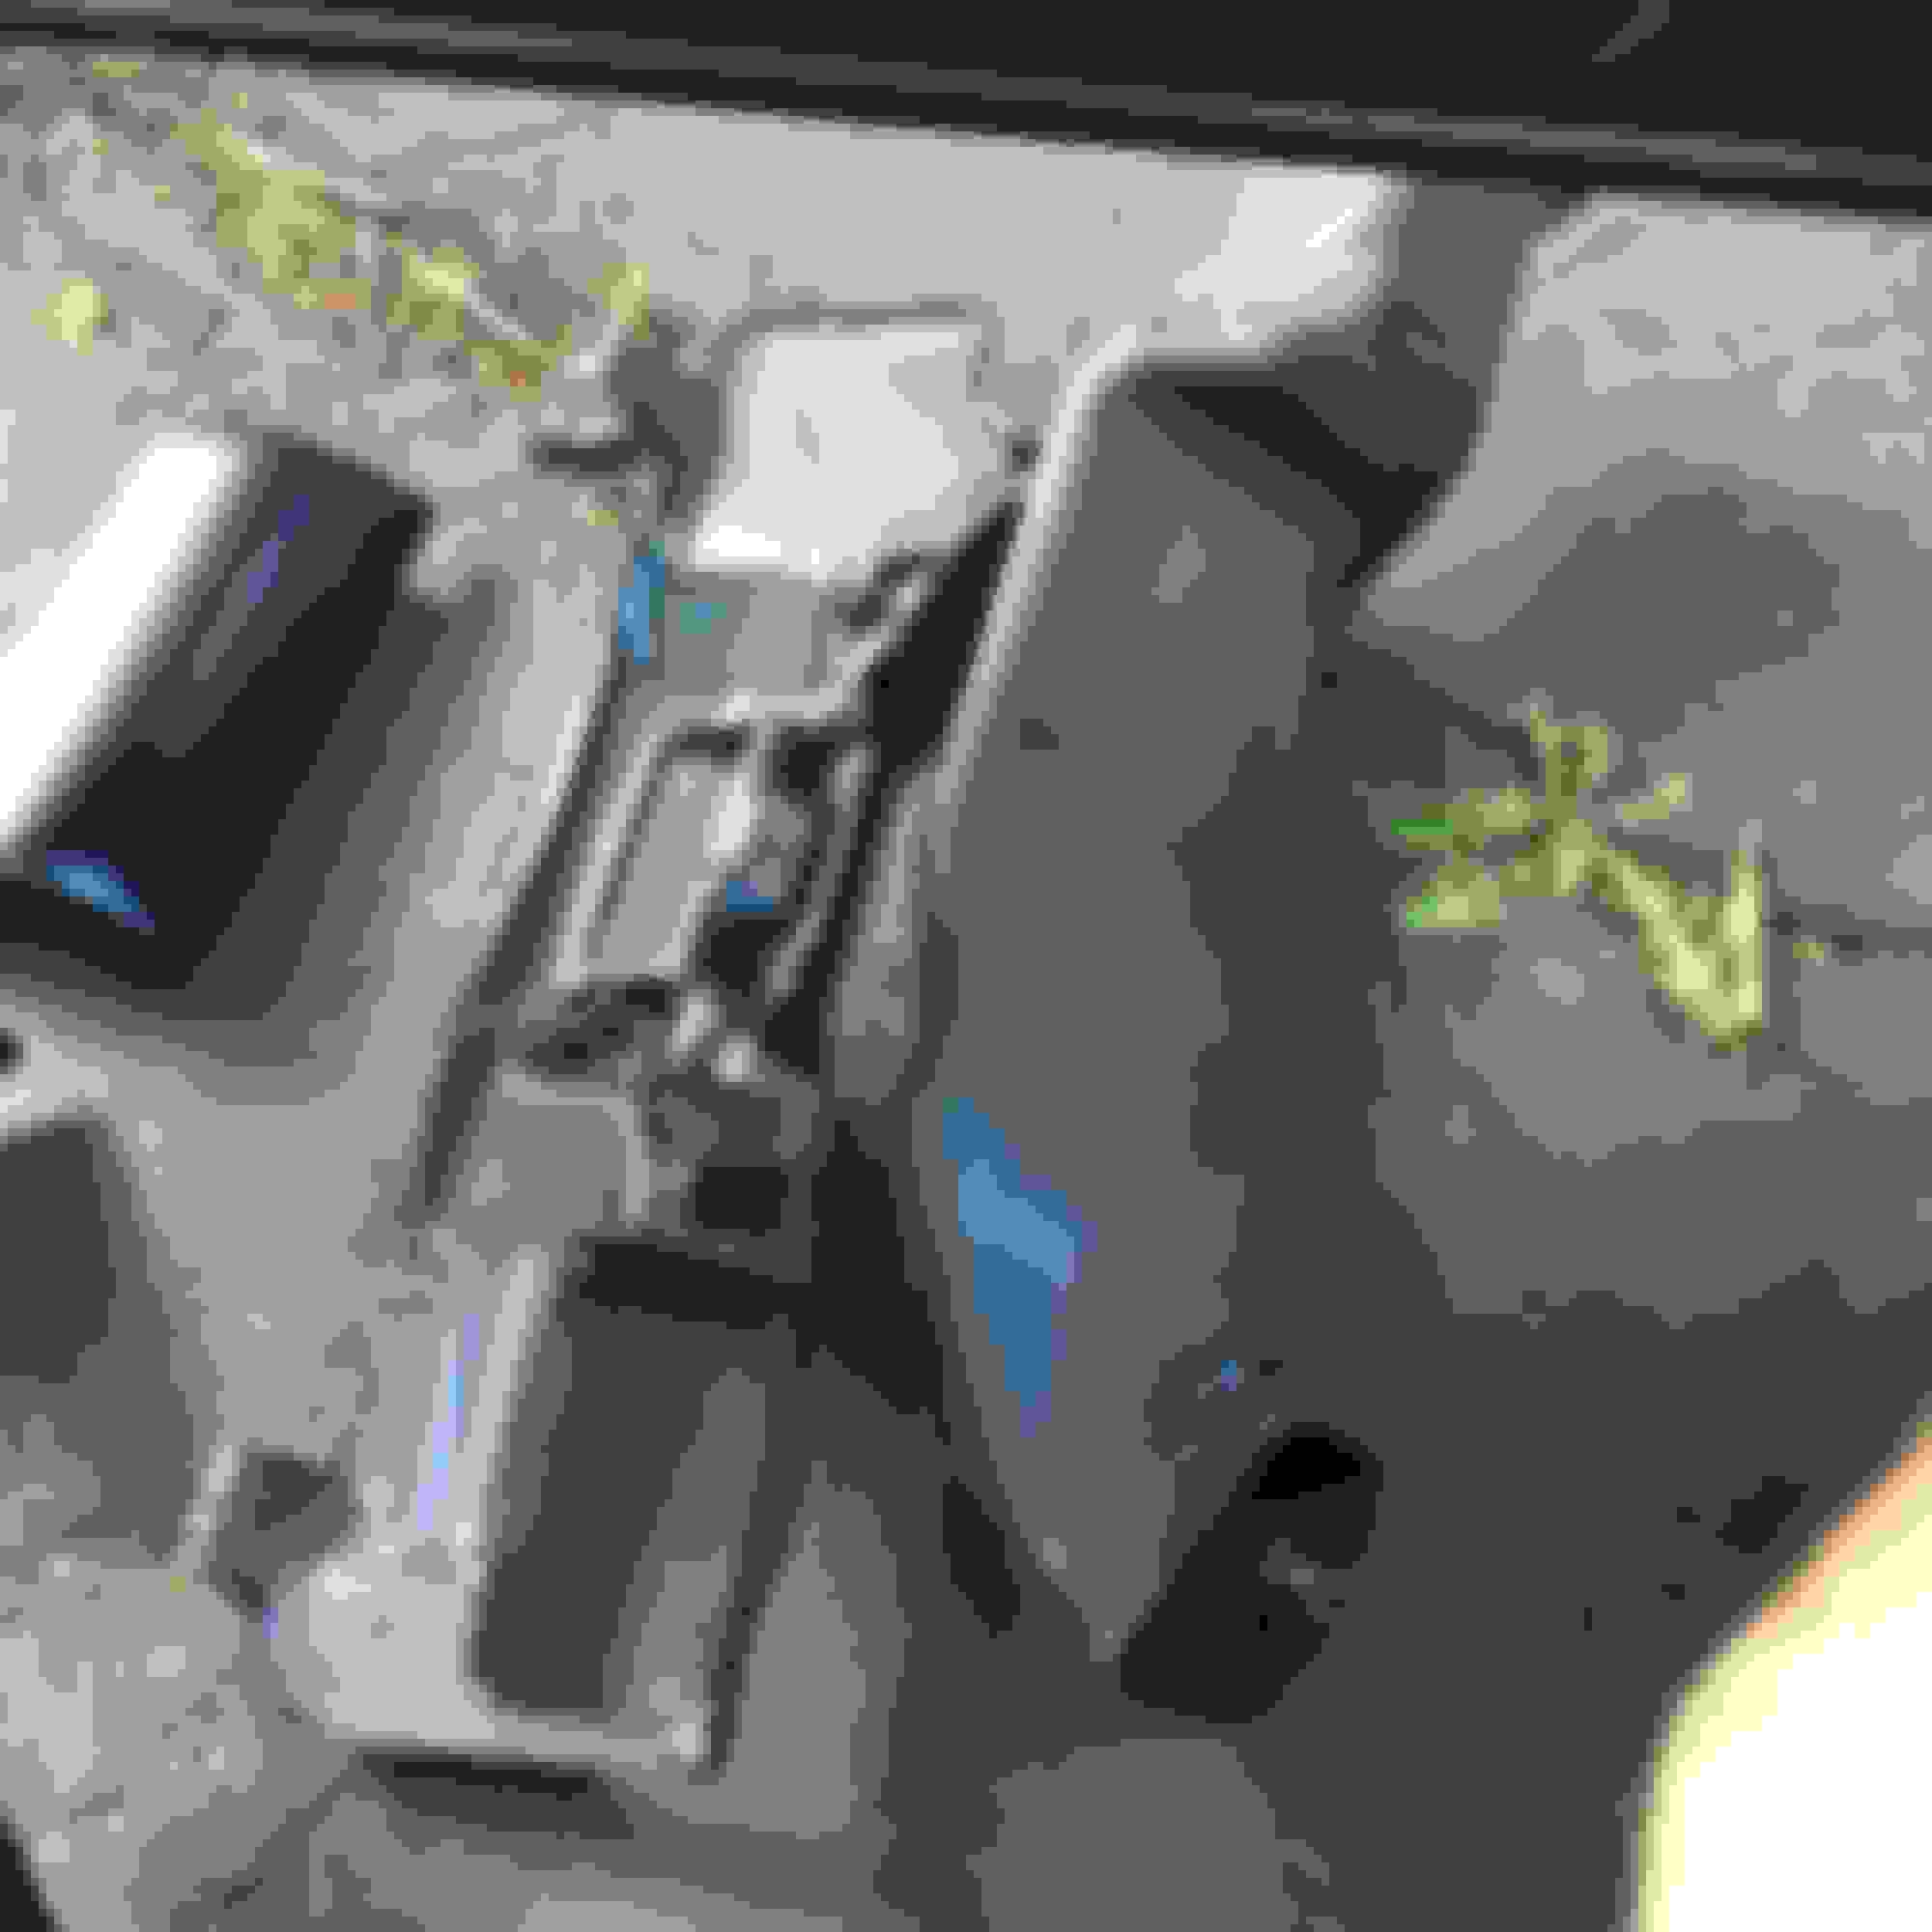
15. Now you can remove the center console by lifting up from the back and sliding it out of the way. Your car should now look like this:
16. Remove the pass side knee bolster metal piece by removing the 4 10mm bolts. Set part aside.
17. Remove pass side air duct. 1 Phillips screw and pull it out.
18. At this point I removed this 10mm screw that holds the dash to the body. You don't have to remove it now, but I did.
19. Next I removed the pass side a-pillar trim. Pull back on the top of the grab handle to reveal the sliding mechanism, releive tension on clip and slide up, the push entire handle down towards dash to release it. Remove the 2 Phillips screws behind handle and undo clips along roof line. Remove a-pillar and set aside. Do the same for the drivers side.
20. Remove 5 12mm bolts holding airbag bracket and airbag on pass side.
21. Move to driver's side and remove the lower trim piece. 3 Phillips screws along the front and a clip around the steering shaft. Then disconnect diagnostic ports and light.
22. Remove middle side trim piece by pulling it off. Held on by 4 clips. Be careful. They can be fragile. Remove the trim piece on the center of the dash by pulling also.
23. Remove screw behind that trim panel that holds the lower trim panel
in place. Also remove the two lower screws on the lower panel and remove the two screws that hold the hood release in.
24. Disconnect the trunk release and fuel door release. Also disconnect the air tube and connector near key hole.
25. Remove driver's knee bolster by removing the 4 10mm bolts holding it in place.
26.
26. Remove drivers air vent tube by remove my the 1 Phillips screw and pulling it out.
27. Remove the two lower screw for the column cover.
28. Remove access covers on steering wheel and remove the T30 torque screws holding in the airbag.
29. Move airbag out of way after disconnecting connector for air bag and cruise switch. Then use a 19mm socket to remove steering wheel nut. Shake steering wheel until it comes free.
30. Now you can remove the final screw holding the column cover together.
31. Now pull gently on the dimmer / odometer rest panel. It's held in with clips. Disconnect two connectors and set aside.
32. Remove the cluster. Use a pick or pocket screw driver to remove the two caps at the top which will reveal 2 Phillips screws. Remove those. Also 2 screws on either side of the cluster. Gently pry cluster from top. Unplug the four connectors and set aside.
33. 2 10mm nuts behind cluster have to come out.
34. The dash is now loose. Make sure the two metal tabs on a pillars have been pulled aside and give the dash a pull from the middle. This will release the locating pins on the firewall. Once you have done that the dash will now be sitting by your shifter. I must say PUT YOUR SHIFT **** BACK ON OR OUT A TOWEL OR SOMETHING SOFT OVER THE SHIFTER OR IT COULD DAMAGE YOUR DASH!
35. Flip the dash over and see that the wiring harness is still attached. I was able to remove the clips that hold the harness to the dash. Some people cut the tape. I believe in protecting the integrity of the design. My way takes a little bit longer but ultimately will go right back together like factory. There are also 4 screws holding the harness to the dash. Remove these Phillips screws. There are 2 more screws holding a harness junction block to the dash in the middle. Remove those too. Then unclip the two sensors in the corners of the dash.
Your dash is now officially out of the car! Have a beer!
Very thorough. You even covered that scrivet behind the glove box latch that other guides have missed, and which caused me so much trouble the first time.
Thanks everyone. I have a few more pictures I will add today or tomorrow indicating exactly where the harness screws are on the back of the dash. I was in the middle of removal and didn't want to grab for my phone to snap a pic at the time. It's not a hard job. It's time consuming and can be overwhelming for a beginner that's for sure.
This community has taught me a lot and I felt the need to give back in some way. It's not a perfect write up but I like to think it is helpful.

 08-30-16, 05:24 AM