When you click on links to various merchants on this site and make a purchase, this can result in this site earning a commission. Affiliate programs and affiliations include, but are not limited to, the eBay Partner Network.
How do I remove these kick panels to remove Karr Alarm?
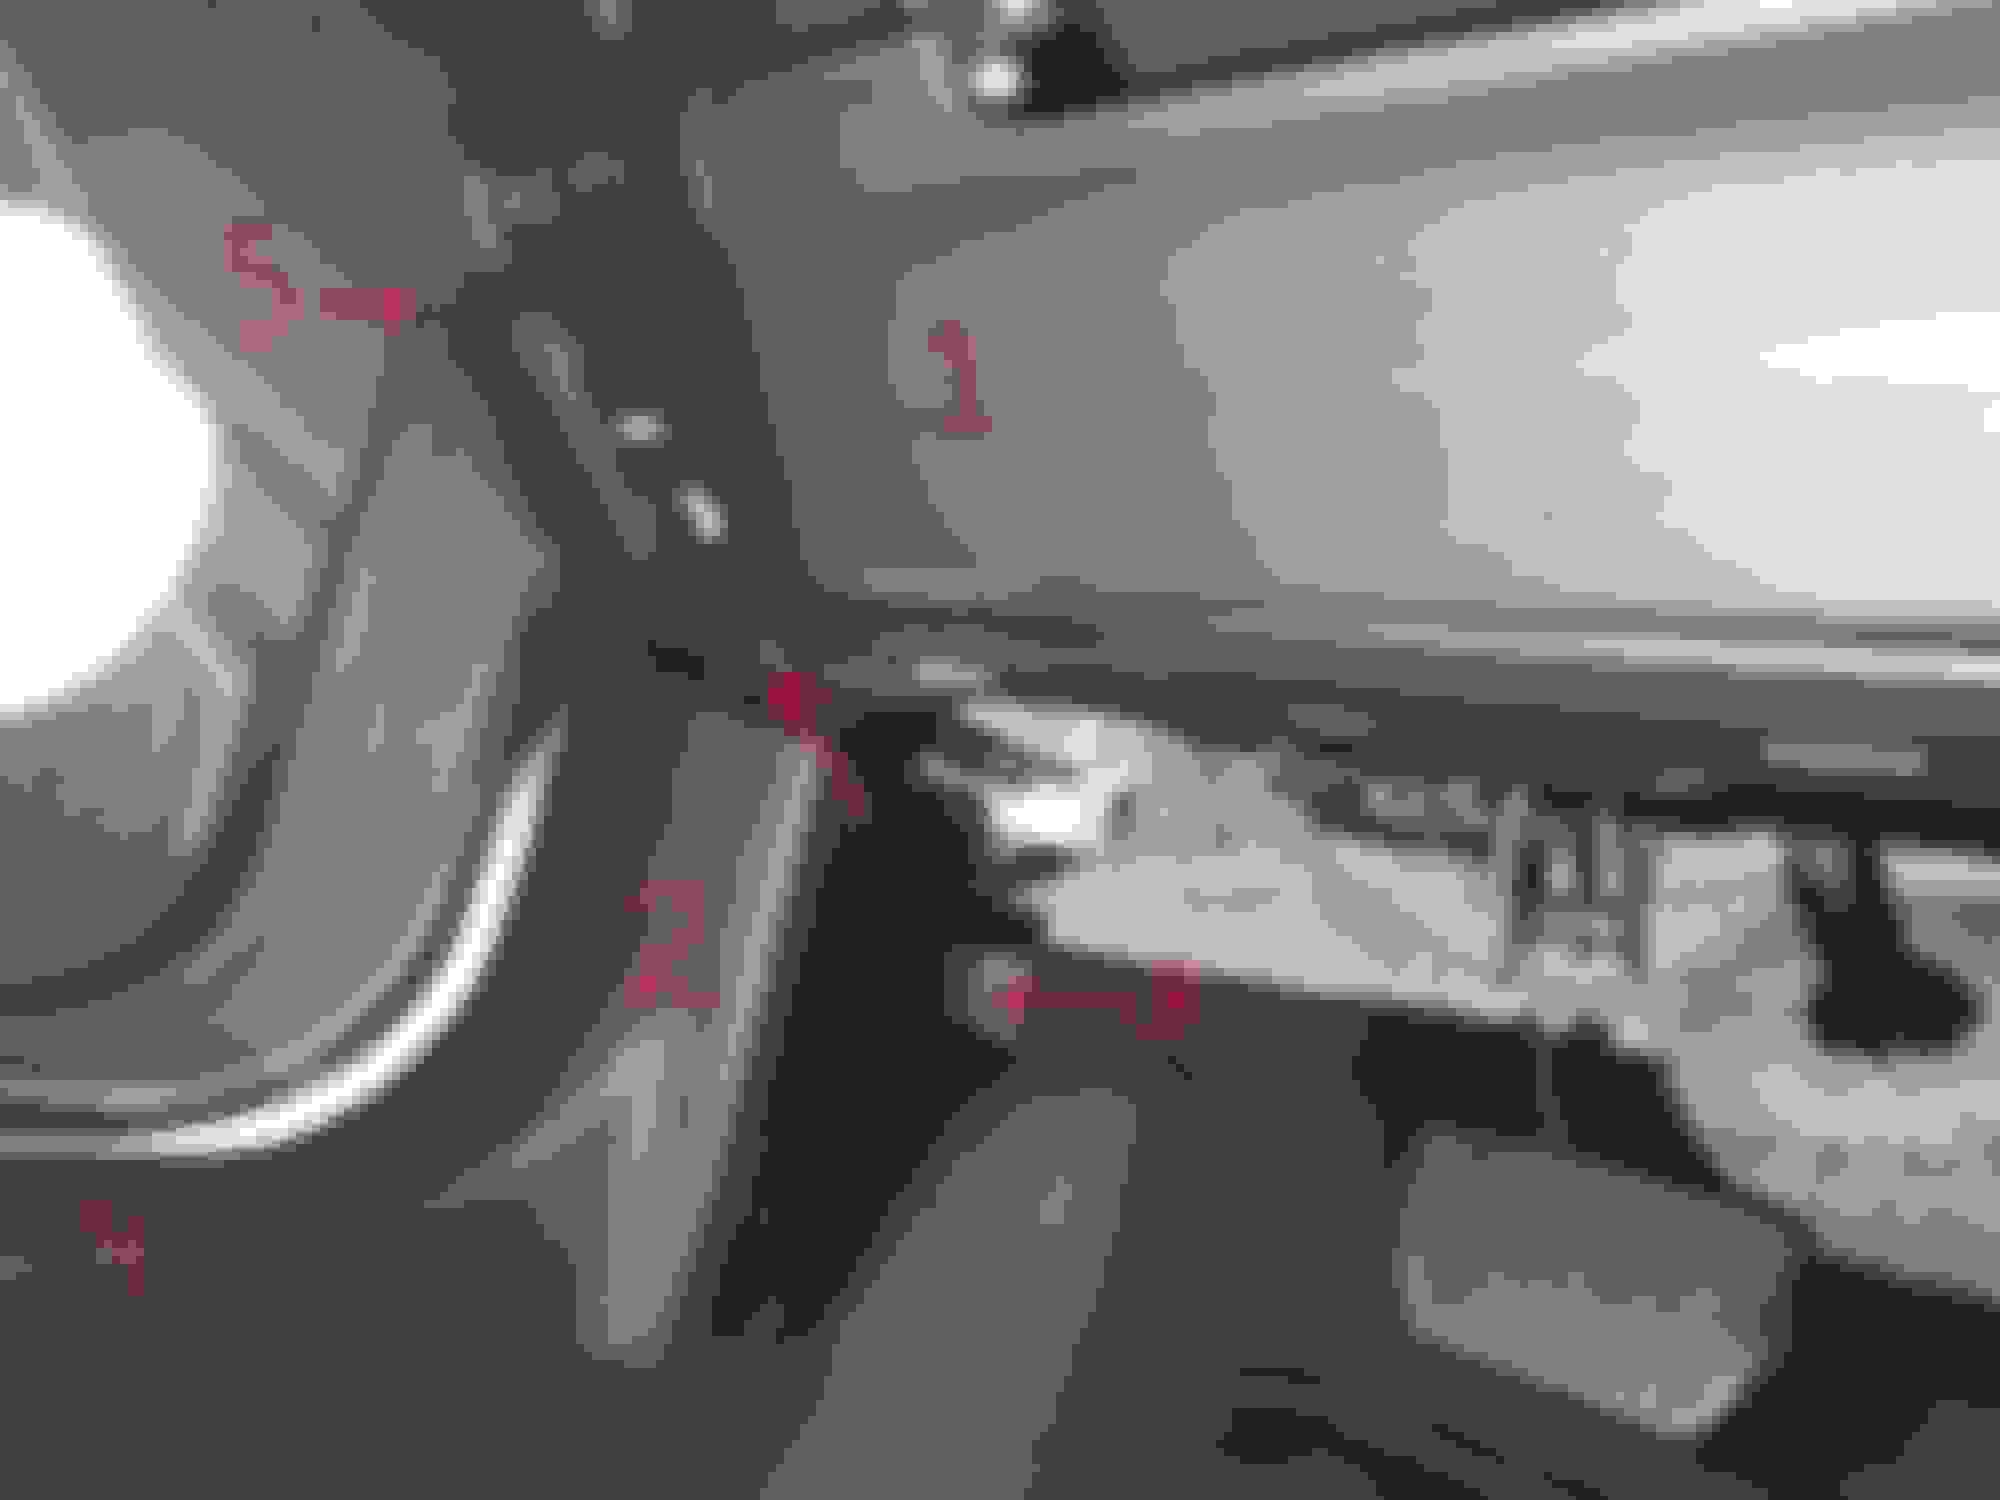
How do I remove the panels shown in the photos below (1 thru 5, in two pictures)?
1) Under the steering wheel panel
2) Kick panel
3) Pin in kick panel
4) Door sill
5) Side panel on driver's side of dashboard.
I purchased a 2022 ES300h a month ago and noticed that there's an aftermarket dealer theft-protection unit installed (see red arrow pointing upward between panels 2 and 3 for the LED panel and a button of some sort) that I'd like to remove. Even if I don't take the unit out, I'd like to see what the connections are without breaking anything.
I understand from various online videos that these things are tapped in to several wires, usually with a wire tap connector that snaps on to an in-car wire, and a tap that cuts ignition power to run it through the logic module.
1) You first remove #5. stick a pry tool or old credit card to pry up from one side along the edges and it'll pop upwards. There's about 4? clips. very easy. See this link for instructions to install illuminated door sills
2) unscrew #3 and pull (if even needed) #2 outward. Very easy as well.
3) I'm assuming you're pointing to the larger flat side panel with the vent for #5. If yes, there's a long thin plastic cover running along the side by the door jam above #2 and "front" of #5. Just pry that out and should be very easy too.
4) Now that 3) is done, pry #5 along the edges. Will require a tad more effort but you'll realize it's easy once you've done it. Note that the edges of #5 is pretty soft so take it easy. I did get a few very minor dents from just shoving in the pry tool.
I've never taken off #1 but would be surprised if it was just held in by a screw and/or tabs.
Thanks for the answers. I realize I should have used letters instead of numbers for the pictures for your step-by-steps!
I'm guessing that panel 2 is the key panel to remove since that seems to be where things likely tap into. It looks like panel 4 (door sill) needs to be popped off first before removing panel #2 (kick plate).
I'm wondering if there is anything behind that panel on the left side of the dash (Panel #5 in the 2nd picture)?
An alternative to doing it myself is to ask the selling dealer to do it at the next service (if they'll do it for free). They were the selling dealer to the original owner, so it isn't clear when this item went into the car.
Yes, the scuff plate (#4) is attached on top of #2. Behind #2, you'll see all the fuses, wiring, etc.
Behind panel #5, you'll see a lot of the internals and compartments of stuff that I don't know about. Clearly, you can tell by how I'm describing it.
Honestly, I'd say just take it apart yourself and see. It's very easy and you'll enjoy it. Assuming you've never worked on your car before.
Thanks for all the feedback. I'm building my confidence to see what's under all these interior pieces and have a couple more questions as I look at the parts.
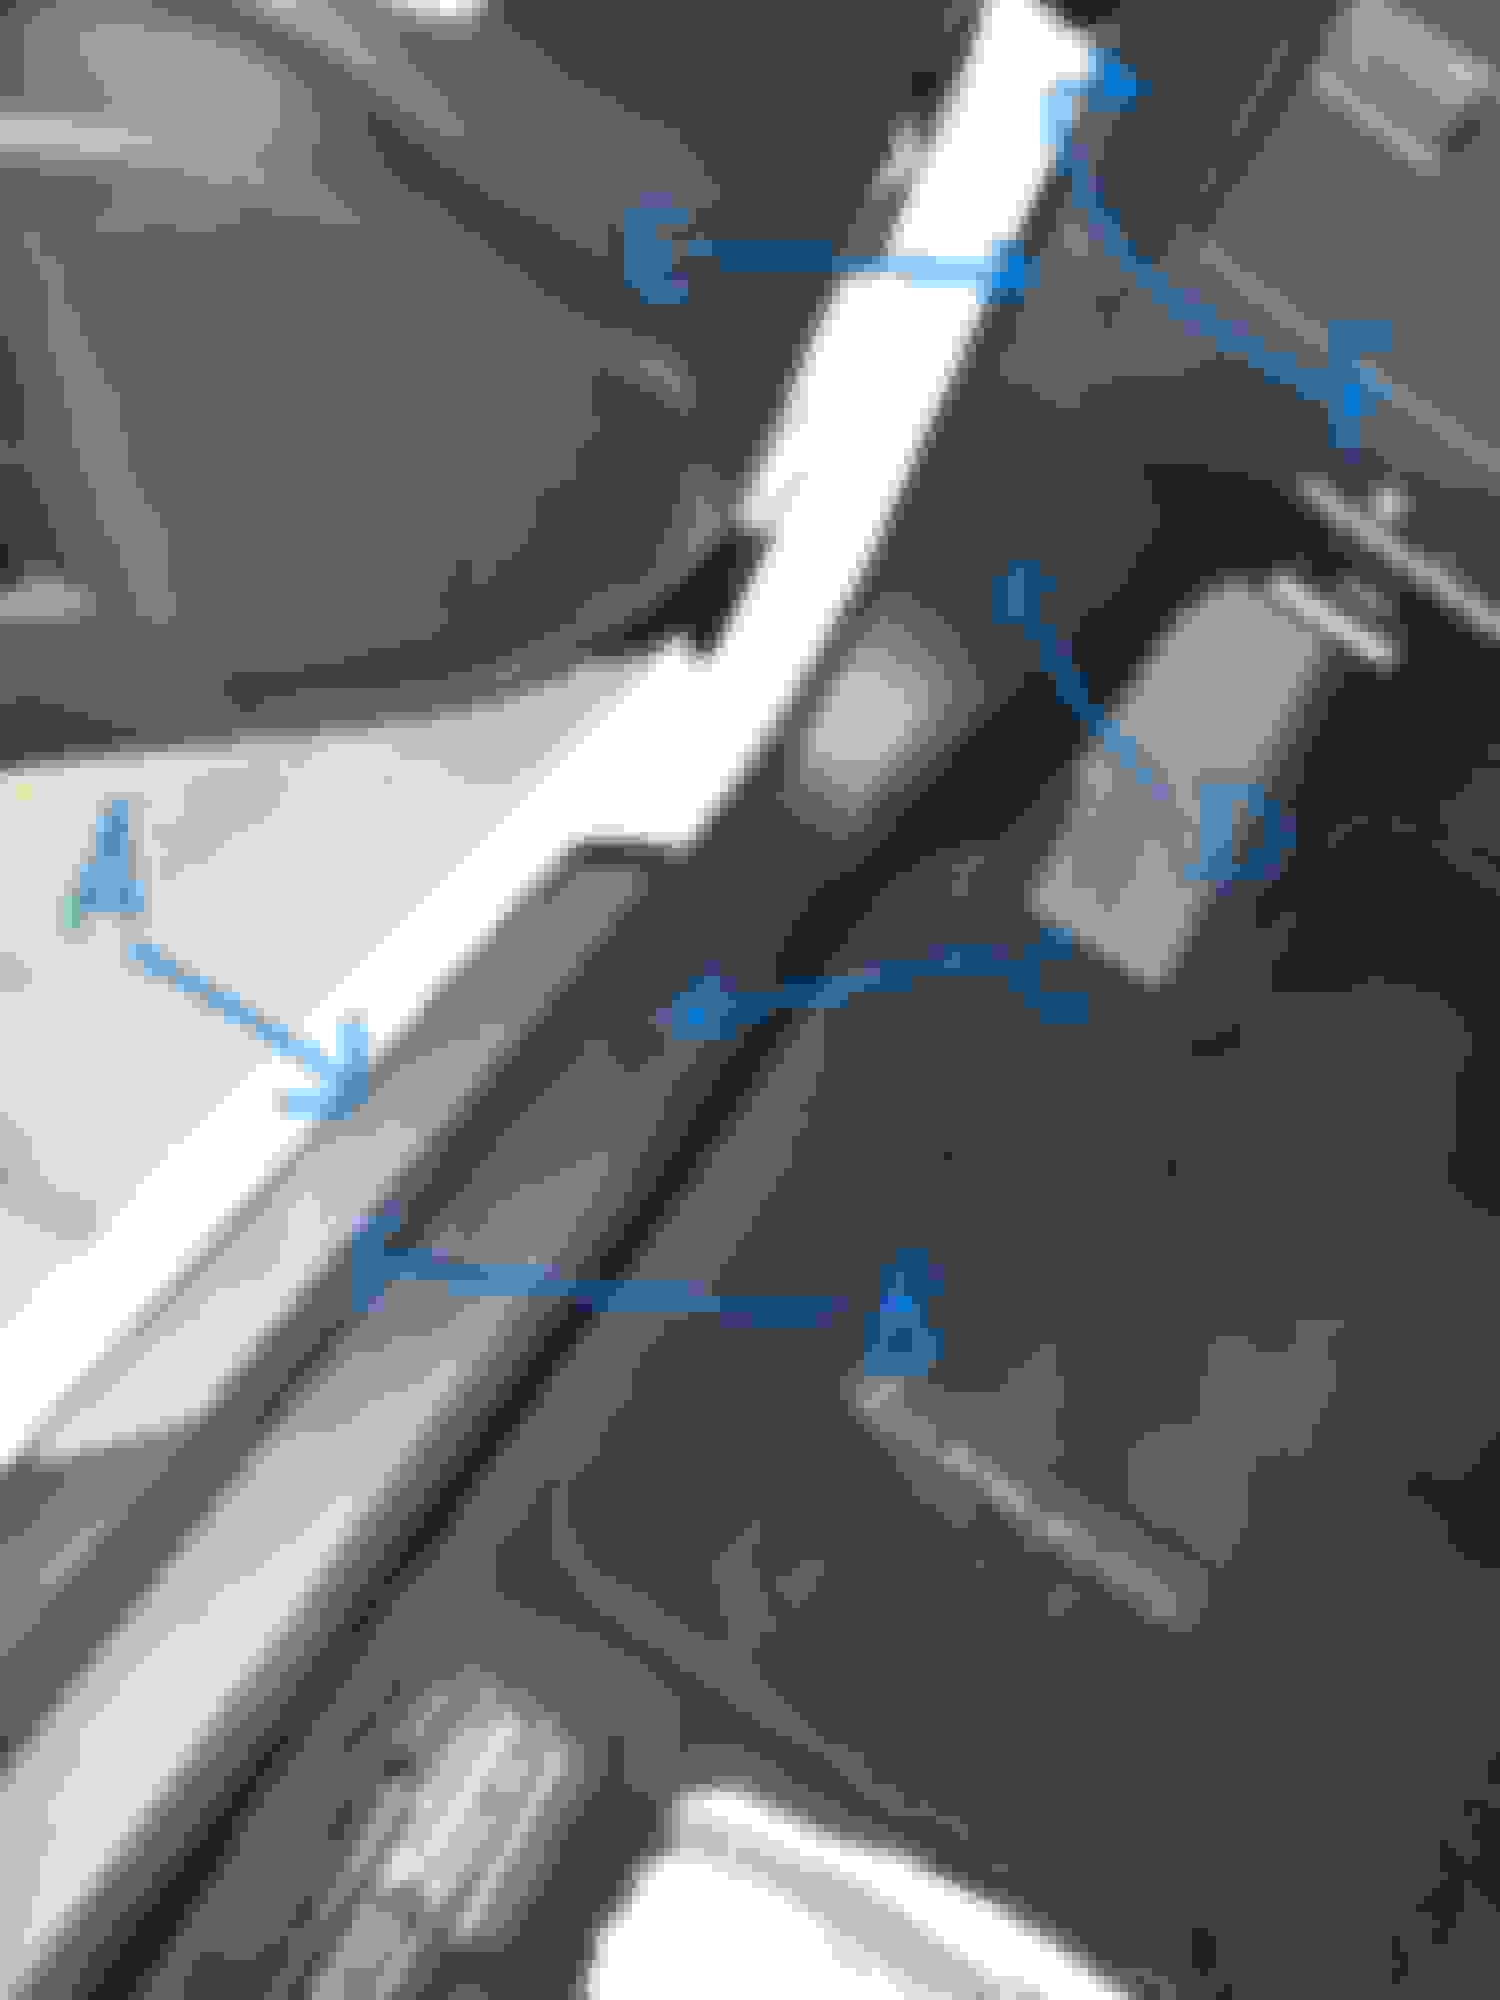
-- Does the scuff plate (A) have to be removed in order to remove the door sill (C)?
-- What happens to the weather stripping (B) in all this (with C and D removed)? What is it attached to, or does it just live under the sill by compression (C)?
-- Does Part E need to come out for any reason (this is the panel behind the cover on the driver's side of the dashboard (F)? If so, is that another prying?
1. No need to remove the scuff plate.
2. You have nothing to do with the weather strip.
3. Yes, you need to remove it, pry with a screwdriver. It will pop out very easily.
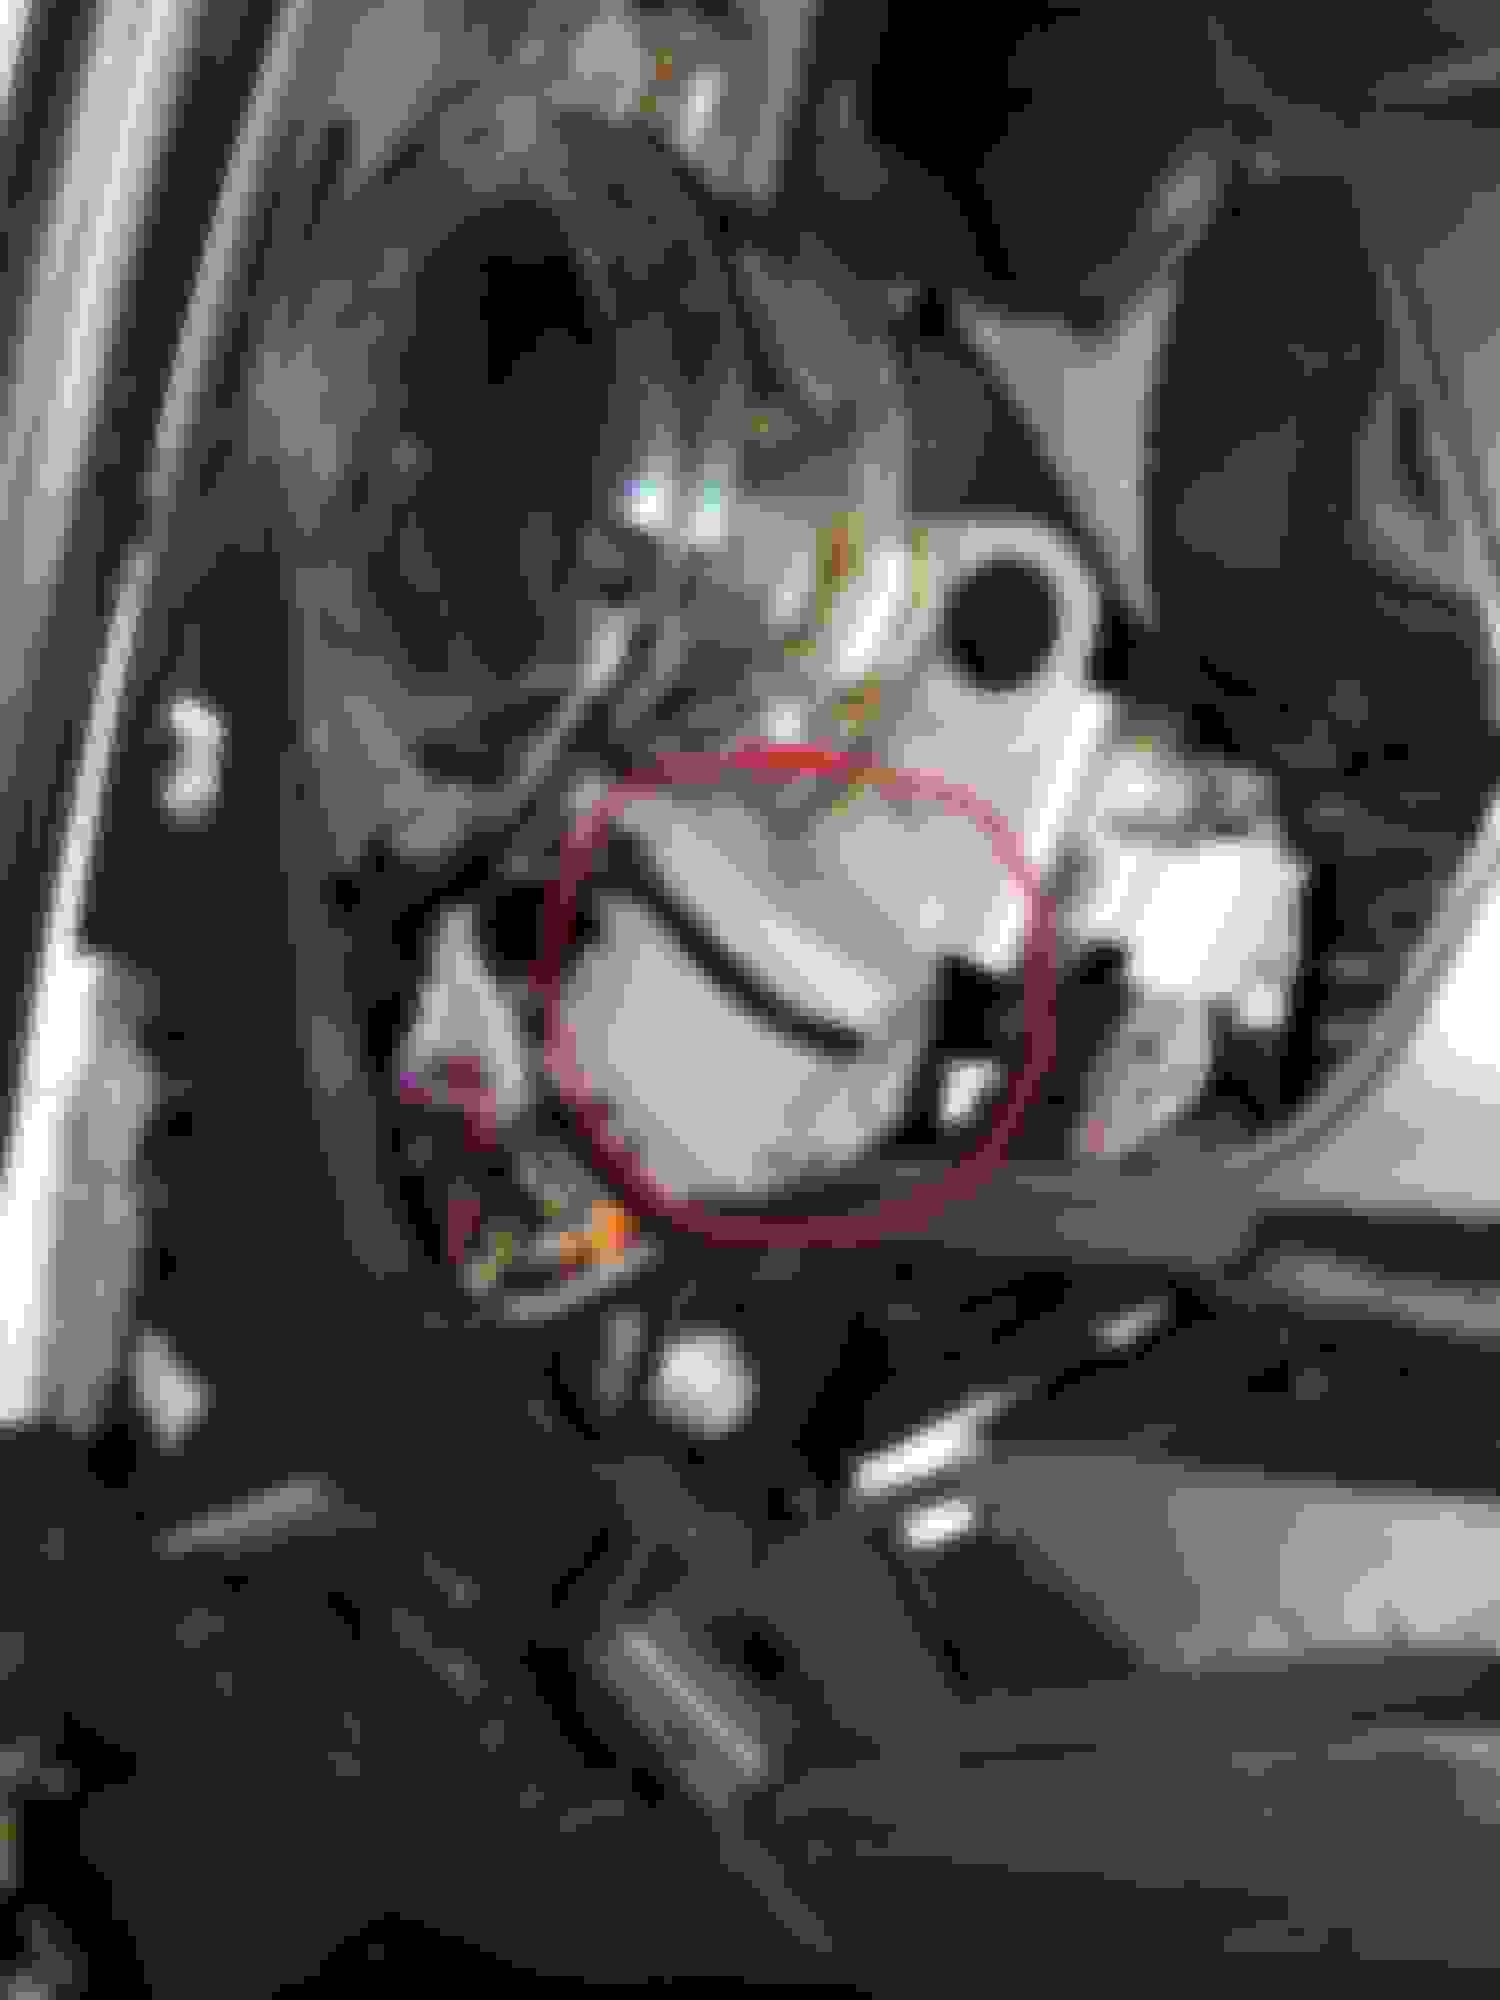
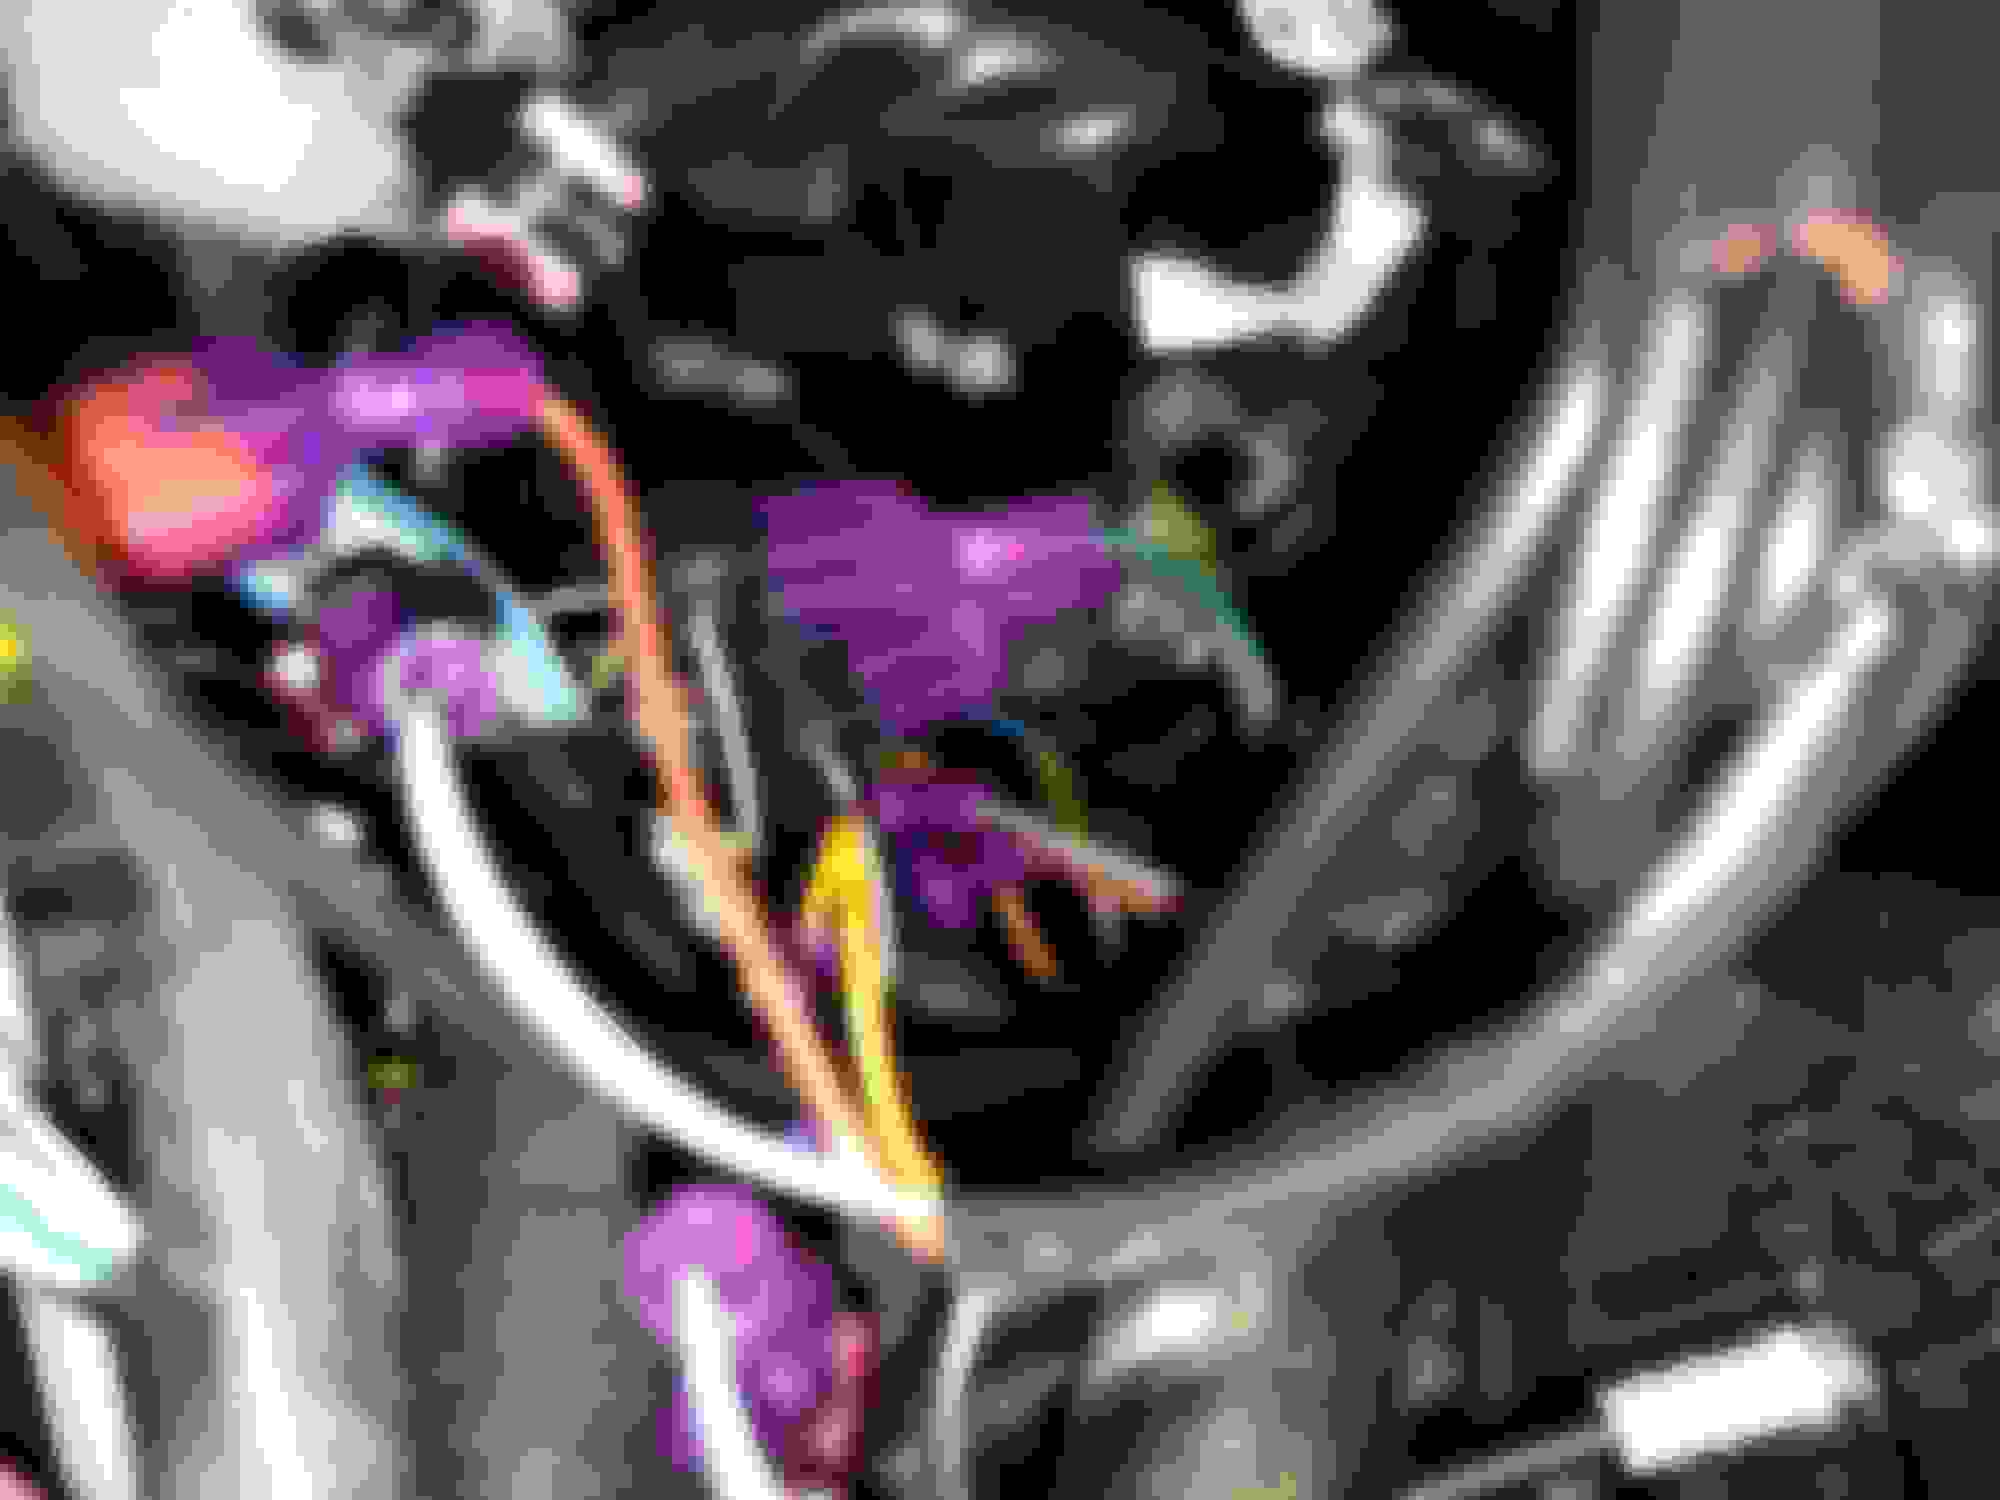
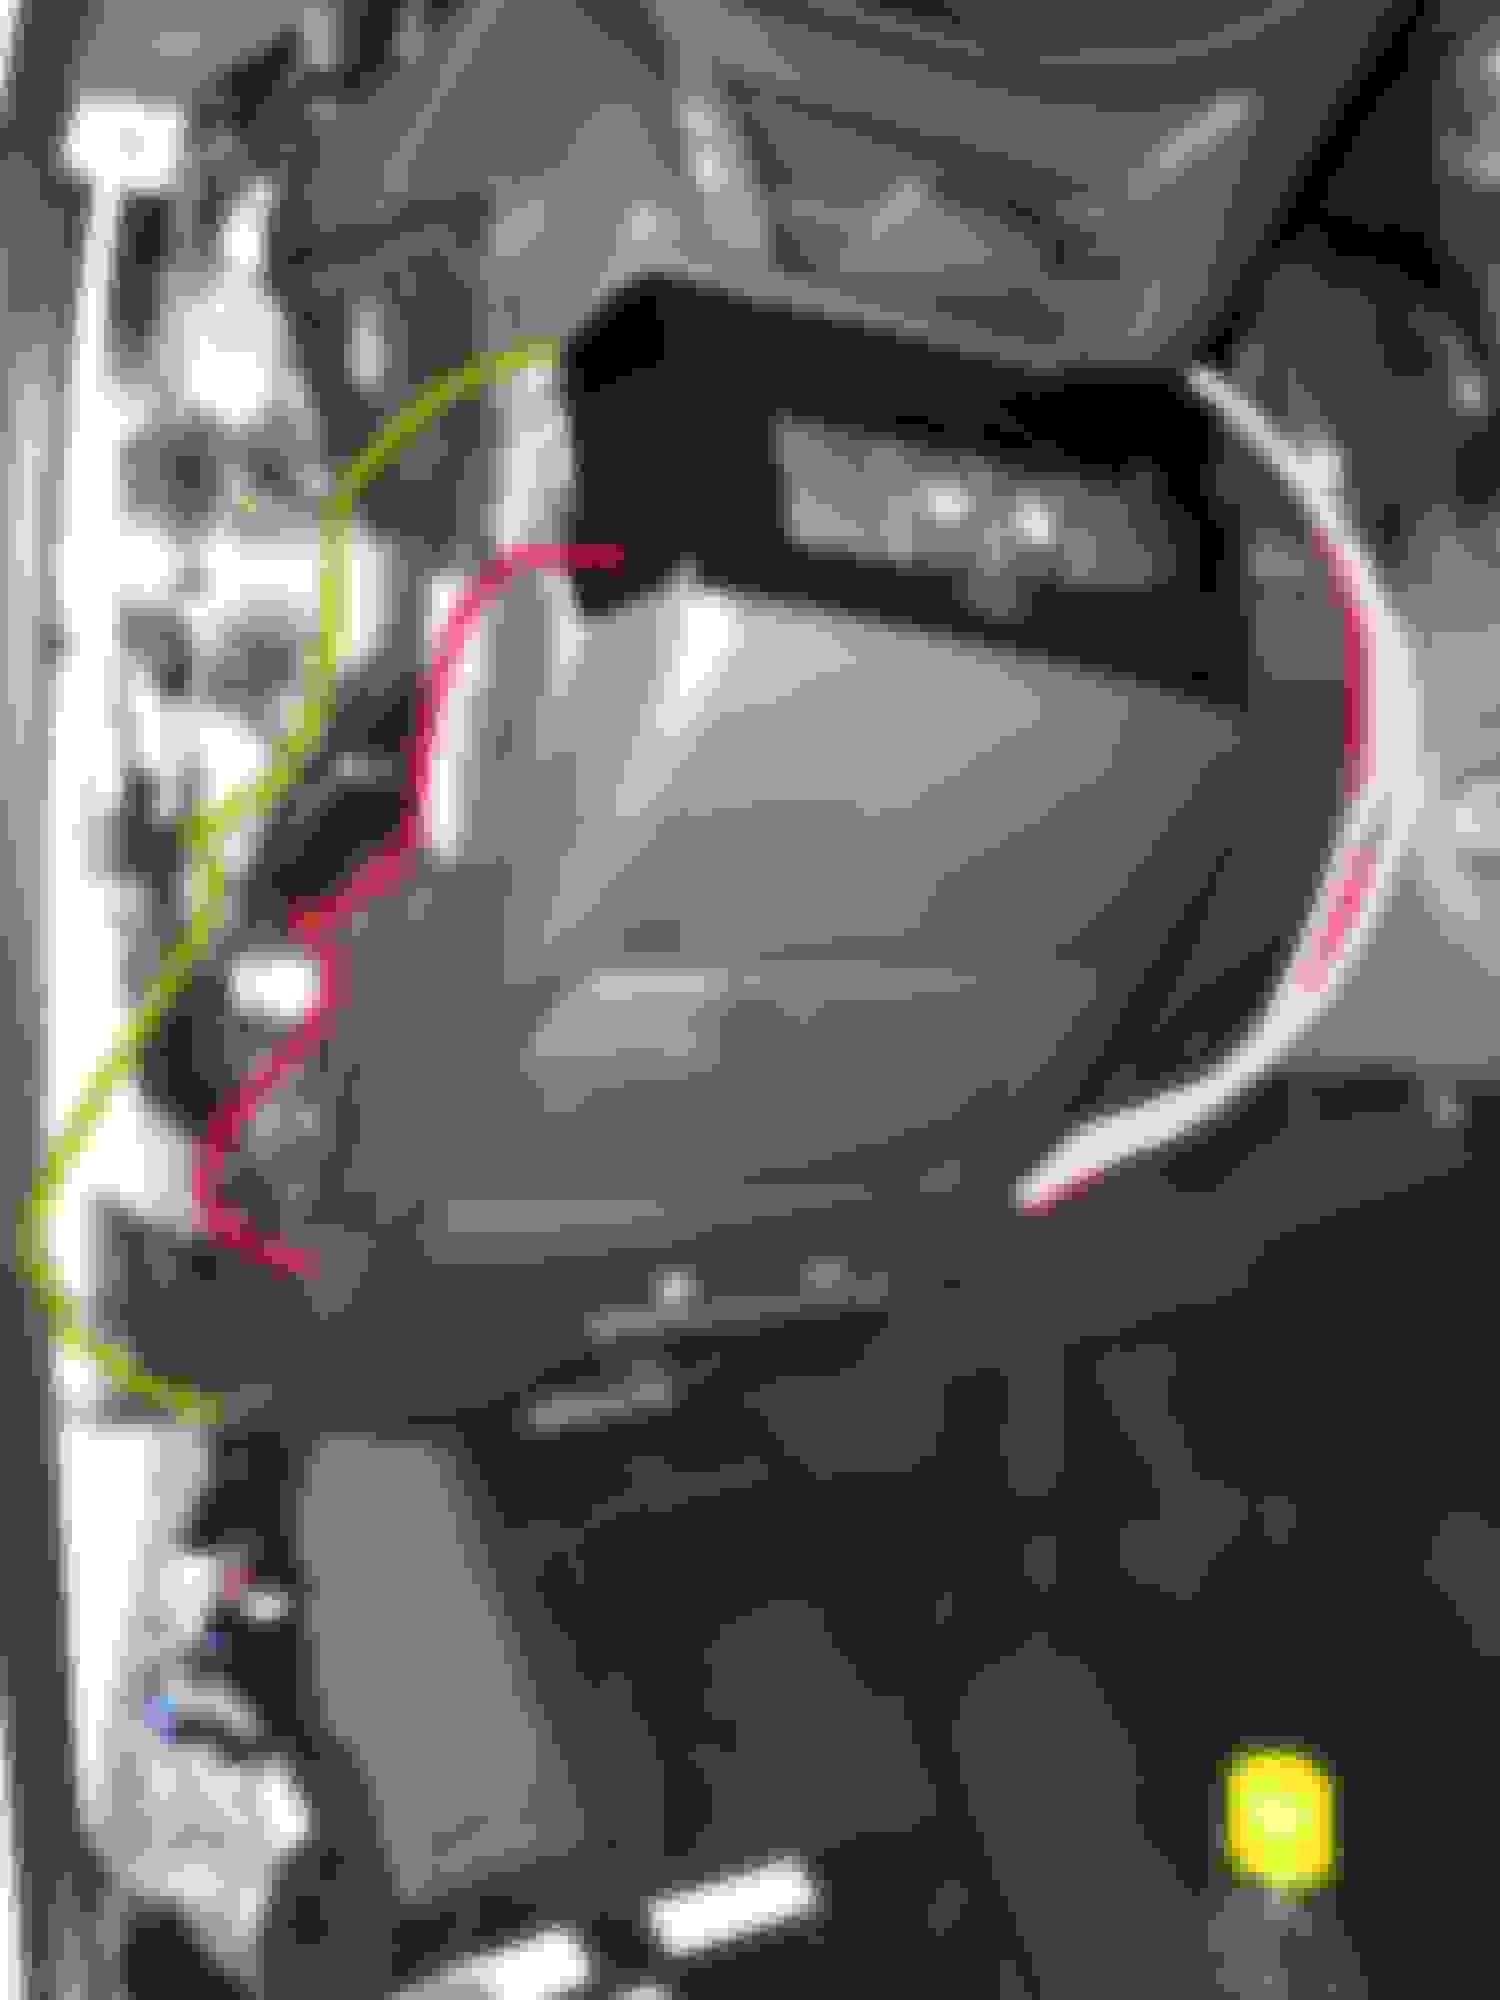
I removed the panels to see where the unit, and found it behind the vertical driver dash cover. You can see the clips attached to various wires in one of the photos.
So, it looks like I'll need to go in from underneath to see how things are connected, so have a couple of questions about how to remove the remaining panels.
1) How does the coin tray panel come out (red line)? Does it come out with the HUD and Camera buttons above (white line)? Does it come out by itself or does the entire panel have to be unscrewed and removed (green line)?
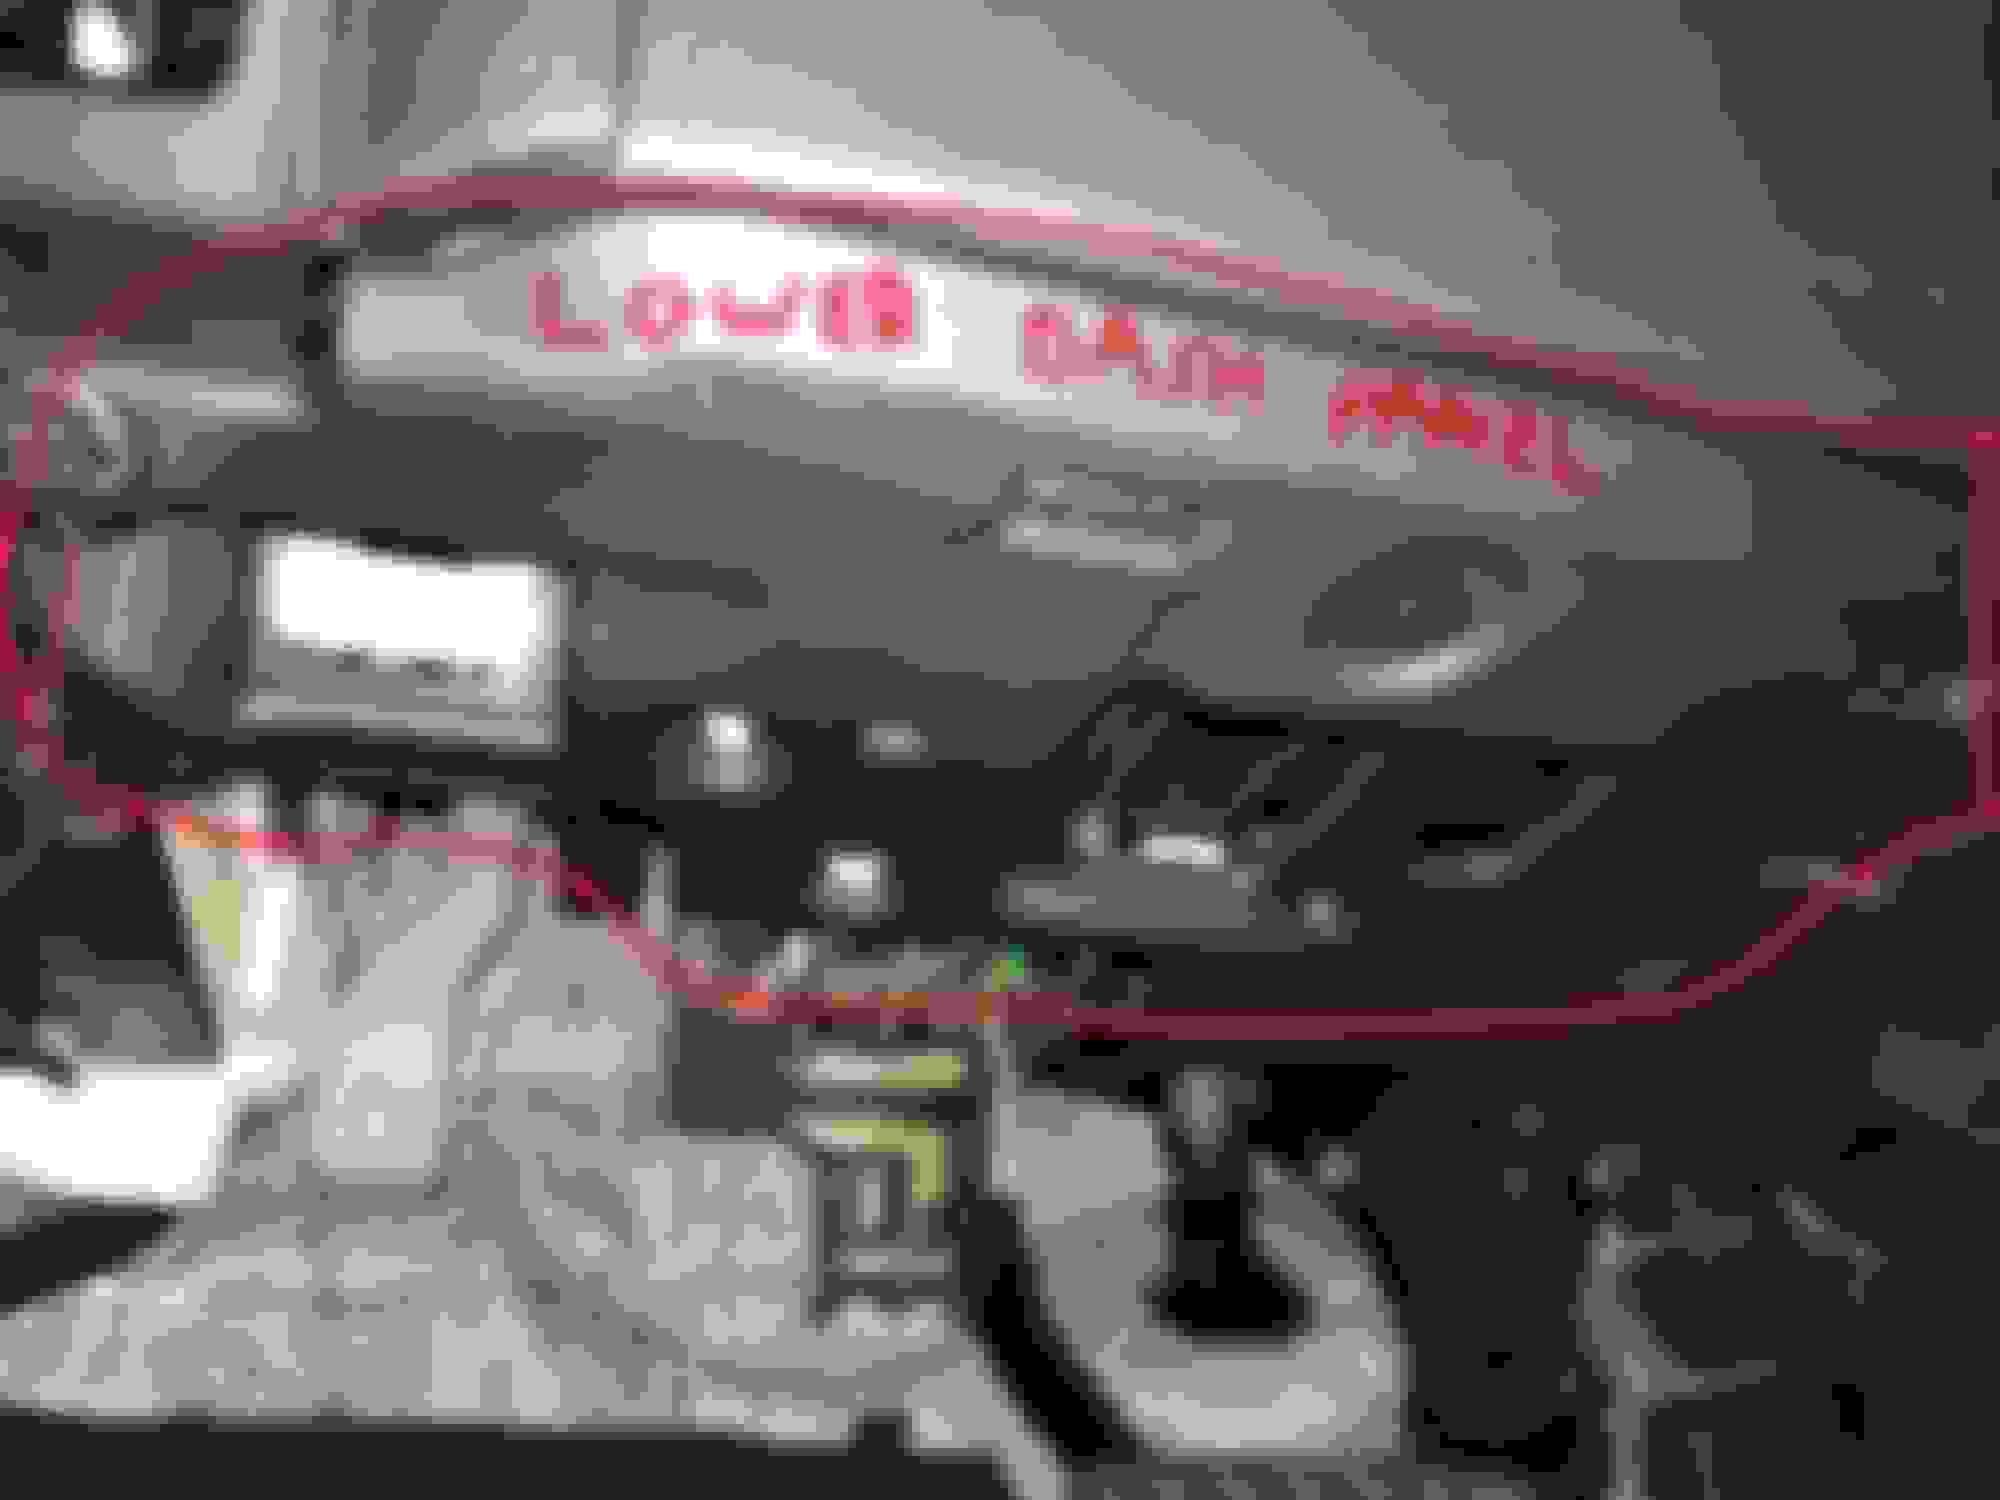
2) How does the lower dash panel come out? I see a screw and a lot of clips under there. It's a little concerning to be working near an airbag so would like not to have to mess around down there.
When we bought our Lexus (which I paid cash for), they had preinstalled a LoJack system in it. One of the first things I found is that they had replaced the OEM ODBC connector with their connector and plugged it into their device. It looks like in your pictures that they've done the same with the KARR alarm. They had also used the wire taps to tap into other wires. Removing the wrap around wire taps may leave your existing wiring in a compromised state, as the tap has cut the insulation and cut into the copper to make a tap connection. After removing the taps, I cut the wires, stripped them and used crimp wire splice connectors to permanently reconnect them. I then wrapped them in electrical tape to eliminate potential rattles. I then put the OEM ODBC connector back where it belongs under the dash. It just snaps right into place. Looking at your photos, I think you may be able to do all of this without removing additional panels. Also, there are lots of videos and other forum notes on removing the KARR alarm. The other thing I did was cancel my account with LoJack prior to removing their device. One thing that drove me to do this was my ODBC reader wouldn't work properly until I removed the LoJack unit. Now it works perfectly. I hope that helps.
Just remember to be REALLY careful whenever you mess around with any panel with an airbag unless you have disconnected the battery. Aside from small chance something might set it off, you don’t want to damage it, because replacement can be very expensive.
I watched (and rewatched, and continue to watch) a video featuring removal of a similar unit from a 2022 Camry (someone called Gearmo Auto), and the coin tray panel needed to be removed to access the clipped connectors behind the dash. So I think I'll need to do that to have access to the clips.
As I go in there, I'm trying to think about what the installer did to put the thing in in the first place. I sealed everything back up for the moment, but it looks like the grounding wire screwed into the duct in "THE UNIT" picture above is aftermarket, too.
My hope is that they didn't physically cut the so-called orange wire to splice in the ignition disable (in the Camry video mentioned above, they didn't). Then, I could presumably just disconnect the alarm unit and see if things still work and avoid pulling wires and splicing things back together.
I finally got the left-side dashboard apart to take a closer look, and unfortunately there's a blue wire that was cut and spliced into the alarm unit. Since I didn't have a decent crimp, and wasn't ready to unplug the battery I put everything back together.
I'm mostly nervous about how the car reacts when the battery is disconnected and reconnected, in case there are navigation codes or radio codes (like my old Acura RL). So it looks like I'll go get a decent crimp or wire connector and give it another go at a later time.
 06-24-24, 01:27 PM