SPC Front camber + Megan rear suspension rods install photos + results
#31
Update, I bought the balljoints through this place http://importautoperformance.com/pro...cat=355&page=1
SPC wanted $102.00 per ball joint plus shipping. This place had them for $165.00 for the pair with free fed-ex ground shipping.
SPC wanted $102.00 per ball joint plus shipping. This place had them for $165.00 for the pair with free fed-ex ground shipping.
#35
Do you think these front ball joints will be any less durable than oem? Considering to perfect front, but IIRC my front wasn't too badly out of spec, just that it could be improved haha.
#40
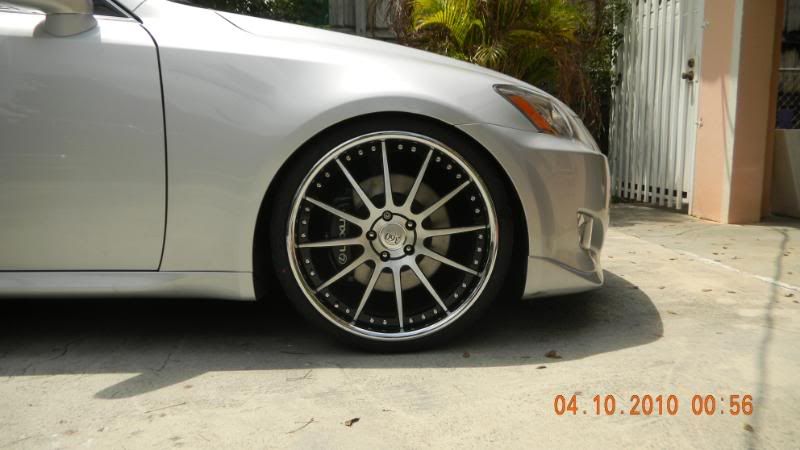
Here are the pictures of mine installed.
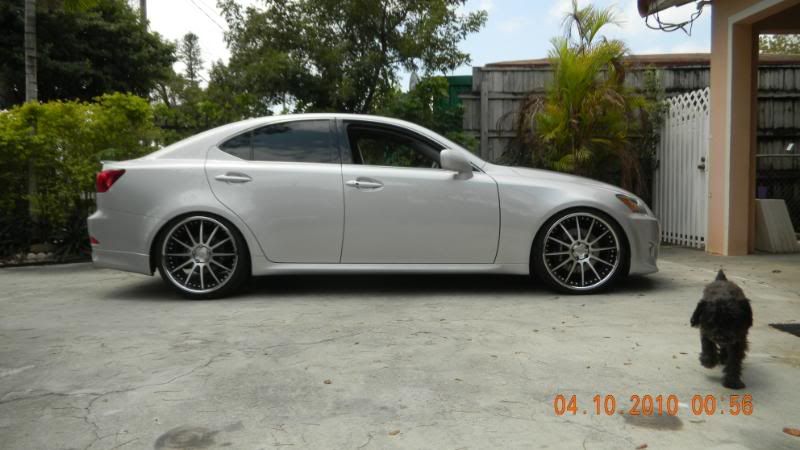
I was able to set the camber to .04 L and .05 R by an angle finder and a level. My friend that aligned the car for me set the toe at a optimal setting for tire wear. I've also posted a picture of my car so you guys get an idea of how low I am.
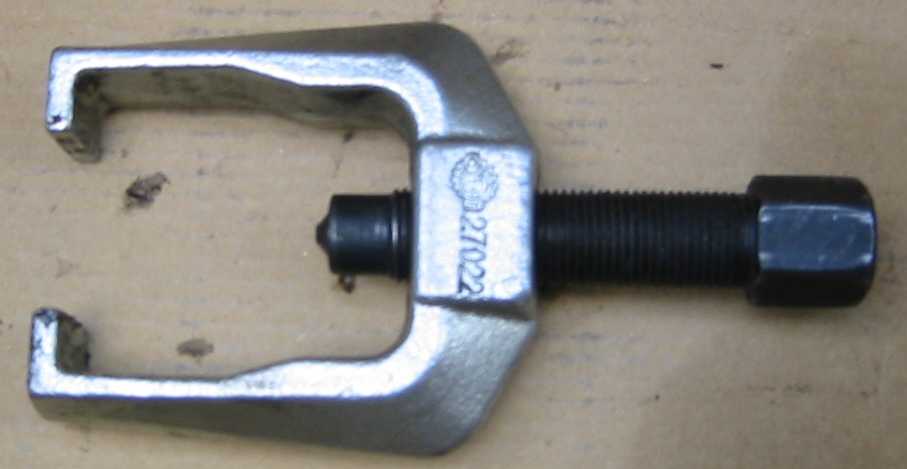
The tool below makes separating the ball joint from the spindle a walk in the park. If you use this tool make sure that you only loosen the castle nut DO NOT REMOVE IT. If you use the tool without the castle nut
reinforcing the tip of the ball joint stud it will mushroom the end and you will not be able to reuse it if you
ever want to go back to stock.


Also some people use the method in the picture below. Heck I even use that method on my Integra but
those spindles are iron not aluminum like on the IS. I you use the hammer you will damage something.


Stock ball joint out, it was very easy to get out. Then again I have a lot of experience working on cars.


I was able to set the camber to .04 L and .05 R by an angle finder and a level. My friend that aligned the car for me set the toe at a optimal setting for tire wear. I've also posted a picture of my car so you guys get an idea of how low I am.
The tool below makes separating the ball joint from the spindle a walk in the park. If you use this tool make sure that you only loosen the castle nut DO NOT REMOVE IT. If you use the tool without the castle nut
reinforcing the tip of the ball joint stud it will mushroom the end and you will not be able to reuse it if you
ever want to go back to stock.


Also some people use the method in the picture below. Heck I even use that method on my Integra but
those spindles are iron not aluminum like on the IS. I you use the hammer you will damage something.


Stock ball joint out, it was very easy to get out. Then again I have a lot of experience working on cars.


Last edited by B16da9; 05-17-10 at 07:16 PM.
#41
#42
Interesting B16da9, you didn't have to shave off a little of the outer lip on the upper arm to allow the sliding mechanism to work correctly? I just installed mine on my IS350 this past weekend and I had to grind off about 2-3mm similar to what andrewshu3 stated in his original post.
Had my alignment checked after the installation and camber is finally comfortably in the green!
Had my alignment checked after the installation and camber is finally comfortably in the green!
#43
it doesnt look like the mounting plate is properly mounted on your upper arm.. did you hammer it in so the crown is holding the plate flush to the inner surface?
if not, you risk damage to your upper arm down the line.
if not, you risk damage to your upper arm down the line.
#45
Interesting B16da9, you didn't have to shave off a little of the outer lip on the upper arm to allow the sliding mechanism to work correctly? I just installed mine on my IS350 this past weekend and I had to grind off about 2-3mm similar to what andrewshu3 stated in his original post.
Had my alignment checked after the installation and camber is finally comfortably in the green!
Had my alignment checked after the installation and camber is finally comfortably in the green!
Those pictures where taken before I tighten down the top nut.


