new pics dropped


 05-15-10, 11:45 PM
#34
Rookie
Thread Starter

no need for electronic valves, unless you want them, I'm old school I posted the paddle valve on the first page , just google air suspension paddle valves. just look at the one I posted from eBay that will control how you raise it and lower it. it acts as a check valve too just in case you blow a bag. it's real simple, I will post up more pics tommorrow
05-16-10, 12:18 AM
#36
Rookie
Thread Starter
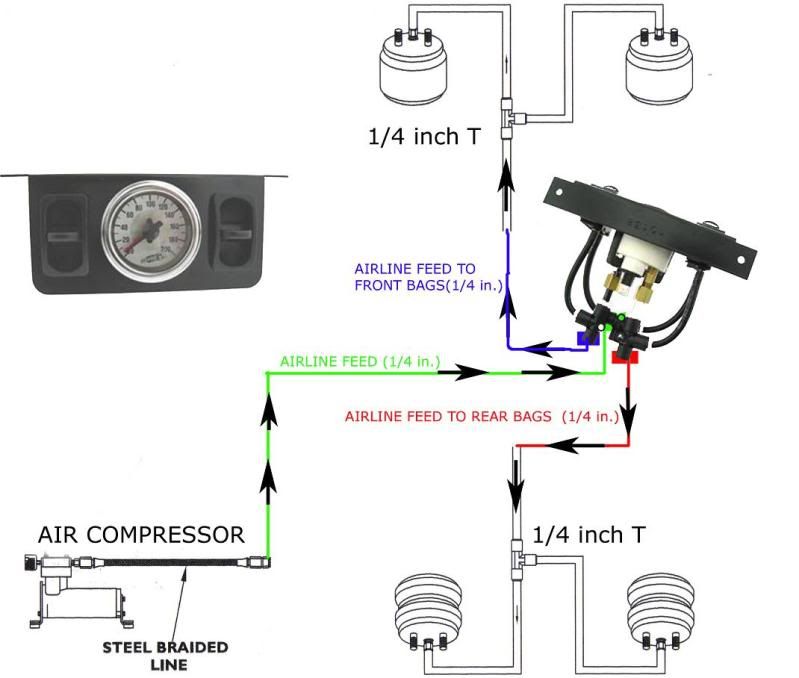
A lighted dual needle 200 psi gauge with manual/paddle valve and mounting bracket installed for front or rear control. This is the most economical way to get on board control of your air suspension. Super easy to install, one line in from your tank and two lines out to your bags. Comes with push to connect fittings already installed.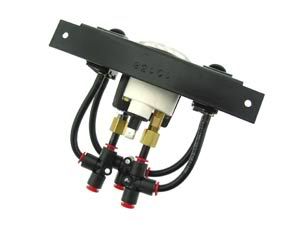


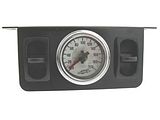
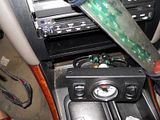
 A 200 psi dual needle gauge with the mounting bracket and 2 manual Paddle Switches switches Connected with 1/4" Push to connect fittings.Just plug 1/4" air line into the back side and you are ready to go.
This Has Two Mounting holes on top with a mounting lip on top. Both Manual Paddle Valves are fitted with PTC fittings
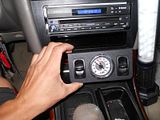
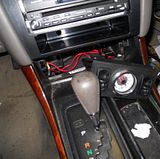
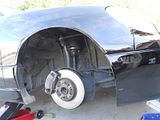
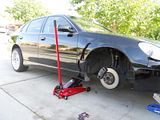
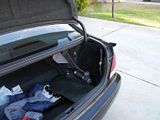
sorry for the bad pics but this is what controls how you lower it and raise the car. i just added a momentary toggle switch to turn on the compressor. i will have the tires off tommorrow since i need to replace a wheel stud that i stripped. more pics tommorrow guys. like i said this is better then having coilovers and adjustng it all the time. i love it for a little more then a 1000 its cool with me. i could of done it for under a 1000 if i didn't buy their front billet mount kit form universal air. alot of people will tell you its ghetto how i did it but hey it works great. my friends said i couldn't do it but i proved them wrong.


 A 200 psi dual needle gauge with the mounting bracket and 2 manual Paddle Switches switches Connected with 1/4" Push to connect fittings.Just plug 1/4" air line into the back side and you are ready to go.
This Has Two Mounting holes on top with a mounting lip on top. Both Manual Paddle Valves are fitted with PTC fittings
sorry for the bad pics but this is what controls how you lower it and raise the car. i just added a momentary toggle switch to turn on the compressor. i will have the tires off tommorrow since i need to replace a wheel stud that i stripped. more pics tommorrow guys. like i said this is better then having coilovers and adjustng it all the time. i love it for a little more then a 1000 its cool with me. i could of done it for under a 1000 if i didn't buy their front billet mount kit form universal air. alot of people will tell you its ghetto how i did it but hey it works great. my friends said i couldn't do it but i proved them wrong.
Last edited by speedlabx; 05-16-10 at 12:26 AM.

 05-16-10, 06:12 PM
#39
Rookie
Thread Starter
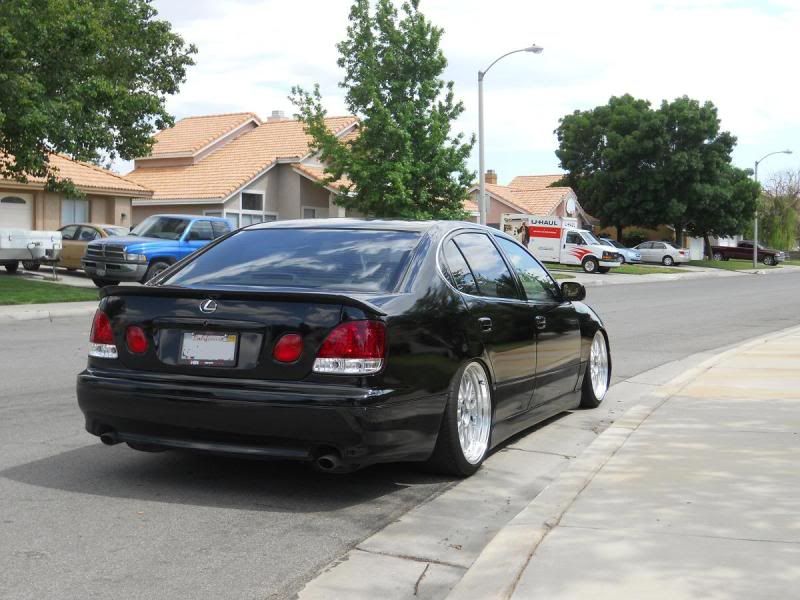
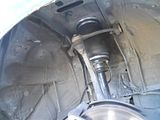
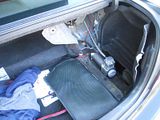
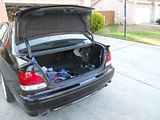
I could of went lower in the rear if i removed the bumpstop completely but i didn't want too because just in case i blow a bag i can still drive home slowly. here are some more pics.


 05-17-10, 09:38 PM
#42
Rookie
Thread Starter
now if you use another set of paddle valves you can control each bag individually the drawing up their is to control front and rear only, the paddle valves acts as a check valve too just in case of a bag blowing out. no solenoids valves required. only wiring is to the airpump on and off momentary switch or whatever switch you want , you can add a air tank too, real easy setup. hope this helps. thats my set up.
05-17-10, 09:50 PM
#44
Rookie
Thread Starter
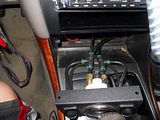
yea those push on connectors make it real simple , push on connecters at the bags and at the "T". and the gauge and paddlevalves come with those hosses and fittings installed already. theirs a bunch on ebay. i think the price went up though. i carry a couple emergency push on fittings just in case.
