When you click on links to various merchants on this site and make a purchase, this can result in this site earning a commission. Affiliate programs and affiliations include, but are not limited to, the eBay Partner Network.
I finally got around to installing the steering rack bushings on my 2008 IS350 RWD.
I wish I could say that my install was as straightforward as MikeFIG82's. Apparently the bushings on the RWD are of a different design.
The bushings reside in a metal sleeve which live inside the cast aluminum steering rack. Inside the bushing is a metal insert. The bushing is one solid piece and will definitely not be pried out using a screwdriver nor will it be easily removed using a punch and tapping with a mallet according to the instructions :|
Passenger Side
The passenger side bushing is pretty straight forward. I removed both 19mm head bolt/nuts that hold the rack in place. Next I removed a steel skid plate which allowed a little more maneuverability of the rack. The passenger side drops down much further than the driver side which allows the bushing to be hit out using a 3 lb. sledge hammer and "punch". Here is the process for the passenger side:
Drill lots of holes in the rubber around the metal insert to allow for a less relaxed press fit. Use a small drill bit that won't jack up the metal sleeve around the bushing.
Put punch (stubby screwdriver with tape on it to allow it to fit snugly into the bushing's insert without being held) in the insert and hit with sledge hammer to remove it.
Install new two piece polyurethane bushing
Seems like an easy install so far, right? Nope!
Driver Side
Here is where things get interesting. The driver side of the rack does not drop down far enough to allow the bushing to be pushed out the back. It also does not move out far enough away from the subframe to allow for the bushing to be pushed out the back (in its entirety, at least).
Here is a break down of what I did to remove it:
Drill lots of holes in the rubber around the metal insert to allow for a less relaxed press fit. Use a small drill bit that won't jack up the metal sleeve around the bushing.
Use a pry bar to move the rack and allow for a 2x4 to be placed between the rack and the subframe. This allows for the rack to be stabilized and provide room on the backside to help the bushing be removed.
Put punch (stubby screwdriver with tape on it to allow it to fit snugly into the bushing's insert without being held) in the insert and hit with sledge hammer to remove it.
Keep hitting the punch until the bushing can no longer proceed out the back of the rack and hits the subframe.
Cut the bushing transversely using a sawzall with a carbide blade. I had to swing by Home Depot for this.
Continue to hit the punch until the bushing is as far out as it will go...again.
Using a pry bar and channel locks you can convince the remainder of the bushing to leave the steering rack.
Install the new polyurethane bushing and insert.
Doing this install on the ground with jack stands wasn't my favorite thing to do. If I had a vehicle lift the install would be somewhat straightforward and relatively easy to do.
Maybe there was another way to do this install that I didn't figure out. I am curious to hear what others have done on the RWD to install these bushings.
I will post some pics shortly to give a better idea of what I was describing.
Initial Impression
Slight improvement in steering response
Front end feels "more together" when driving over irregular surfaces
Little to no increase in NVH
Impression after 100 miles
Better steering response, tighter feel (can't articulate this feeling well)
Perceived better road feel at high speed
No more "pogo" effect of suspension/steering when going over irregular surfaces
Better handling (again...can't articulate this well)
Worth the effort? While I am not totally blown away by results like the ISF steering ECU or F Sport sway bars, I feel it is a nice mod to do if you are mechanically inclined and have the tools.
**Update after 100 miles** - I would recommend this modification. It improves the overall feel of the steering and is a great compliment to the ISF steering ECU and other suspension mods I have done (F Sport sway bars, F Sport springs/shocks, and RR Racing LCA bushings)
Notice where is says "can be tapped out with a large punch and a mallet". Tap is not the right word. It will require more effort than that.
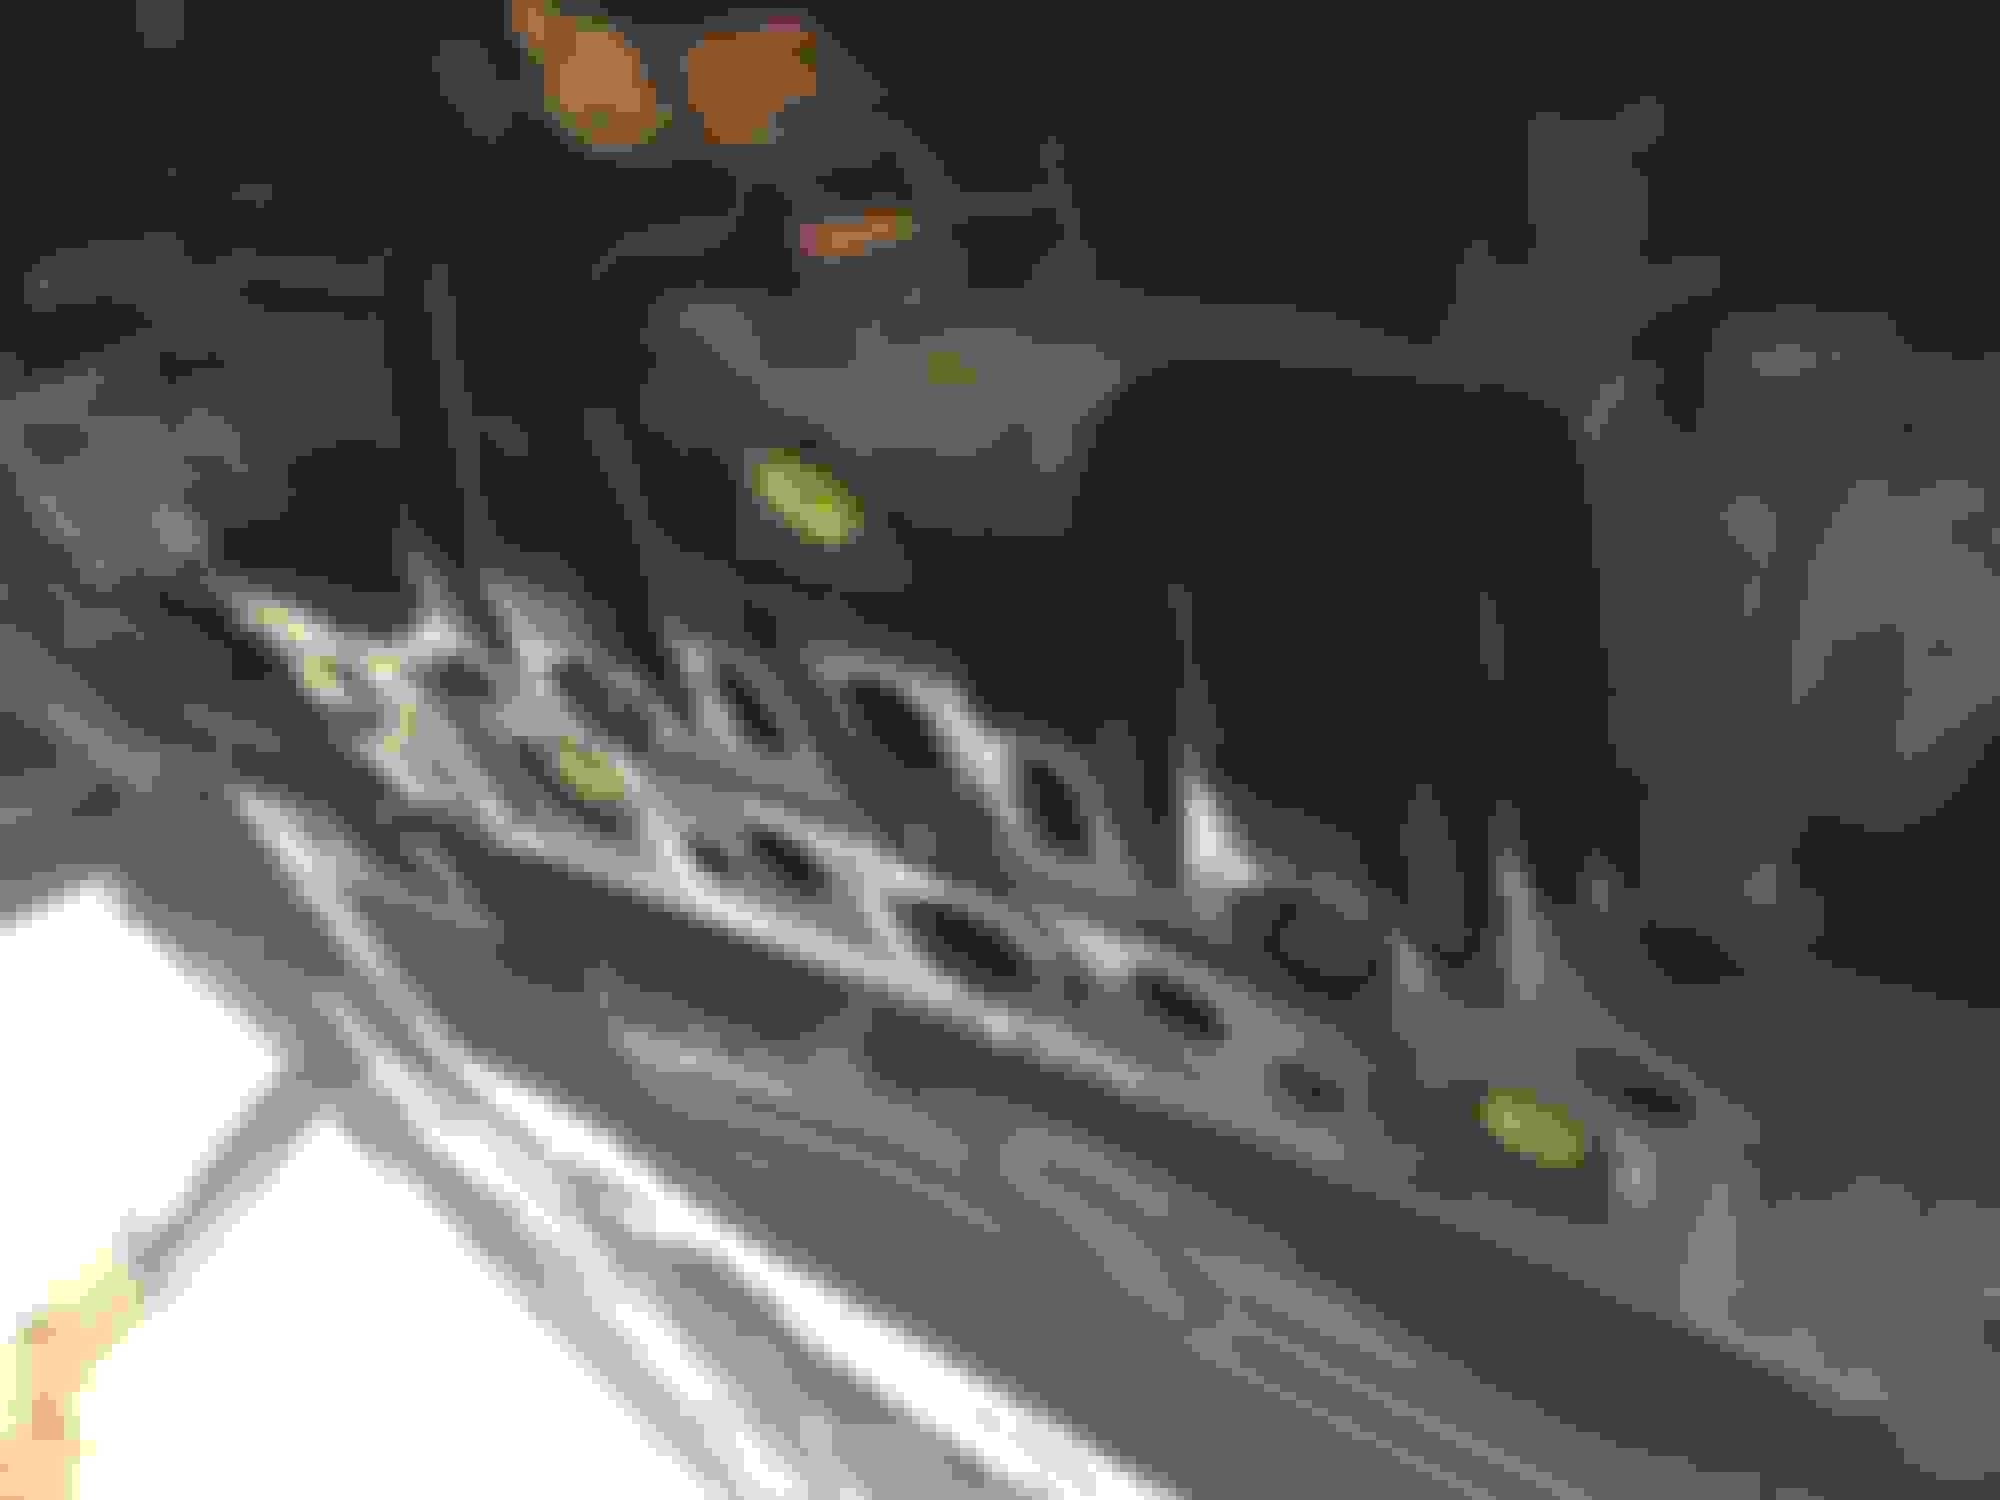
Passenger side photos...
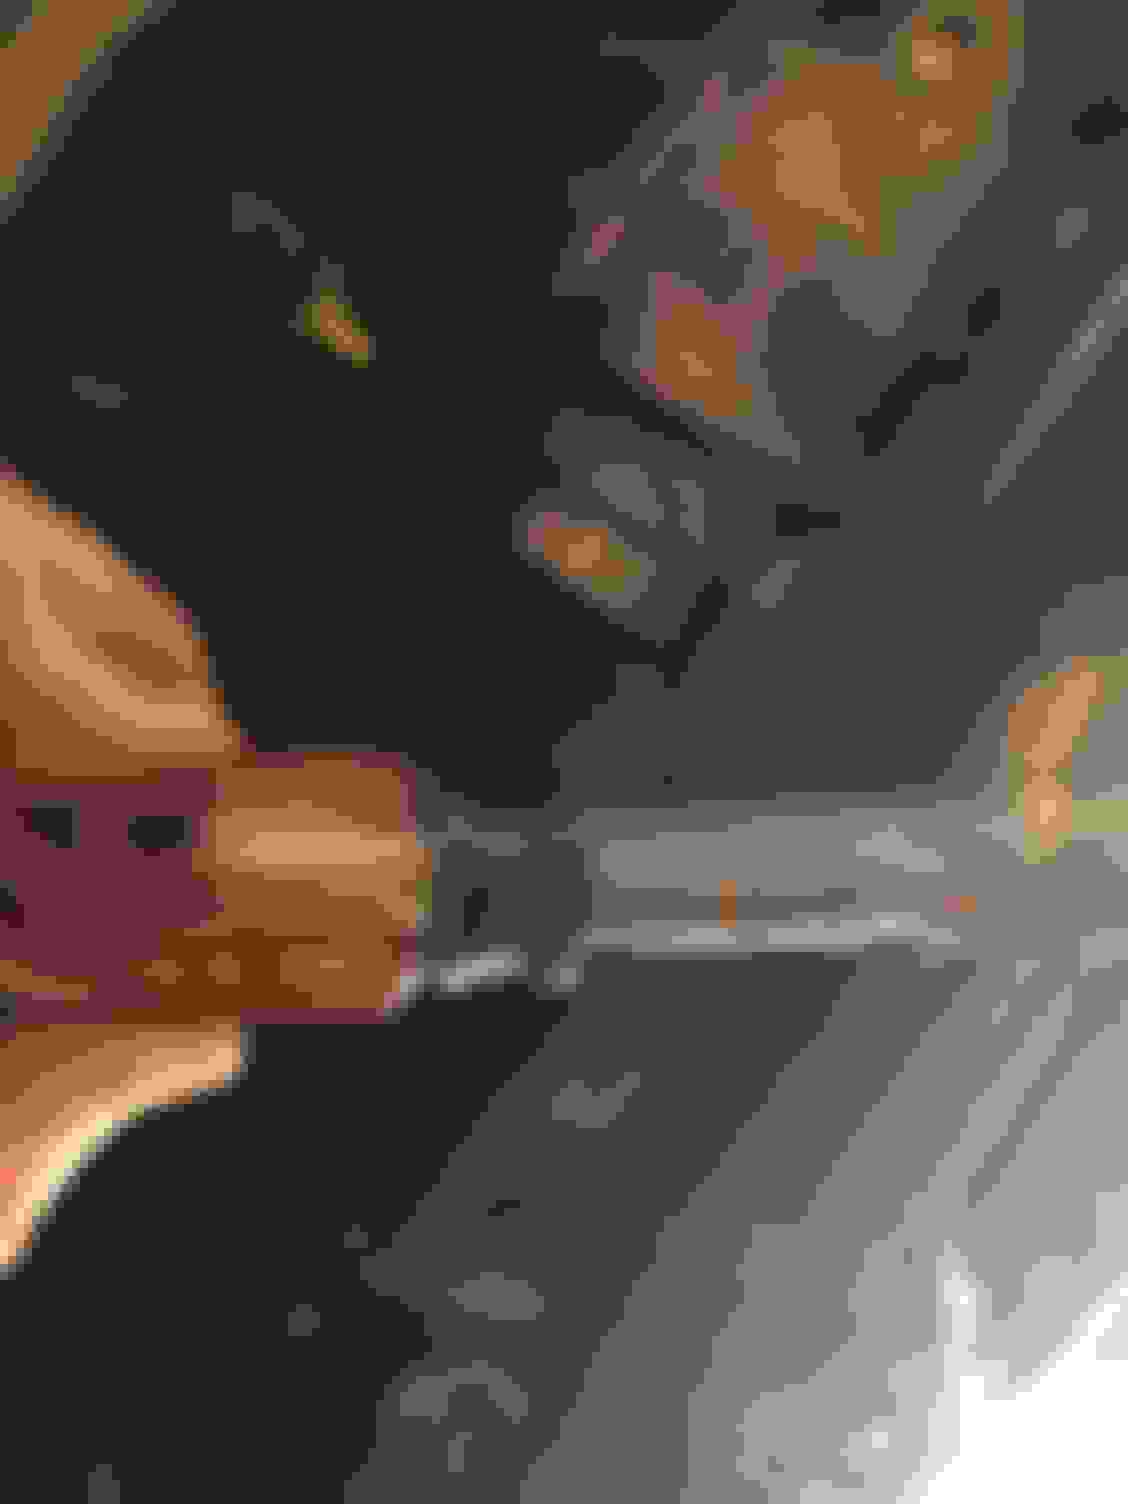
Makeshift punch
Driver side pictures....
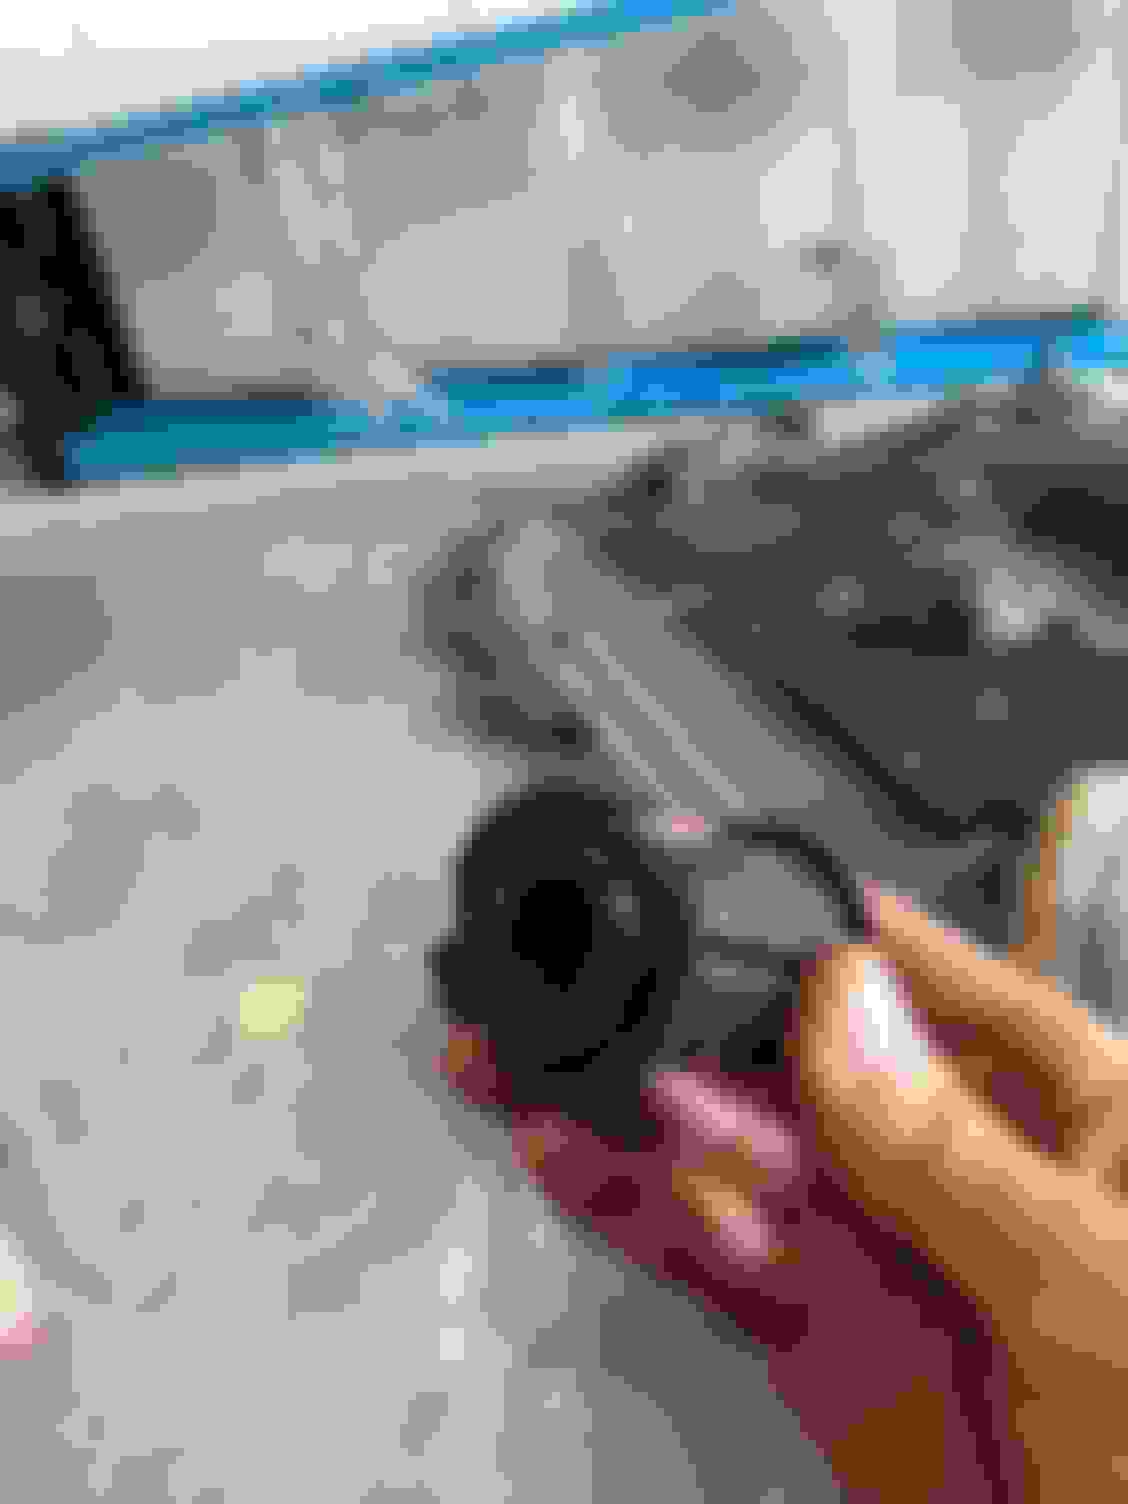
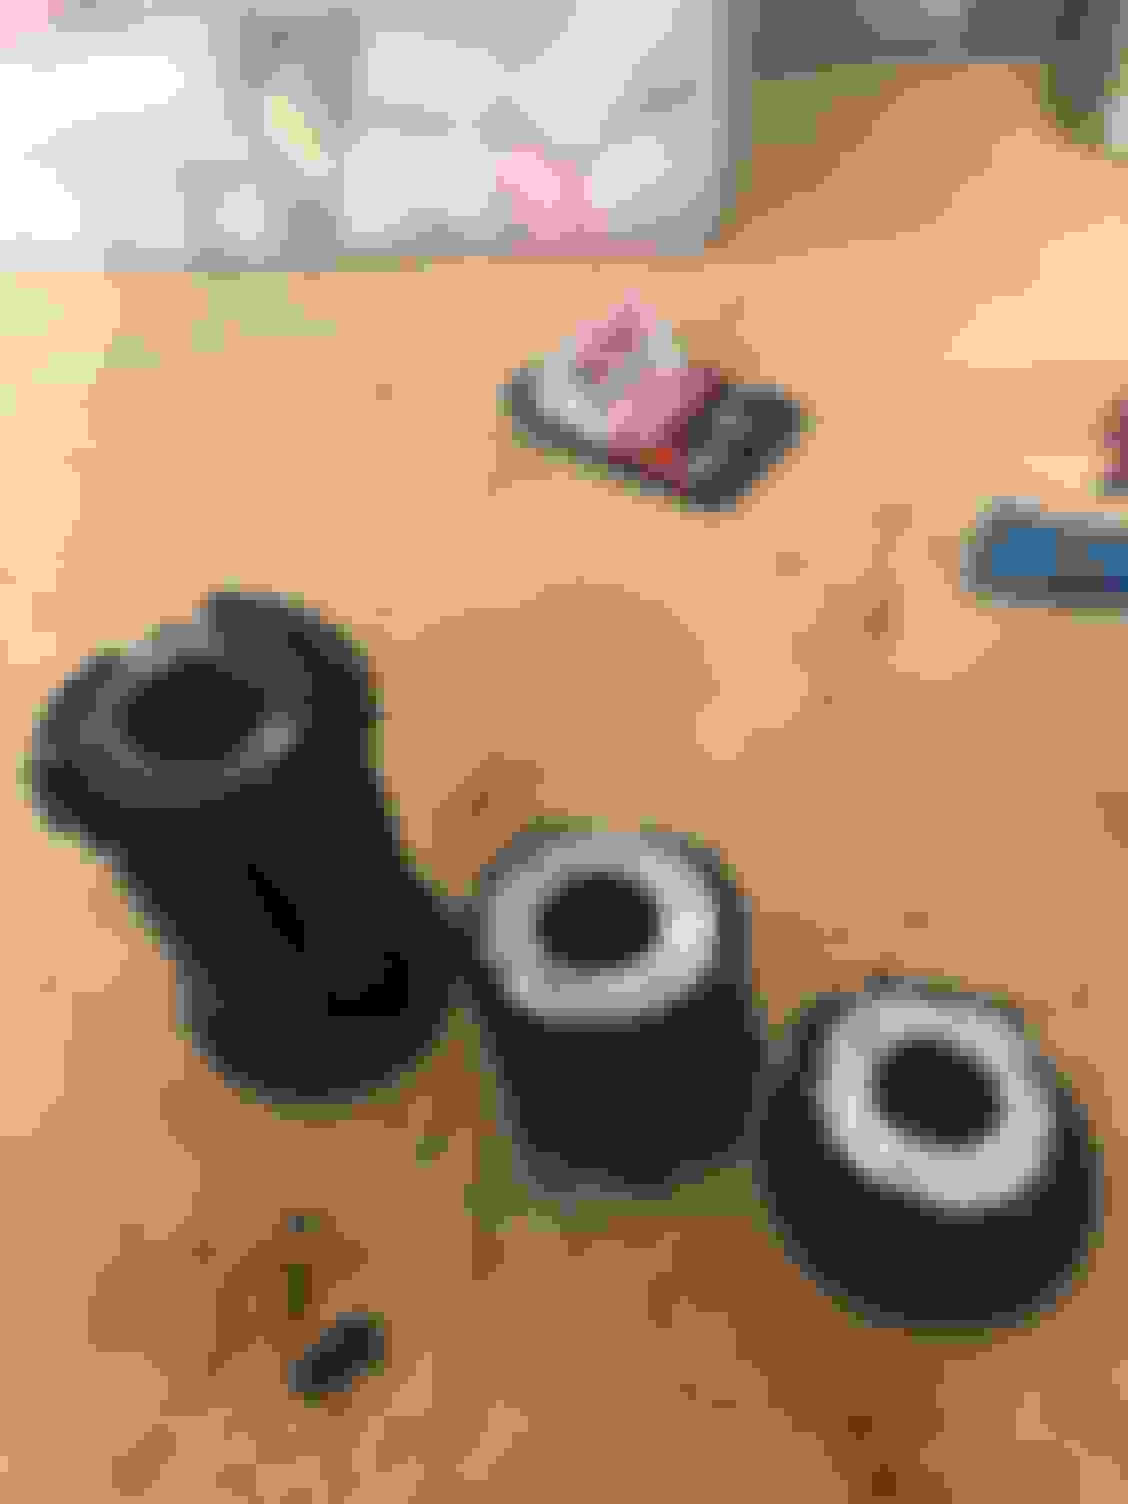
The driver side is not fun to do. The inner sleeve was marred from drilling out the rubber bushing.
These are the bushings after they have been removed. Guess which one is from the driver side
Thanks for the write up. I think this mod would be more beneficial to the AWD model. Yet it's still hard to get them on even with proping up the steering rack.
After I drove it today for about 100 miles I feel that this is a good mod for our cars. It is a great compliment to other suspension modifications. I am happy with the steering rack bushings for sure
After I drove it today for about 100 miles I feel that this is a good mod for our cars. It is a great compliment to other suspension modifications. I am happy with the steering rack bushings for sure
Yes it does. It takes out the lateral movement making the steering more precise. Looking at your posted pics. The passenger side bushing is slotted as well.
The good news is the scratches inside really don't matter as this is a fixed position. Did the NVH increase in the steering wheel?
One other option we used to do for removal of NONE OIL FILLED bushings is to burn them out with a torch. Basically, heat the inner bushing short of glowing and on one side and as the heat transfers, the bushing core flies out. Sometimes slow, sometimes super fast. Have your PPE on and be prepared for hot steel lying on the ground somewhere.
Good Job and thanks for the writeup!
Thank you! I am happy to finally be contributing to this forum. I have had this car for a while and left it stock and have recently got the mod bug.
There was little to no increase in NVH. The more I drive my car with this mod, the more I like it. My initial impressions were kinda "meh" but, after I have had a chance to take it on all sorts of different roads and corners I am loving it.
Me and a torch...In my mind I can see the burn mark scar already.
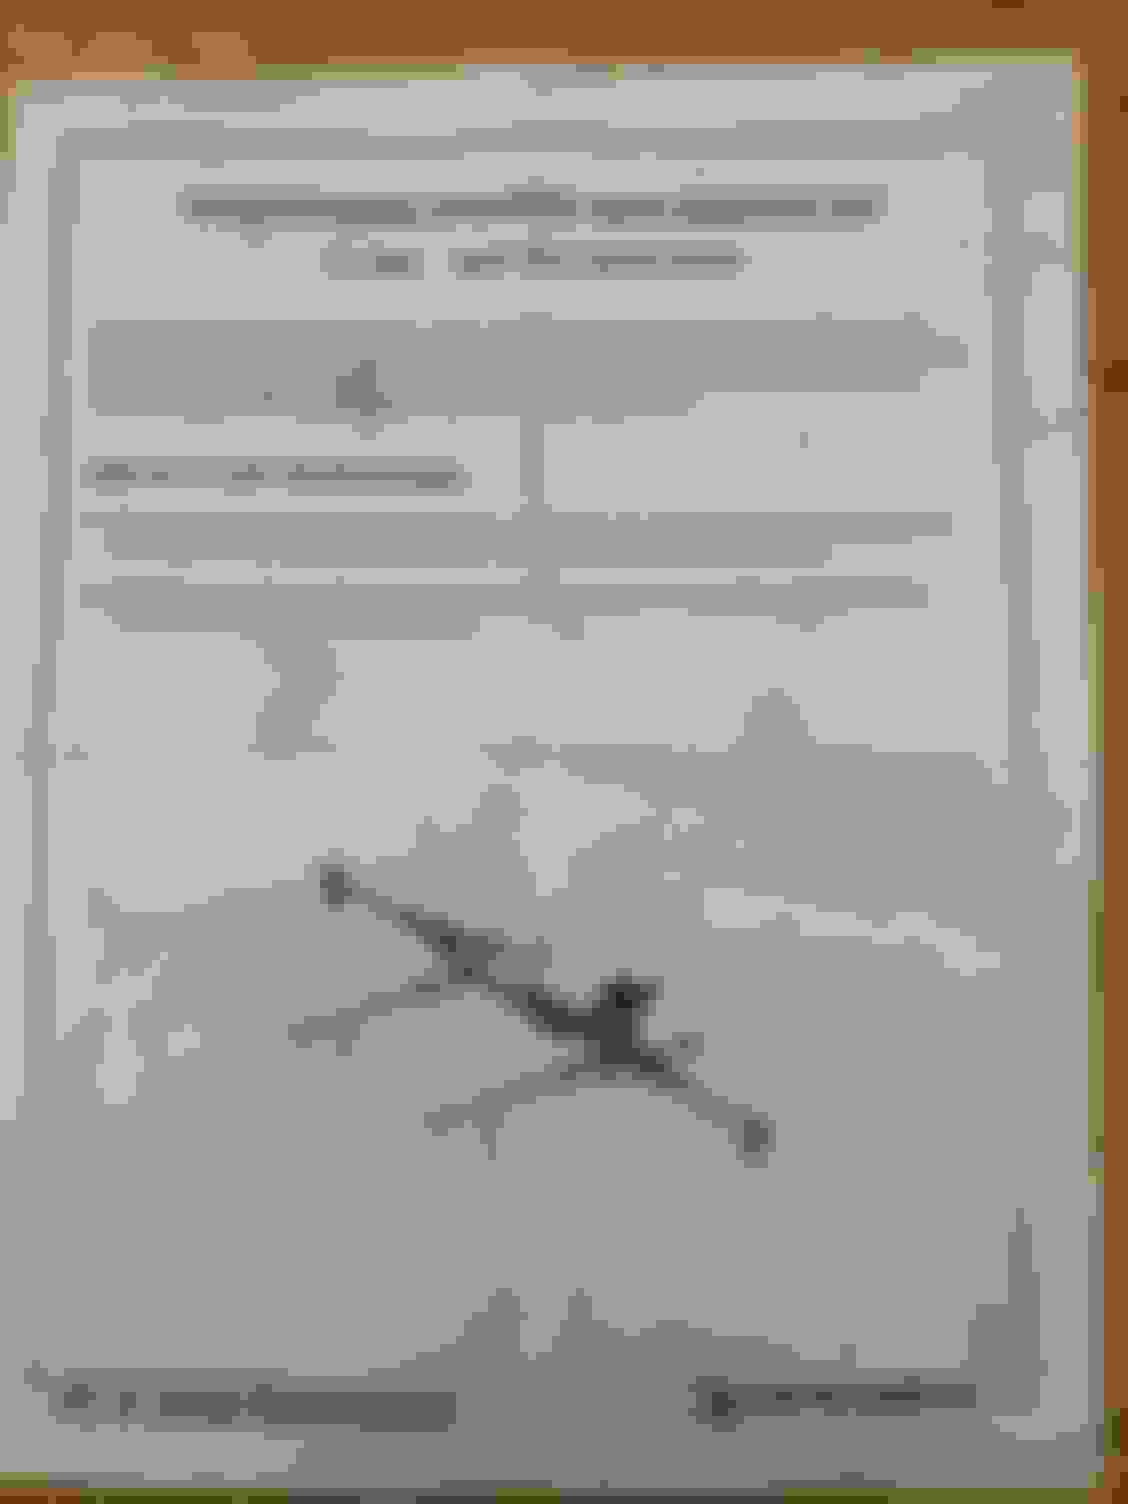
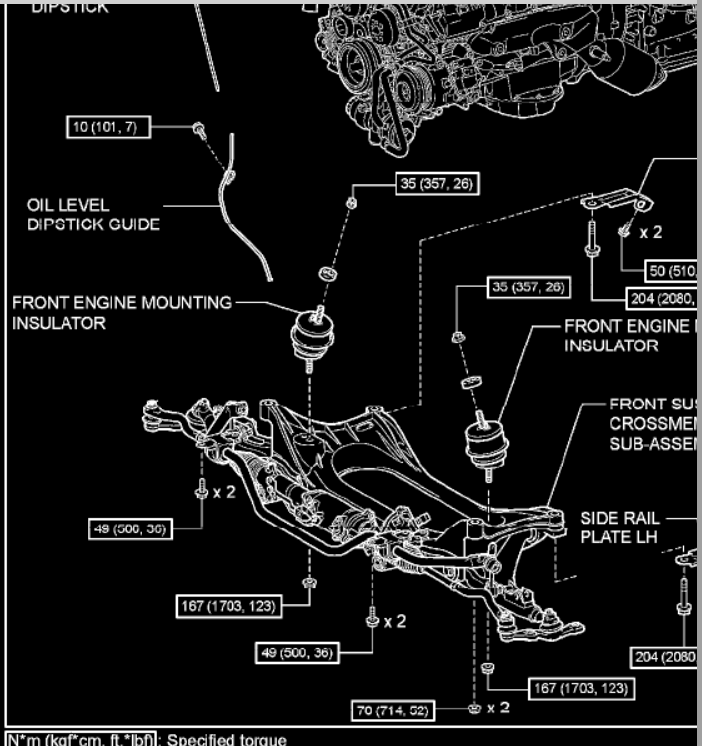
Interested in installing the Daizen Steering Rack bushings I2-2030 (06-2012 IS250/350), as well, and would like to confirm correct torque specs for installing the bushings. Which items shown in diagram below are the steering rack bushings (Diagram for 2008 IS F 5.0L (2UR-GSE). Would torque specs be the same for 2008 IS 350? Also came across the following post (2nd Gen GS); DIY Daizen Steering Rack Bushing : https://www.clublexus.com/forums/sus...k-bushing.html
Hey I was just curious, do you guys ever check the bolts torque or re-torque the bolts for the steering rack or any steering rack braces?
also, what would be the result if the steeering rack brace and/or bushing bolts are over torqued? Let�s say to 100 ft / lb? Is it dangerous to drive with a situation like this?

 09-30-20, 07:47 AM