When you click on links to various merchants on this site and make a purchase, this can result in this site earning a commission. Affiliate programs and affiliations include, but are not limited to, the eBay Partner Network.
TLDR for the next posts: I REALLY like the coilovers, ordered a Remote Damping Controller, broke a rib while trying to install it, 3D printed a mess of stuff to mount the rest of the RDC.
Alight, so another update after a few weeks of driving on the new parts, I think I might start a project log sometime on this since it kinda escalated...
I REALLY like the coilovers. With the damping set to full soft the car is just a bit stiffer than it was with the worn out stock shocks. Dial in a half dozen clicks and it sure feels like the digressive damping does more than I expected in the way of cutting down the body roll. 4-6 clicks make freeway entrances a-lot of fun, I embarrassed a guy in is new Hyundai Stinger badly enough he had to pull a ricer flyby on me.
On to the ongoing project, I did order a Remote Damper Controller, and I have started installing it. It isn't an easy project, and It is going to take me quite a bit more time to finish. There are seven different components (4 stepper motors that have to be mounted in a relatively small window close to the shocks, 2 motor controllers, one in the trunk and one under the hood, and the display/controller itself). Then the wiring has to be run to connect all 7 of those pieces together from one end of the car to the other. The thing that worries me the most is passing the wiring through the firewall, I don't know where that is going to go yet. If anyone has any ideas, let me know
I was pretty close to having the three components installed in the trunk 2 weeks ago. There are two tools that have been indispensable. First a rivet nut installer, second a 3D printer. In the trunk the stepper motors are going on a piece of sheet metal between the shock tower and the rear bulkhead, this place is pretty close to being in the perfect spot, no-one will ever know these are even there. The issue is, there isn't a-ton of room to maneuver in order to mark, drill, and rivet the rivet nuts. Placement of the unit itself doesn't have to be perfect, but the spacing between the two rivet nuts does have to be pretty close to perfect in order to mount the stepper motor. So the process goes like this - get the motor where I want it, mark one mounting hole. Drill the first hole, then install the rivet nut. Next, mount the stepper motor with one bolt through the newly installed rivet nut, and using a 3D printed drill bushing through the other mounting hole, drill a pilot for the 2nd mounting hole. Drill the hole out to the proper size, then install a 2nd rivet nut. Here is the stepper motor (black) and some of the 3D printed stuff, the small orange part with the drill bit through it is the drill bushing, the bigger blue and orange parts are size guides that I used.
And the drill bushing in use
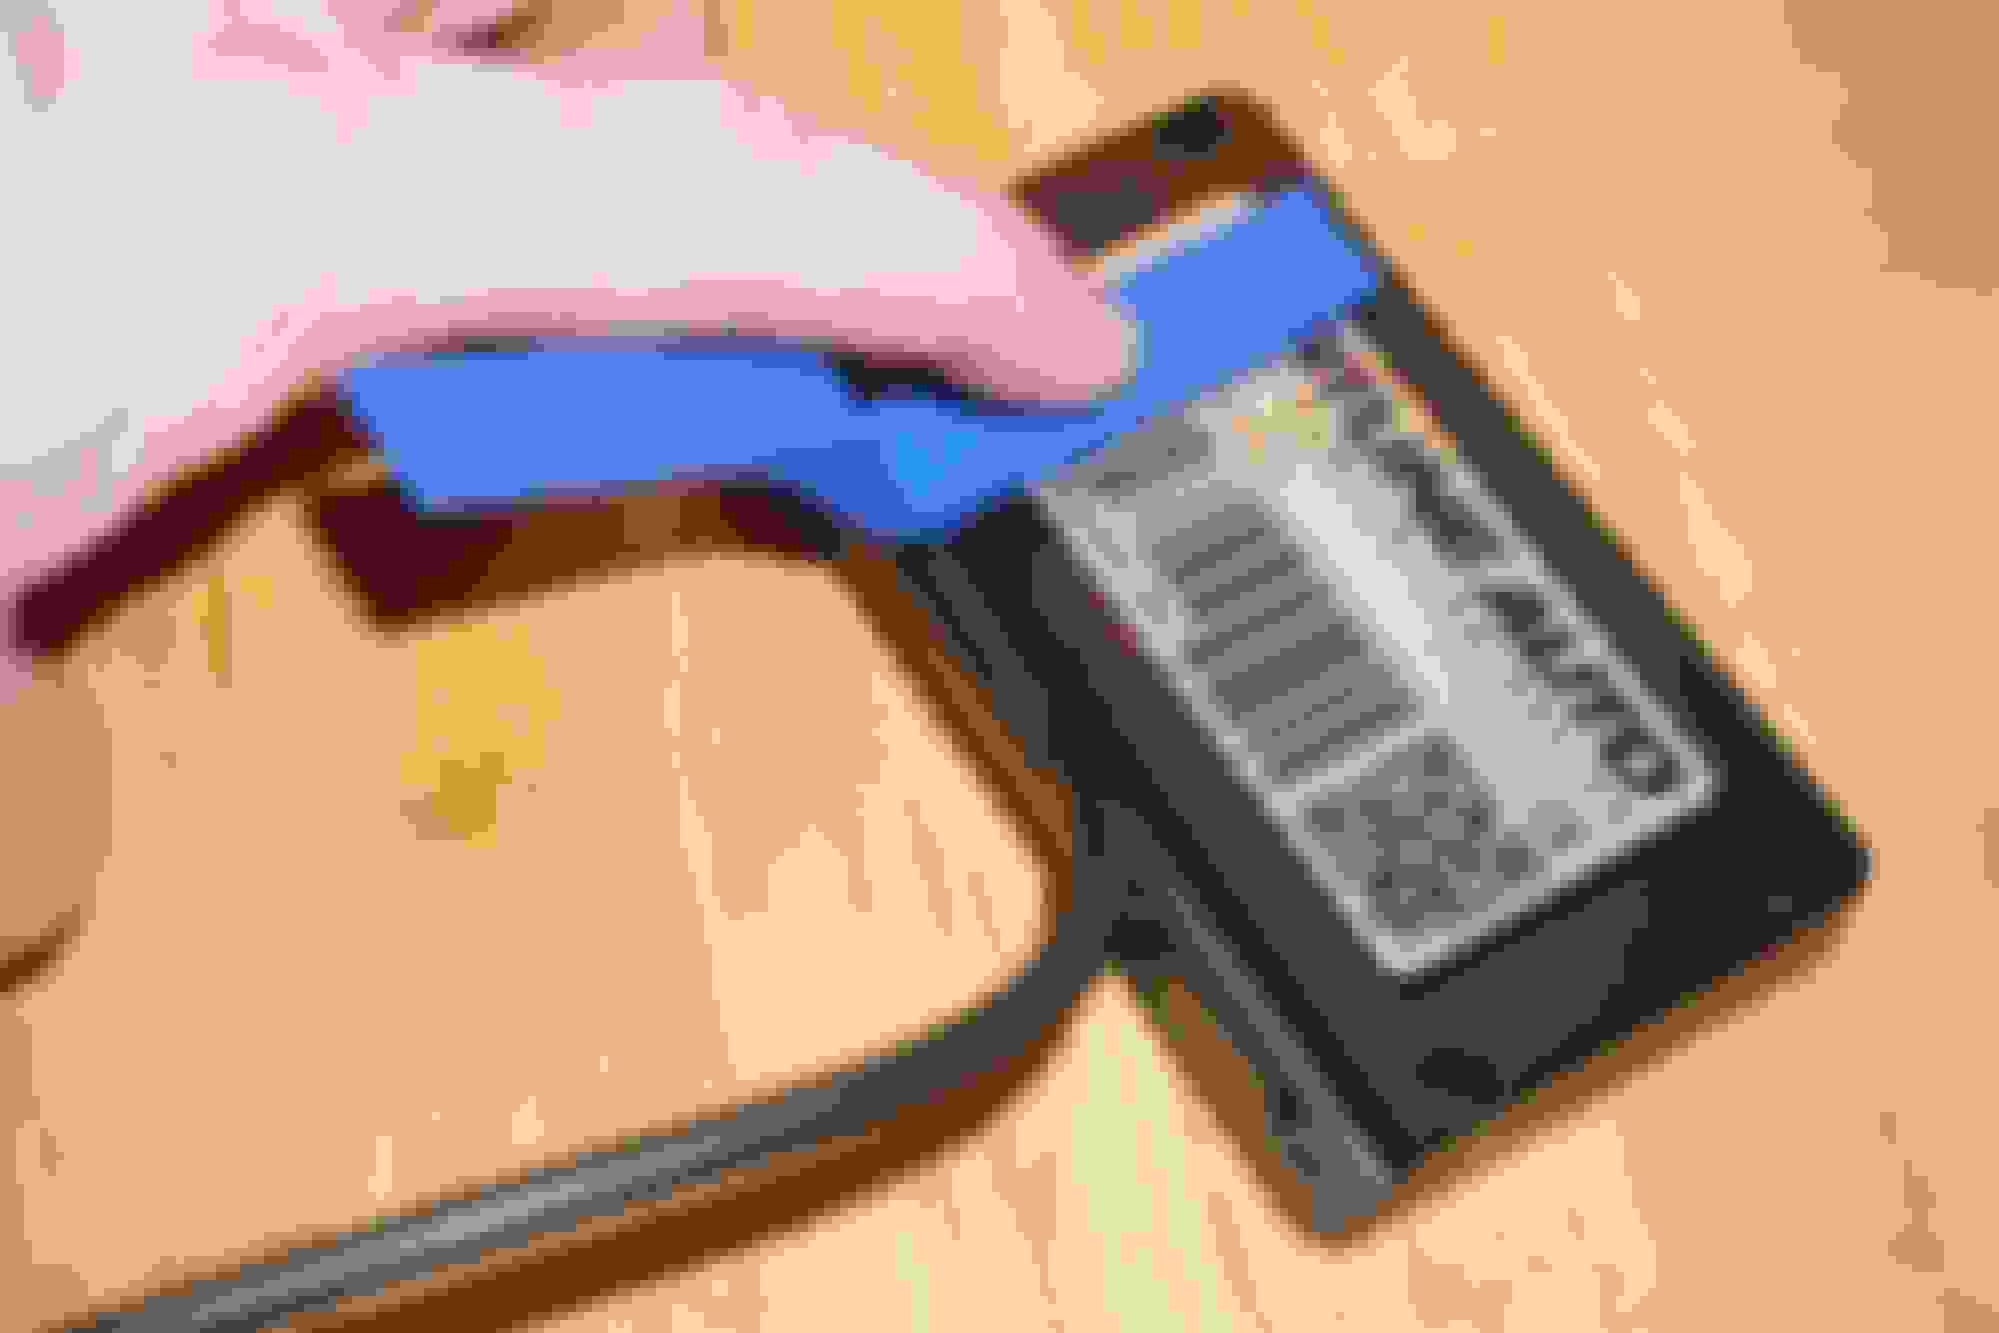
Here is the rivet gun
And with a 6mm stainless steel rivet threaded on the nose
And here an installed rivet in the rear bulkhead
I got to the point where the drivers side motor and the controller were ready to mount - sorry about the pictures, these are phone pictures, and at this point it was about 10PM.
Worked like a charm... Except... Did I mention this all has to be done while being contorted every which way, half way in the trunk with your legs hanging out? The day after these pictures were taken, I broke a rib. The install didn't completely cause it, I'd had a pain in the area for a couple of weeks, but it definitely didn't help.
So with that, even though I could have the other motor and wiring permanently installed in the car in a couple of hours, I'm in no shape to be crawling in and out of the trunk for a few more weeks,(seriously it took me 20+ minutes to get out of bed the first time after the rib broke) so I moved on to something less physically demanding - finding a place to mount the display/controller itself on the dashboard.
So about the 3D printer, I have a friend at work with a 3D printing problem. He had 3 printers (all FDM/filament extrusion type), I staged an intervention and liberated this one from him. He hasn't learned his lesson, since then he bought a resin printer... The real reason I wanted it was for this exact kind of work. I enjoy fabricating, but this sure cuts down on the time for trial and error, and increases the accuracy of the trial and error period.
For mounting the display/controller I am not about to duct tape the thing in place and call it good, that just isn't my style. I want it someplace that is relatively easy to access, but I also want it to be unobtrusive. By luck there is a spot on the dash to the left of the steering wheel, between the coinholder and vent that is pretty close to the right size for the display. I don't know what buttons doo-hickeys, or do-dads that the rest of you have in this space, but my car is pretty much a base model, so next to the single coinholder are two blank spaces that I plan on using to my advantage.
The process goes like this, spend a few minutes measuring, re-measuring, going through a hundred what-ifs in my mind, and then coming up with an initial idea and shape. Then spend some time solid modeling the idea, and more time 3D printing the idea into reality. After about a week of this process (I made good use of a couple of sick days with a very sore rib) I ended up with this mess:
The small, thin parts are just profiles (also pictured below to show the differences between guess number one, and some closer guesses) of what I thought might work, the rectangular parts are the shape that will mount to the dash, and the bigger pieces are close-ish to what the final part will be shaped like.
Eventually the profile looked like this on the back of the display - if you look close you can see a little nub in the "wiring channel" that helps locate the display
Ok, ya, that's all fine and dandy, WylieKylie, but how on earth does that help mount the display in the car?
Hopefully this makes more sense, here is where the piece mounts to the car, the hole is where the wiring will go through, and you can see the "nubs" that help locate the display:
And with the display mounted pretty close to where it will end up permanently:
The whole shebang will be mounted with 3M molding tape - both between the dash and the mount, and the mount and the display. At this point the design is what I am going to call "final". I could get some black filament, print the part and install it, and if I was "normal" or "smart", I probably would do that. Problem here is, nobody ever accused me of being normal.
What we have here is a screenshot of a mold. The mold will be 3D printed at the highest resolution my machine will handle, then I will fill and shape it, and the final step will be molding the actual part in carbon fiber. Like I said, I'm not normal.
The 3D printed stuff above ranges from 15 minutes to ~2 hours of print time, this mold will probably be a 36 hour print, I'm running low on filament, so I had to order more before I print the mold.

 07-02-19, 04:54 PM


 He hasn't learned his lesson, since then he bought a resin printer... The real reason I wanted it was for this exact kind of work. I enjoy fabricating, but this sure cuts down on the time for trial and error, and increases the accuracy of the trial and error period.