When you click on links to various merchants on this site and make a purchase, this can result in this site earning a commission. Affiliate programs and affiliations include, but are not limited to, the eBay Partner Network.
I'm in the middle of slowly building/installing my air suspension set-up. So far I've built the trunk set-up and then spent some time running the wiring harness and began thinking about where to run the air lines. I ran the harness into the spare tire well, and then along the passenger side of the car under the door sill panels. I found the firewall harness grommet and kind of shoved it through to get to the battery. Now Question 1.
I noticed that the grommet has a nipple hanging off of it. Am I able to cut the end of the nipple and run wiring and 1/4" air line through it? Is it the same for the driver side?
I've also located the driver side firewall grommet which the plan is to run the air line through. I haven't been under the car yet to verify if it's easy to reach. You definitely cannot see this grommet from the top as it's under the brake booster and everything else. So Question 2
Is it easy to run the air line through the driver side firewall grommet and accessible from underneath?
The rear lines seems straight forward in just passing the lines through the spare tire well. I've found a schematic for the fuse boxes for the car. I've read on another thread that someone used the AVS fuse to tap into as you need a fuse with constant power through starting. I'm going to use this fuse unless someone has a reason not to.
Thanks for all the replies. It was tough to read through them all. In case anyone comes across this thread looking for the same answer, I'll post up what I did.
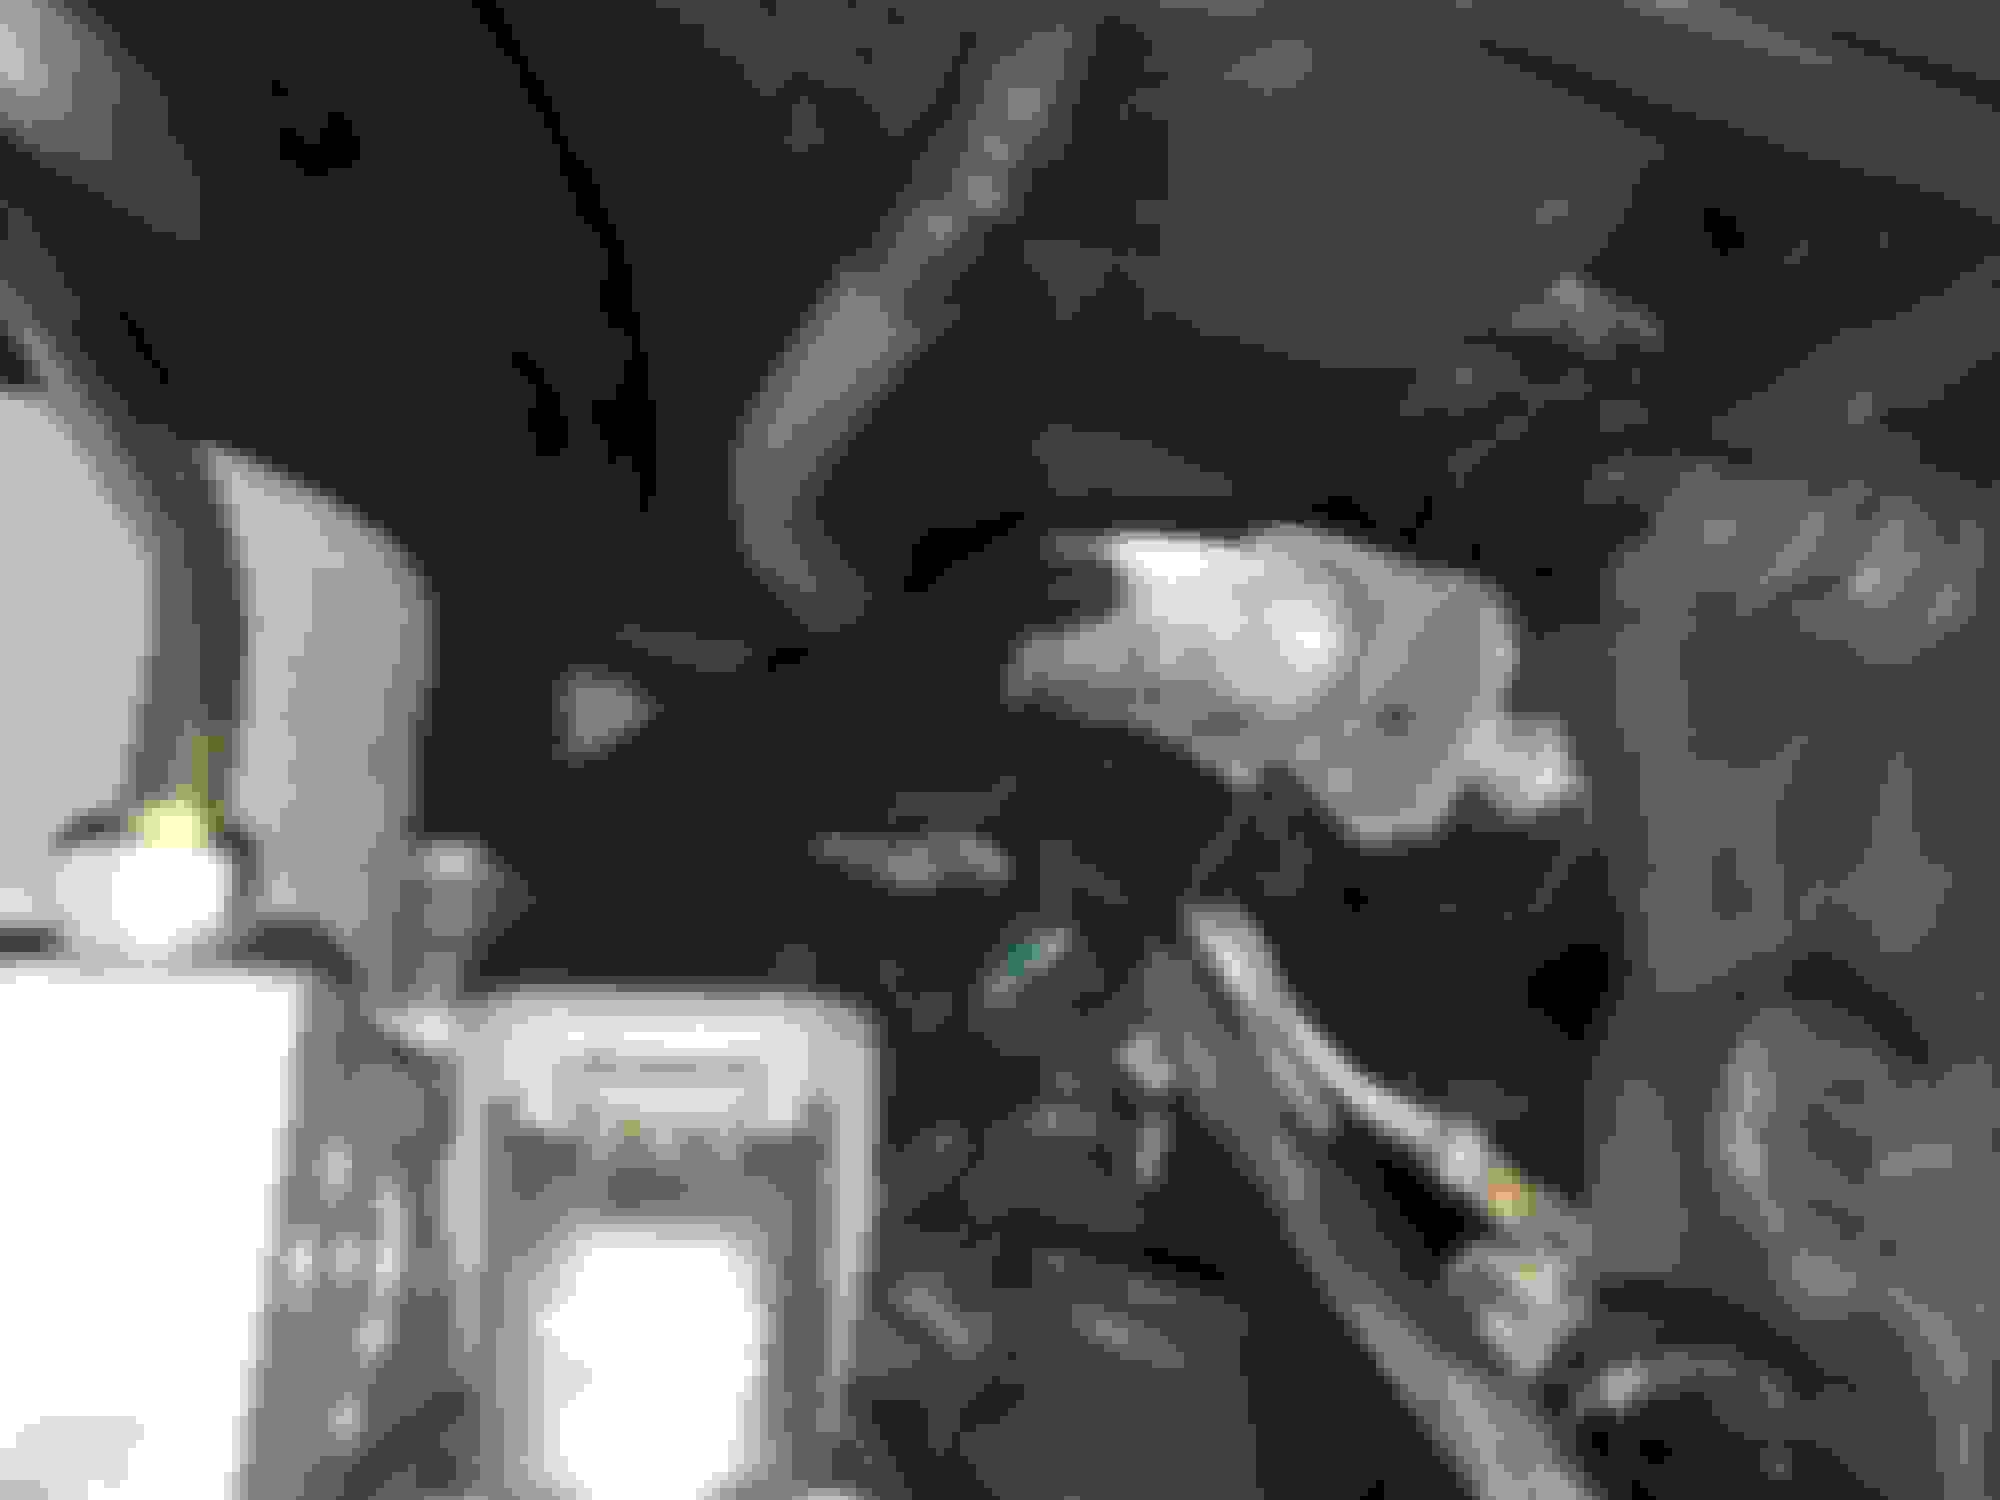
There's a rubber grommet directly under a little plastic panel above the master cylinder. There's a nipple at the top end of the grommet that you can cut into to thread the airline.
Access the grommet directly above the dead pedal.
Run the lines along the door sills.
The wiring harness continues into the trunk. You can fit your fishing line right beside the harness and pull the airline through.
And viola.
It's pretty much the same for the passenger side. You need to remove the battery to access the grommet.
Funny, i was doing mine today.I ran mine under the car. But id definitely suggest to run some kind of sleeving over the airline from the firewall to the bag for heat and abrasion resistance. I got my front done but couldnt finish the rear. The bag and mounts from my old car wont allow the bag to clear the swaybar link. So i guess im gonna have to get the universal mounts I saw on bagriders.com and possibly a different rear bag
Funny, i was doing mine today.I ran mine under the car. But id definitely suggest to run some kind of sleeving over the airline from the firewall to the bag for heat and abrasion resistance. I got my front done but couldnt finish the rear. The bag and mounts from my old car wont allow the bag to clear the swaybar link. So i guess im gonna have to get the universal mounts I saw on bagriders.com and possibly a different rear bag
What bags are you using? I got the airlift kit and I don't think I've seen complaints that they rub in the rear.
Also, where are you running the airline into the front suspension? Following the brake line?
I have slam specialties ss5 bags.Looks like i need the bracket they sell as it looks similar to the airlift kit. The bracket seems to be offset and locates the bag away from the swaybar endlink and clears the control arm bucket. IDK if air lift sells the brackets by themselves as i didnt see it on their site. My bags should hopefully work as they seem to be on the smaller side as far as width than most others at 5.5". I ran my line under the plastic underbody paneling and somewhat with the brake line. I sleeved the airline with techflex. This is the bracket they recommend https://www.bagriders.com/universal-...acket-kit.html
On my Lexus IS300 I did this ..
- Electrical lines along interior passenger side sills (zip tied to wiring) and through engine bay grommet (you are correct to snip off the end of the grommet nipple)
- Air lines along the interior driver side sills, and through the grommet. NOTE: It is much easier to move the line through with some light soap as lubrication.
- Push the lines through to the front wheel wells by piercing a small hole punched in the brake line grommets. Give your self a good 4" in the wheel wells.
- Use an electrical bracket at the brake line bracket to hold the stainless line, and wrap around the front then around the back and secure to the rubber line.
- The rear you can pierce a hole in a rear grommet used for electrical to the rear wheel.
- Again use electrical tubing on rubber lines in the wheel wells.
- Secured the line to the shock with zip ties.
- IMPORTANT! Make sure you have proper slack for compression and wheel turning movement!
Good information. That's mostly what I did today. I didn't notice those rear grommets. I need to check if the GS has those grommets right into the rear wells.

 01-06-20, 06:31 AM