When you click on links to various merchants on this site and make a purchase, this can result in this site earning a commission. Affiliate programs and affiliations include, but are not limited to, the eBay Partner Network.
I'm writing this to help out anyone that may be doing this in the future. I have a 2016 RWD, base model GS350. I did some prework building the trunk set up and running the lines prior to these pictures. The pictures aren't the best, but I really hate stopping work to take pictures. I hope this helps, and I can answer any questions.
Day 1 and before
I ran the airlines and electrical lines a week prior.
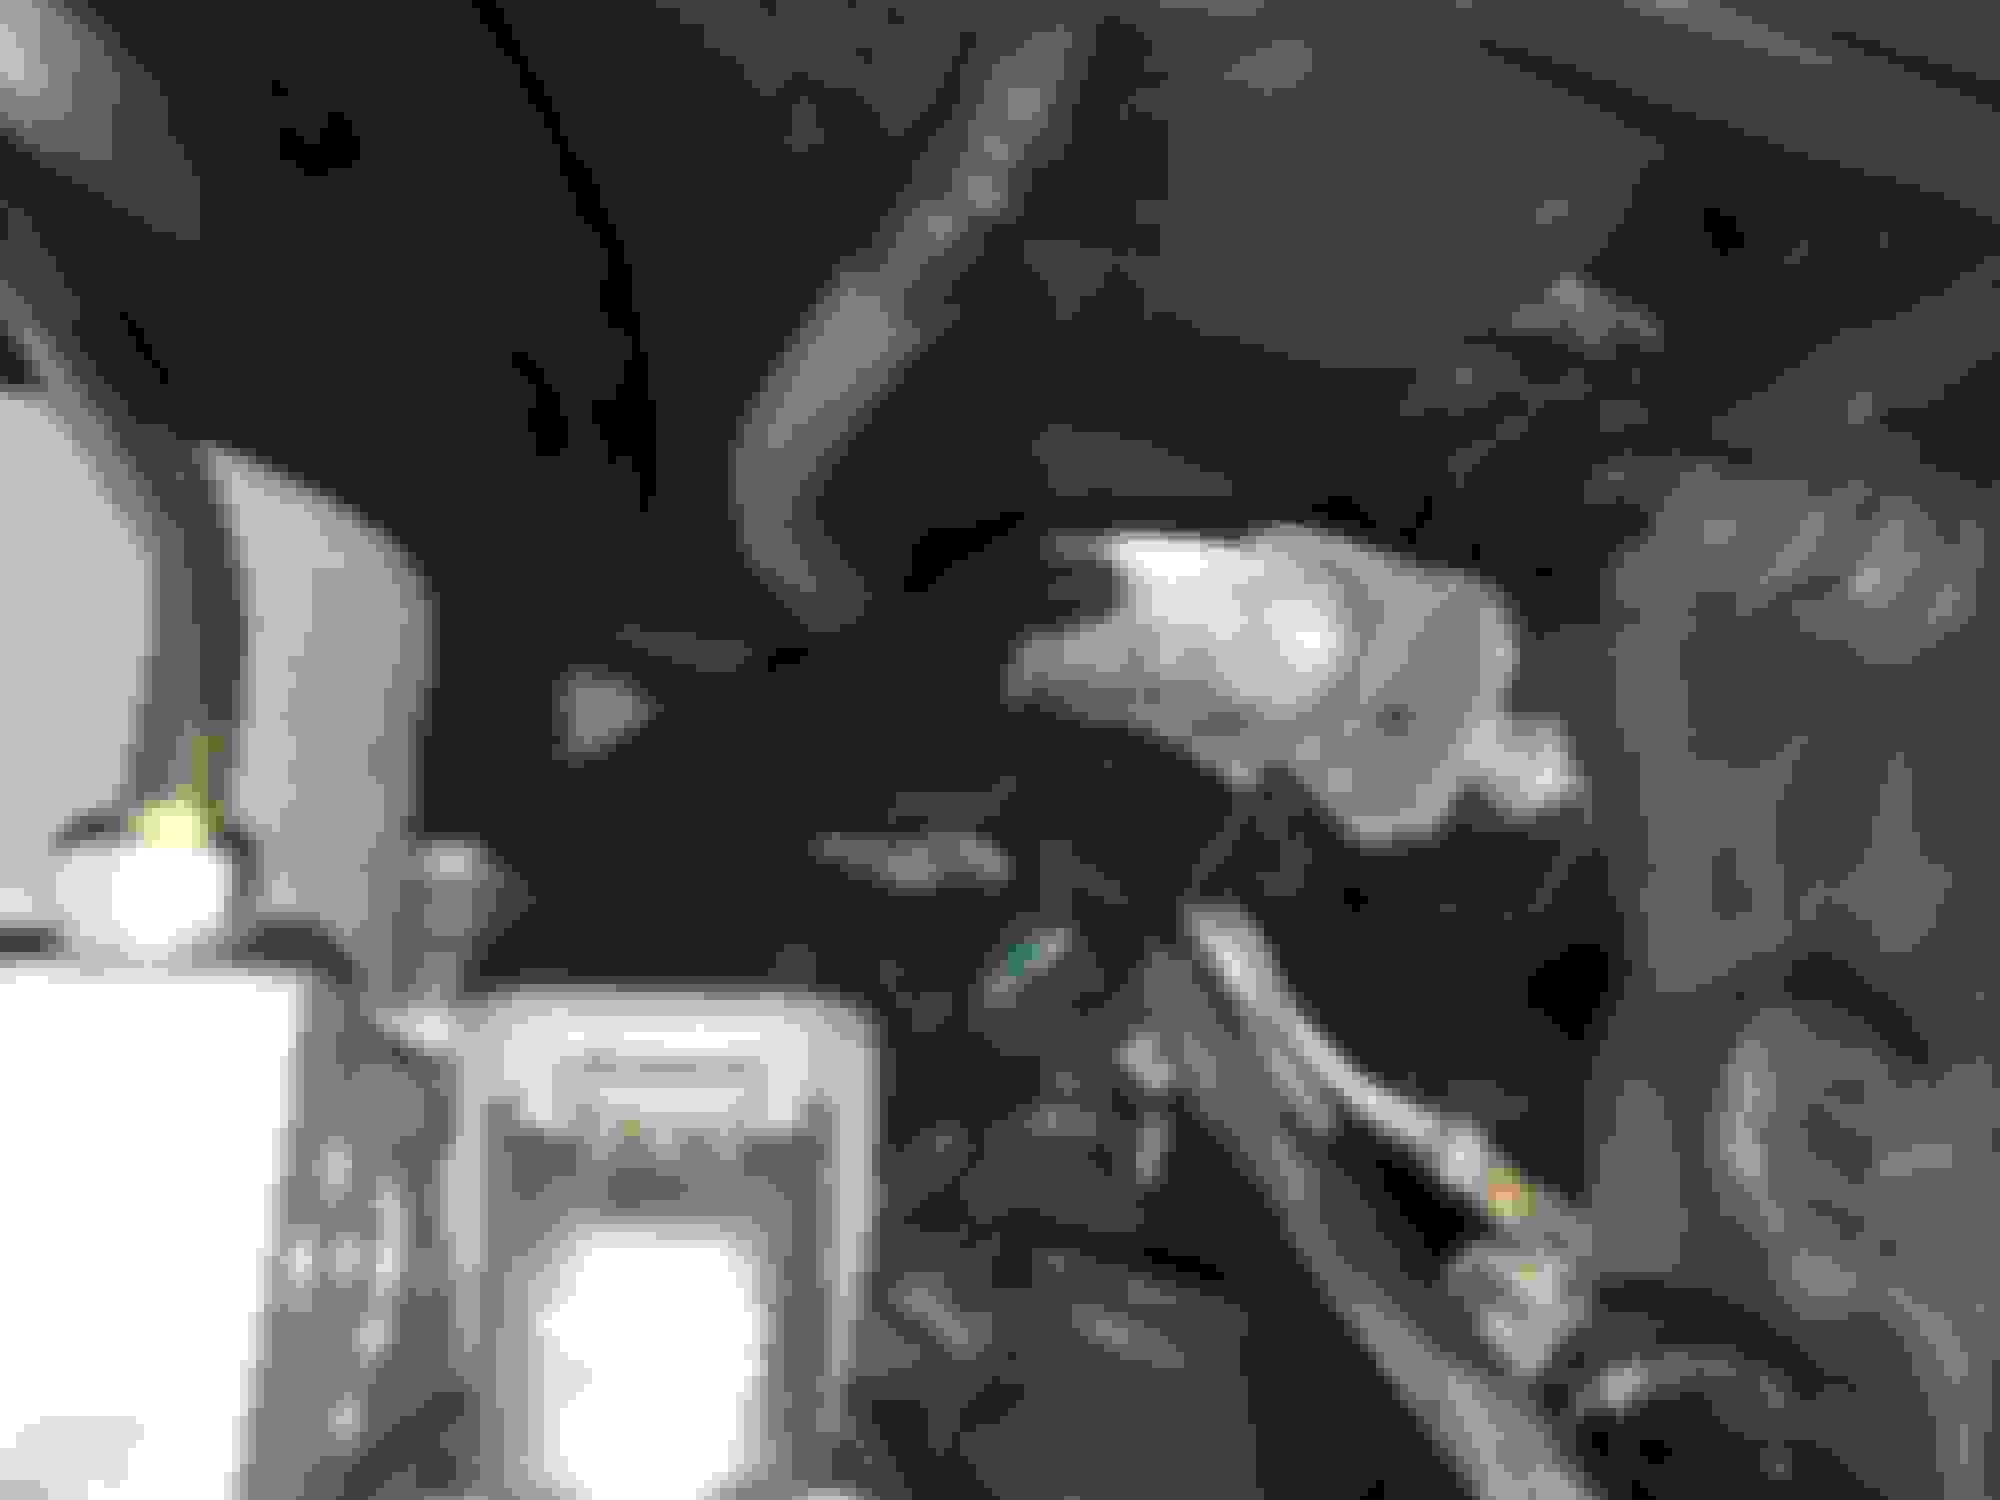
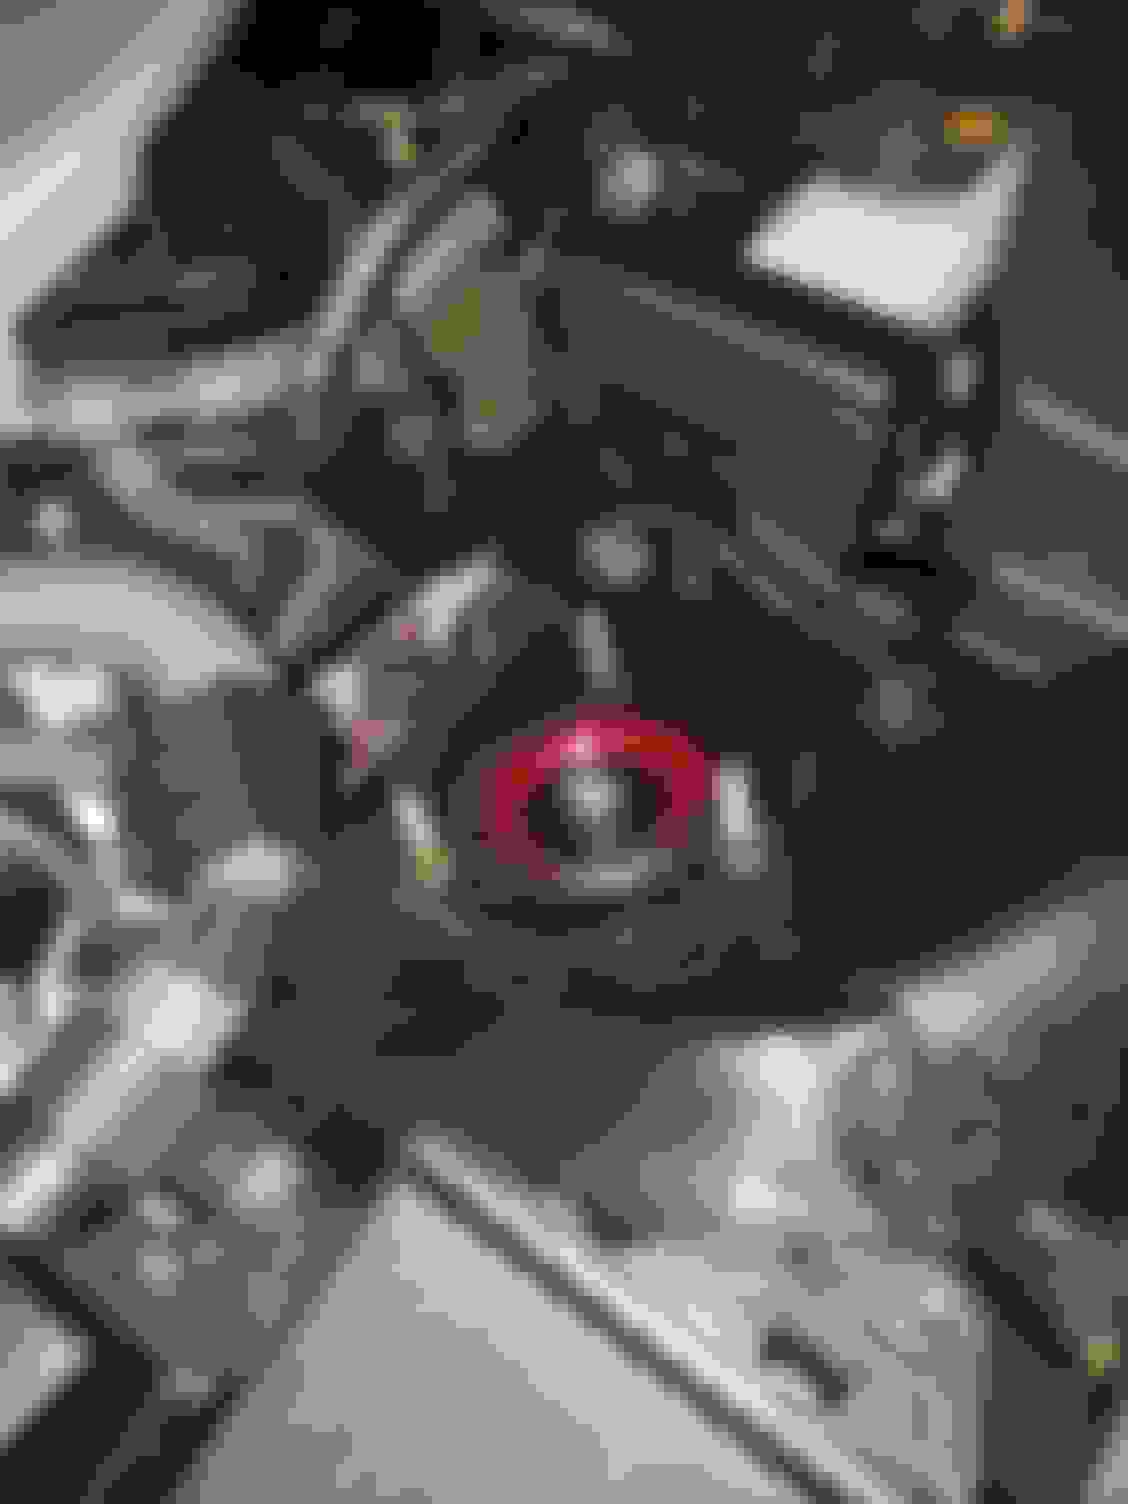
I used the firewall grommet on the driver's side to run the lines from the cabin to the front suspension. There is another firewall grommet by the battery on the passenger side. You need to cut the end of the nipple off in order to pass the lines through. I fished them through with a bent up coat hanger. You need to remove a plastic panel in order to access this grommet. It's tight but it worked. Also, WD-40 is your friend.
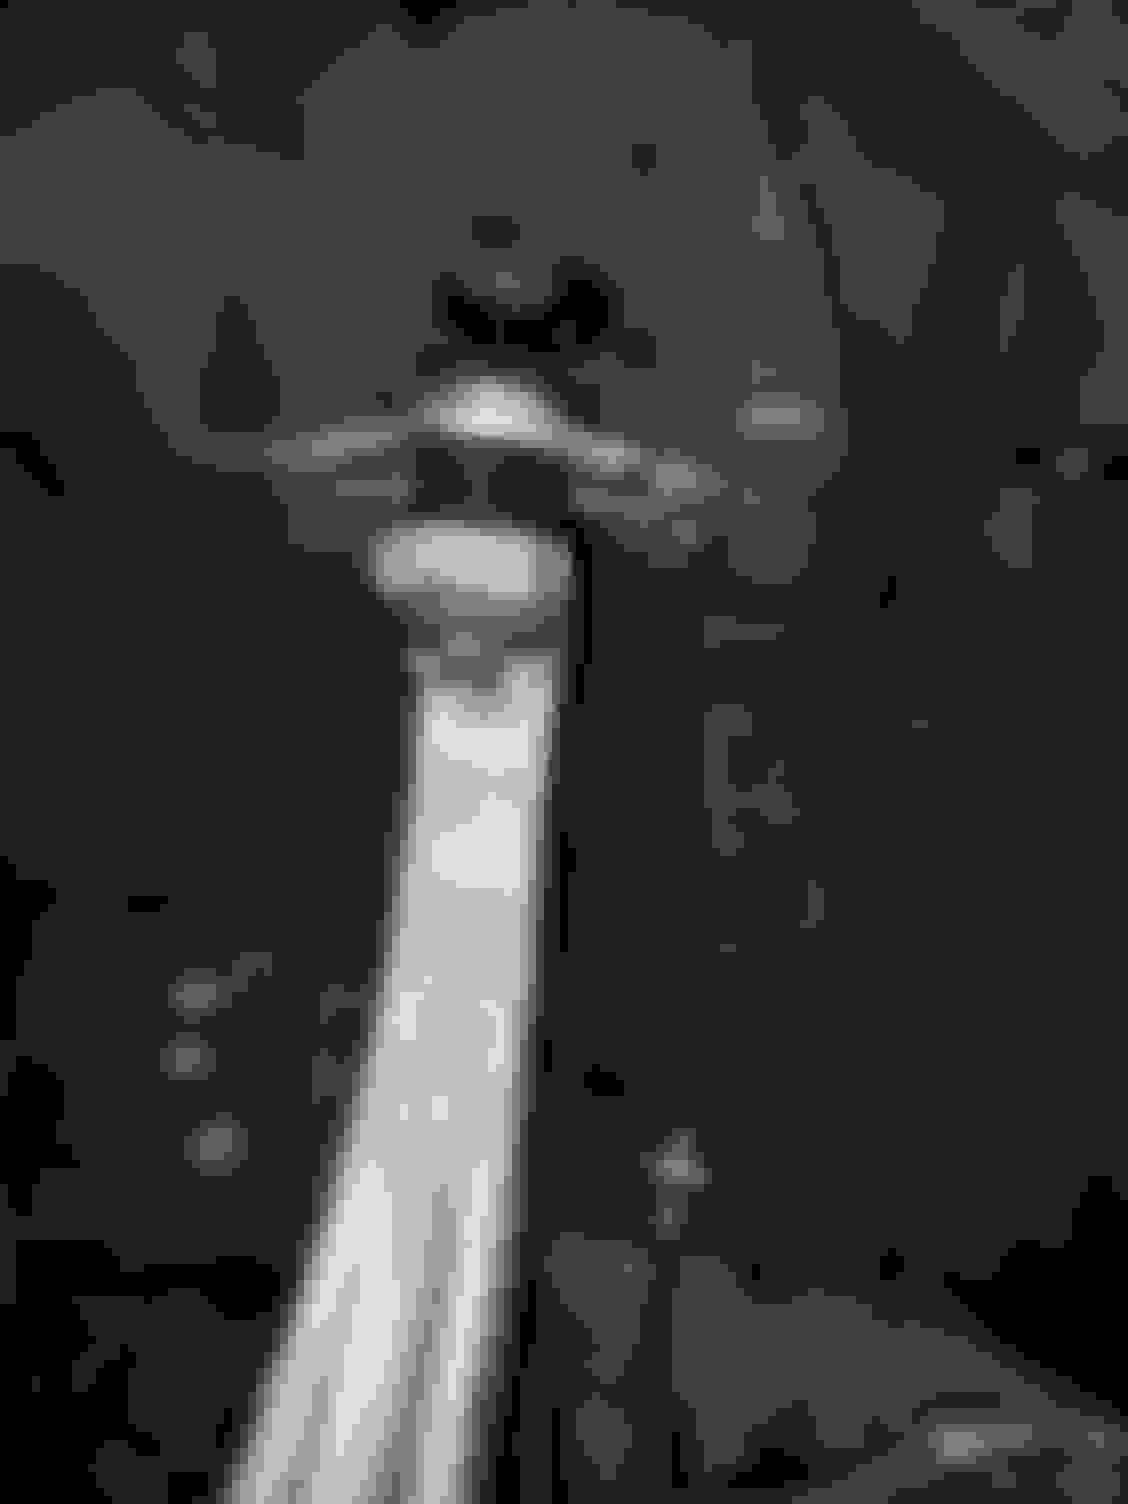
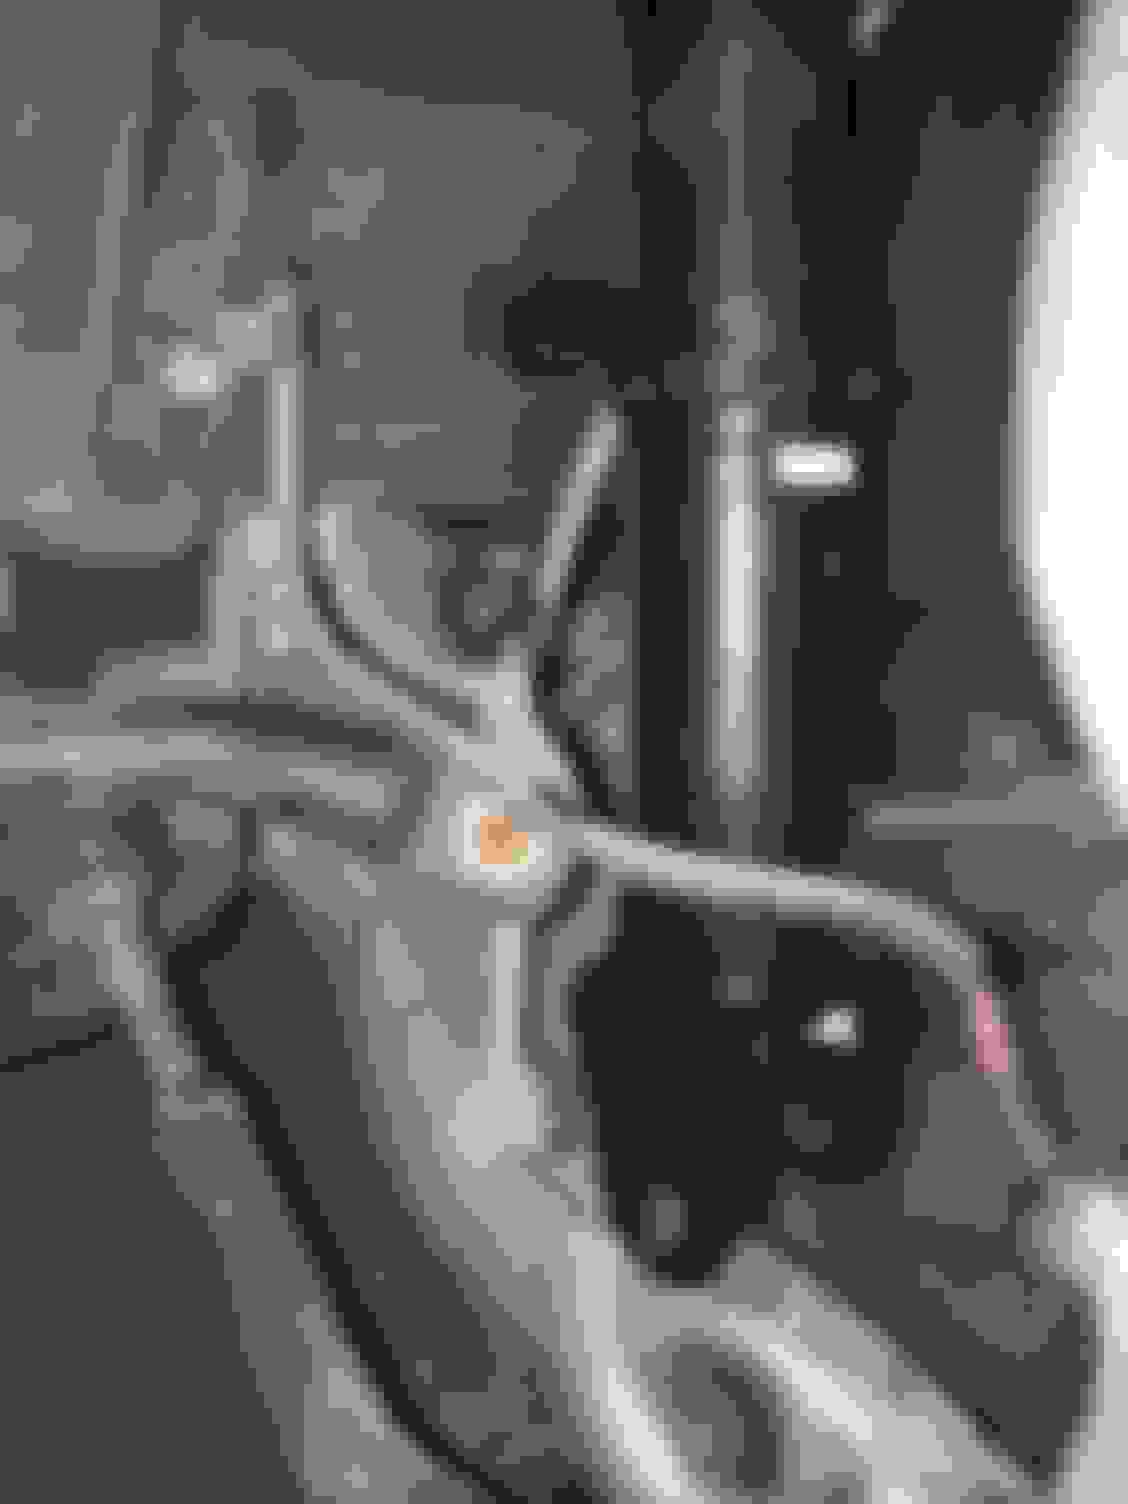
The front lines run into the wheel well through the grommet that holds the brake lines. I also fished those through with a coat hanger. Don't worry, that's WD-40 leaking, not brake fluid.
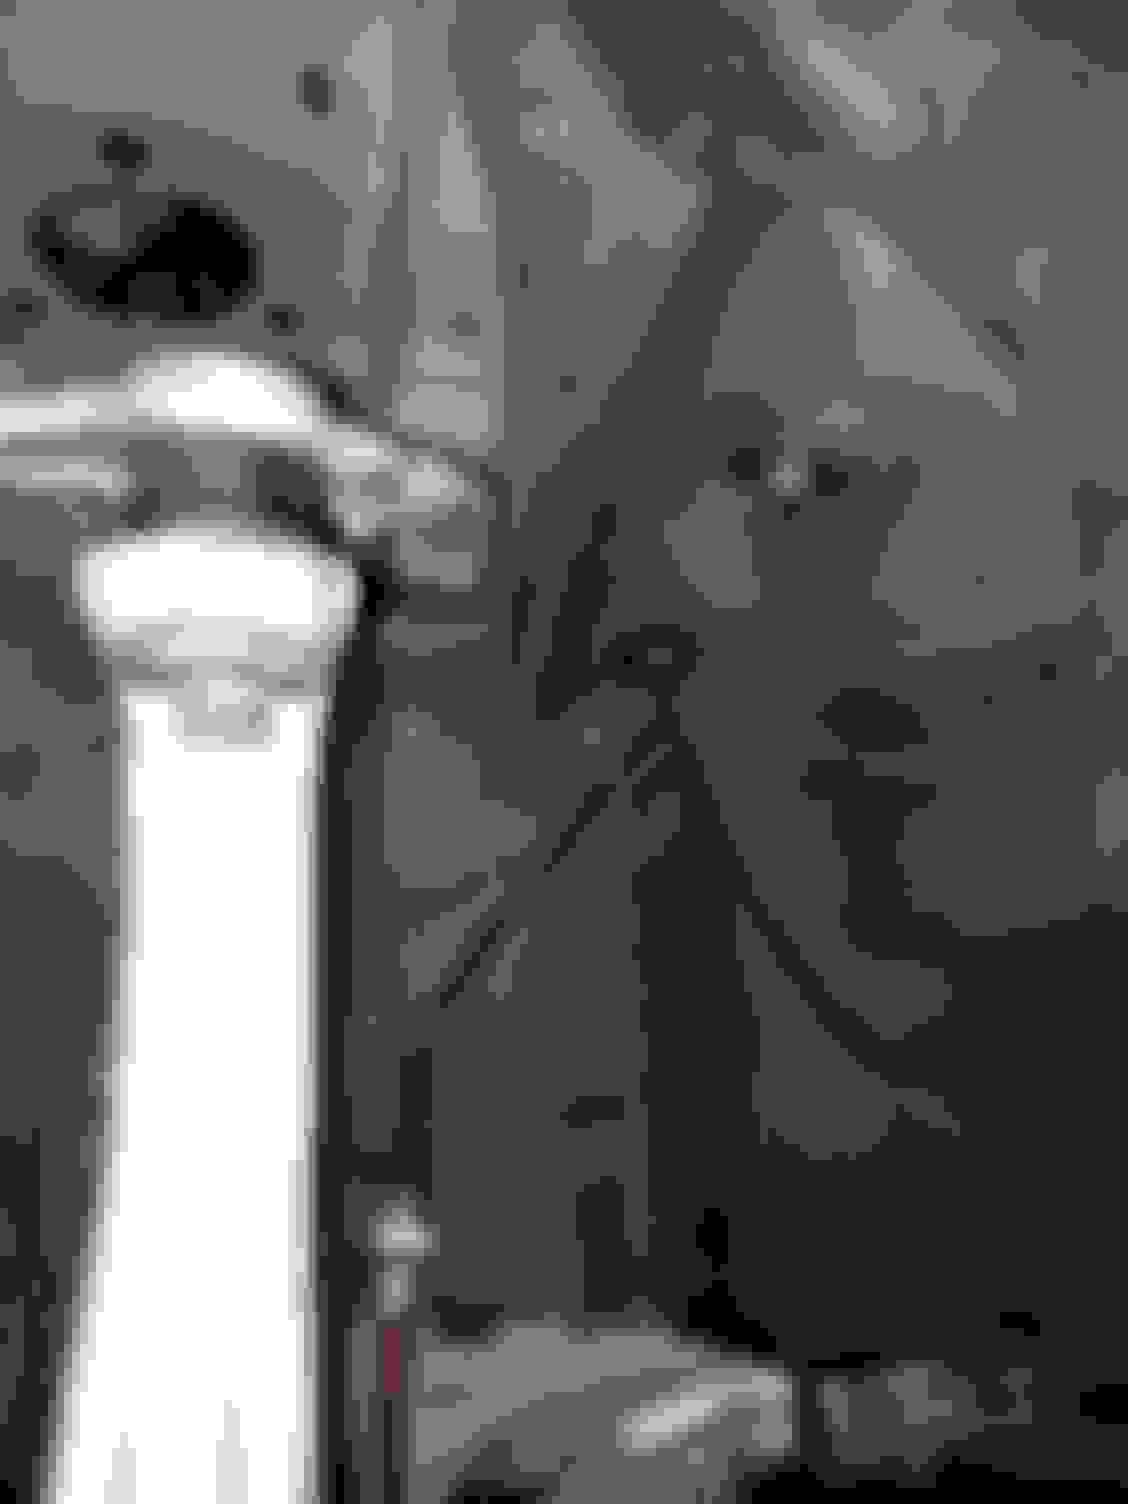
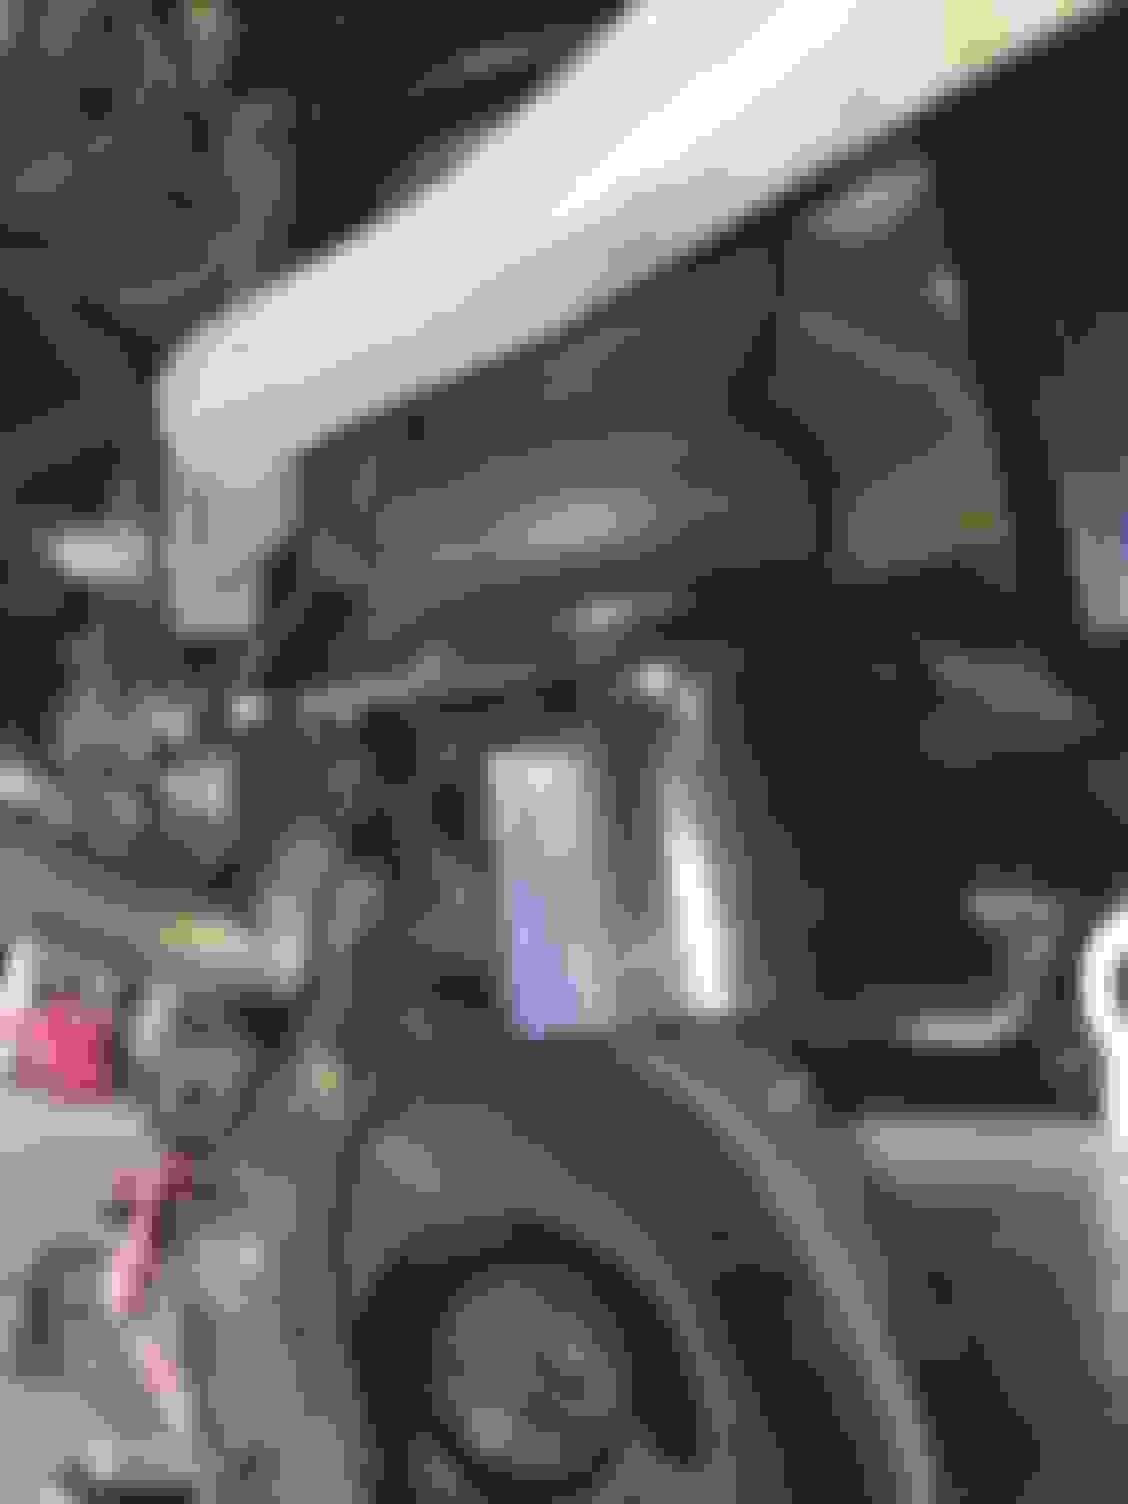
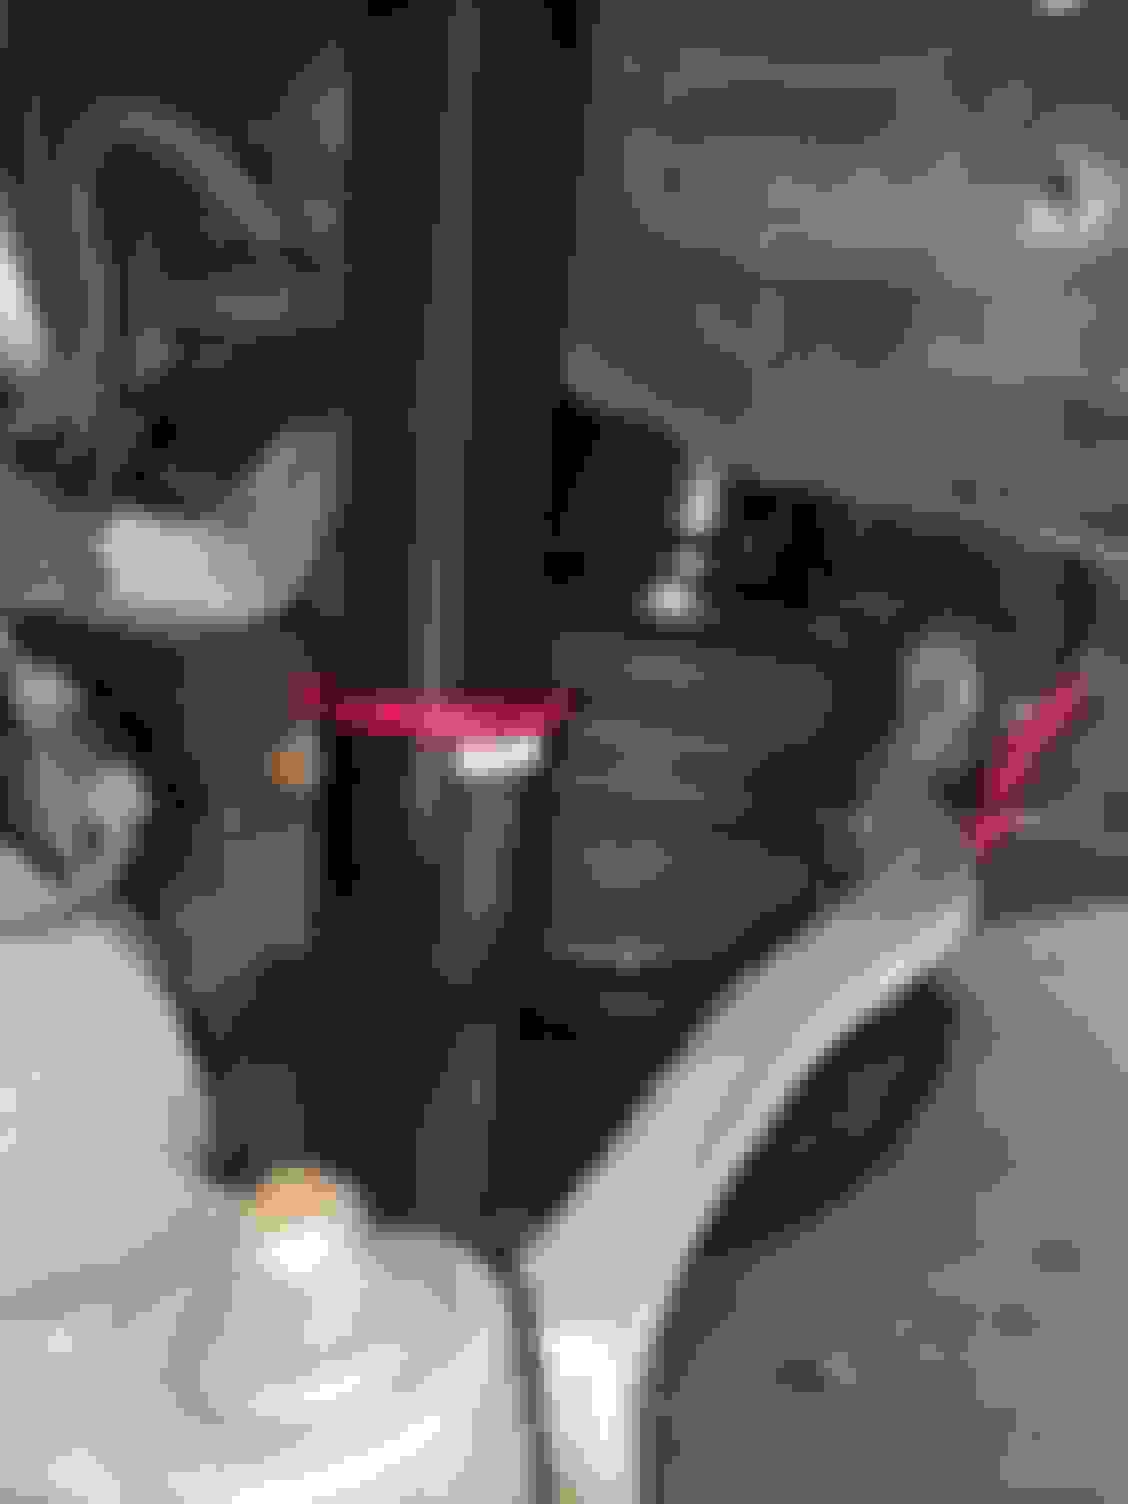
Back to the cabin, this is the driver side grommet right above the false pedal.
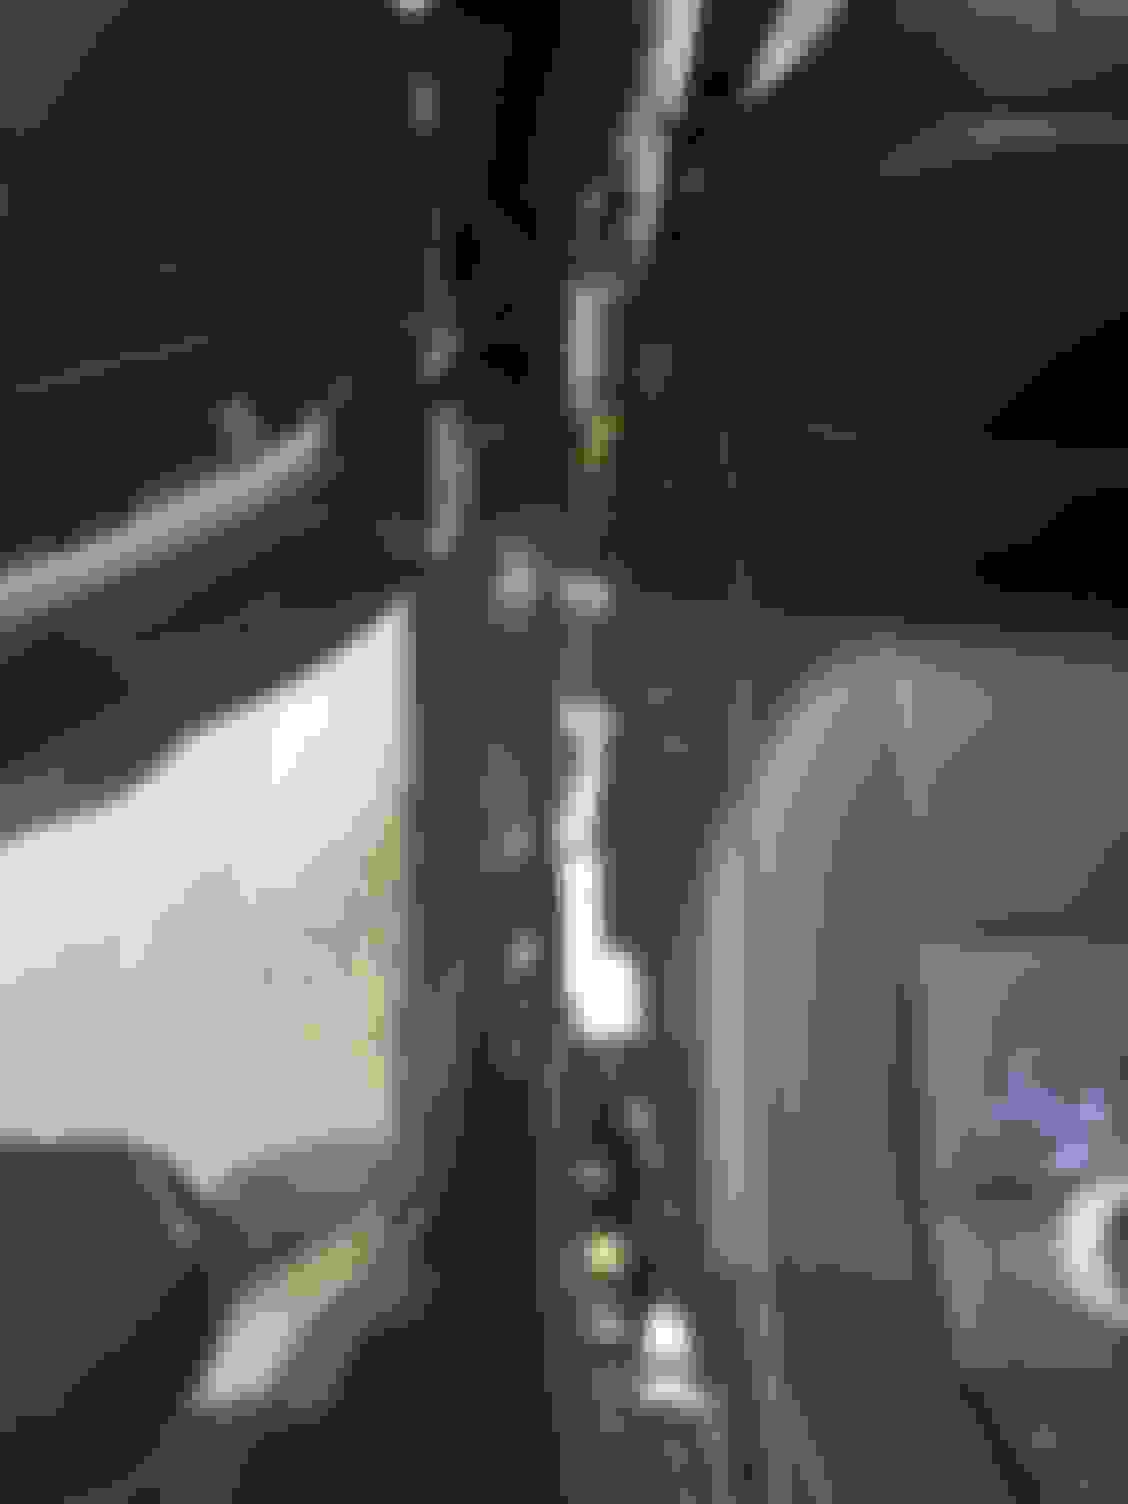
Pop off the door sills and run the lines toward the rear of the car where the manifold will be.
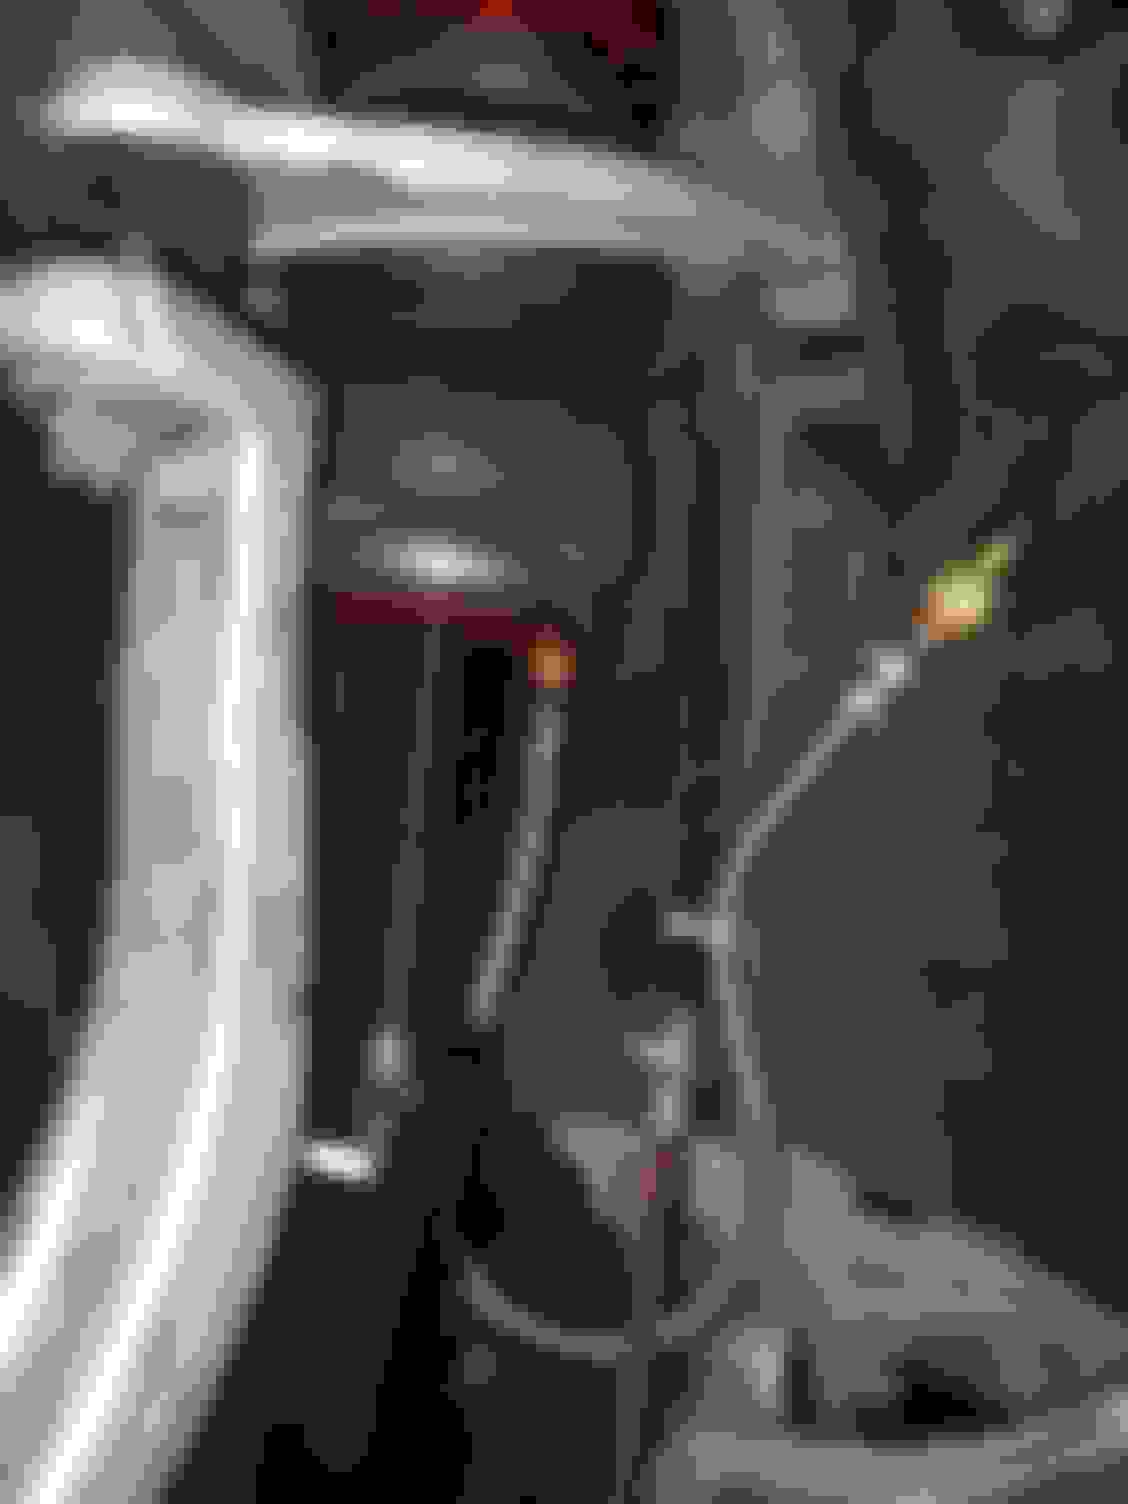
It fits nicely in those wire loom holders.
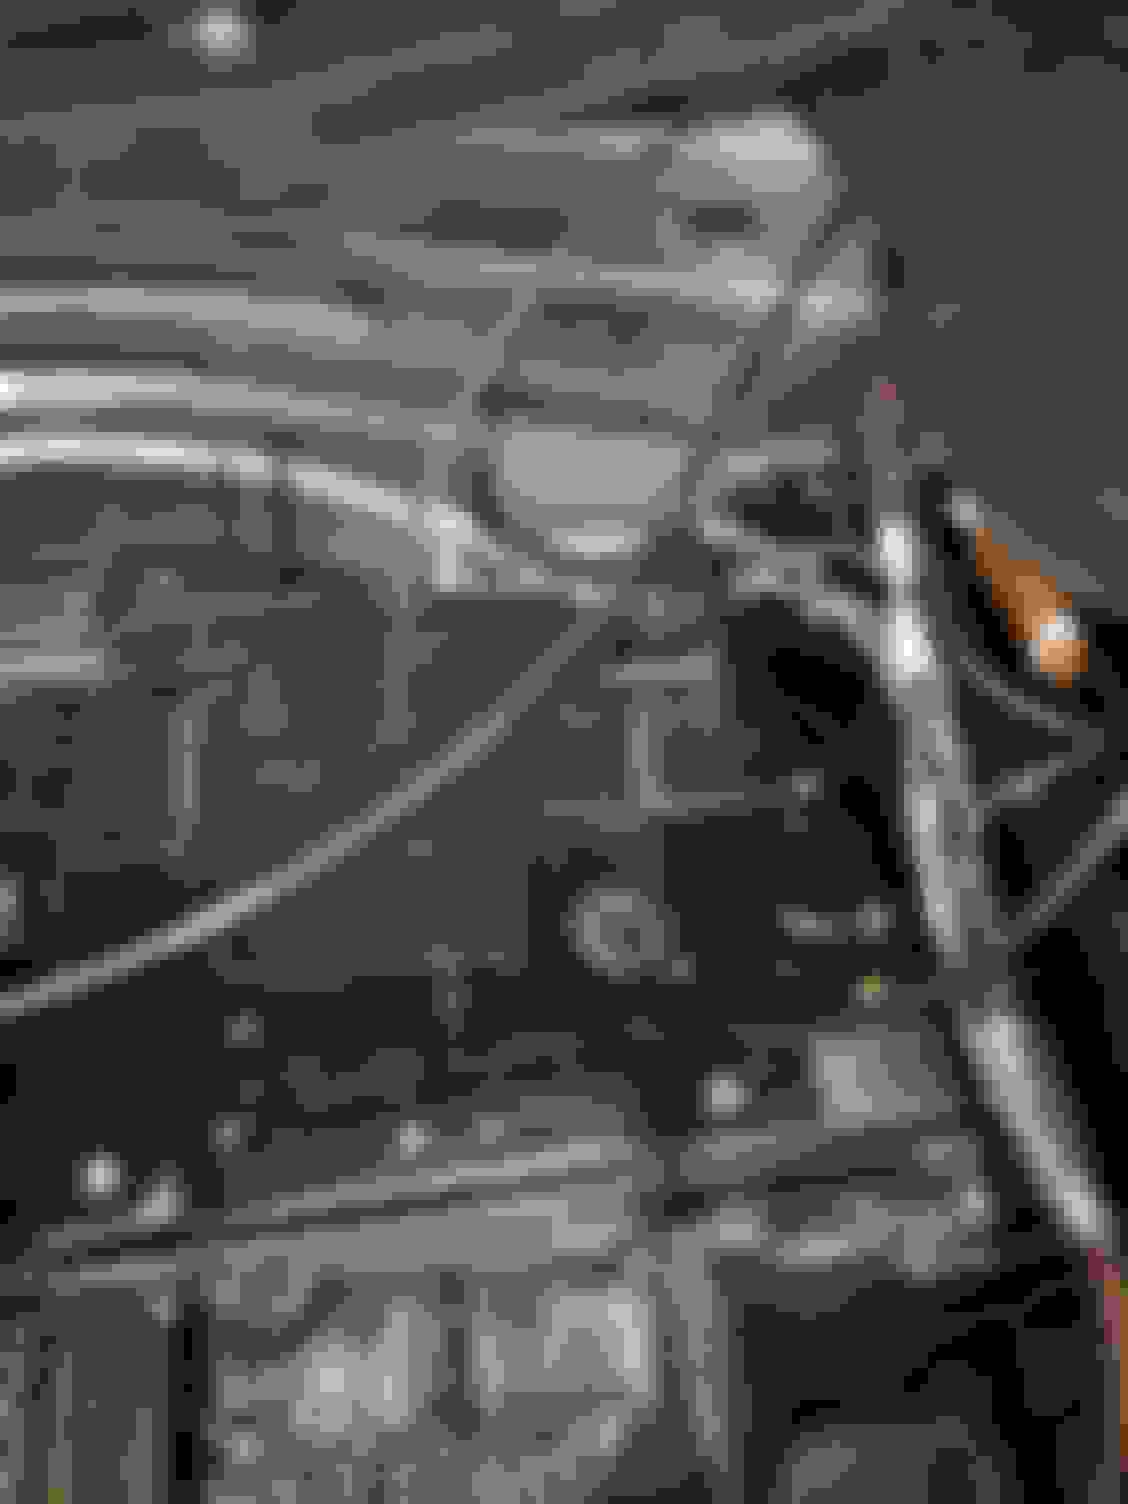
Going into the trunk, following the wiring loom through the trunk panel into the luggage compartment. Again, you need to fish it through.
Here it is into the trunk. The passenger side is more or less the same. The electrical wiring harness will run along the passenger side because that's where the battery is. I haven't tapped into the fuse yet so I'll try to get pictures of that when I finish it up.
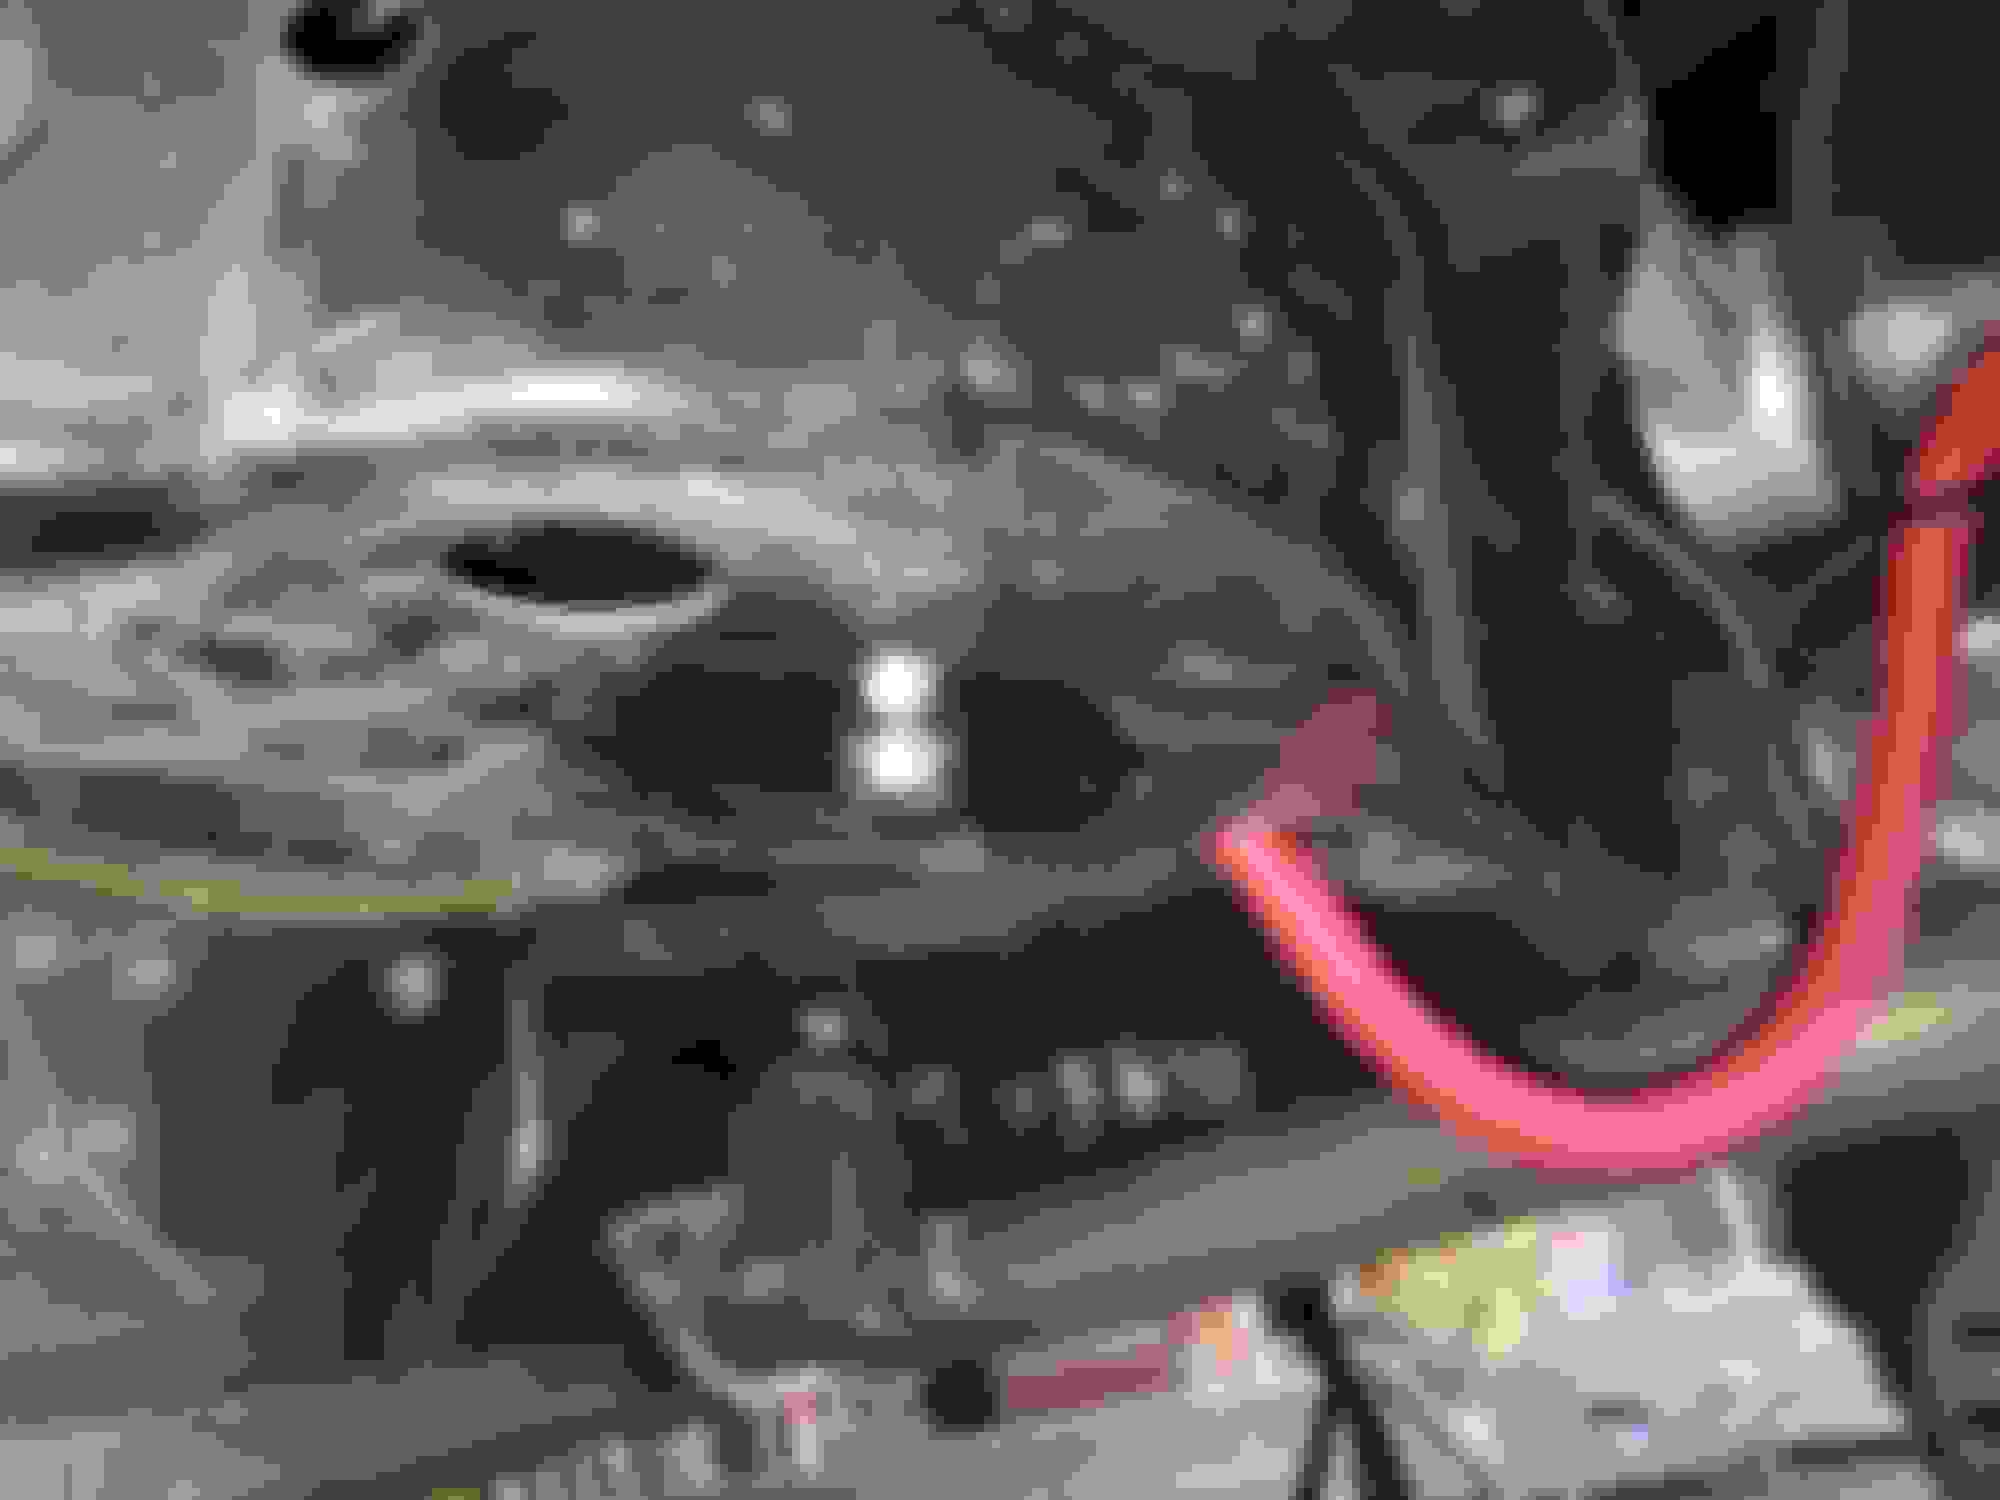
The rear lines pass through these grommets out of the spare tire well.
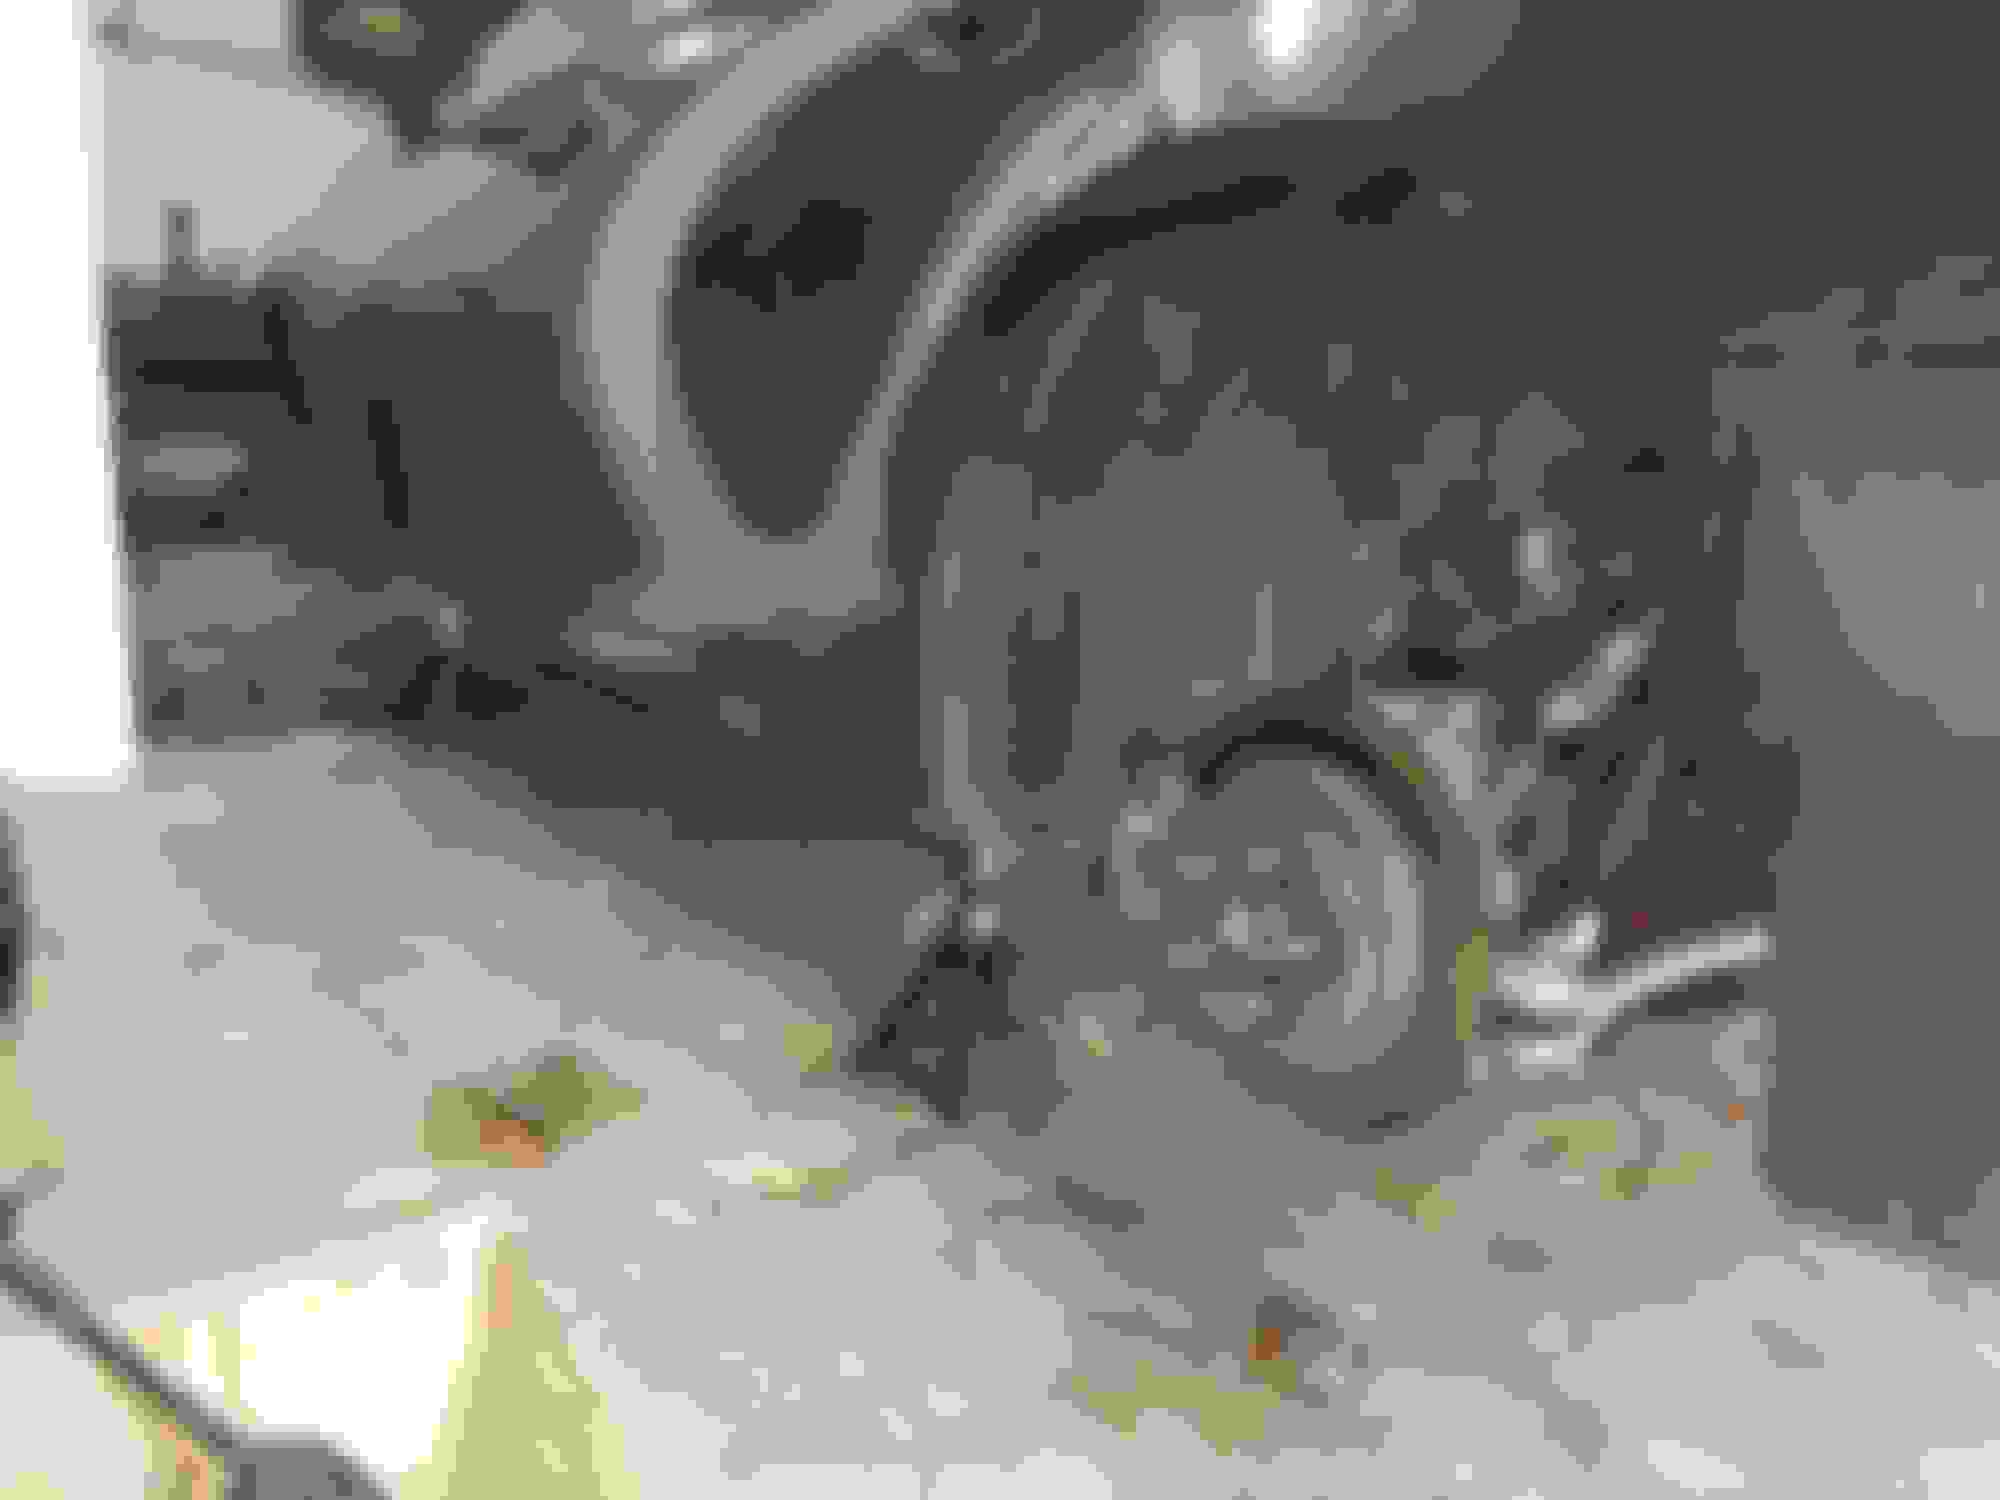
Now the suspension removal. Place car on jack stands and remove wheels. Jacking points on the rear differential and under the front crossmember.
Remove the rear fender liner. I started with the rear because it's a bit more difficult. The fender liner can be removed by removing about 8 plastic nuts that twist off by hand, and 3 or 4 clips that are removed by an interior clip remover.
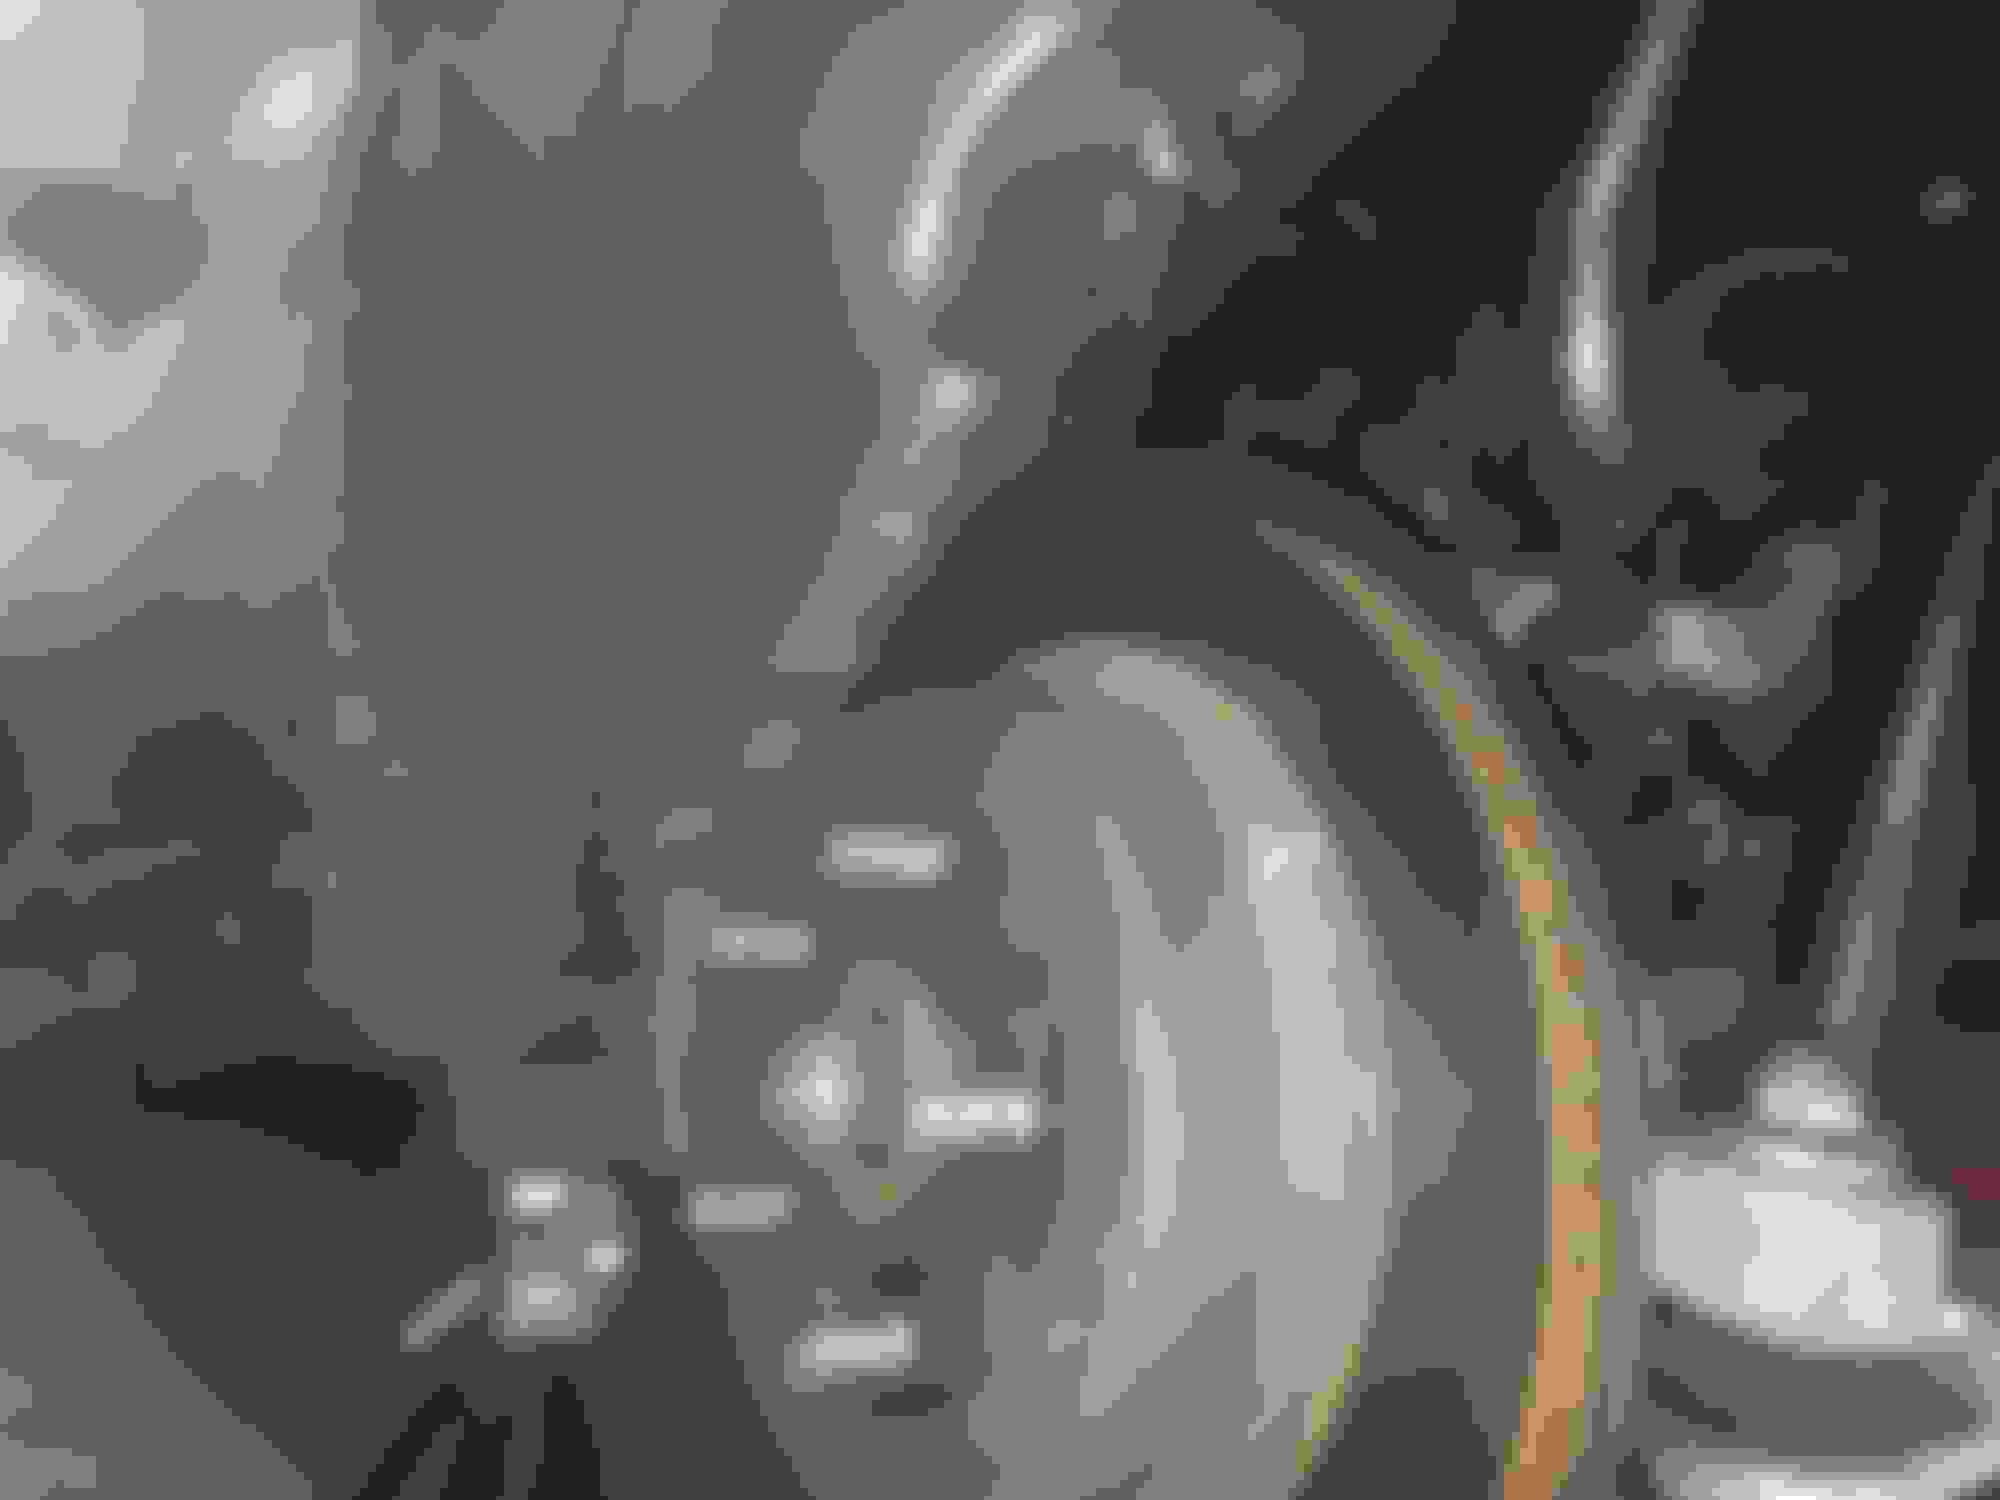
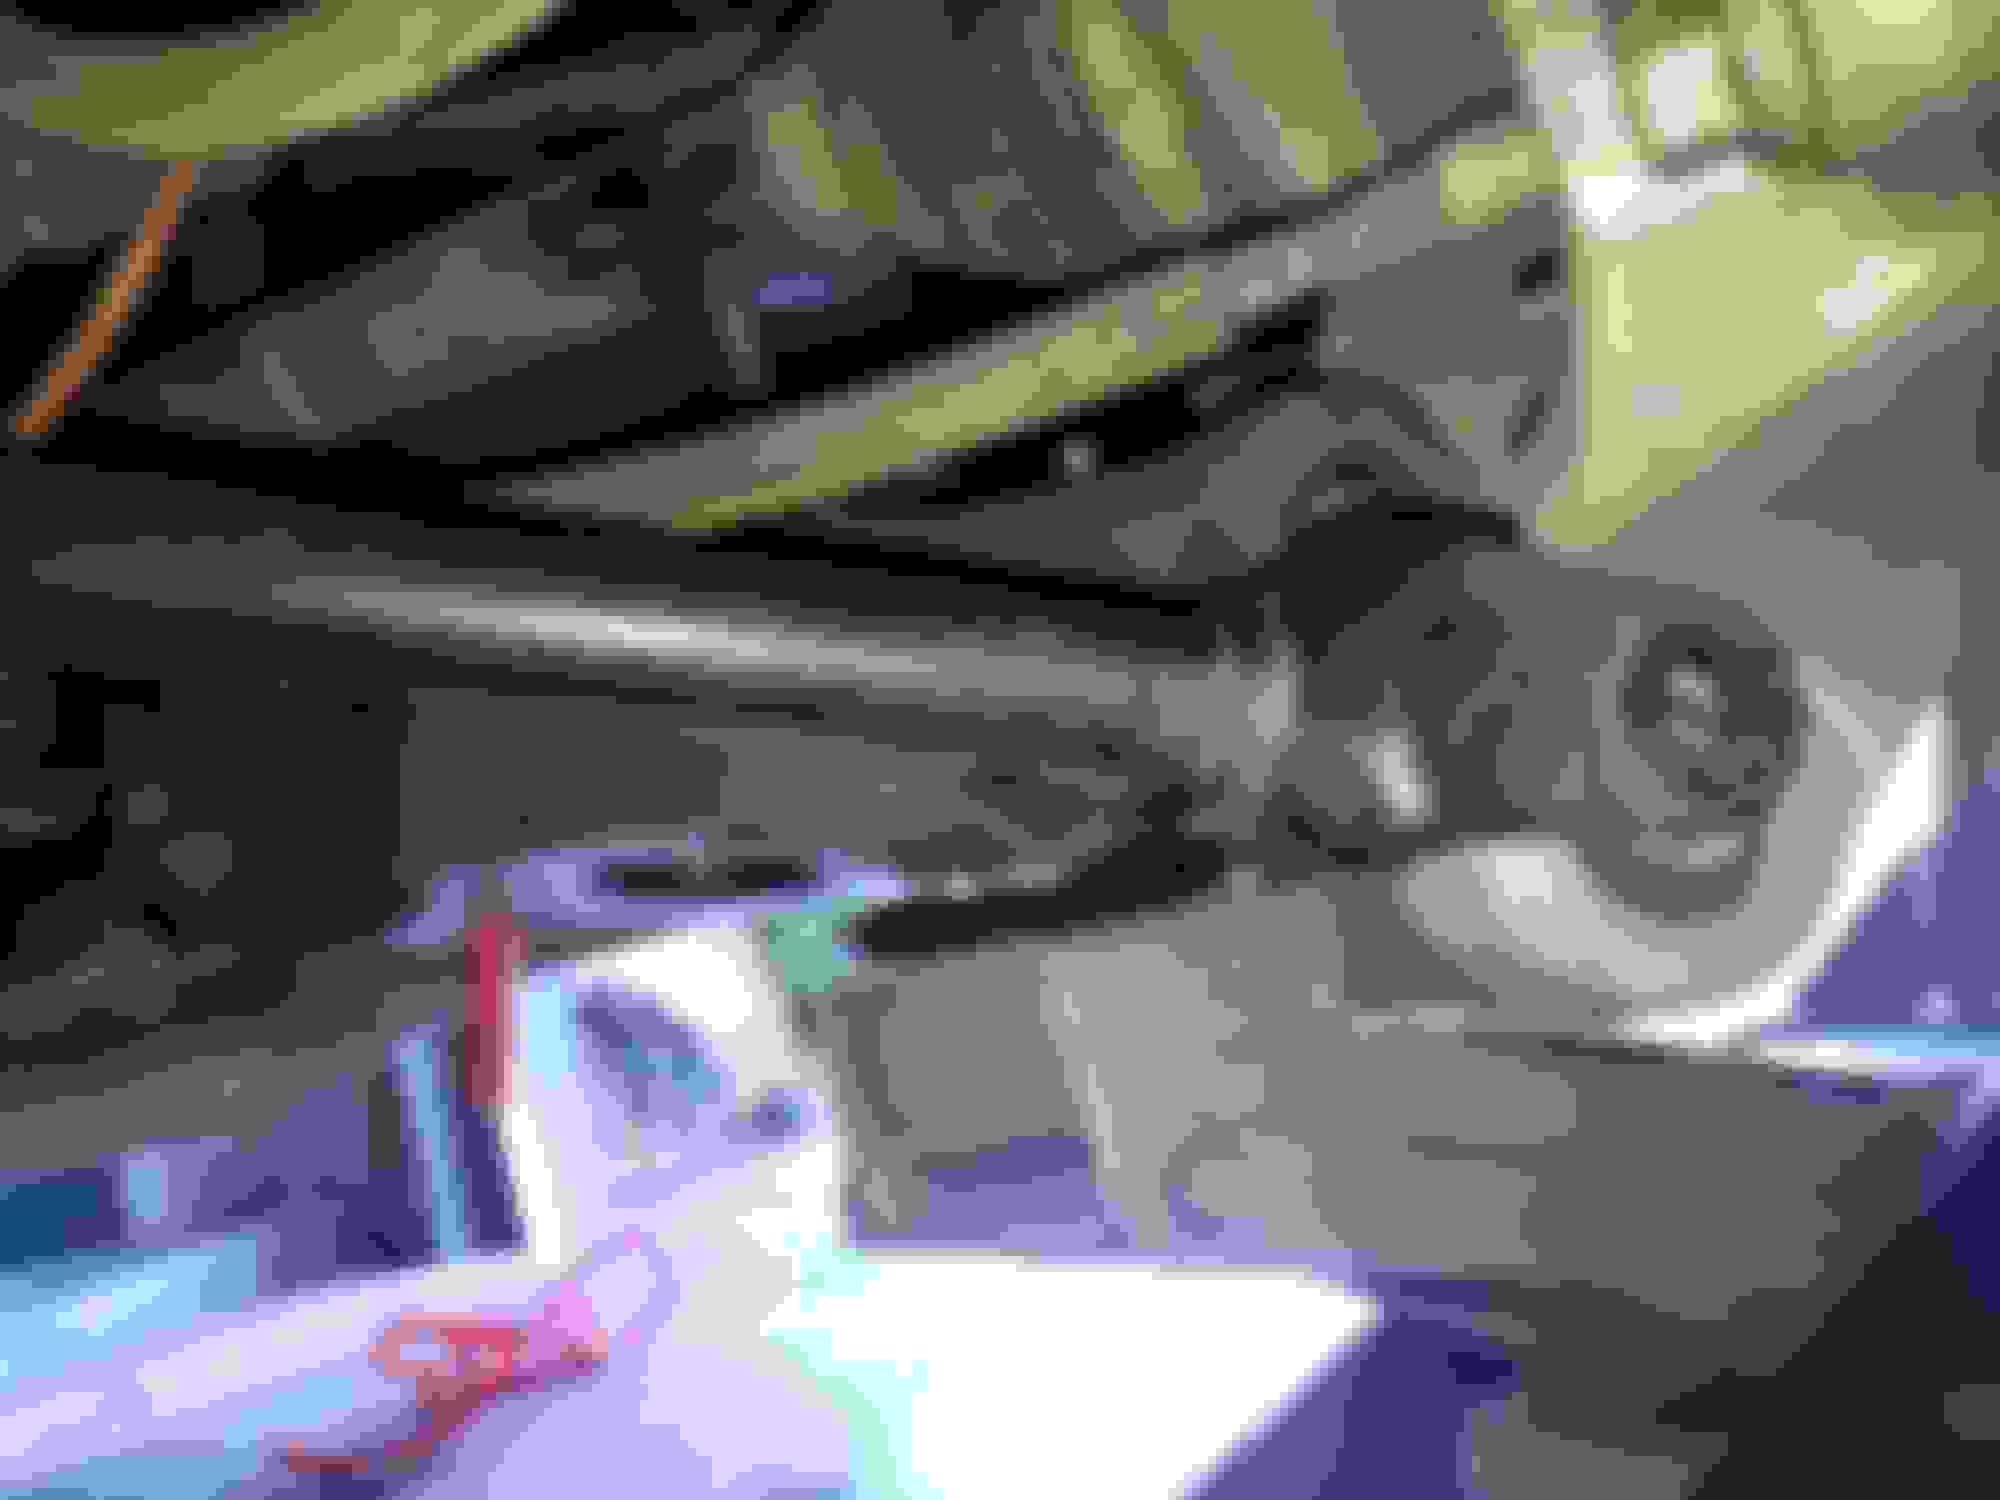
Next, remove the sway bar endlink and lower strut bolt from the control arm. 17mm for the sway bar endlink and 19mm for the lower strut bolt.
Now you'll need to loosen the inside control arm pivot bolt so the control arm can swing down. Support the control arm with a jack and remove the control arm to hub bolt. Once the bolt is removed, slowly lower the jack until the tension in the spring is gone. Remove rear spring. Both of the control arm bolts are 19mm.
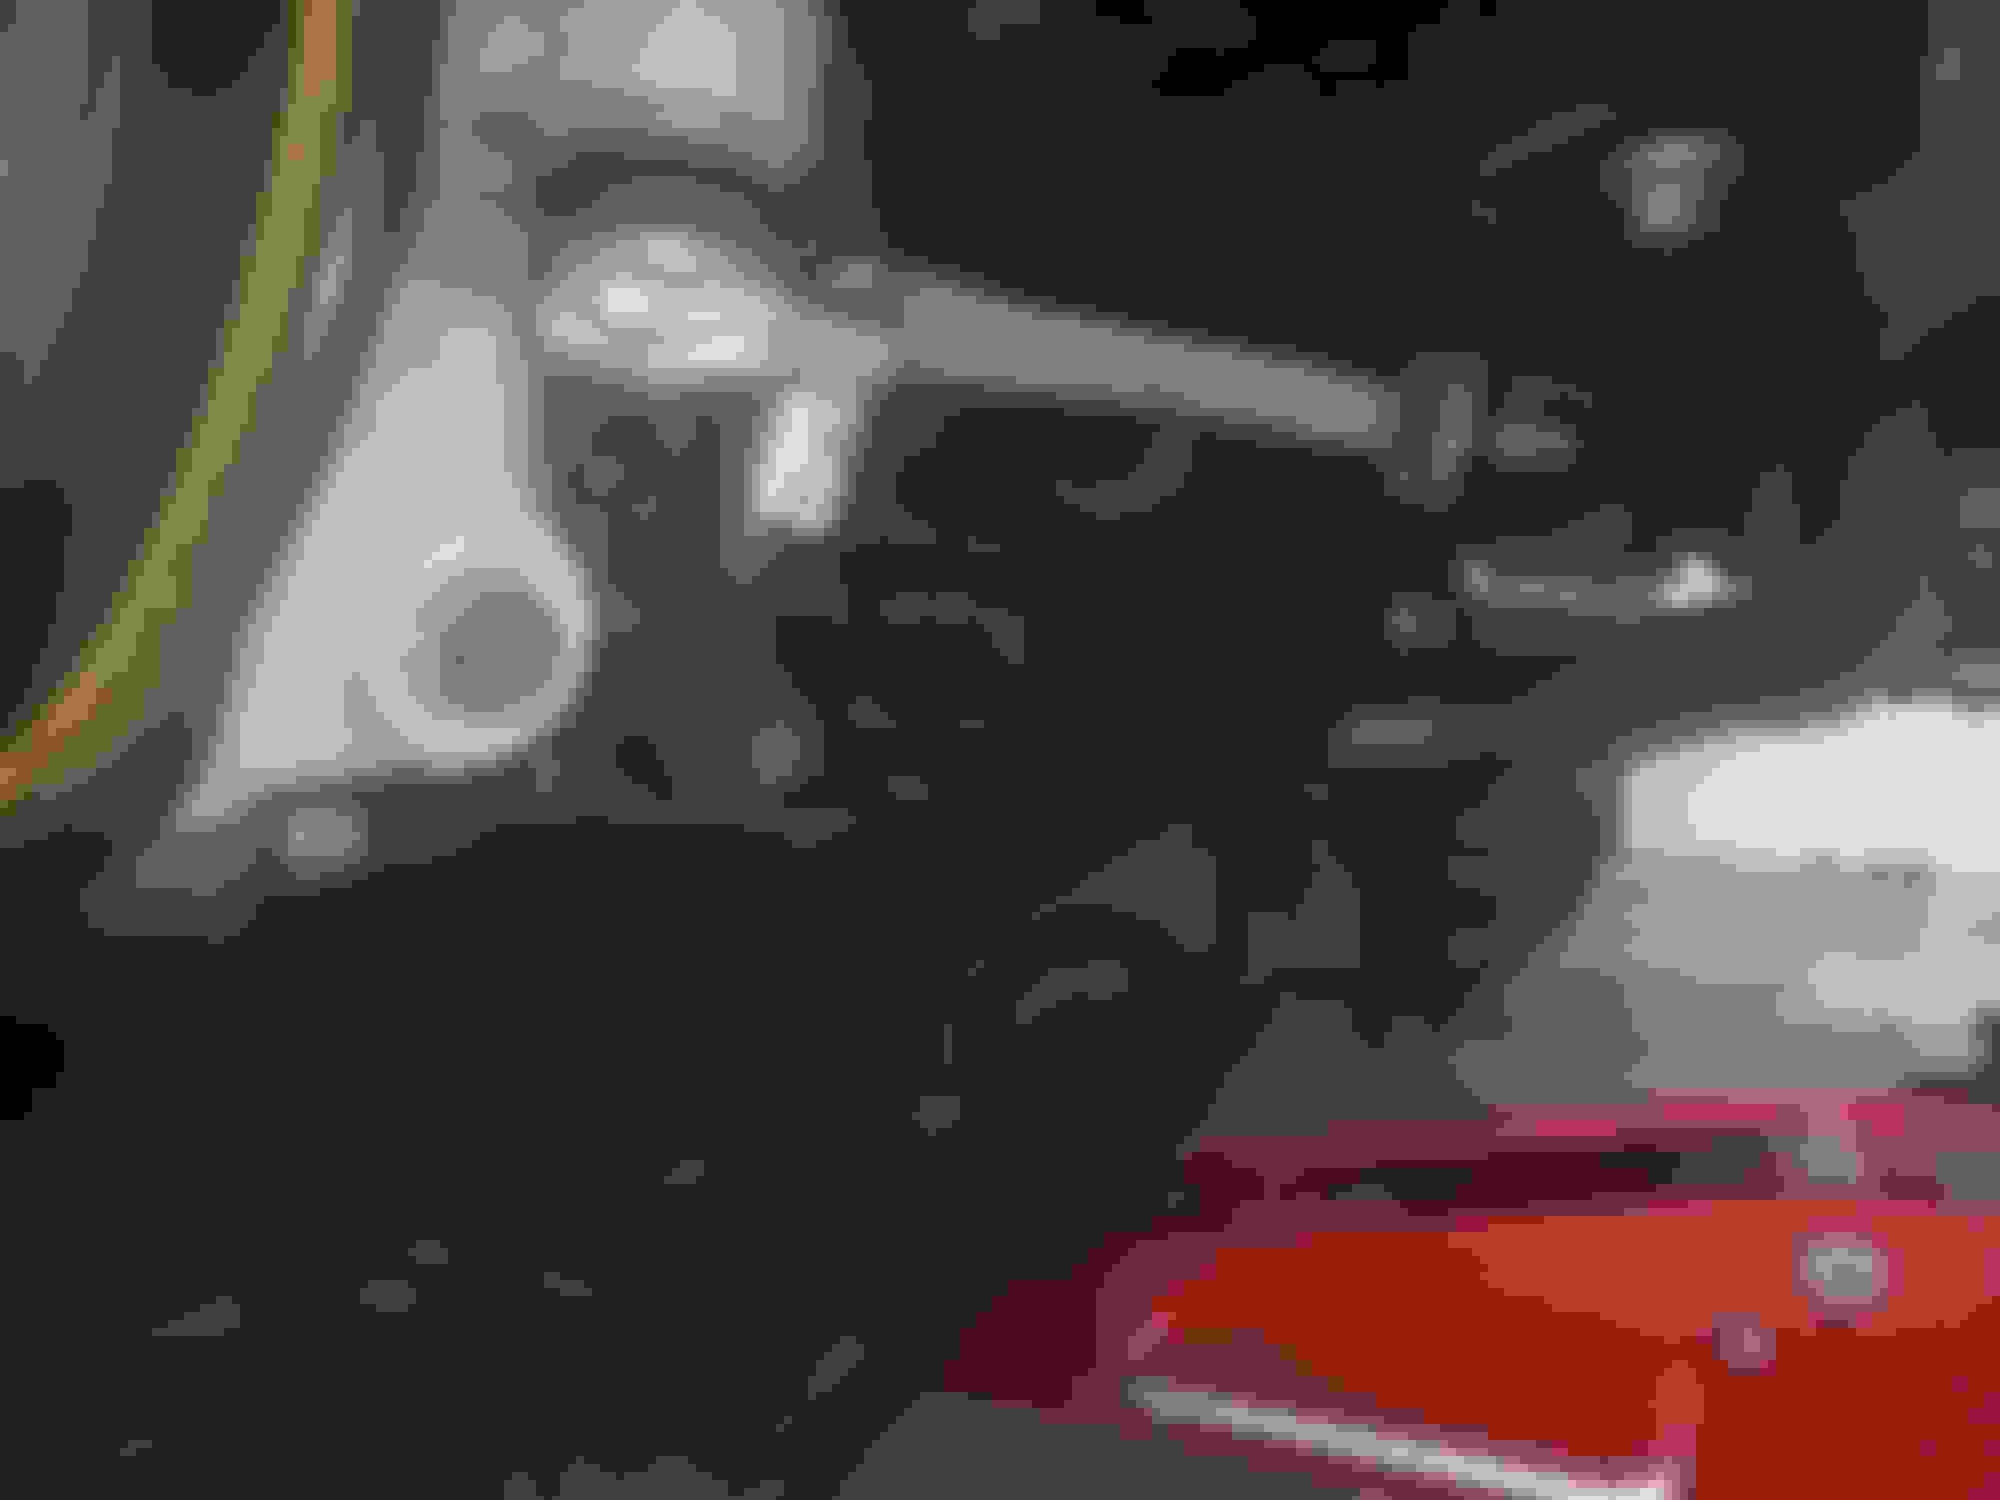
Peel back the trunk panel to access the strut mount bolts. Take these off and now you can remove the strut. These are 14mm. You'll need a long socket.
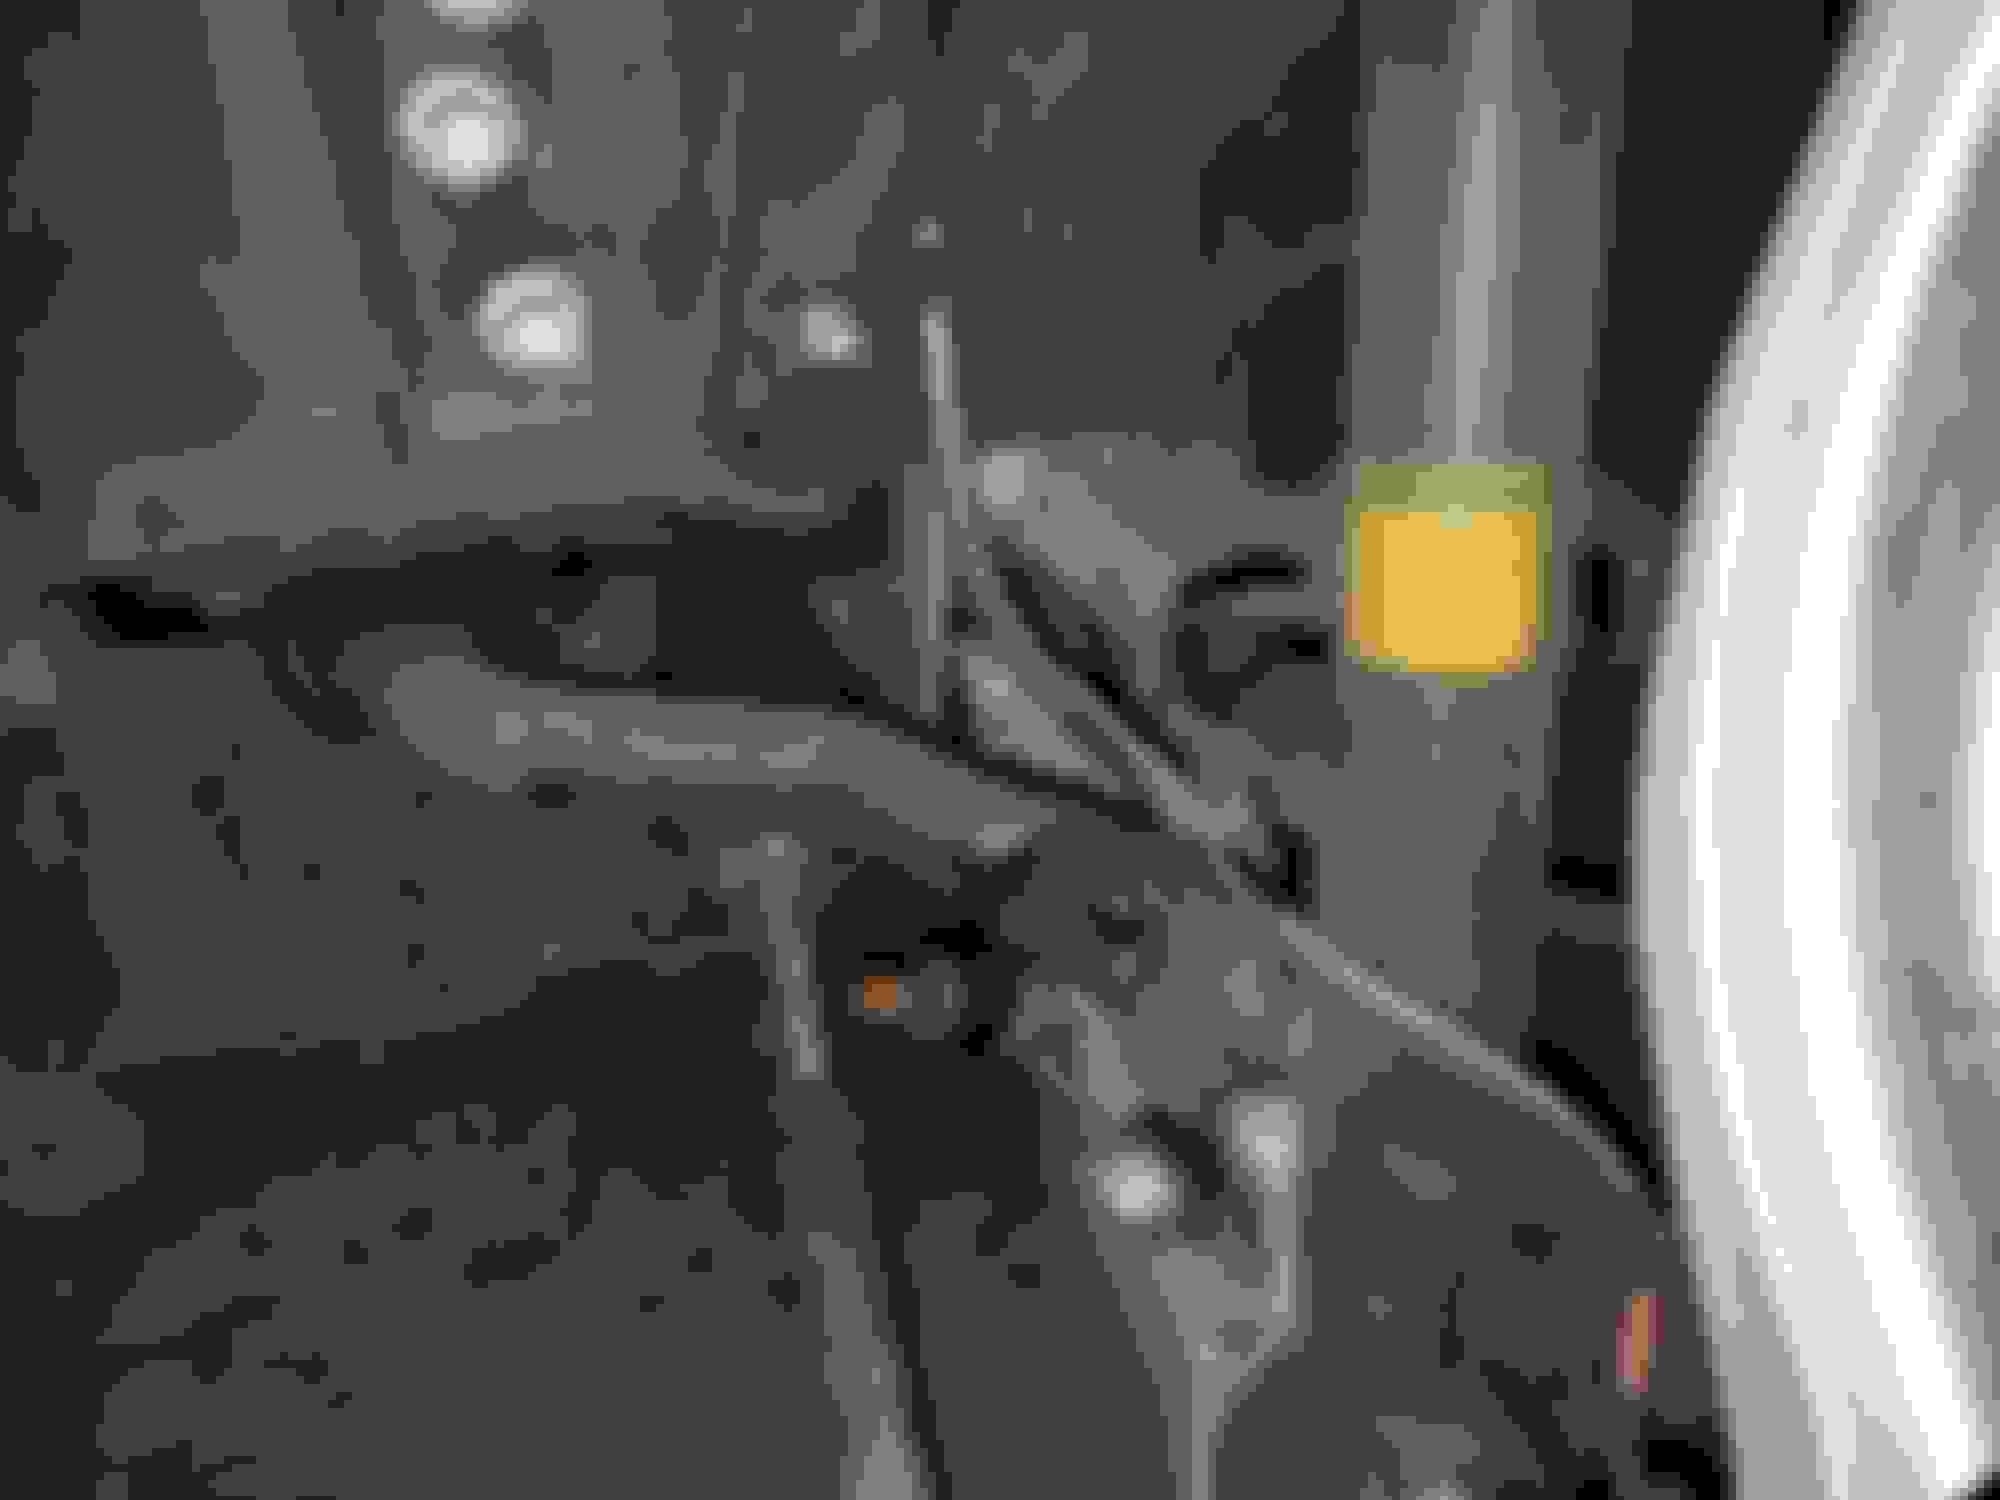
Moving to the front which is very simple. Remove the sway bar endlink from the sway bar and the abs wire bolt. Sway bar endlink is 17mm and 10mm for the little screw.
I was on a roll and took out the strut before taking a picture. Support the control arm with a jack and remove the lower strut bolt. This is another 19mm. Remove the cotter pin from the castle nut on the upper ball joint. I used needle nose pliers. The it's a 17mm to remove the castle nut. I have a ball joint separator tool which makes it simple to pop off the ball joint. Once you pop the ball joint, let it rest to hold up the whole hub assembly. Remove the 14mm bolts in the engine bay to remove the strut. I don't have AVS so I didn't have to remove the motors on the top of the struts. Remove the strut and replace the castle nut so the hub assembly doesn't pull the brake lines.
That's it for day 1. Day 2 will consist of installing the Airlift struts and bags and connecting all the airlines. Day 3 will be reserved for ride height adjustments and learning how everything works.
On to day 2 which consisted of installing the air struts and bags. The rear bags were a pain. It is very minimal space to tighten all the bolts for the bag brackets.
Insert rear strut and bolt it in at the top.
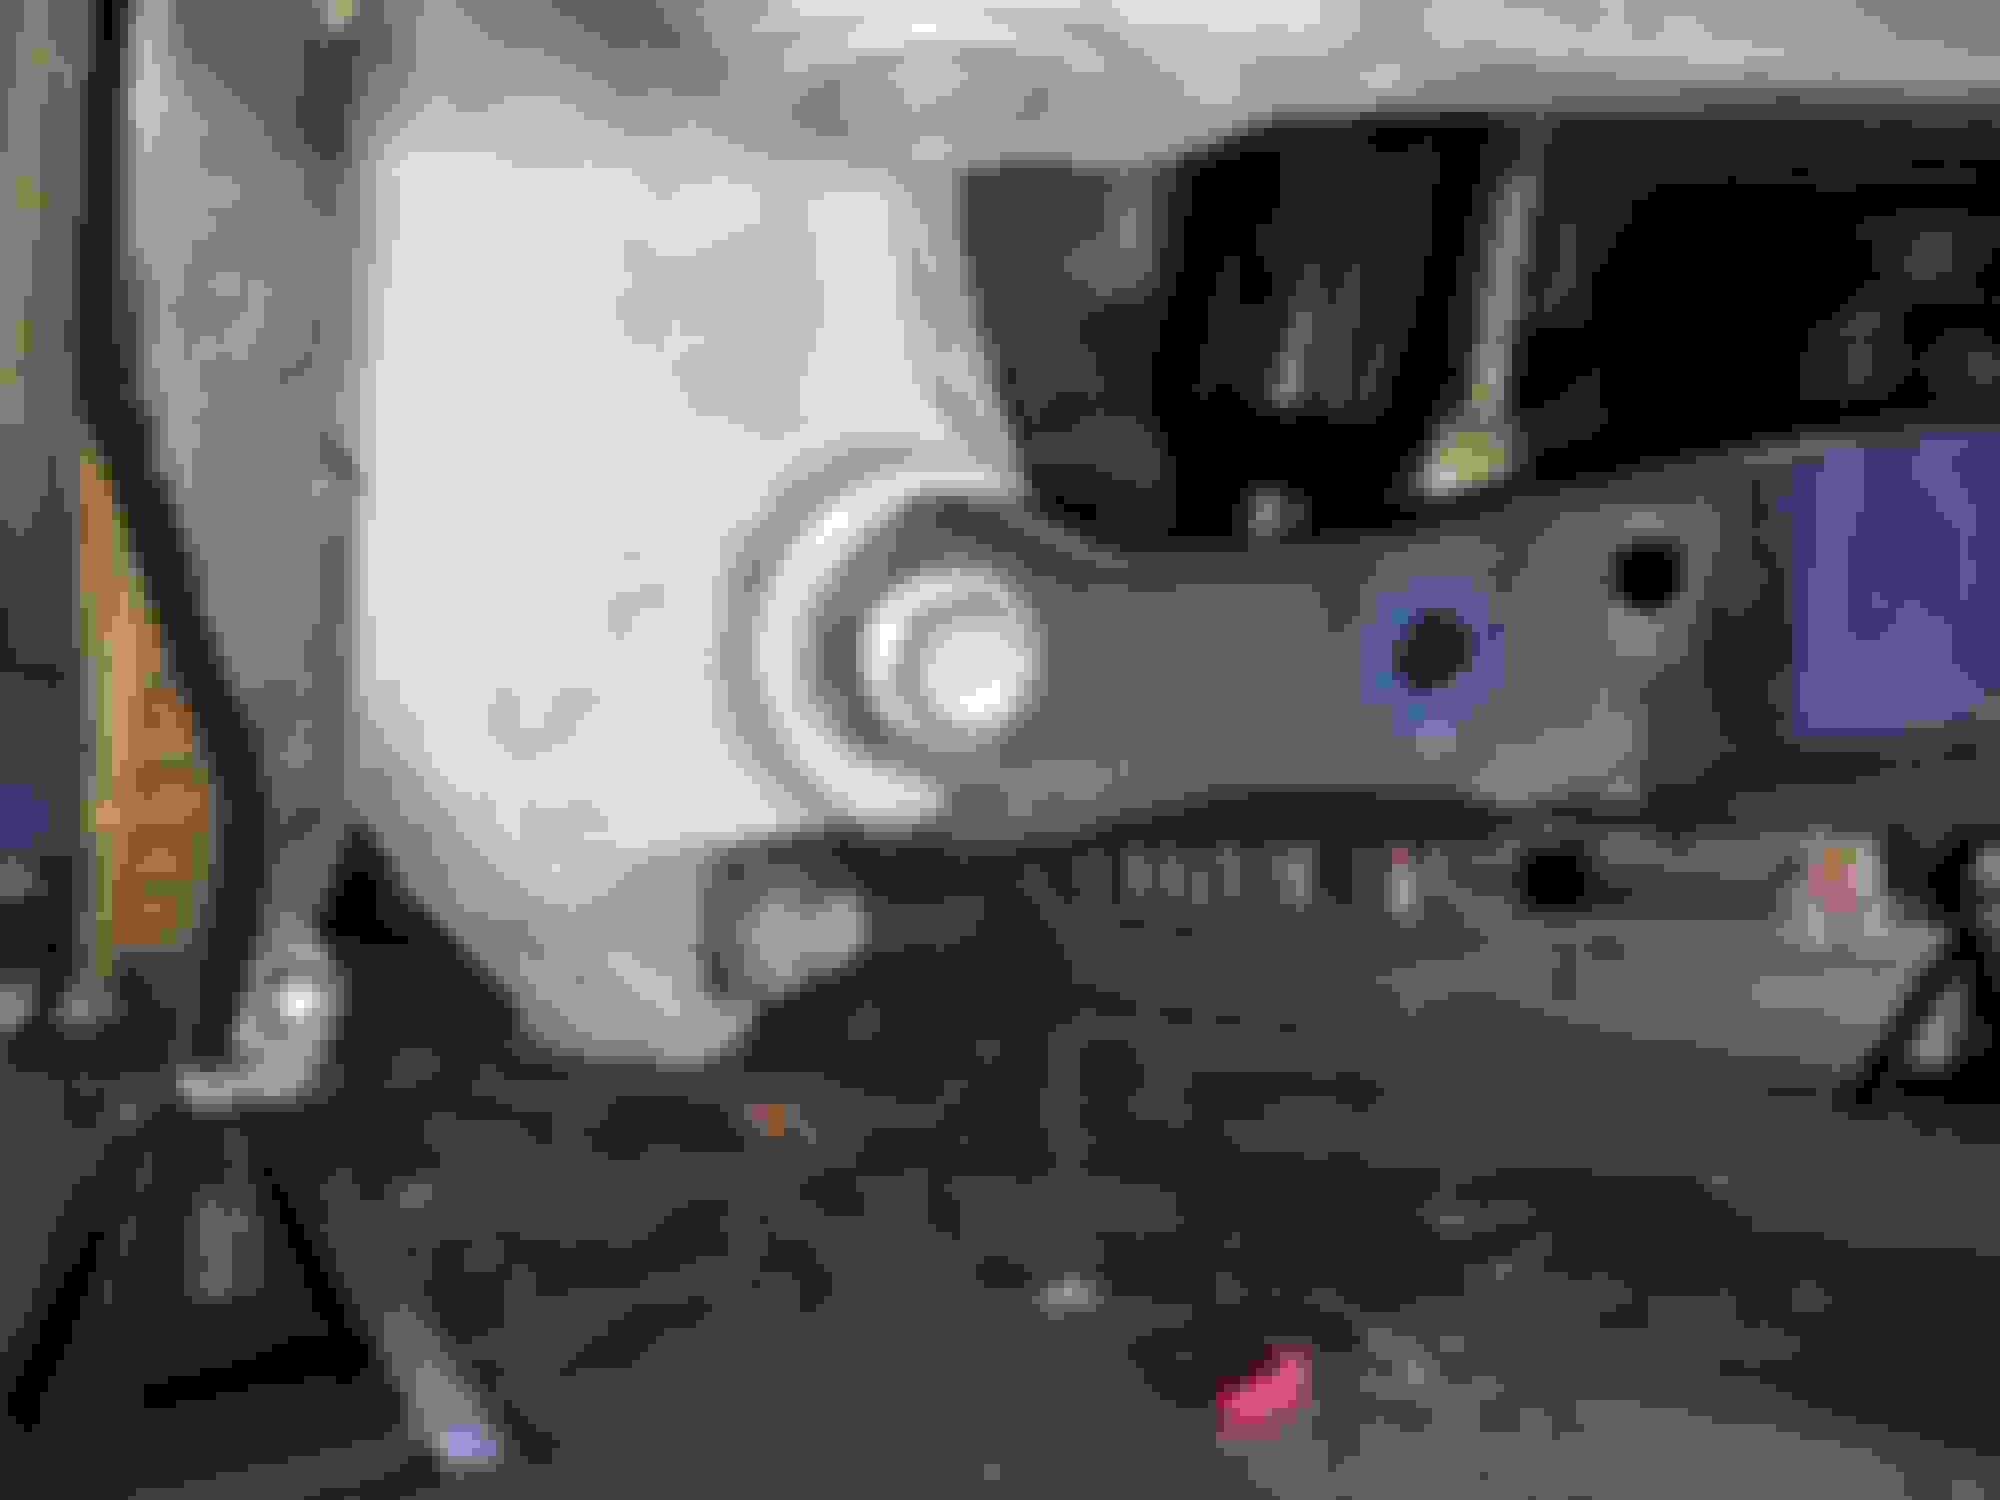
Insert the spacer on top of the upper spring perch in the rear. It is machined perfectly to fit in the hole.
Then you have to bolt this bracket into it. It was tough because there is nothing holding the spacer down and you can't hold it with your fingers. I had to slowly thread in the bolt with very minimal pressure until it caught a thread. Then I could screw it in while providing downward pressure to pinch the spacer.
A look at it mounted. One complaint is that the instructions said to bolt it perpendicular to the control arm or 12 degrees from the axle. How am I supposed to measure that accurately? You'll see why you need this angle in a few pictures.
Next you add the bag and tighten the top bolts with the tiniest of space. I literally had one click of the ratchet for one of the bolts. My shoulder is still sore from that. Then add the bottom bracket onto the bottom of the bag. This is where you need the accurate 12 degrees. The bottom bracket has these ears which go over the welded nuts on the control arm. I was able to spin the whole assembly a bit if it didn't line up perfectly.
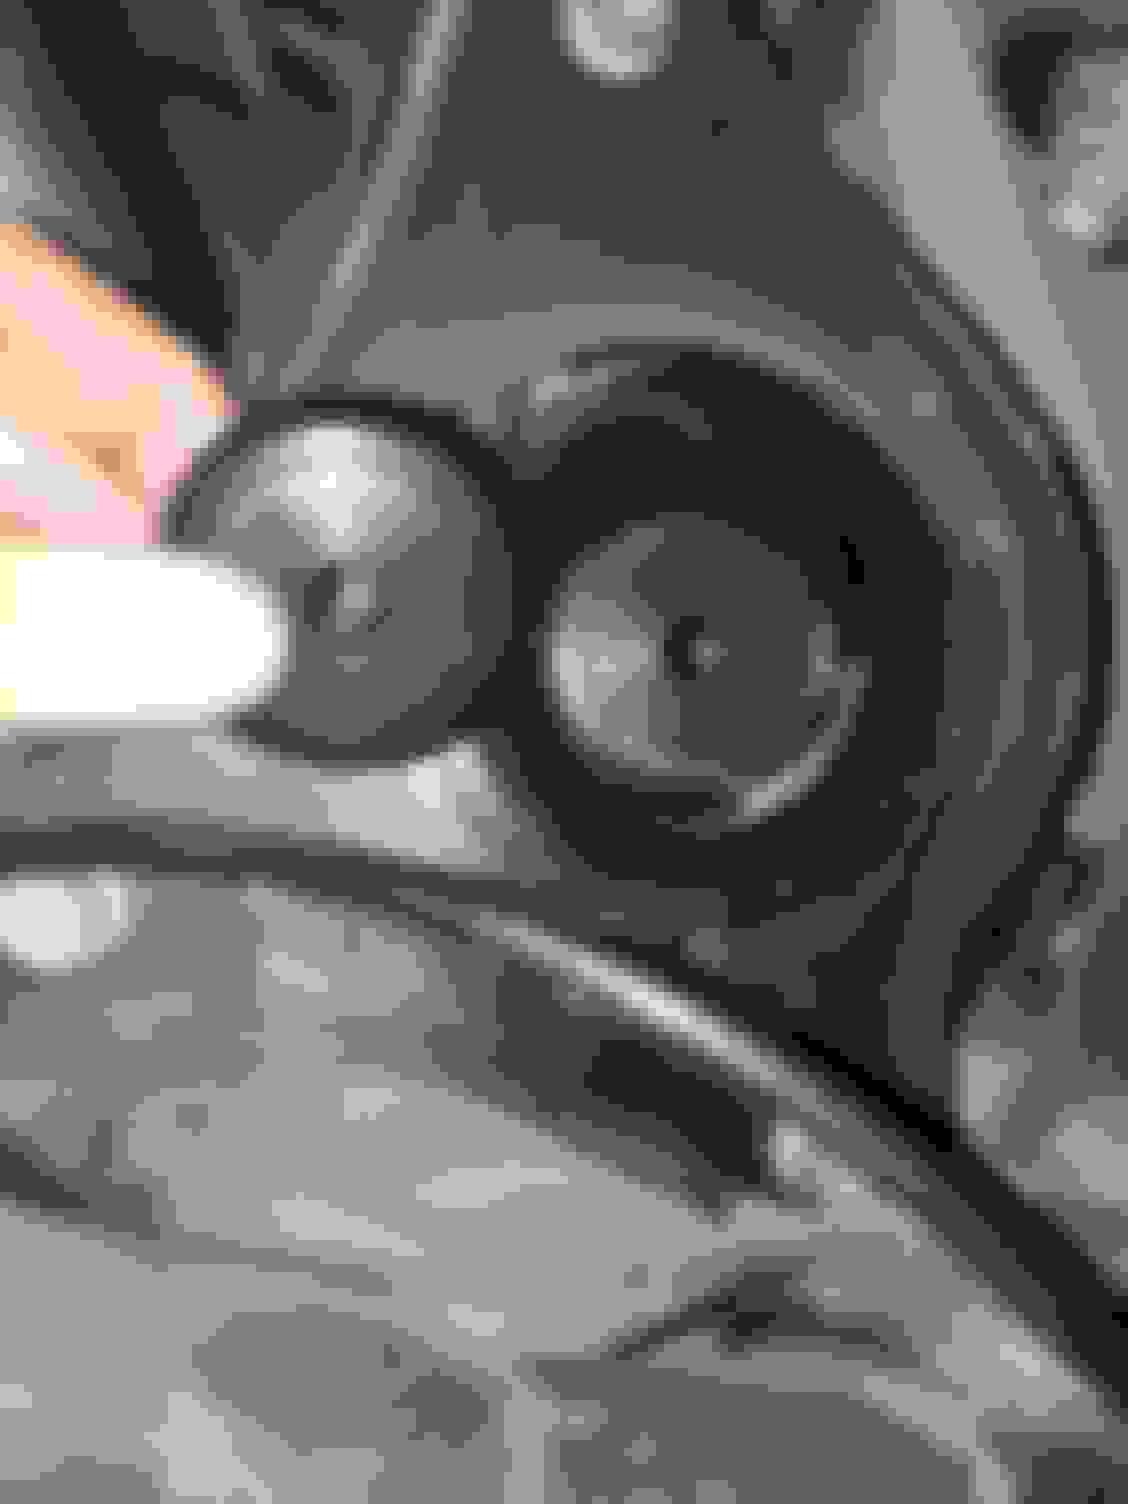
This is completely bolted to the control arm. There is a bottom spacer that bolts from under the control arm into the whole bag assembly. You need to remove a plastic cover that wraps around the control arm in order to complete this step. This was not mentioned in the AirLift instructions. It's three 10mm screws.
Here you can see the bottom spacer and the air line running into the back of the control. You need to connect the airline before bolting in the control arm into the air bag.
I had to undo this traction arm in order to lift the control arm back to the hub. I later realized that if you use a jack to lift the whole hub assembly, you can clear the traction arm.
Bolted back up and then you can bolt the strut and sway bar link into the control arm. Note that you may need to tighten the strut locking ring or adjust the strut height.
Everything torqued down and complete.
To the fronts. Slide the strut assembly in and bolt it at the top.
Be sure to run the braided line where you want it and bolt the shock to the bottom control arm.
Here is everything connected and the air lines connected. Remember the cotter pin on the upper control arm. Again, adjust the strut height and lock the washer on the strut. I pre assemblied the braided line before starting the installation process.
Day 3 consisted of splicing together the power wires and finding a fuse. I didn't take any pictures because I really needed to finish this as I needed to go to work the next day. I tapped into the AVS fuse under the glovebox. When I was finished, the car was way too low at driving pressures. I pretty much had to take apart all the suspension again to adjust the height of the struts in order to make the car driveable. You have to run the calibration on the airlift controller to see if everything is connected properly. Luckily everything was good and I woke up this morning to no air leaks.
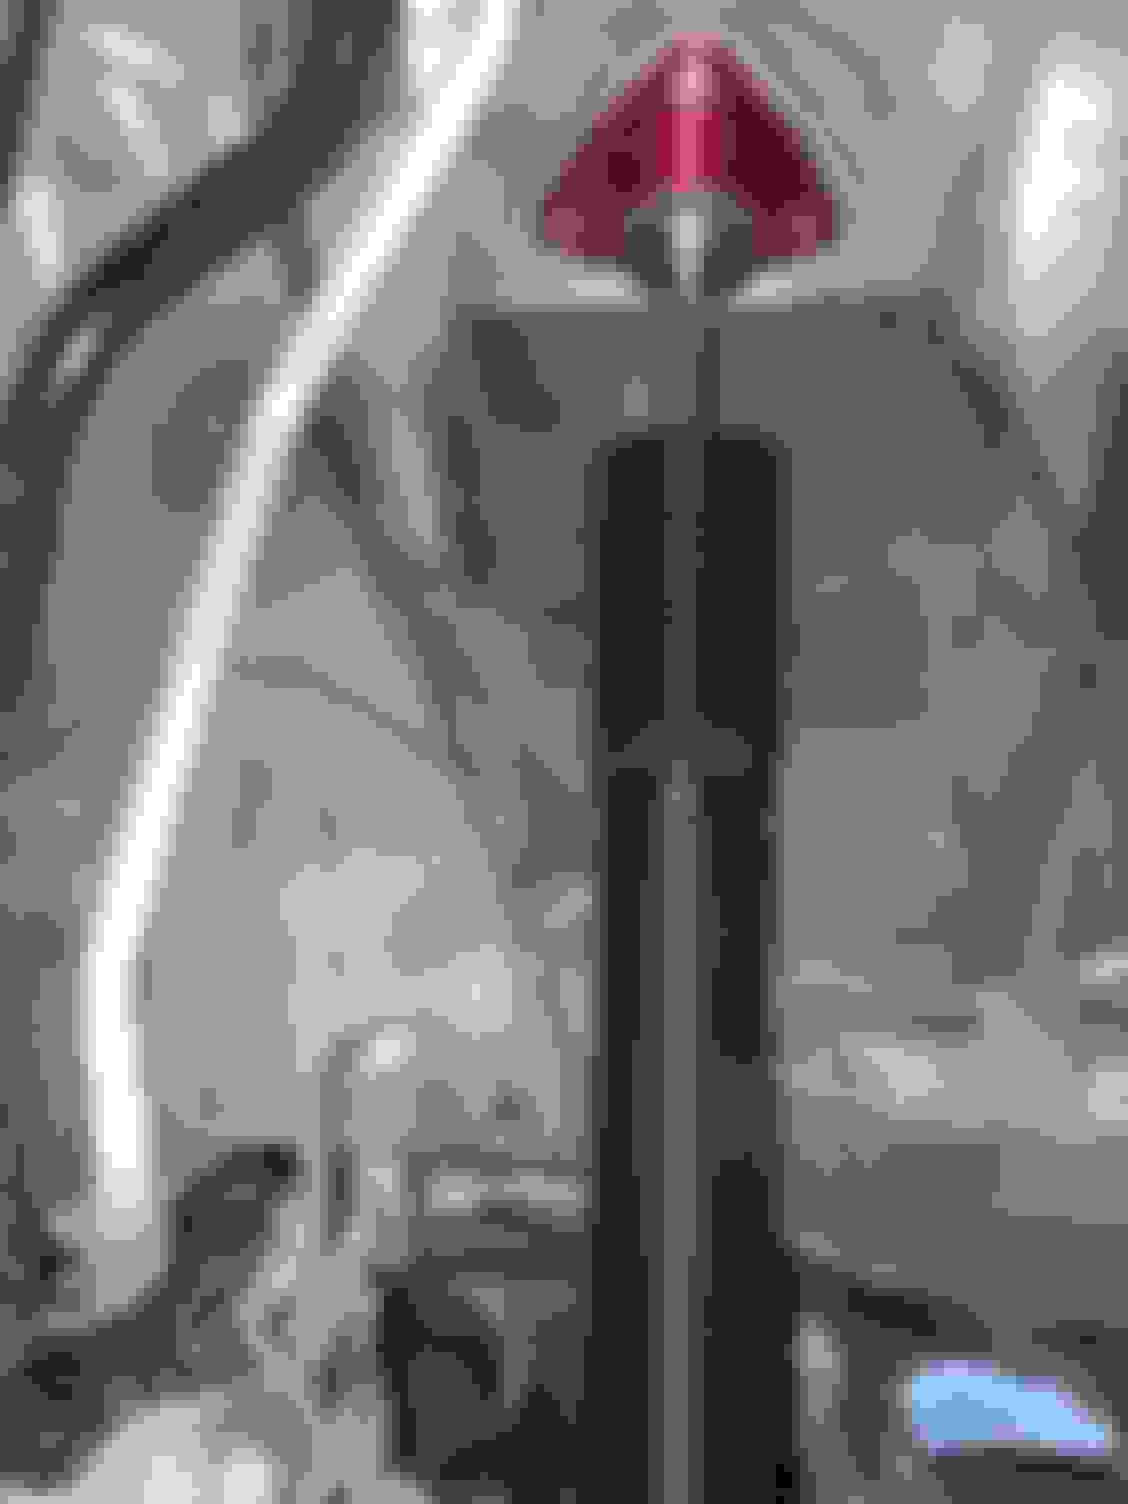
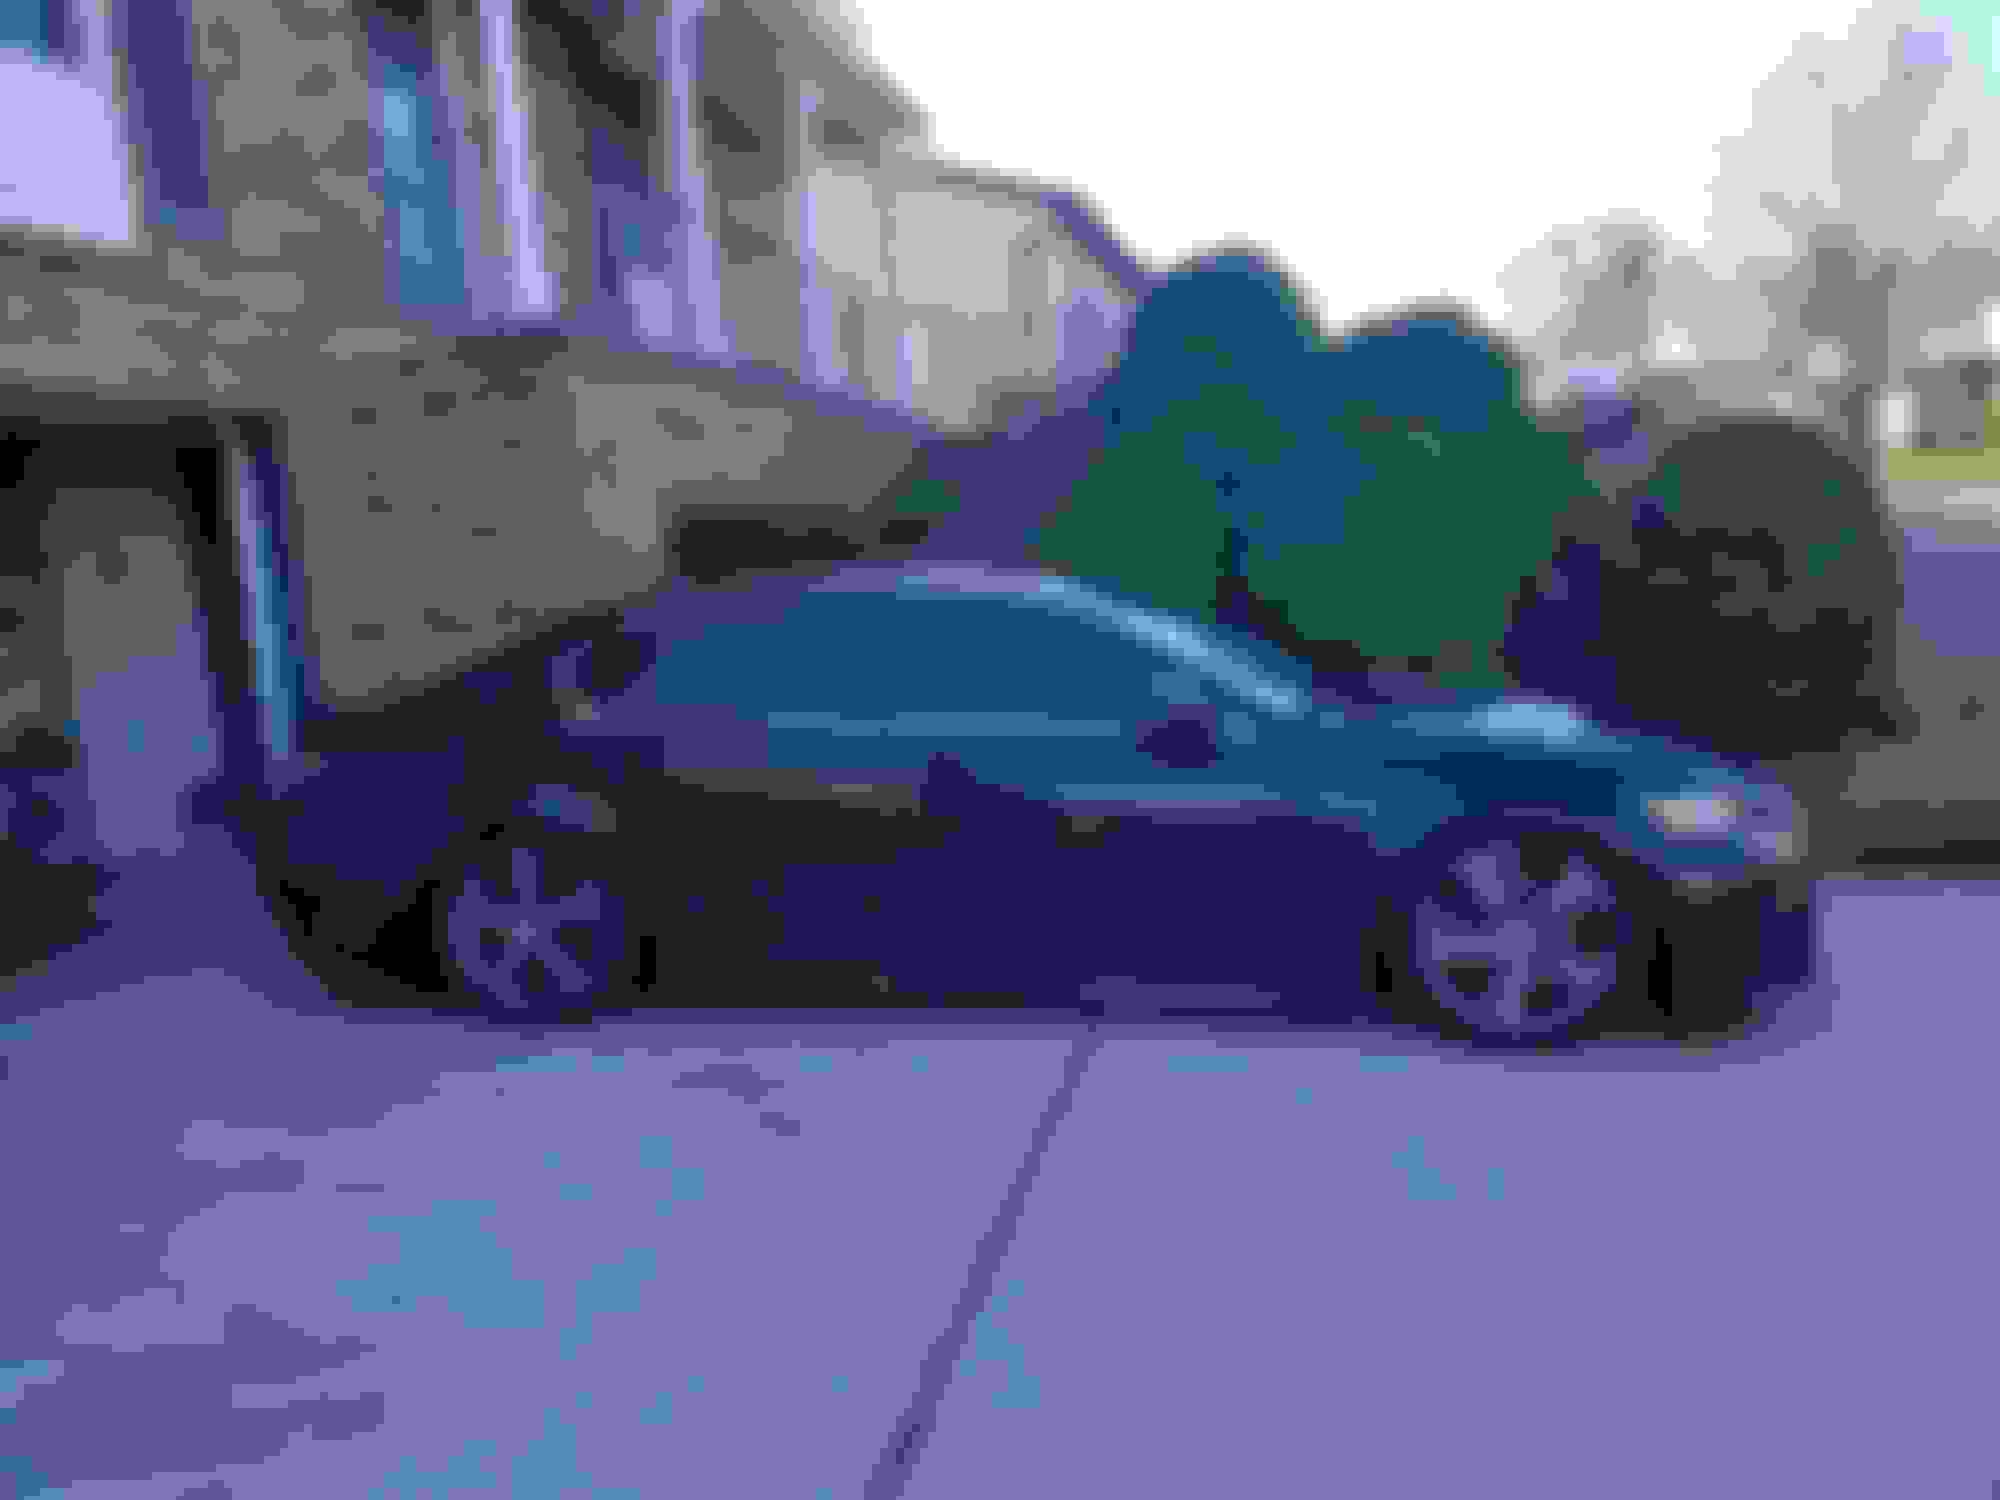
Here is a picture of it aired out. My driving height is close to stock as I need to clear my steep driveway. I'll be happy to answer any questions.
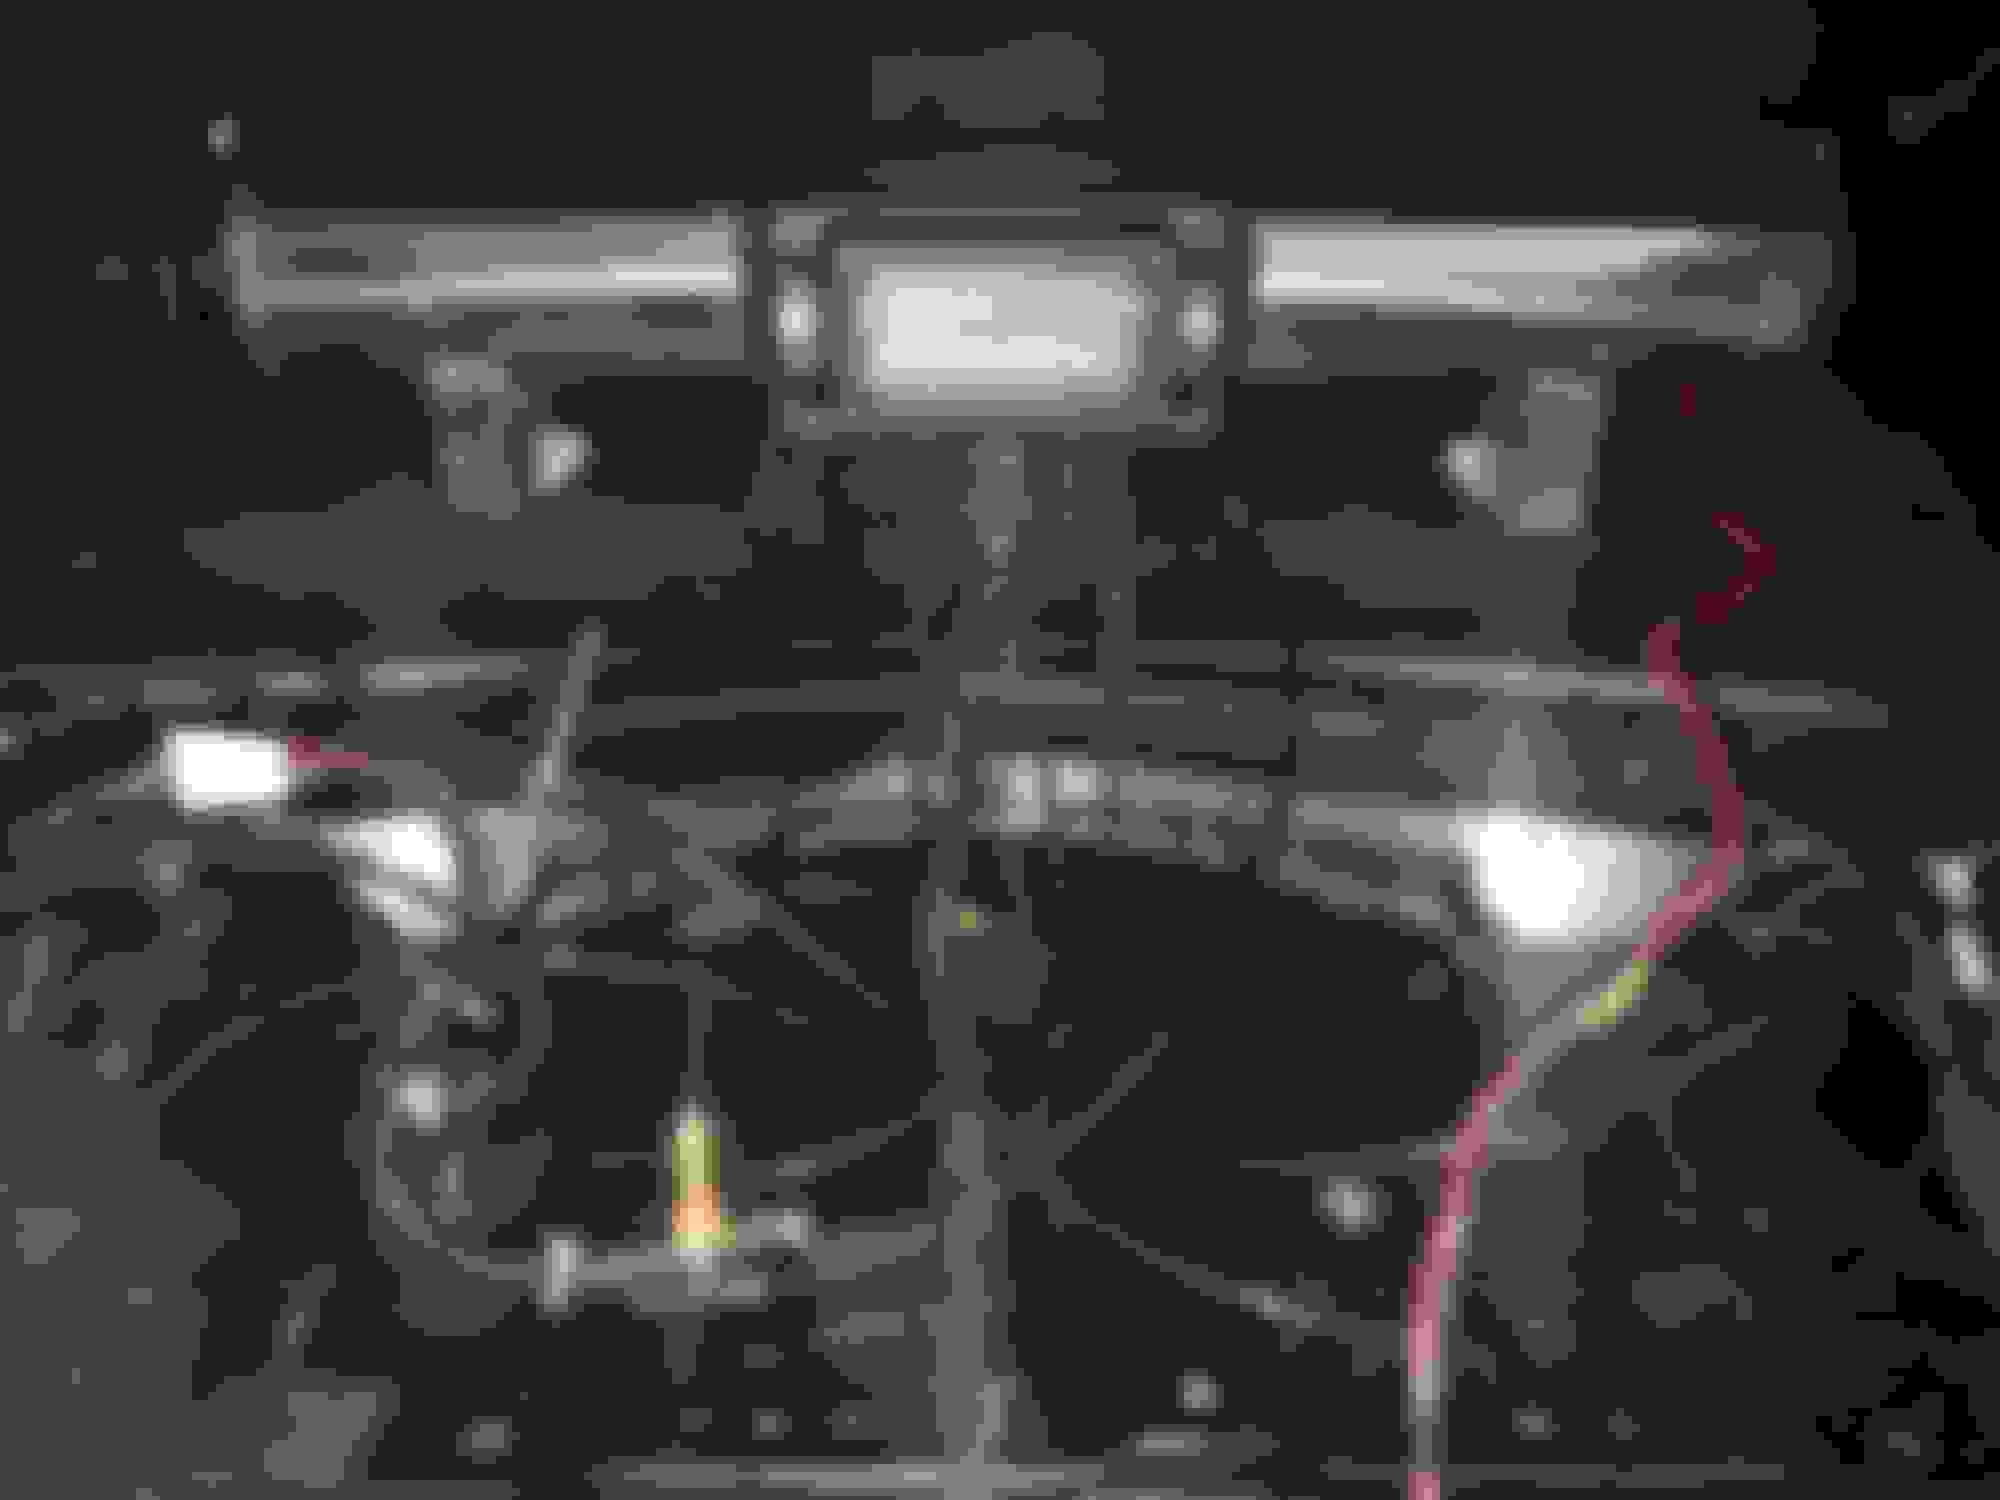
Here's a look inside the trunk. I still need to do some wire and line management because it's just a mess. At least it'll all be covered up.
@bumada, when you torqued down the bolts on the rear suspension, did you have to jack up the rear arms to load the suspension first before torquing so that the bushings will neutralize at the new ride height level? I have a feeling that the installer who did my air did not do this, and now I have really bad creaking noises when going over speedbumps/ramps/uneven roads, which I suspect is from the bushings not being reset when torqued down.
@bumada, when you torqued down the bolts on the rear suspension, did you have to jack up the rear arms to load the suspension first before torquing so that the bushings will neutralize at the new ride height level? I have a feeling that the installer who did my air did not do this, and now I have really bad creaking noises when going over speedbumps/ramps/uneven roads, which I suspect is from the bushings not being reset when torqued down.
Hmm I did not do that. I just torqued with the suspension hanging. Not sure what to conclude from that. I don't have any squeeks.
I'm building my set up in the house right now then I will mount it in the trunk. Watch out for rubbing lines. Those braided lines can do damage really fast when rubbing.
I'm building my set up in the house right now then I will mount it in the trunk. Watch out for rubbing lines. Those braided lines can do damage really fast when rubbing.
Thanks for the tips. I've since added the plastic conduit around these braided lines.
Did you have to remove the strut to adjust the height for both the front and rear?
You don't have to completely remove it, but you have to disconnect the front and the rear struts from the bottom control arms in order to spin it freely.
 01-18-20, 12:25 PM