When you click on links to various merchants on this site and make a purchase, this can result in this site earning a commission. Affiliate programs and affiliations include, but are not limited to, the eBay Partner Network.
I used to wrench and owned a couple of show cars, but alas, age has gotten me to get something more practical. Anyway, I did some searching and came across one thread about installing a dash cam, but I'm here to do a progress thread of my own. Hopefully some hopeless souls like myself find this thread useful.
This installation will be for a 2020 UX 250H F Sport, but I imagine the UX 200 and non-F Sport models would work the same. As a warning, I am not a technician or electrician or car audio specialist, so follow this thread at your own discretion. I'm not responsible or liable for any damaged parts or vehicle malfunction errors. I am also pretty OCD about keeping my car clean and doing the best job possible when it comes to installation work or purchasing brand name products.
First, I watched a bunch of YouTube videos, spent time researching, and ended up purchasing a VIOFO A129 Duo. I wanted to spend less than $200 and found this to be the perfect solution:
This took about ~1.5h because I really didn't know what I was doing and took my time. I have a small garage as well, so maneuvering around made it difficult. For the hardwire installation, see the 4th post below.
I suggest reading this through first. I started from the rear and worked my way to the front, but as I write this, it may be smarter to start from the front and work your way to the rear because of all the excess wiring you'll have.
___
Dash cam and memory card:
___
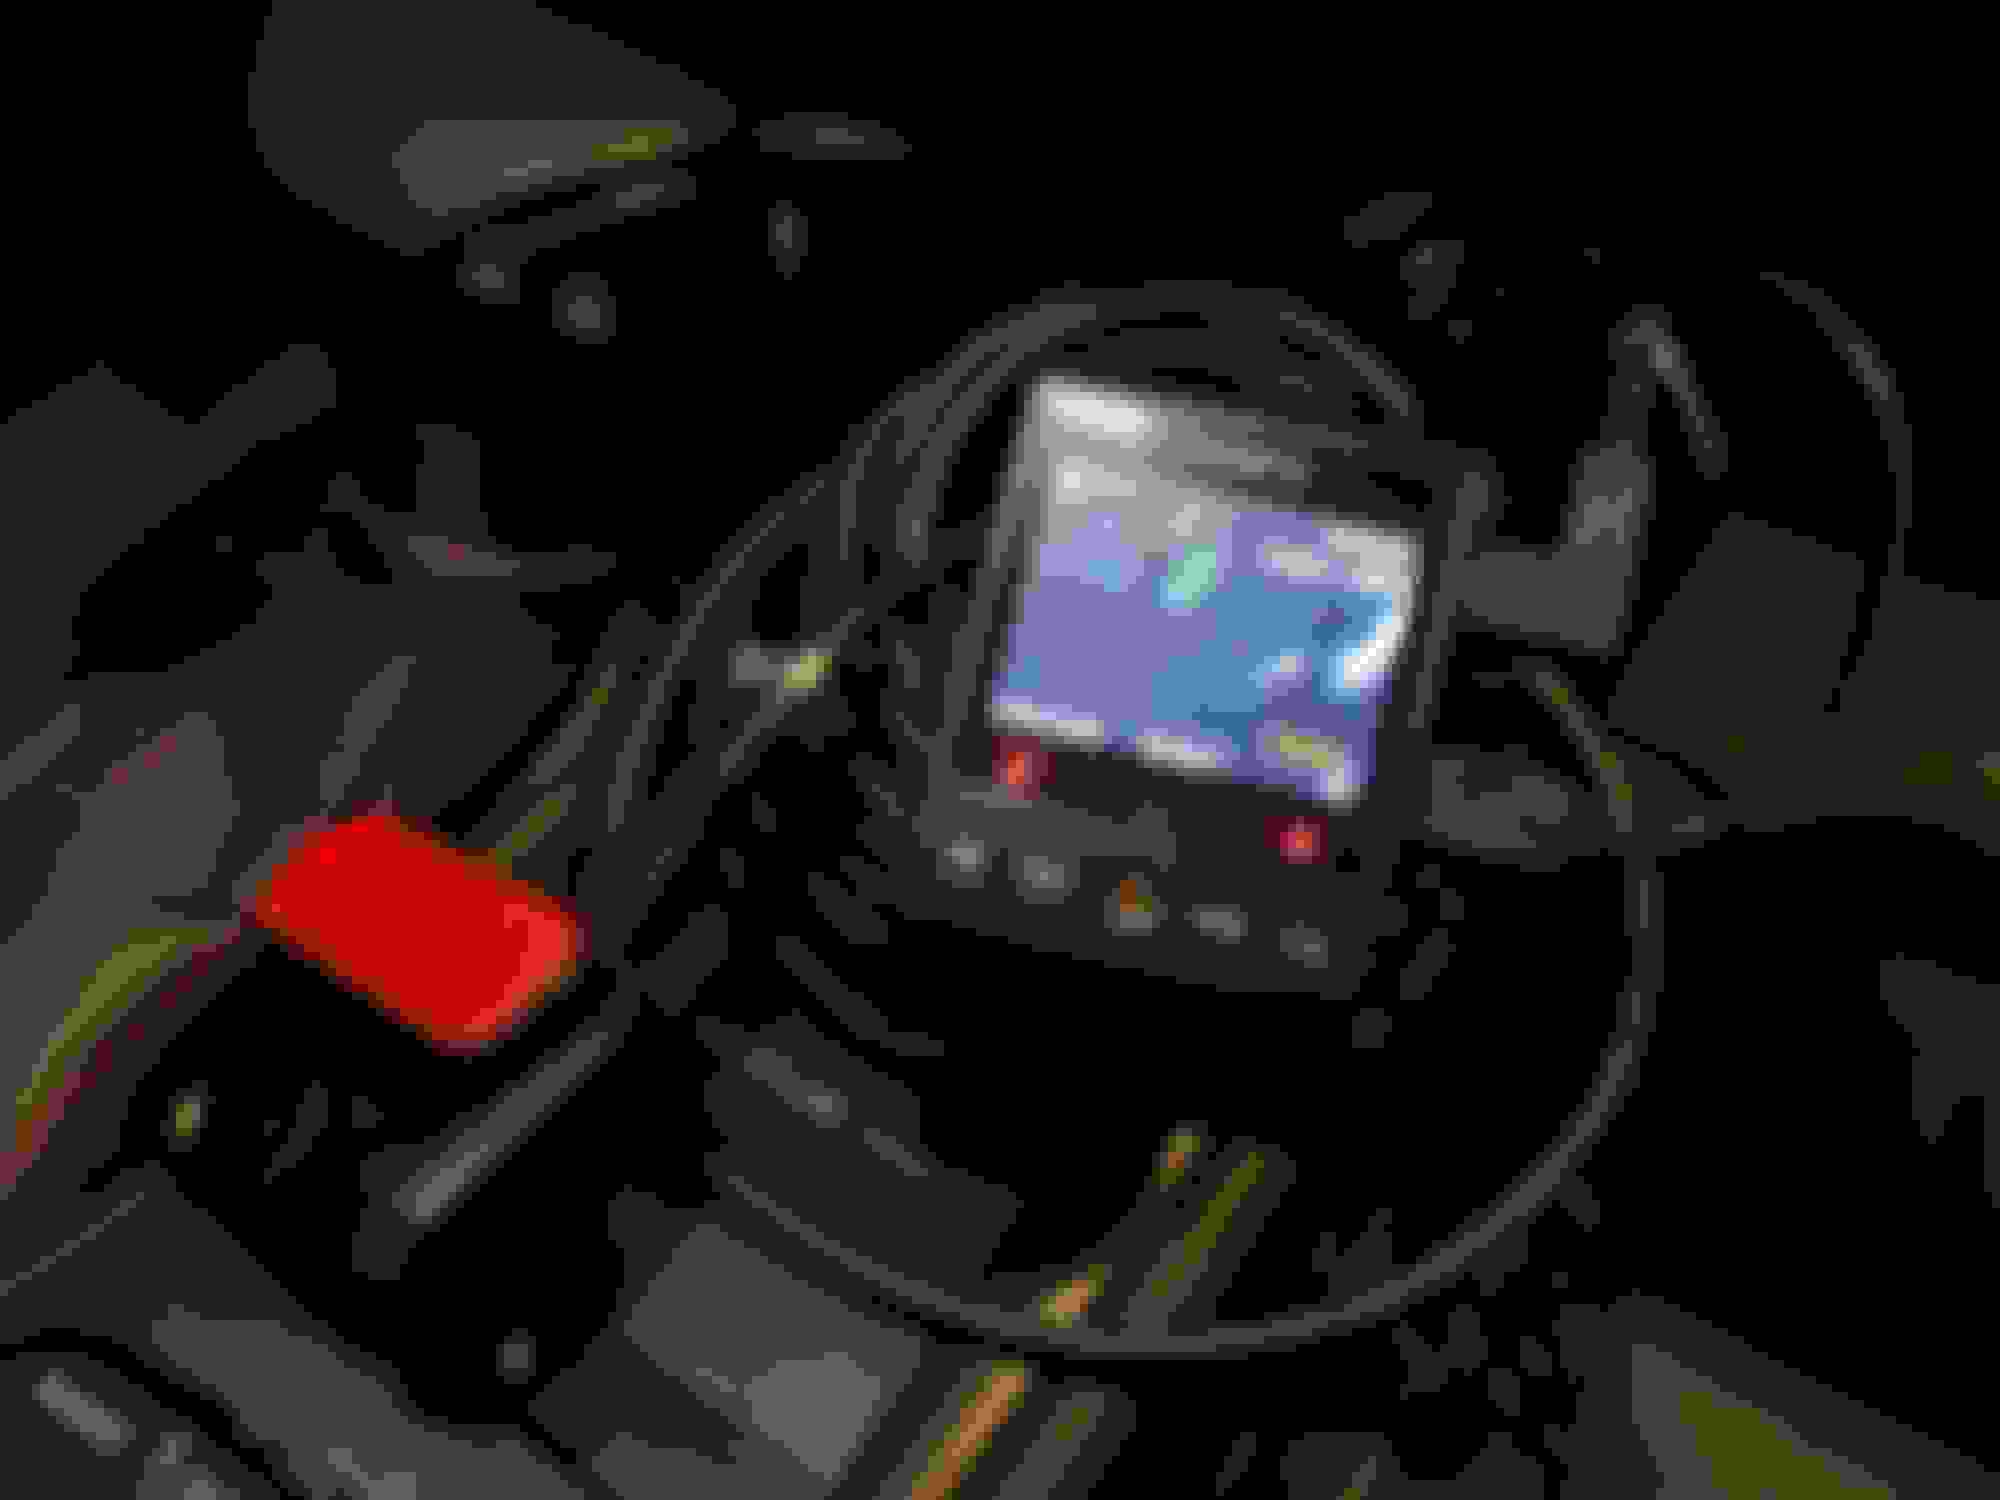
First up, does it work? Yep, looks good. I will also be installing the hardware kit once it arrives so I can run the proper parking mode and avoid using the cigarette lighter.
___
Next, let's take a look at the trunk. On the ceiling, I removed the panel. *This is also the very last piece you will put back.*
___
You'll see the wiring protection in the trunk. You can yank the bottom plastic piece up. For the top piece, you can twist/turn, then pull off. Notice the arrow on the plastic piece and make sure it is aligned when you install it back to its original position.
___
Now the hard part, running the wire through this plastic piece. I started by running it through the first clip I popped off the ceiling and basically forced the wire through the plastic piece. You'll see a pre-made slit where you can insert the wire into the plastic piece.
___
Now, pop-off the top panel. This comes off fairly easily and shouldn't be too difficult.
___
Run the wire through and pop the lid back on.
___
Now, open the back door, drop the back seat, and pull off the door trim lining and pull back the c-pillar. There are two clips holding it in. Run your wire as needed.
___
Next, I ****ed up and tried to run it through the floor sills—don't do that. It took me a while to undo what I took apart and had to start back at the c-pillar.
___
Now, remove the top part of the door trim for the rear and front doors and run your wire through the ceiling accordingly. You may have some problems around the driver side seat belt area, but you can partially pop off a couple of tabs on the b-pillar and get some wiggle room to run your wire to the front seat. As you are doing all of this, I recommend keeping everything "apart' and not assembling anything until your wire has been completely ran from the rear to the front.
___
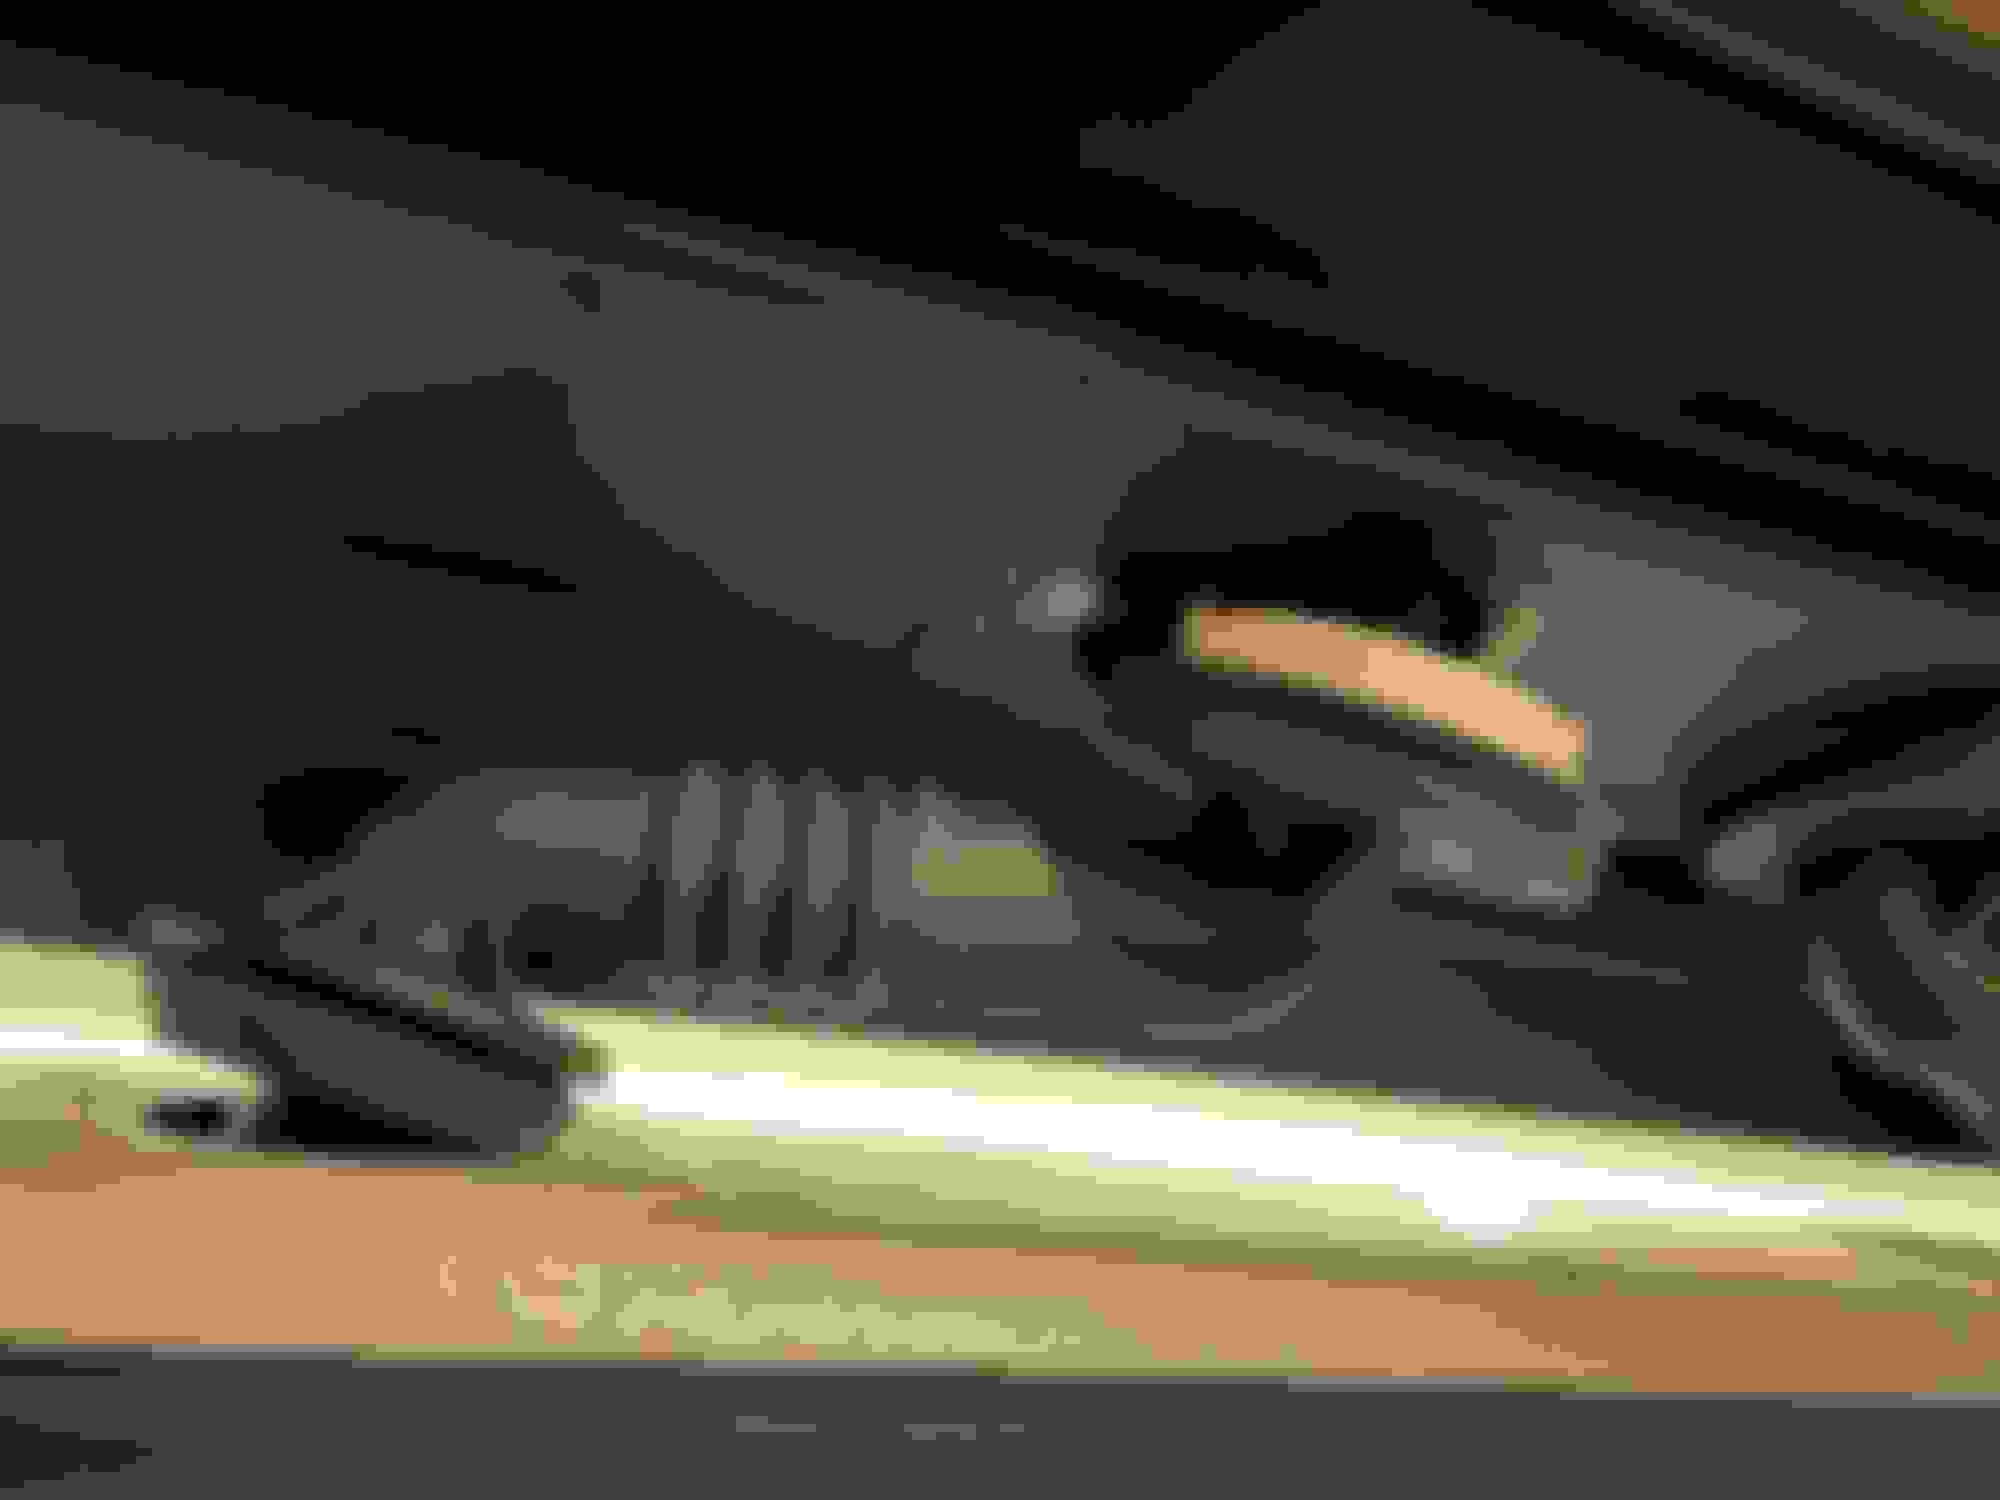
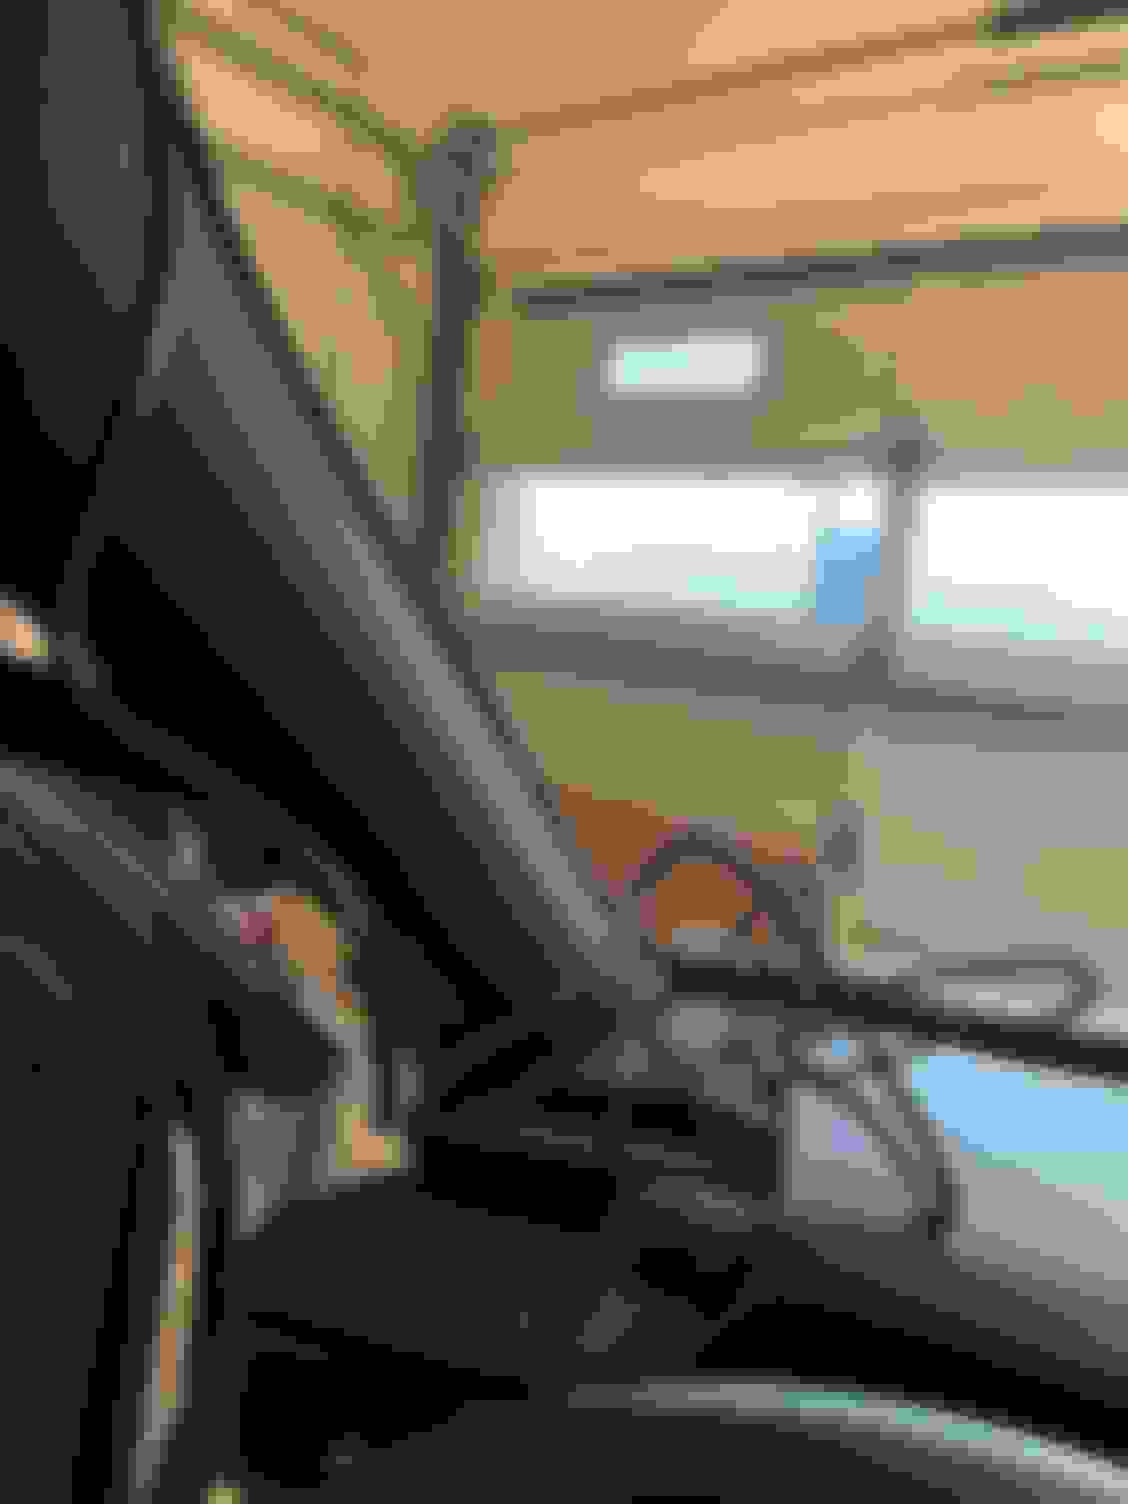
Now, this step might be controversial, but I partially removed the a-pillar exposing the airbag. I wanted to make sure the wire was tucked behind the airbag in the event it was ever deployed, so I made sure to run the wire carefully. You'll see in the second photo the wire is nestled between the metal frame and airbag.
___
Now run the wire as needed to the rearview mirror and tuck anything into the ceiling as you run it from the a-pillar to the rearview mirror.
___
If you're like me, you'll have a **** ton of excess wire. This took a while, but since there is no room to hide the wire in the front of the car, I had to slowly pull the excess wire towards the back of the car.
___
I was going to hide the wire behind the c-pillar, but decided to pull the excess back even further and tuck it into the ceiling where I pulled the first panel off since there seemed to be a lot of space. I tied up the wiring, tucked it into the ceiling, and put the small panel back on.
___
Once all is completed, you can start to put your car back together lol.
However, this part took me a long time to figure out and was pretty frustrating, but when you remove the a-pillar, there is a special clip that stays clipped into the metal frame. To install the a-pillar back properly, you'll have to remove the clip attached to the metal frame. I hope you have small hands like me because you'll have to feel and squeeze the tiny clips holding it into place. Once you remove the clip from the metal frame, you can properly attach the clip to the a-pillar, then pop the entire thing back into place. It might be hard to understand just reading this, but once you get to this point, you'll understand better. You may decide not to remove the a-pillar at all to avoid all this stuff too haha
___
Anyway, that concludes part one of the installation. Next, I will be mounting the cameras on the front and rear and once my hardwiring kit gets here, I will install that into the fuse box under the steering wheel and post photos of that progress as well.
What I've done in the past with excess wire is wrap it in felt tape that has velcro in the end, so that way it snugs in and prevents any rattling while driving.
What I've done in the past with excess wire is wrap it in felt tape that has velcro in the end, so that way it snugs in and prevents any rattling while driving.
Ah, great point. I was also going to zip-tie the wiring, but I felt that would've been a little too excessive. I'll definitely look into the velcro wrap solution though!
It took me about an ~1.5h to install and setup my camera to the appropriate settings. This thread also helped me decide where to tap the ignition wire first (thanks NXOwner).
___
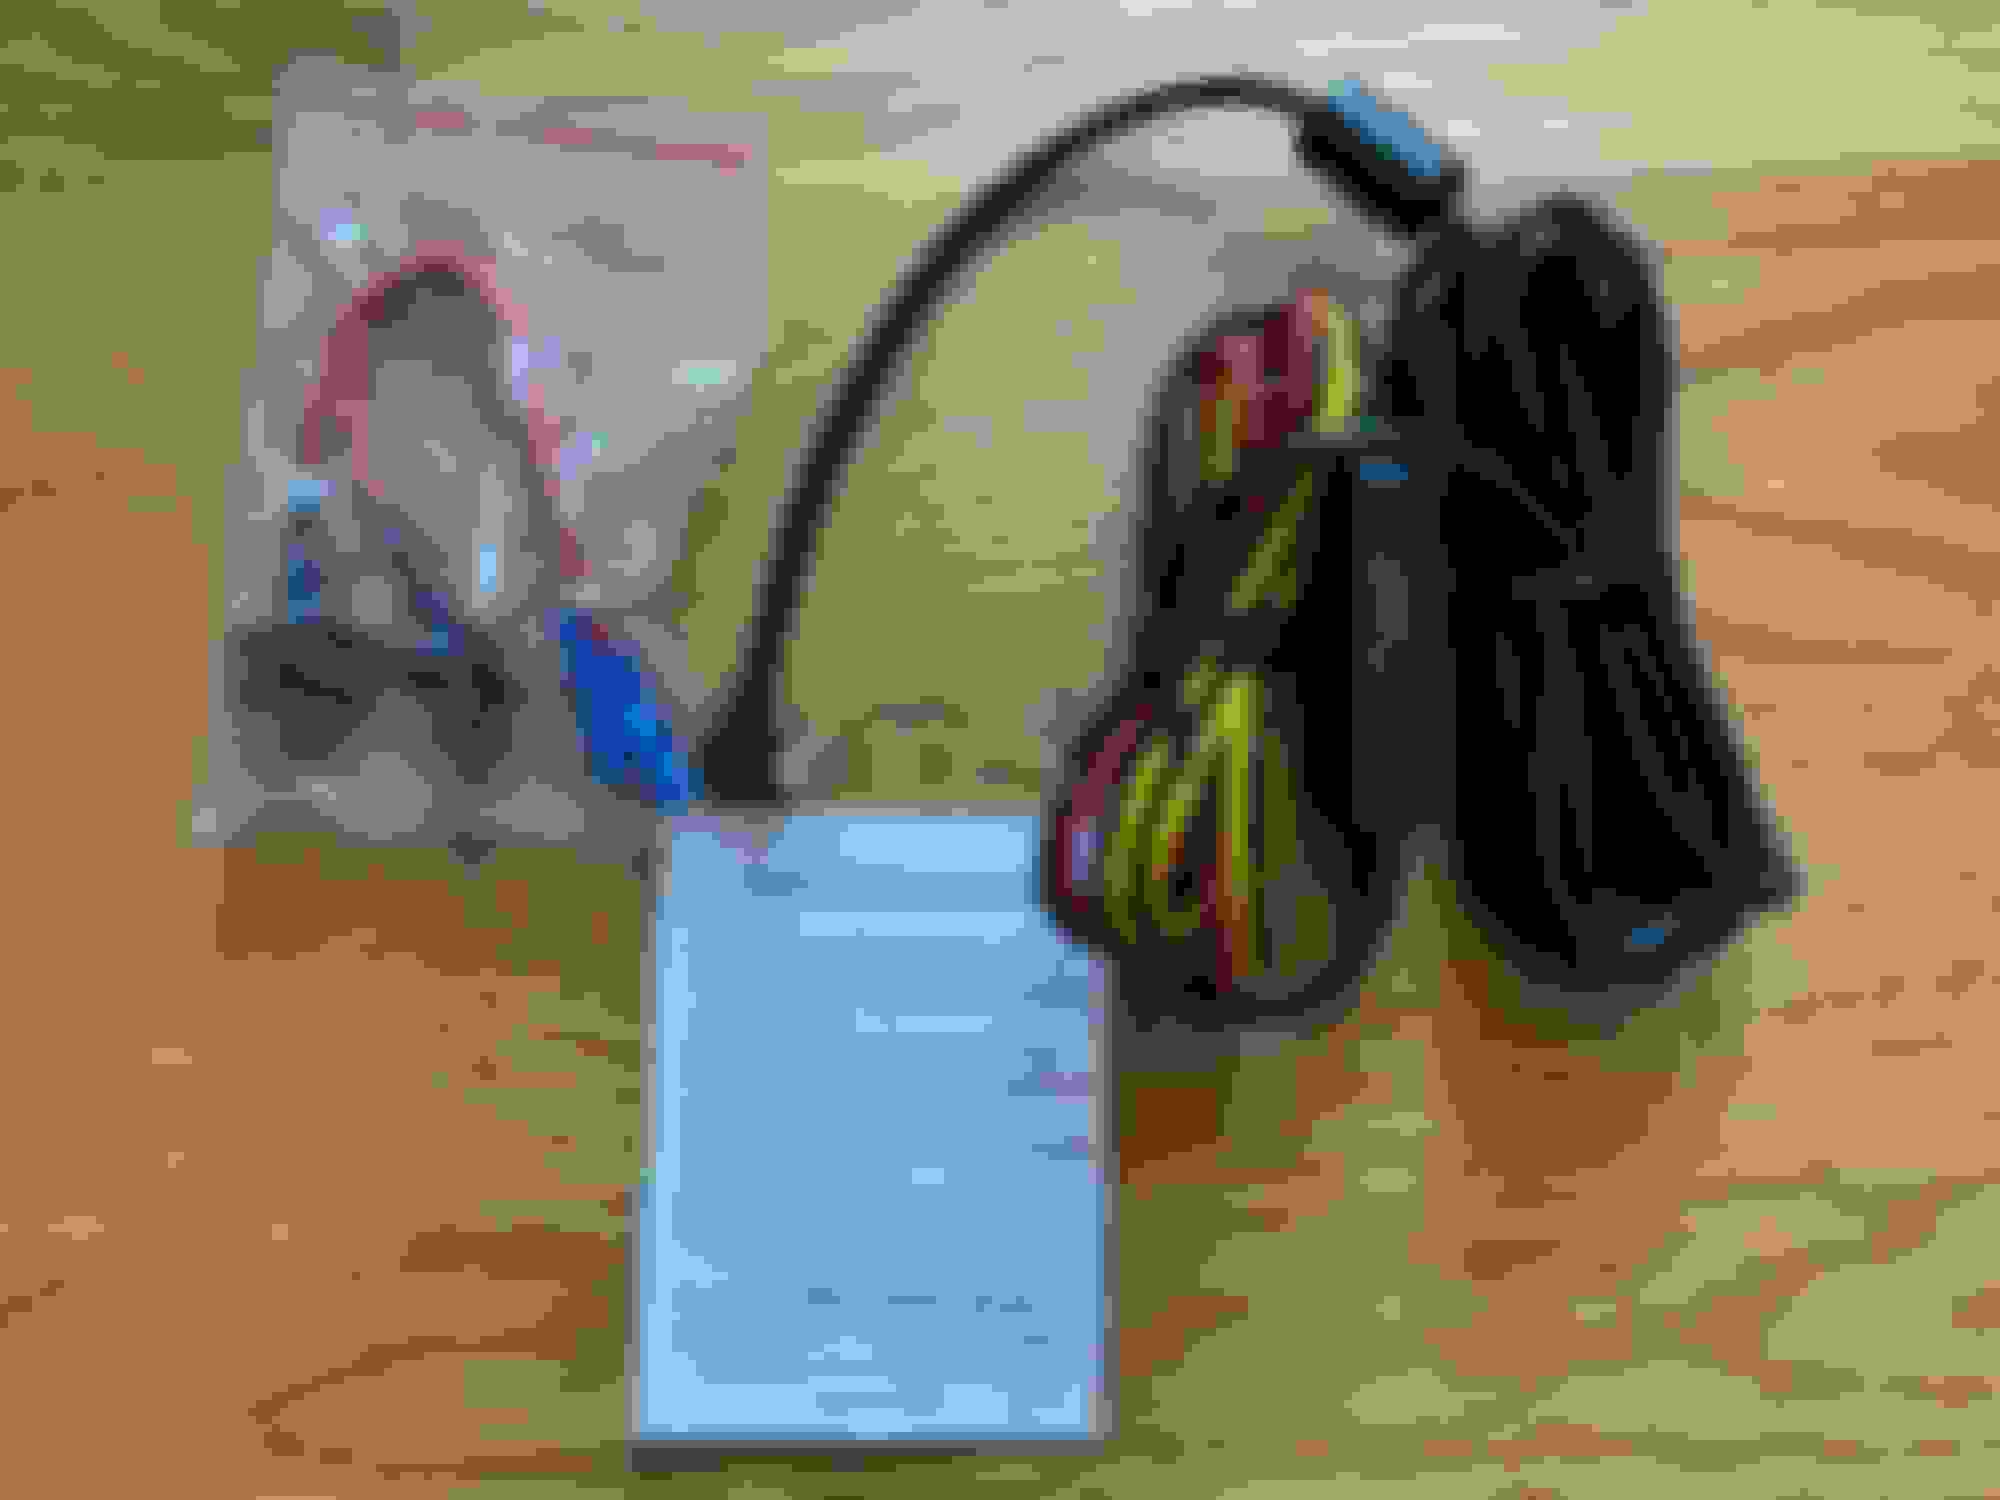
The kit, nothing fancy:
___
Next, I went to the driver's side and remove the lower panel. There is a small, plastic screw you'll need to unfasten, which can be done by hand. You may also want to pull the front driver sill up first as well since it is braced under it. I also have hard floor matts installed since I snowboard a lot (highly recommend it!
Now, squeeze yourself under and look up. You'll see a really tiny fuse box.
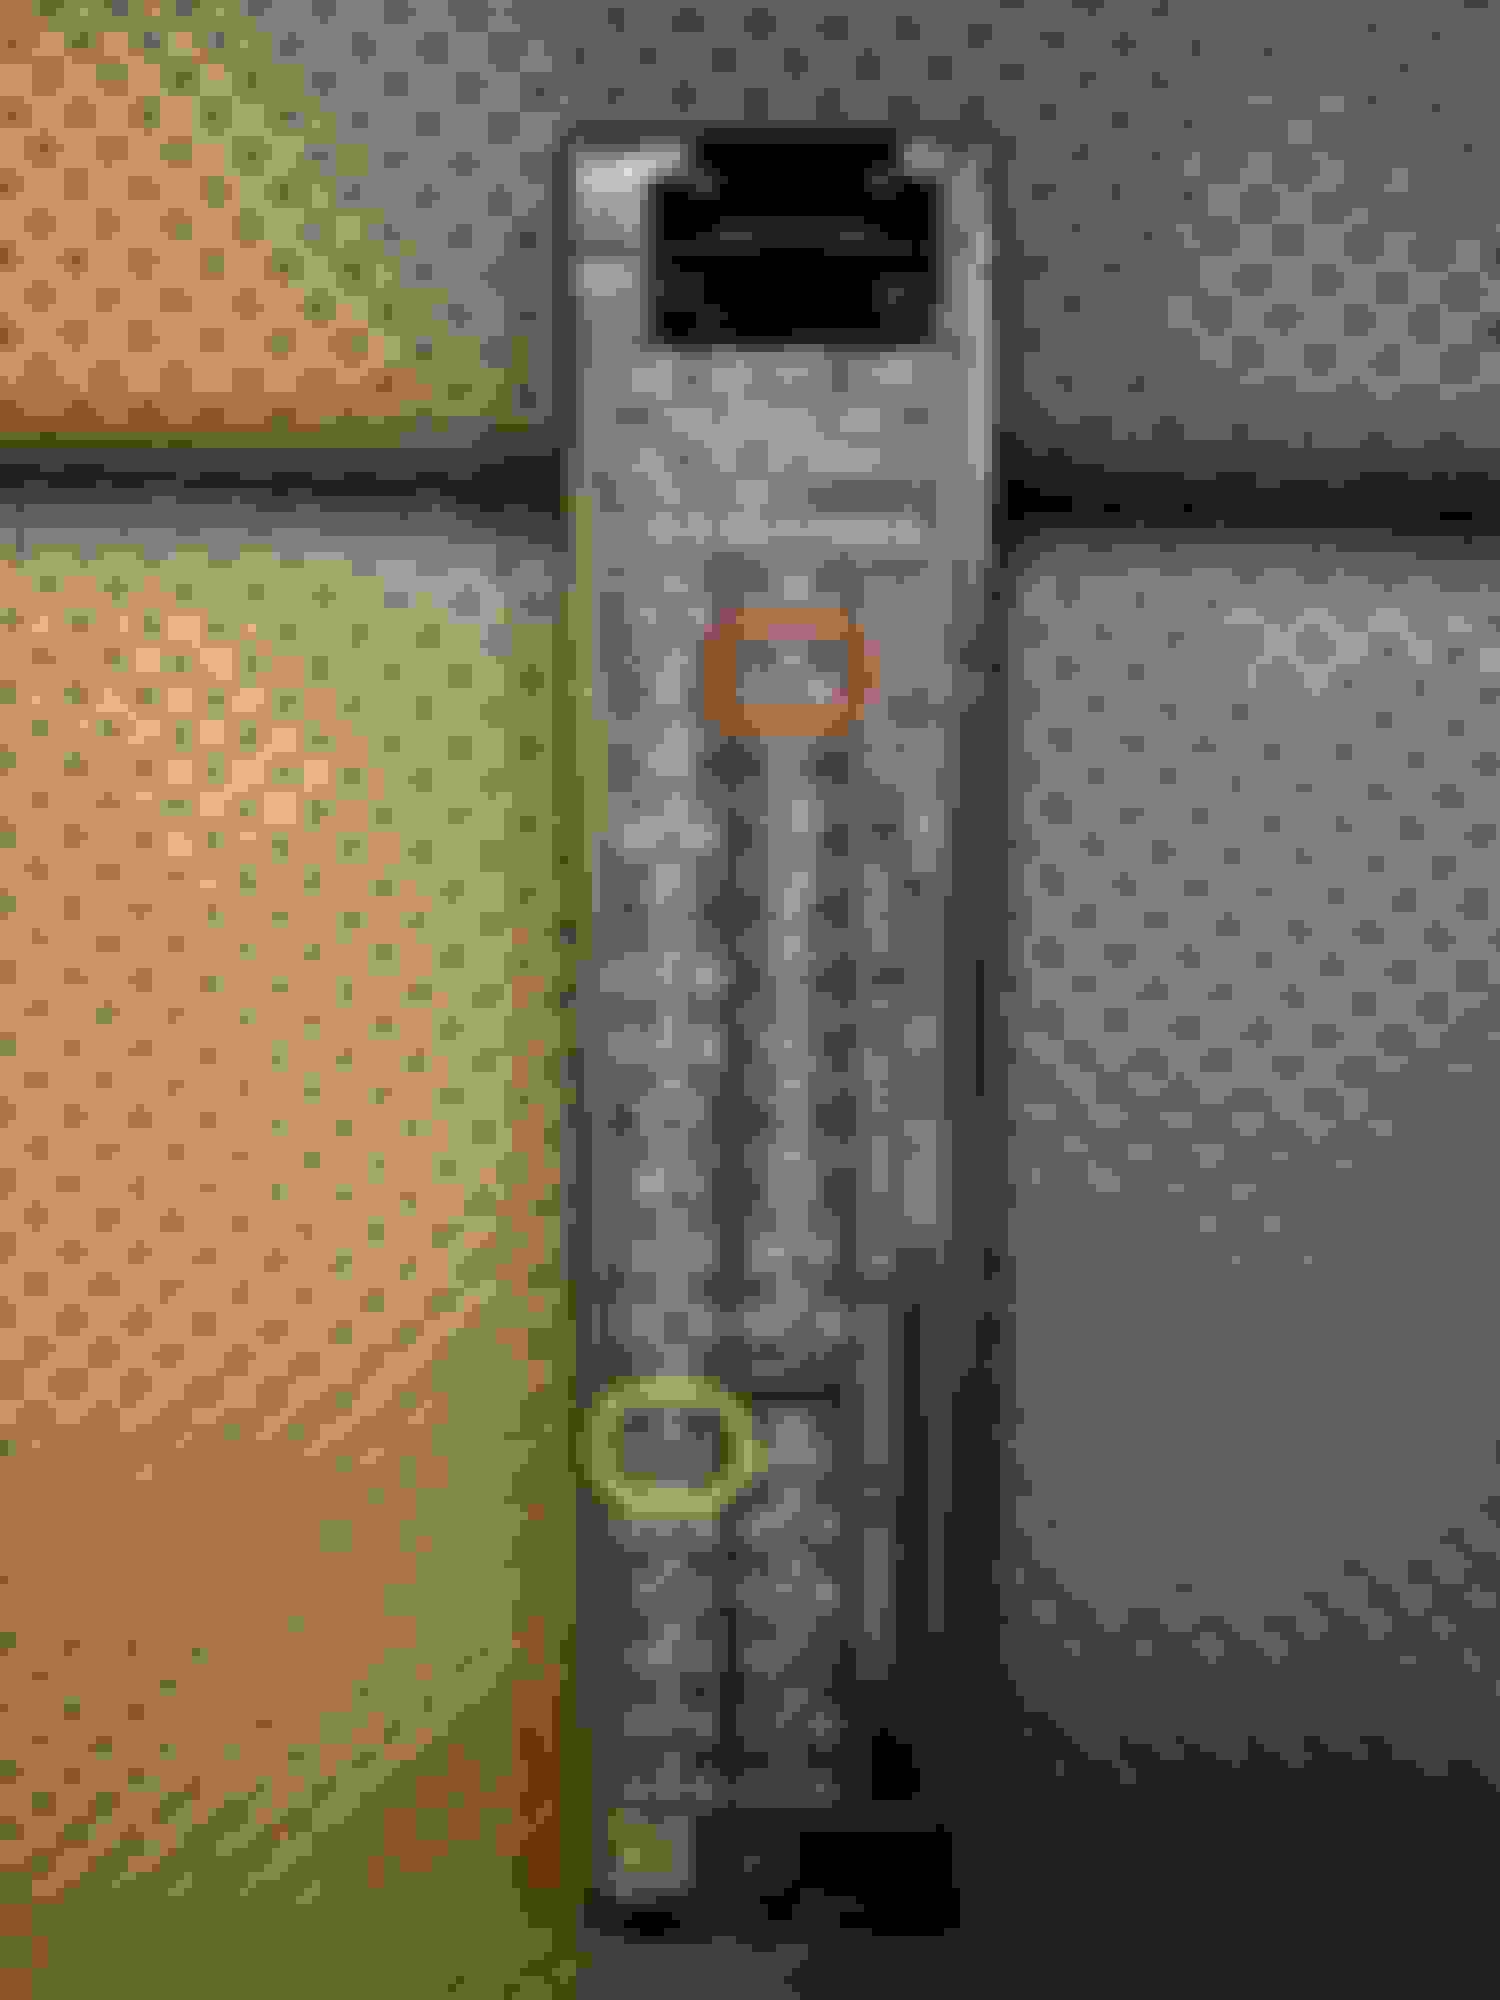
___
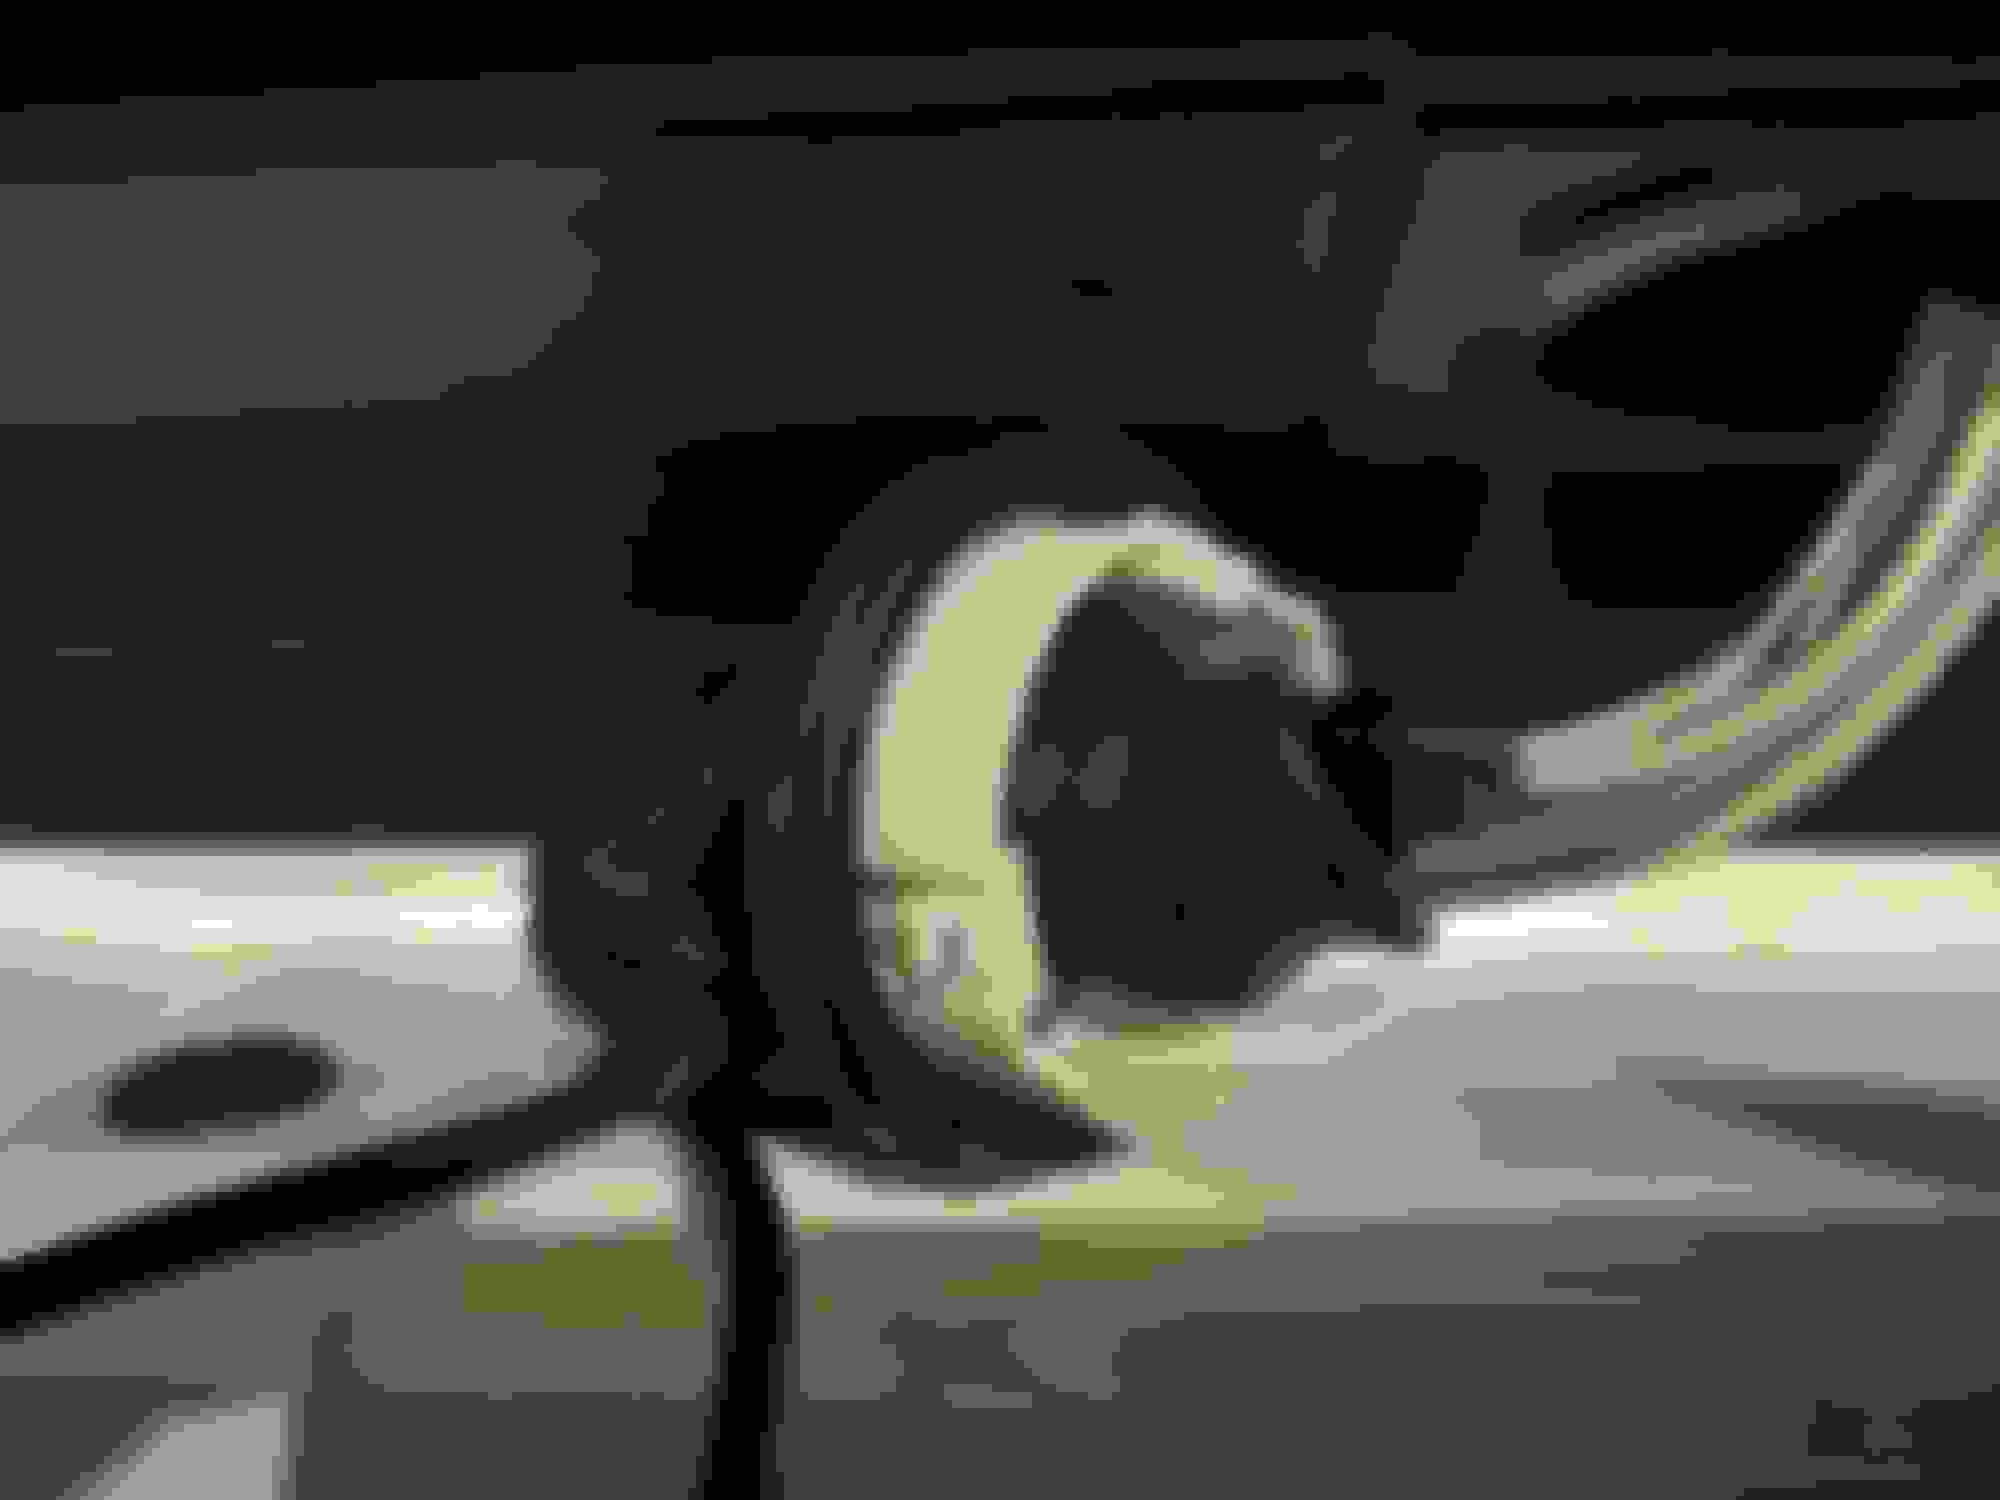
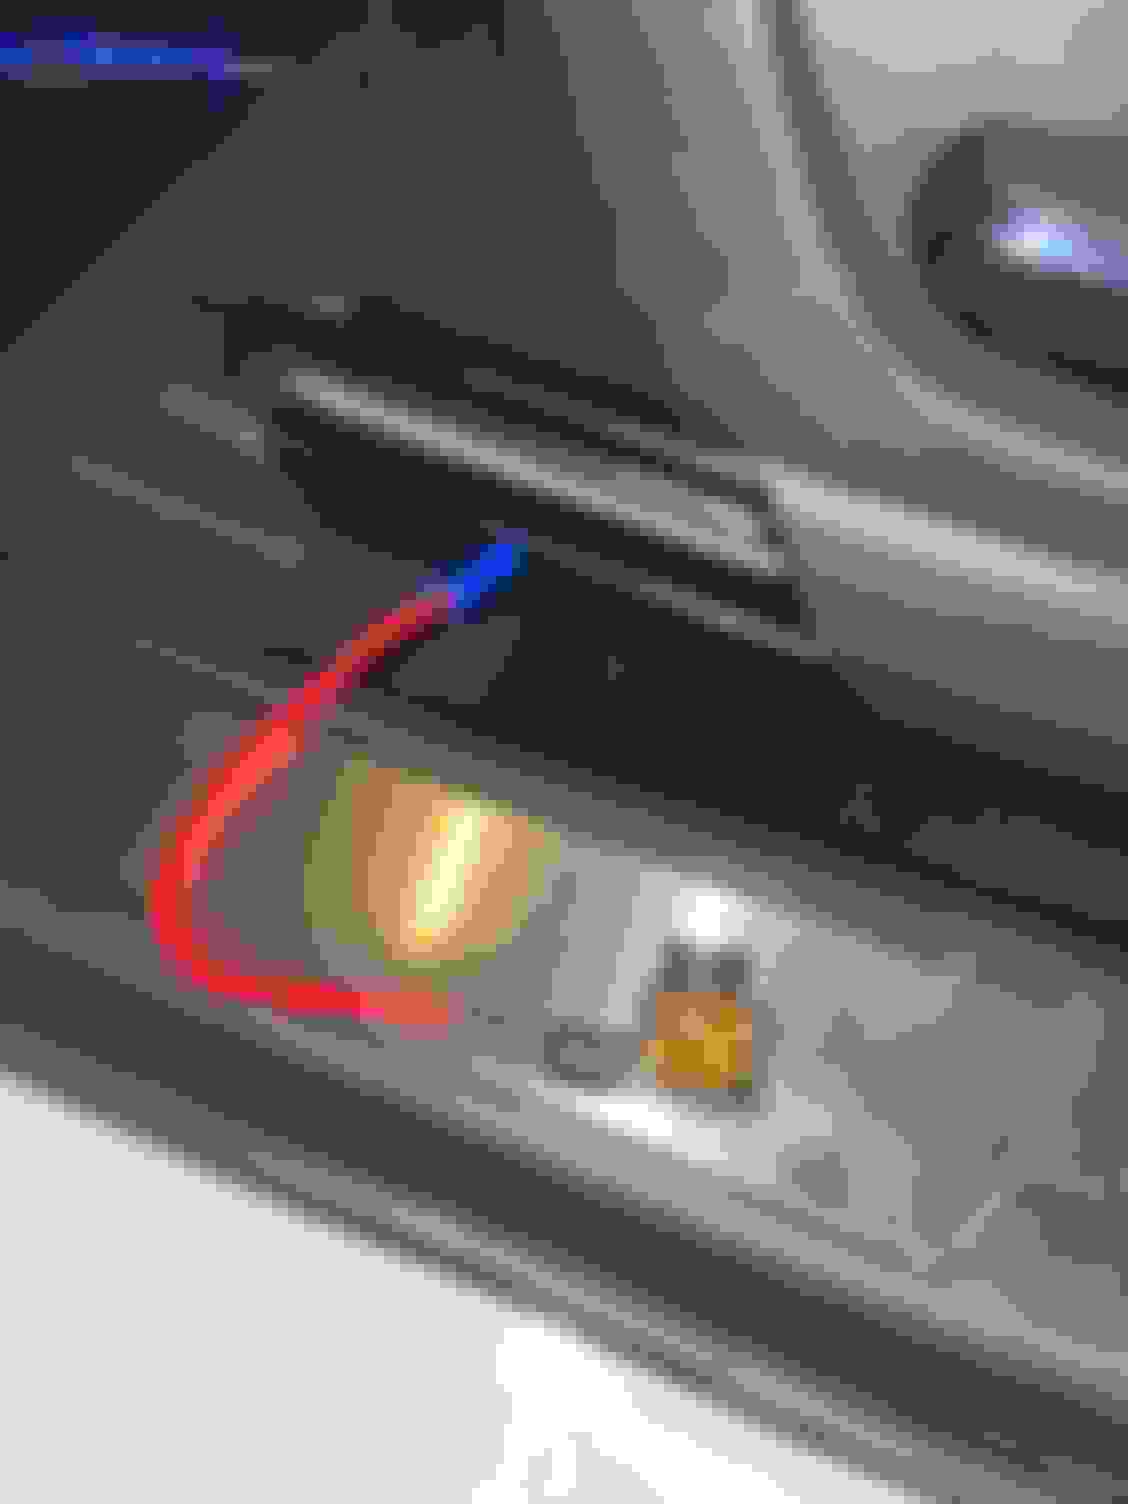
I've removed the lid for reference and highlighted what I have tapped in to: ECU-B No.1 for the constant power source (red) and ECU-ACC for the ignition (yellow). As an FYI, once the wire kit is installed, there is no room to put this lid back on.
I currently don't own a multimeter, so I spent some time digging around online for the best constant power source and that is what I came to the conclusion to use. I will most likely pick up a multimeter soon to check the voltage.
___
For the ground wire, I selected this brace/frame screw.
___
Now the fun part... Remove the door trim and a-pillar—don't forget about that stupid tab! I ran the wire from the ceiling and routed my wire as to not get in the way of the airbag.
___
Now, I tied up the excess wire (there is a lot) and tucked it into the a-pillar area. Be sure the excess wire isn't obstructing the tabs to properly put the a-pillar back into its place.
___
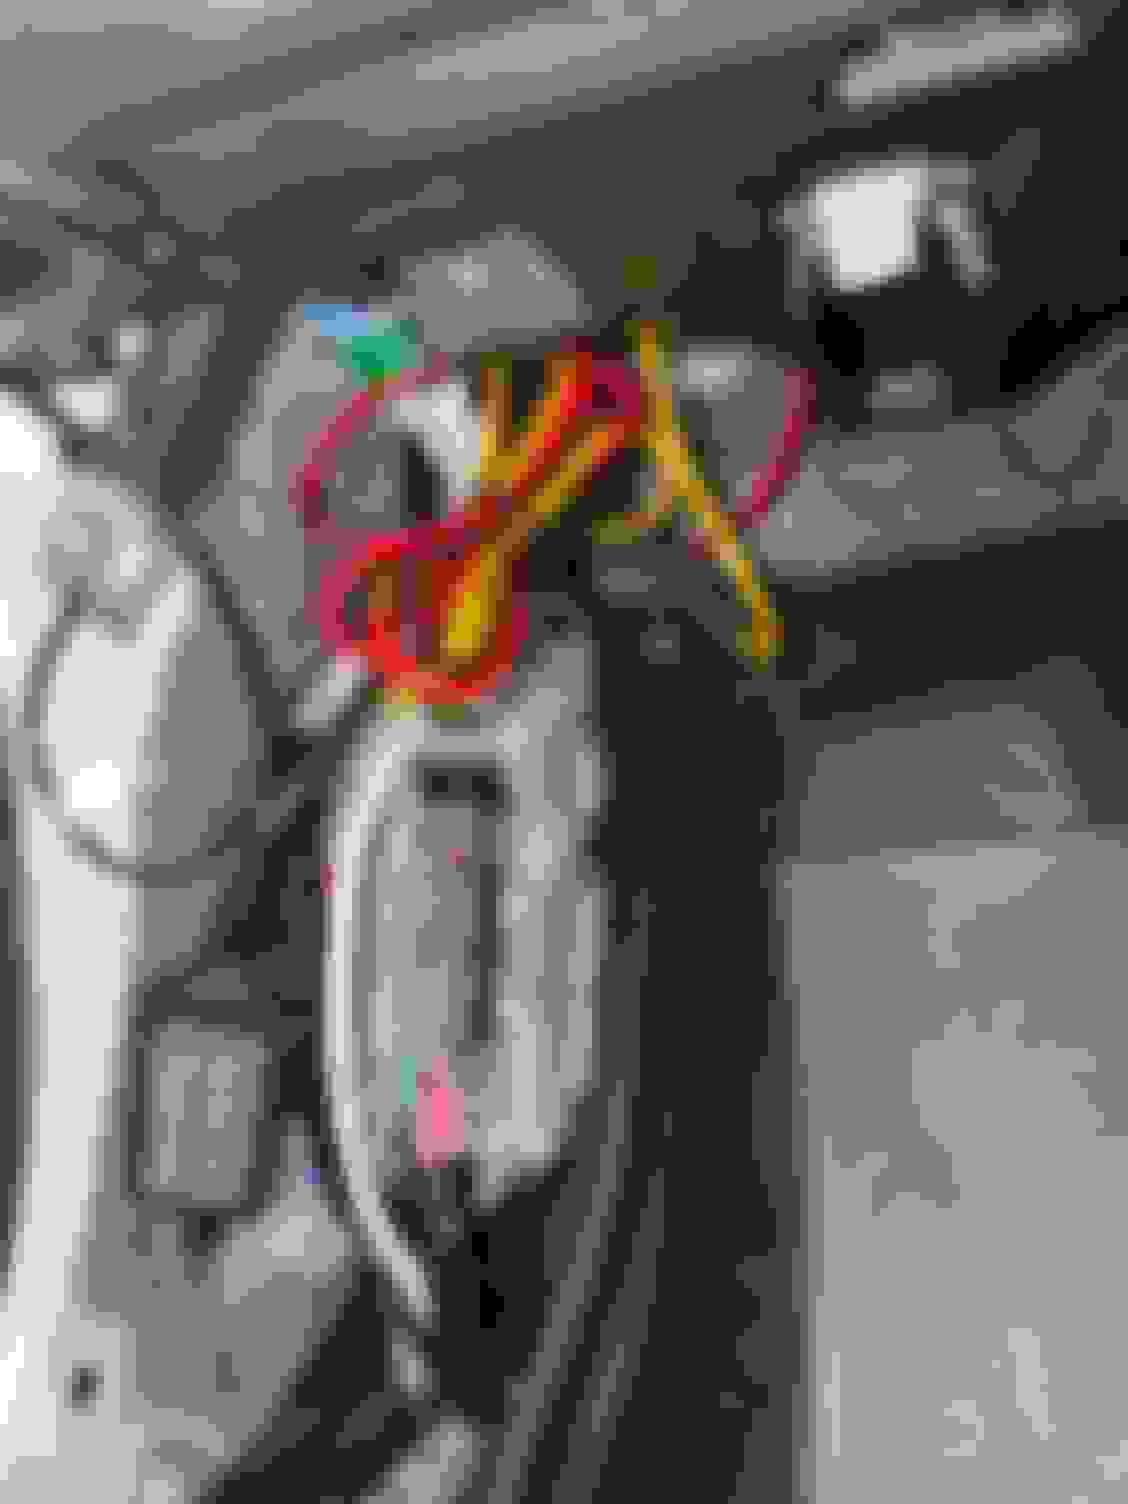
Now the fun part... first, I installed the ignition wire (yellow/5A) wiring. Taking the fuse out was rather difficult since I don't have a proper kit/tool.
___
Next, I installed the constant wire (red/5A) wiring.
___
Now, you'll have a bunch of wires you'll need to organize. Be sure whatever you are tucking away doesn't obstruct the panel tabs. I've also taped each connection area (black tape).
___
Finally, re-install everything: a-pillar and foot panel. As you can see here, the fuse box doesn't fit with the new wiring, so it will be left exposed. I'm sure there are better methods to tapping into the proper wires, but I'll explore that later.
___
Finally... enjoy your new dash cam!
It will probably take me a while to get used to it and play around with all its functions, so only time will tell how this works out for me.
 01-21-21, 09:12 PM