Lexus ES: How to Hardwire a Radar Detector
Installing a radar detector will keep you alert and safe on the road. Installing one is a simple affair with minimal wiring fuss.
This article applies to the Lexus ES (2007-2014).
Every now and then, a heavy right foot can bring about unintended consequences: blue and red lights, whooping sirens, or a fat speeding ticket are only a few of them. Almost every driver on the road will end up speeding at some point or another. A radar detector will announce the presence of nearby and active radar sources, which are probably coming from a cop's speed gun. Radar detectors are not really an effective way to avoid speeding tickets, but they will keep the driver more aware of their surroundings.

Materials Needed
- Crimping tool or scissors
- Two Phillips head screwdrivers (One short, one long)
- Flathead screwdriver
- Electrical tape
Step 1 - Remove plastic panel
in this example the wiring harness will be mounted to the top of the windshield near the rear-view mirror. You'll need to expose the wiring harness in order to power the radar detector.
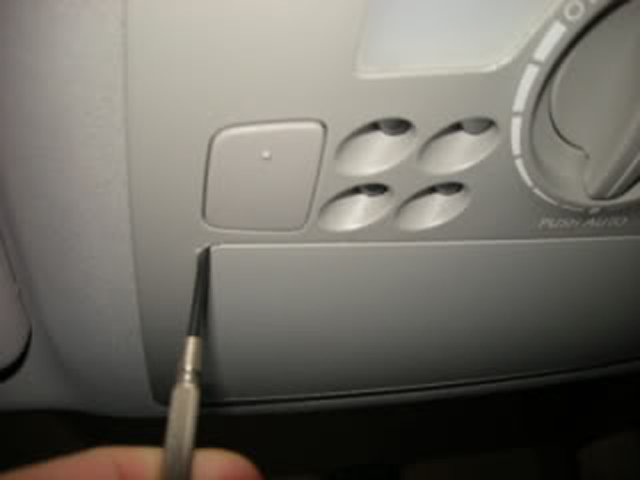
Begin by removing the plastic panel in the sunglasses holder compartment. This will need to be removed to gain access to the wiring harness.
- Using a flat head screw driver, gently pry around the edges to free the two clips holding this panel in place.
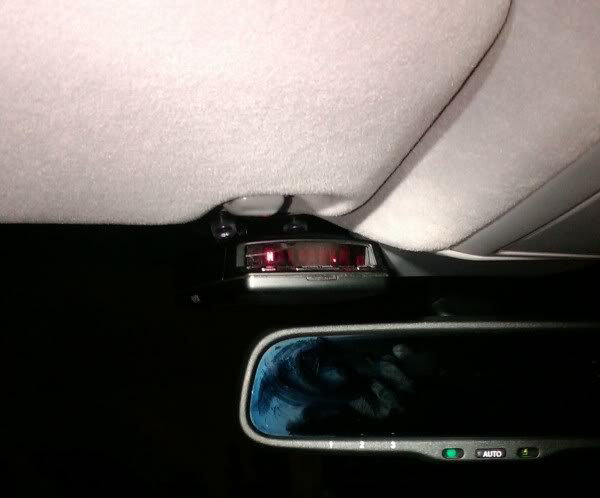
Step 2 - Expose dome control unit
The panel that was previously removed covers the dome control unit. Behind this unit is where the wiring harness will be found.
- Using a flat head screw driver, pry off two plastic tabs. See Figure 2a.
- Using Phillips head screw driver, unscrew the two screws.
- Gently pull the dome control unit down to expose harness. See Figure 2b.
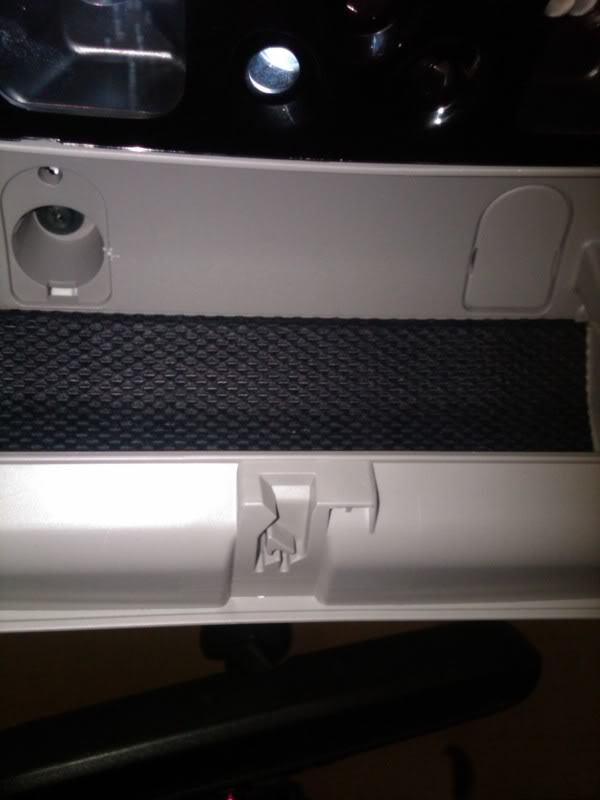
Figure 2a. Remove plastic tabs to access screws. 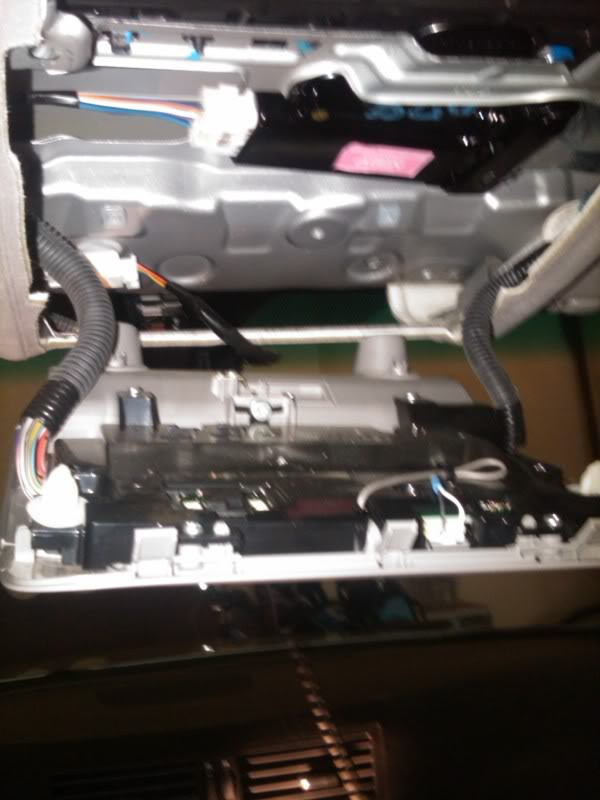
Figure 2b. Pull down to expose wiring harness.
Step 3 - Unplug rear view mirror harness
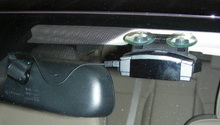
The harness plugs into the rear-view mirror. This plug carries an orange wire with a 12V charge. This is the wire that will power the radar detector.
- Locate connector from rear-view mirror and depress the tab to unplug. See Figure 3a.
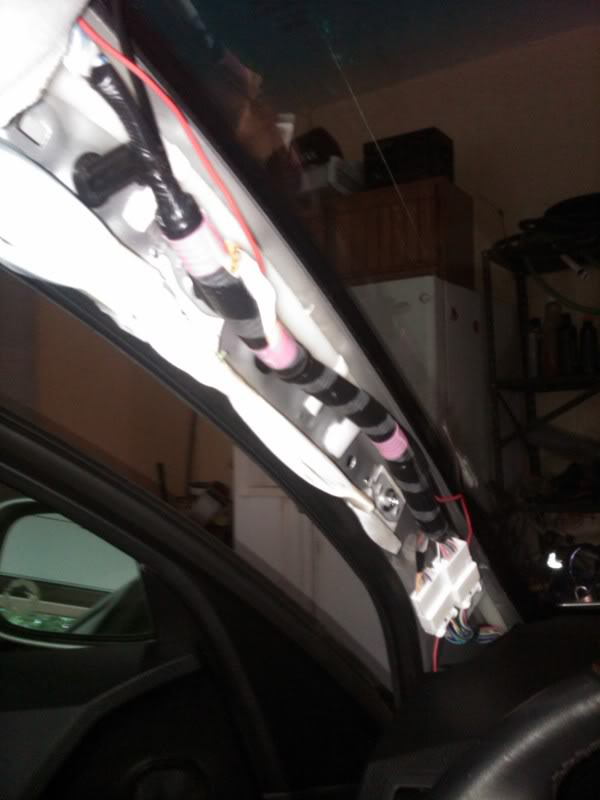
- Pull the harness wire down so that it is extended. See Figure 3b.
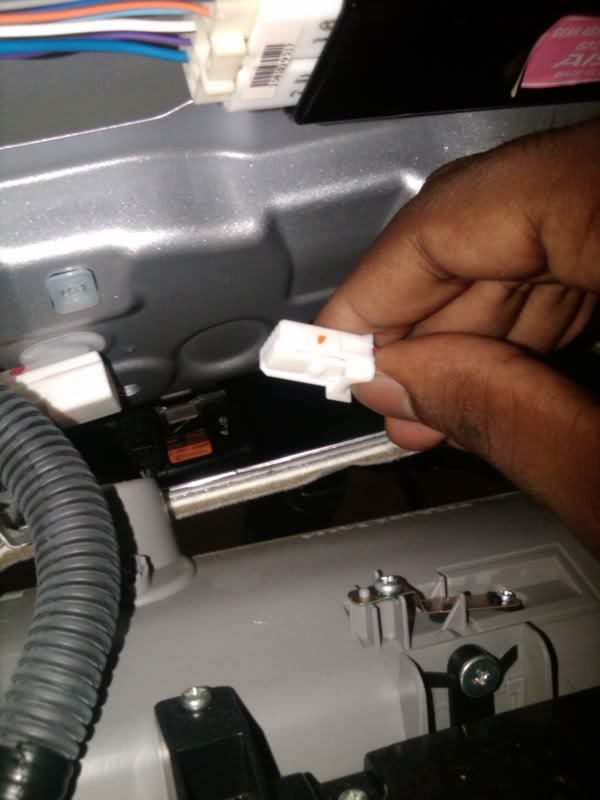
Figure 3a. View of the rear-view mirror connector. 
Figure 3b. View of the harness wire.
Step 4 - Splice radar detector cord into power cord
The orange wire in the previously exposed harness provides 12V. Splice the radar detector power wire into the 12V orange wire.
- Using provided splicing connector, splice smartcord wire into the orange wire on harness.
- Cover splice with electrical tape.
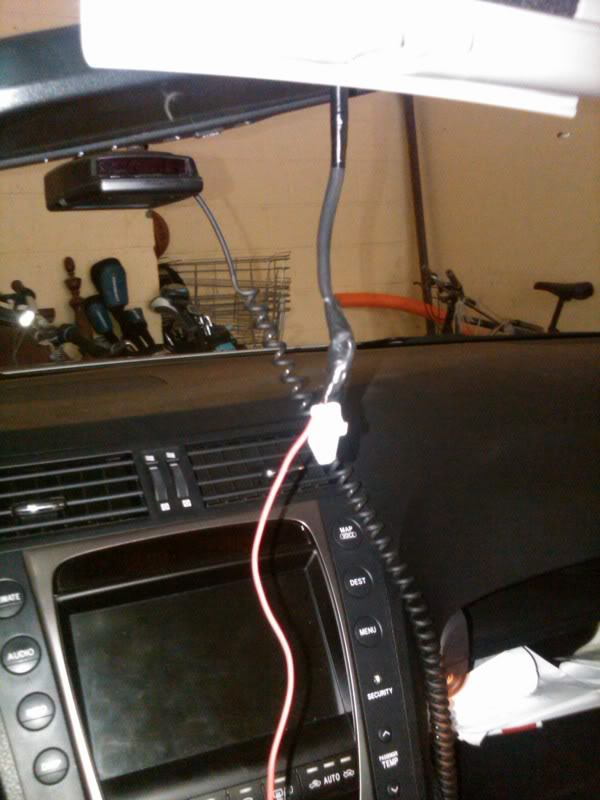
Step 5 - Route wiring
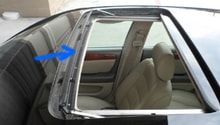
To complete the circuit, the wiring must now be routed and grounded as well as tested.
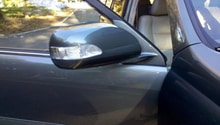
- Gently pry the A-pillar off using a flathead screw driver.
- Route wiring through the headliner and guide through the A-pillar groove.
Warning
Since there is an airbag behind the A-pillar, the panel doesn't require much force to remove. Be gentle!
Step 6 - Test the detector
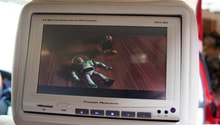
With all the splices and connections made, it's time to test the radar detector.
- Press the "on button" to turn the radar detector on.
- if the unit does not turn on, revisit the wiring and ensure everything is securely routed.
- If the unit turns on, re-install panels in the order you removed them.
Related Discussion
- How to Wire a Radar Detector - ClubLexus.com