Lexus ES: How to Replace Radiator
There are many components on your Lexus that can be worn-out or damaged and will need to be replaced. Radiators are part of that list.
This article applies to the Lexus ES (2004-2014).
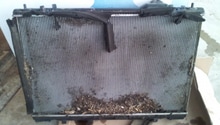
Over time, a vehicle's radiator can accumulate damage from debris and general wear, which will cause them to leak. Regardless of the severity, a leak is a problem for a few reasons. A car with a leaky radiator will overheat more frequently. Also, maintaining a leaky radiator is expensive. The cumulative cost of constantly refilling it with coolant will quickly rise. Save money by replacing it yourself at home. Read on to learn how to do just that.

Materials Needed
- Drain pan
- Socket wrench set
- Pliers or Channel locks
- Funnel
- Flathead screwdriver
Step 1 – Drain coolant
Before you can actually remove the radiator to replace it, you will need to drain the system of its existing coolant.
- Remove the radiator cap.
- Remove the hose connecting to the coolant reservoir.
- After placing the drain pan under the radiator, twist the drain plug counterclockwise to let coolant drain out.
- Remove the lower radiator using pliers or channel locks hose. Then, let it drain.
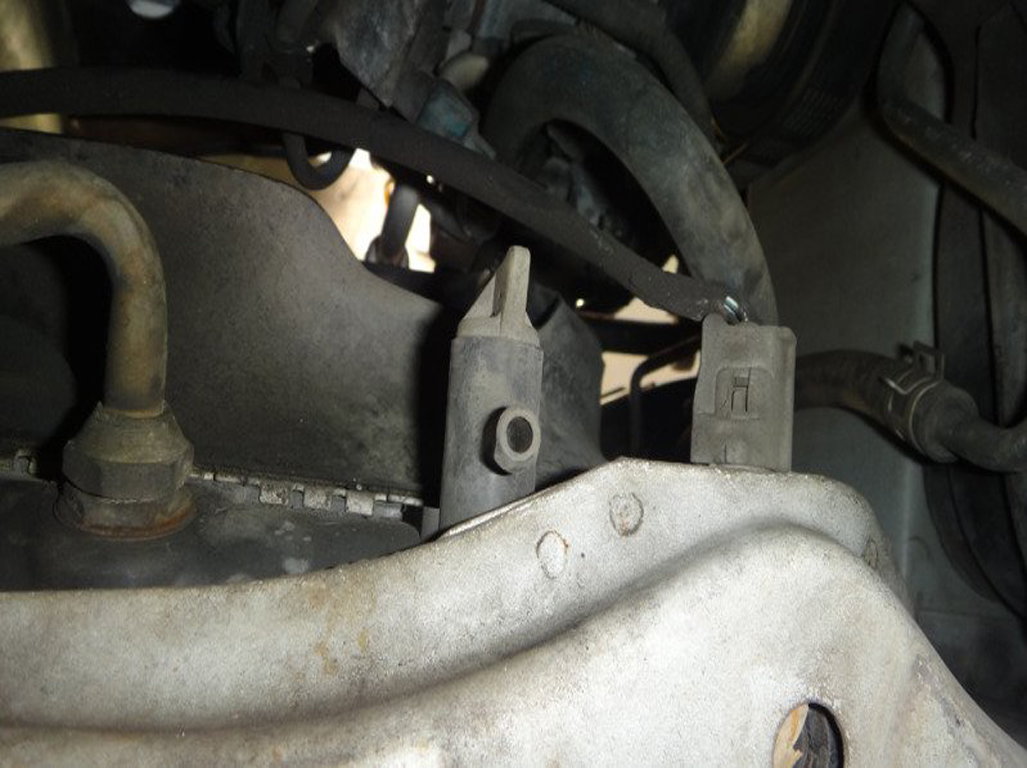
Figure 1a. Radiator drain petcock. 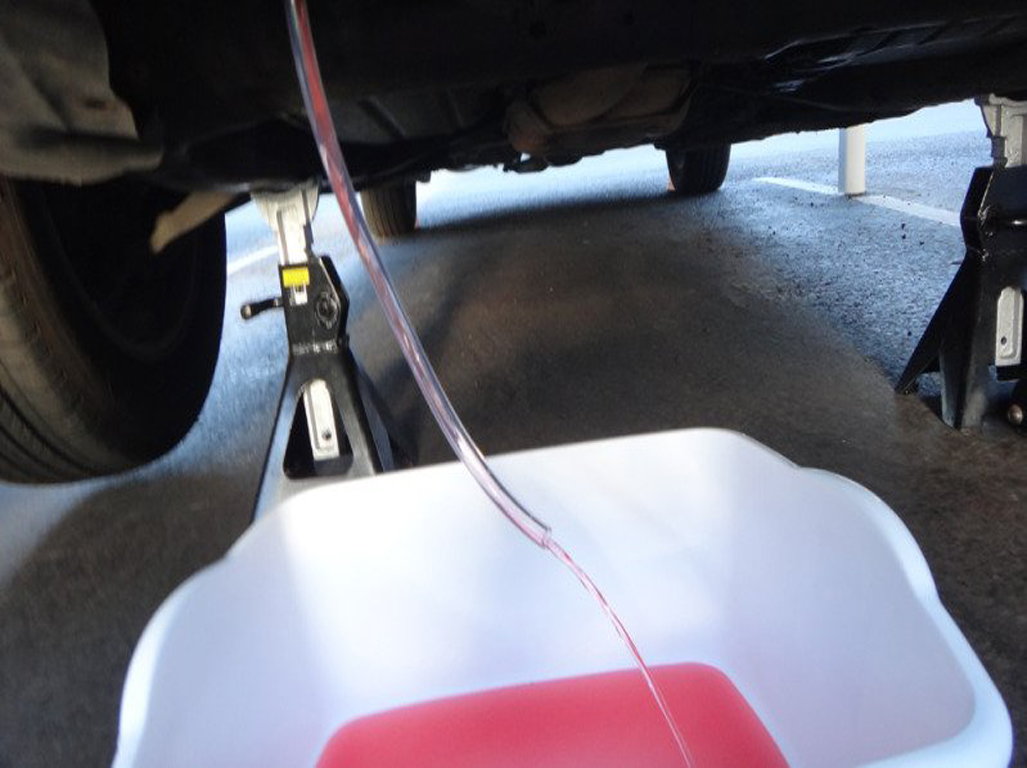
Figure 1b. Drain coolant. 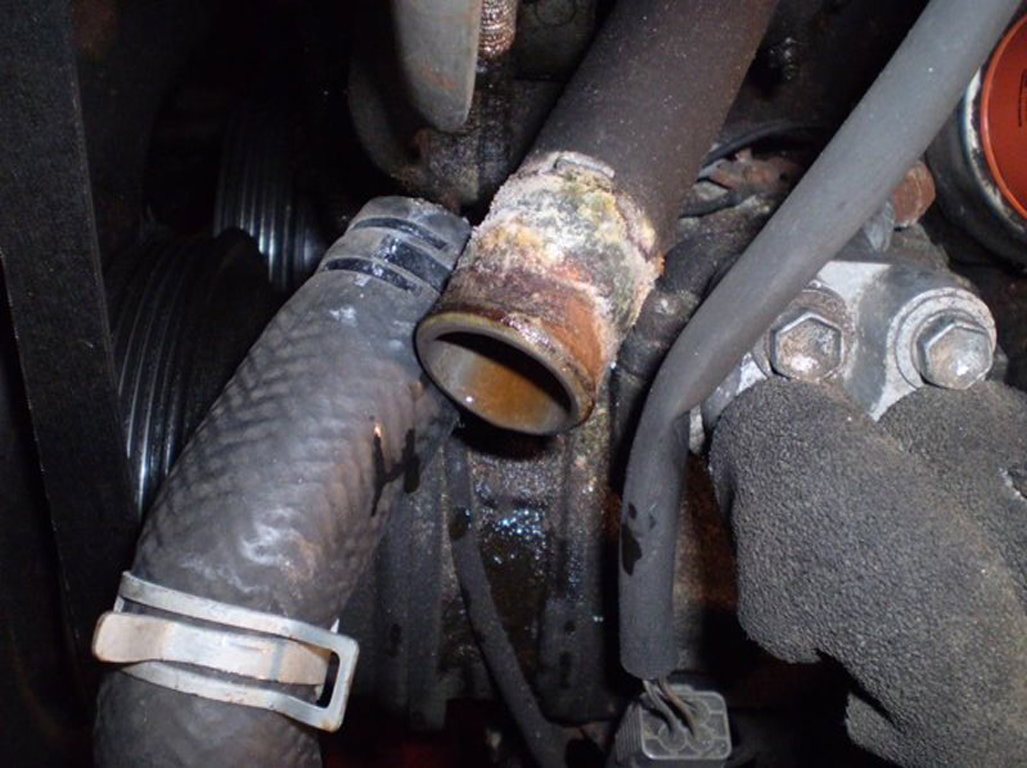
Figure 1c. Disconnect lower radiator hose.
Pro Tip
You can attach a section of clear tubing to the opening of the drain plug for easier draining.
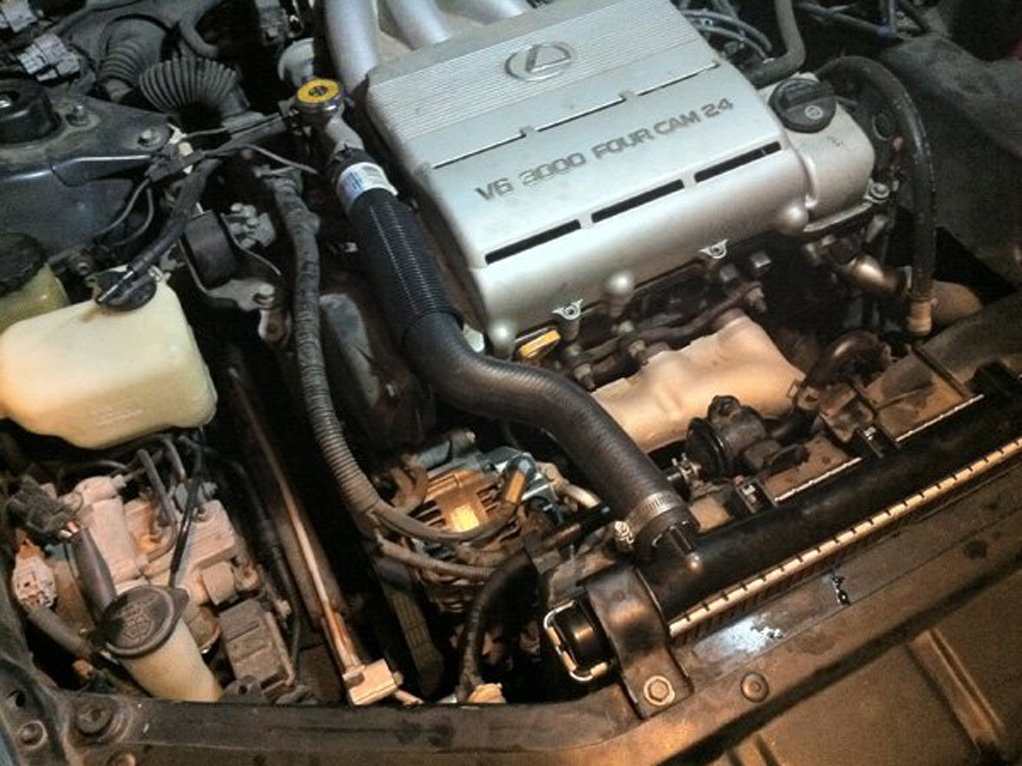
Step 2 – Disconnect fans
To completely remove the radiator, the fans will need to be disconnected. Press the connector tabs and pull the plugs out.
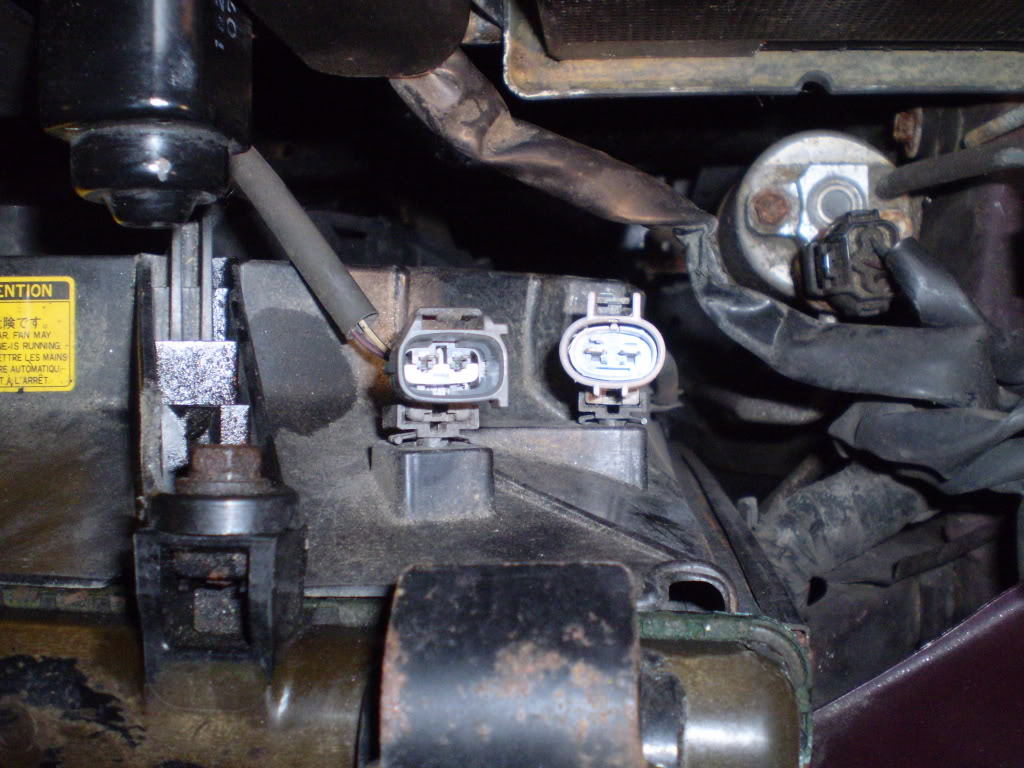
Figure 2a. Driver side fan connectors. 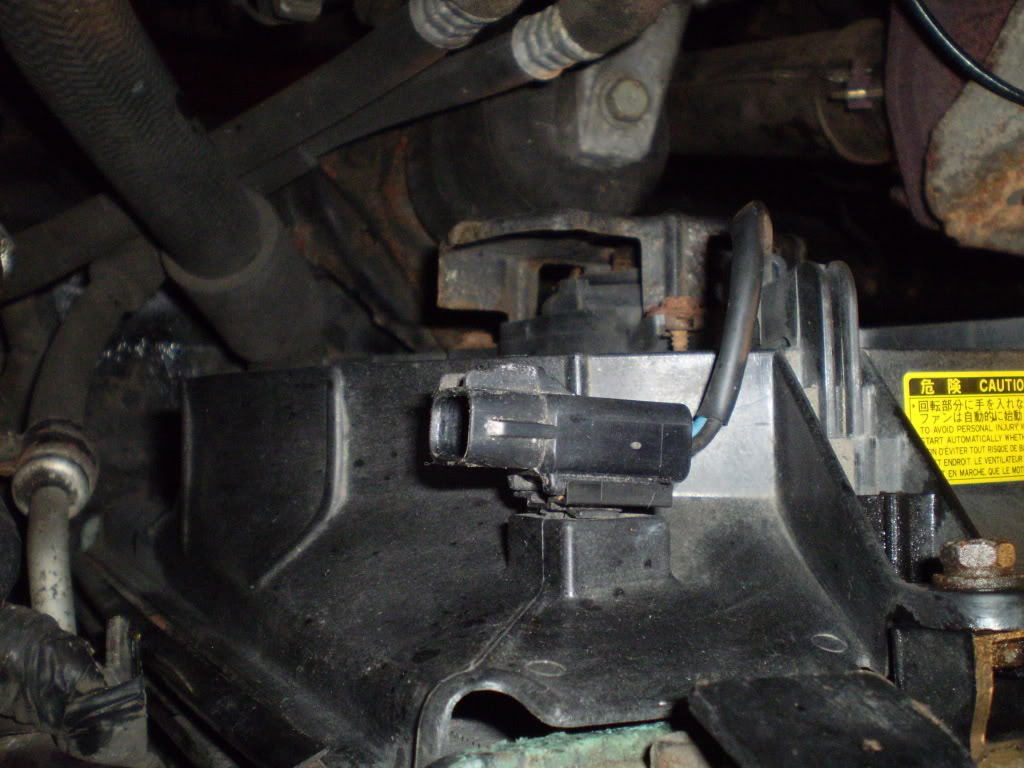
Figure 2b. Passenger side fan connectors.
Pro Tip
There are three connectors to remove. Two are located on the side of the battery and one is opposite to the radiator.
Step 3 – Remove upper mounts
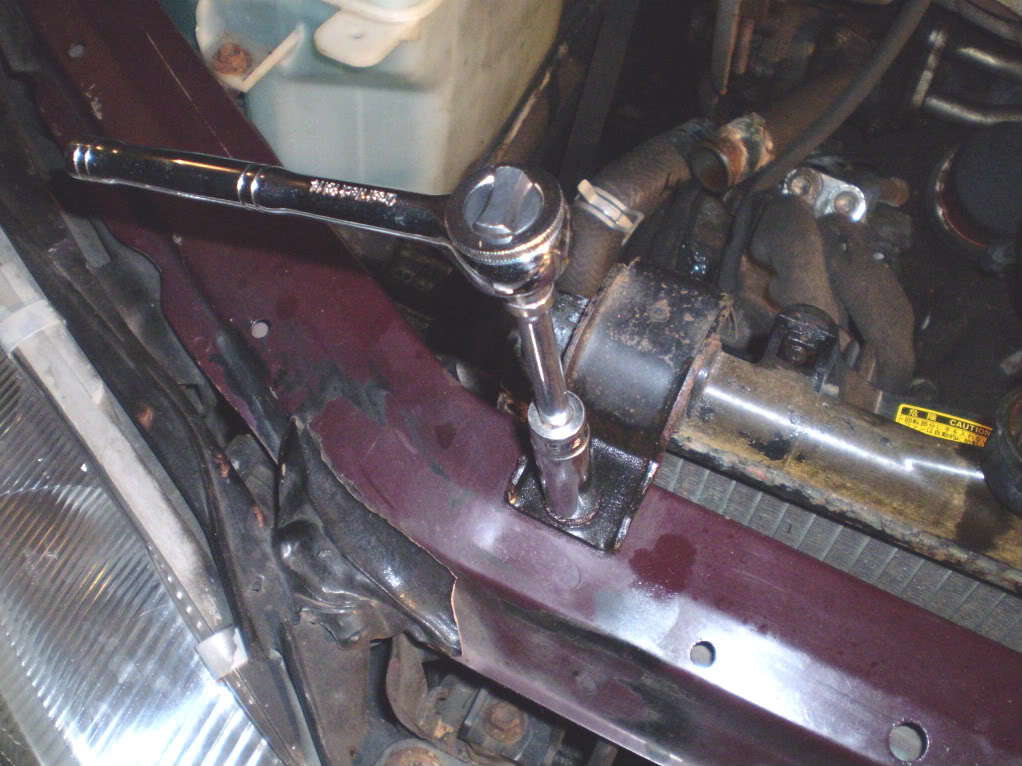
The radiator assembly is secured to the front of the car via mounts. Before the radiator can be pulled out, they will need to be removed.
- Using a ratchet wrench, remove the two bolts.
- Lift to remove the radiator and set aside.
Pro Tip
Set mounts and their bolts aside; they will be used again for installing the new radiator.
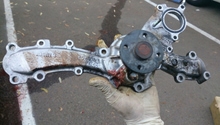
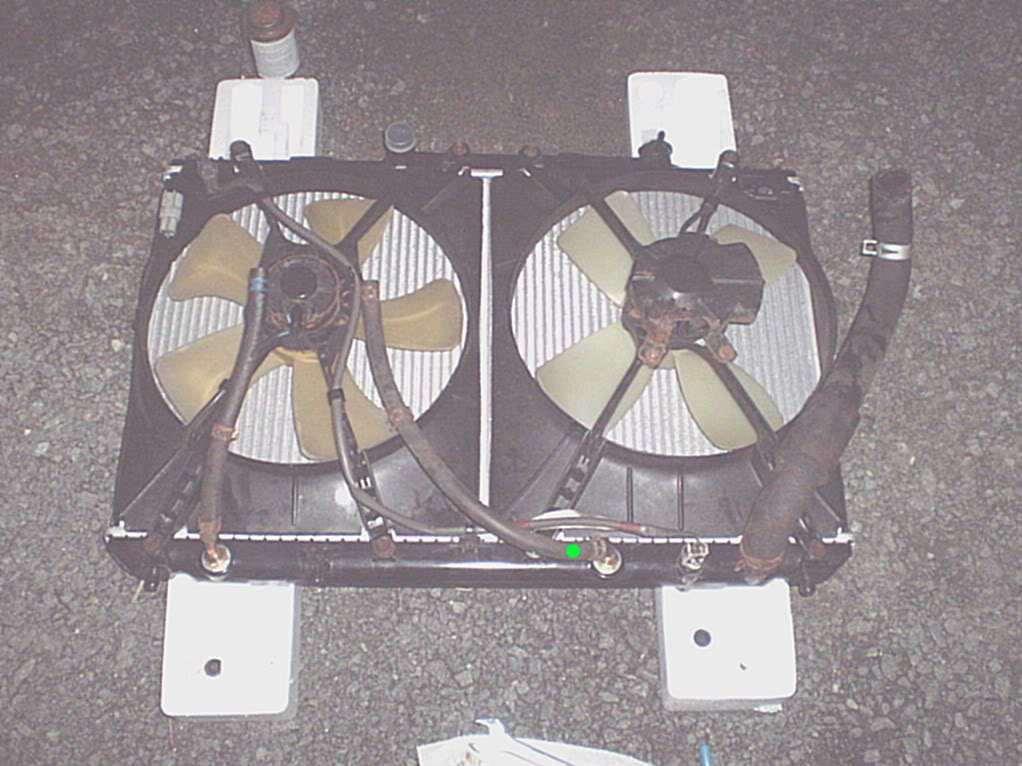
Step 4 – Separate fan assembly
Once the radiator is removed, the fan assembly will still be affixed to it and will need to be separated.
- Remove the eight fan housing bolts.
- Pry the lower mounts with a flat tip screwdriver.
- Using pliers, remove remaining hoses.
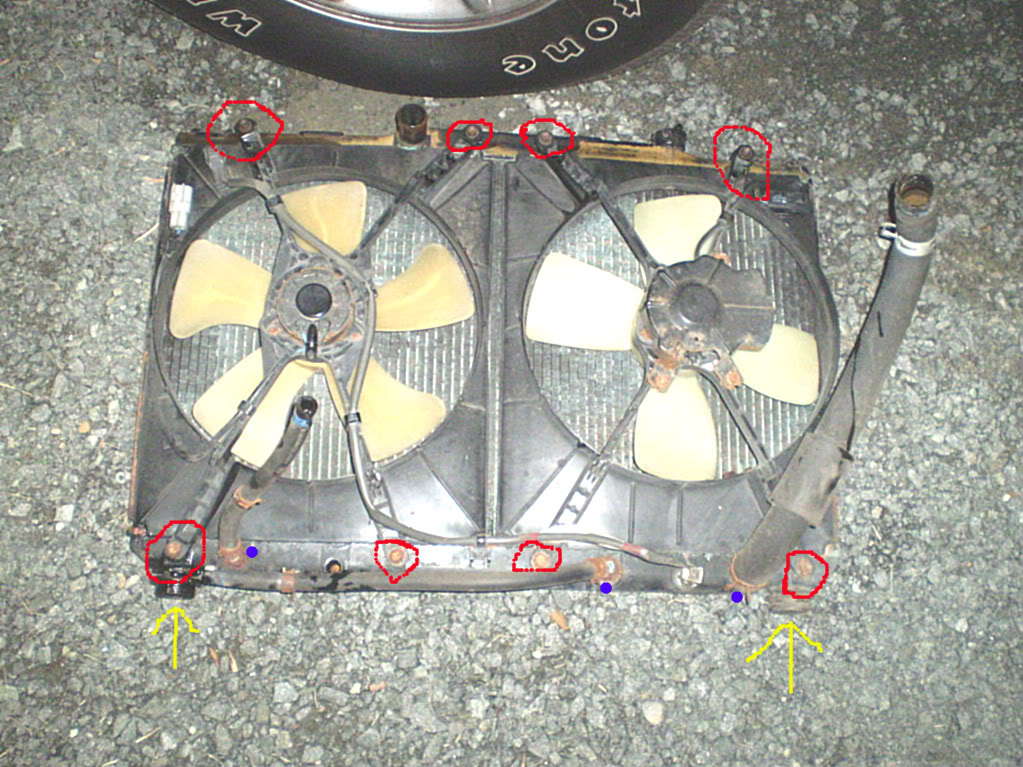
Figure 4a. Remove fan housing bolts. 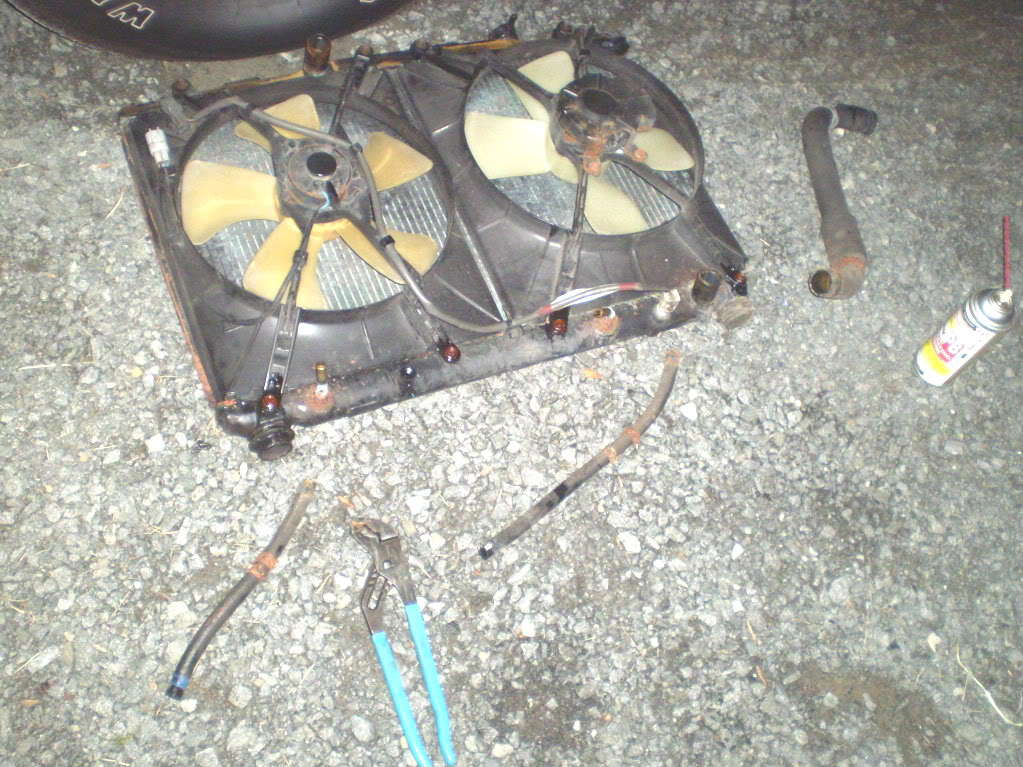
Figure 4b. Disconnect remaining hoses.
Pro Tip
Use penetrating oil to help free rusted or tight bolts.
Step 5 – Reassemble fans with radiator
The previously removed fan assembly will now need to be affixed to the new radiator.
- Align the new radiator with the fan assembly.
- Re-install the eight bolts for fan assembly.
- Re-install the lower mount.
- Re-install the remaining hoses.
Pro Tip
If any of the hoses removed previously were damaged or are worn, this is the best time to replace them.
Step 6 – Install new radiator
Now that the new radiator is assembled, it can be re-installed.
- Align the assembly.
- Tighten bolts for upper and lower mounts.
- Reconnect the fan connectors.
- Re-install the lower radiator hose.
- Re-install the upper radiator hose.
- Re-install the hose connecting to coolant reservoir.
Step 7 – Refill coolant
Now that the radiator is assembled, installed and connected, return to the motor. With the fans plugged in, the coolant needs to be refilled.
- Make sure the drain valve is closed.
- Fill the coolant to the top.
- Re-install the radiator cap.
- Start the car and let it reach operating temperatures.
Pro Tip
It is recommended to take the vehicle for a short drive and to check the levels when you return. Top off accordingly.
Featured Video: How to Replace a Radiator
Related Discussion and Site
- Coolant Drain/Refill Lexus ES - ClubLexus.com
- DIY Radiator Replacement - ToyotaNation.com