Lexus ES: How to Replace Thermostat
If the thermostat stops working, the vehicle will most likely overheat. Here's how to replace the thermostat on the Lexus ES.
This article applies to the Lexus ES (2007-2014).
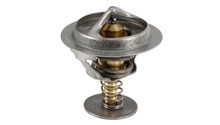
A car's thermostat isn't much to look at, but that small piece maintains a minimum operating temperature in a car's engine and keeps the antifreeze or coolant mixture in. Once the coolant temperature reaches the opening point of the thermostat, it opens up and allows coolant to flow through the radiator and keep the engine's temperature within a safe range. A stuck or bad thermostat can cause a range of issues, including making your engine run rich, causing excess fuel consumption and high idle, decreasing heat in the car, and even making the engine overheat. Replacing the thermostat in a Lexus ES isn't too hard, but it does involve removing some extra hardware.

Materials Needed
- 14mm socket wrench
- 10mm socket with extension
- Torque wrench
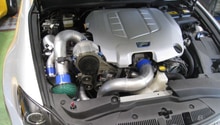
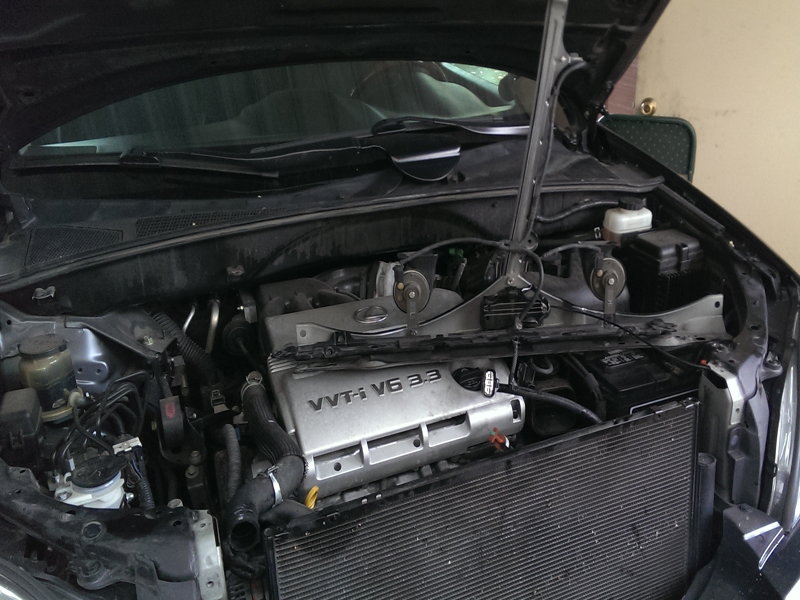
Step 1 - Remove engine cover, radiator cover, and radiator cap
Remove the engine cover by removing all the clips holding it in place, then remove the radiator cover the same way and set them aside. Make sure the engine is cool before removing the radiator cap. Set these parts to the side for now.
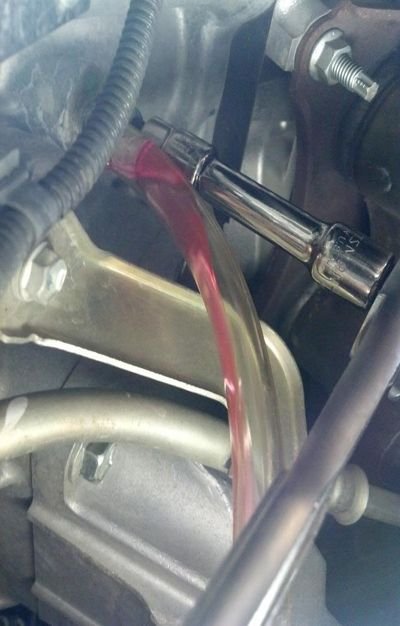
Step 2 - Drain coolant from radiator
Look under the car by the splash shield for a small circular hole. Inside of that hole is the radiator peacock. Place a drain pan underneath and open the peacock to drain the radiator. It may be easier to reach the peacock from the top of the engine. With these cars, it is best to use a hose to drain, as it will make less of a mess.
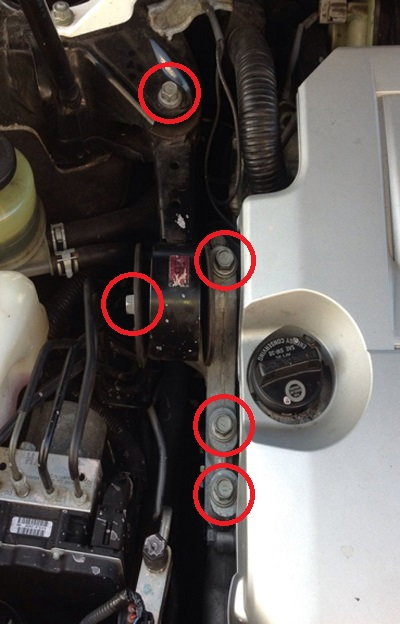
Step 3 - Remove the torque control mount
The top engine torque control mount is held in place by five 14mm bolts, with four on the engine itself and one on the strut tower. Be sure and note which bolt came out of which hole when you remove them because some are different lengths than others.
Step 4 - Remove the serpentine belt and idler pulley
Use a 14mm socket to push the tensioner towards the back of the car and carefully pull the belt off of the two pulleys. This is also a good time to replace the belt with a new one if you want to do so, in which case you can just cut the old one off. Remove the idler pulley that is just under the thermostat housing to gain access to it.
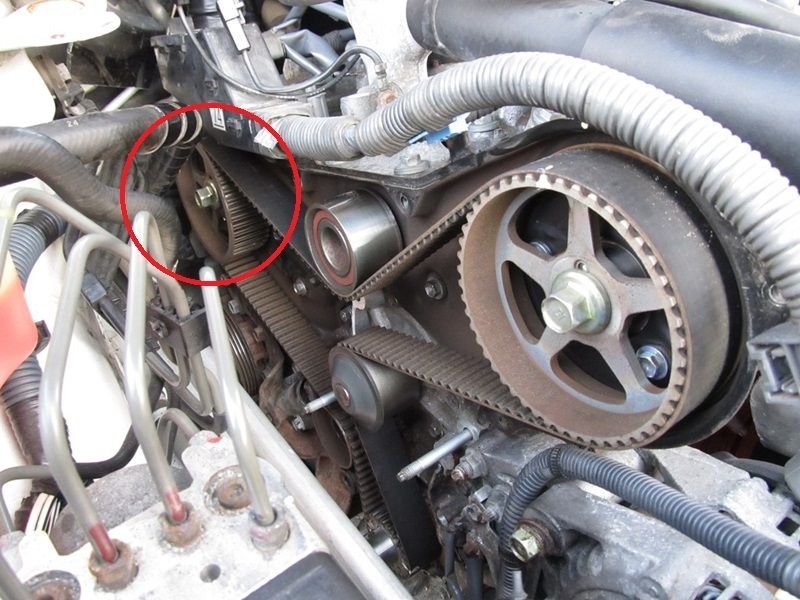
Figure 4. Remove the idler pulley, circled in red, to access the thermostat housing. 
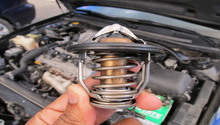
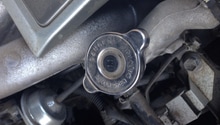
Figure 5. Thermostat housing location.
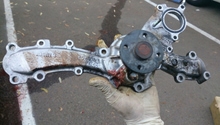
Step 5 - Remove the thermostat housing and replace thermostat
Once the radiator is drained completely, compress the hose clamp on the thermostat housing and pull the hose out of your way. Remove the two 10mm bolts that hold the housing in place and pull the housing out. Use a pair of pliers to remove the old thermostat and gasket, taking caution to note how it is in place. Insert the new gasket and thermostat.

Step 6 - Re-install components and test
Bolt the thermostat housing back into place and re-install the idler pulley and serpentine belt. Re-install torque control mount and fill the radiator with coolant. Before you re-install the radiator cap, start the engine and turn the heat all the way up. Squeeze the upper and lower hoses to help remove any air in the system. Keep the engine running until you hear the cooling fans cycle on a few times. Re-install the radiator cap and engine and radiator covers. Lastly, be sure and test the system before heading out on the road.
Featured Video: How to Replace Thermostat in Lexus ES
Related Discussion and Sites
- How to Remove Serpentine Belt - ClubLexus.com
- How to Replace Thermostat on V6 Camry/ES - ToyotaNation.com
- Thermostat Replacement/Coolant Flush - YouTube.com