Lexus GS: How to Replace Center Console Light
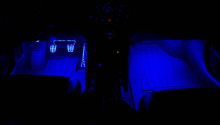
Struggling to see in the dark? It could be that the center console light in your GS is no longer working. Changing the bulb yourself is quick and easy and will save you some money.
This article applies to the Lexus GS (2005-2014).
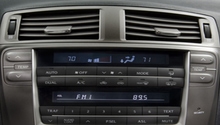
The center console light assists in illuminating various components in the center part of the car. This light commonly brightens up buttons and even screens. In newer cars, it may also help illuminate a navigation system. Whether your light's burned out or you just want to replace it with something newer and brighter, the entire process is quite simple, even for those who don't normally fix up their own cars. The exact amount of time and bulbs replaced will depend on which bulbs are burned out.

Materials Needed
- Phillips head or small flathead screwdriver
- Replacement bulb(s)
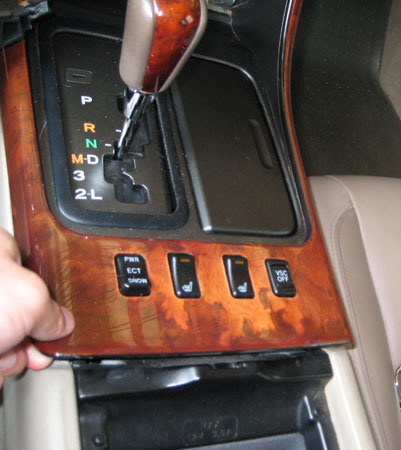
Step 1 – Remove the console
Remove the console by unscrewing the bracket that holds the switches. You may need to use a Phillips head or flathead screwdriver for this step.
Step 2 – Remove affected switches
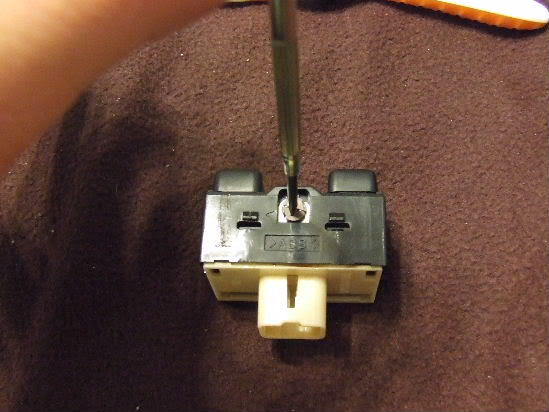
Depending on the bulb that's burned out, you may need to remove one or more affected switches. For example, to remove the vehicle control switch, gently pry under the bar that's holding the switch in until you are able to partially slide it up. At this point, the bracket holding the switch in place will not quite be inside the holder anymore. Flip the switch over and complete the same step on the other side. The switch should then slide out easily.
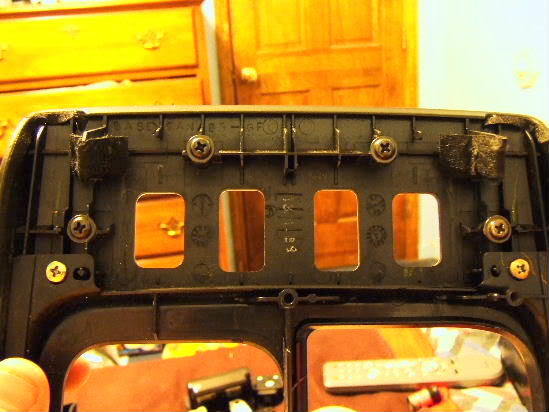
Figure 2a. Remove affected console switch(es) from console. 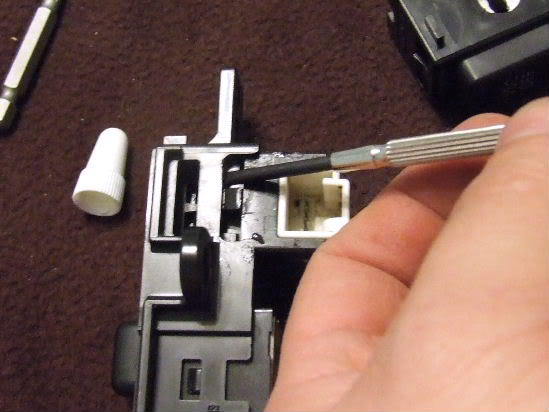
Figure 2b. Lightly pry up on the bar holding the switch in. 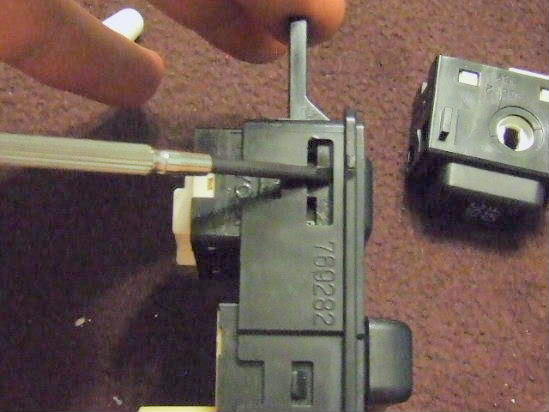
Figure 2c. Flip switch over and repeat the process.
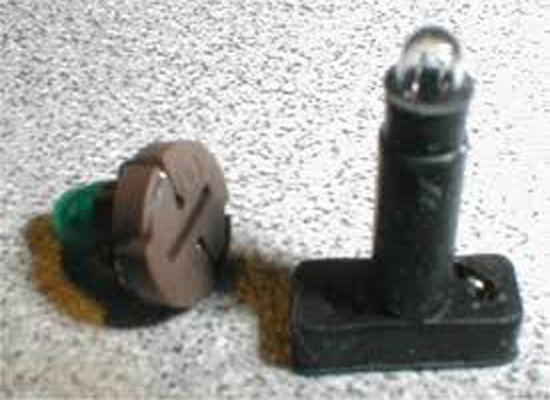
Step 3 – Unscrew the bulb
Locate the white circle within the switch -- this is the bulb. Unscrew the bulb using the Phillips head or flathead screwdriver, then remove it completely.
Step 4 – Replace the bulb
Replace the burnt out bulb by gently pushing downwards. The new bulb should easily slide into place.
Pro Tip
If you are installing more than one new bulb, it's best to replace and re-install as you go. Be sure to test out the new bulbs before replacing the console cover.
Featured Video: How to Replace Center Console Light
Related Discussion
- DIY on Changing Center Console Bulbs/Tranny Gear Indicator Bulb - ClubLexus.com