This article applies to the Lexus IS, ES, GS, and RX (2005-2014).
When considering cleaning and detailing options for your Lexus, it's easy to overlook the engine bay. Maintaining a clean engine bay may not be a priority, but it actually adds to the overall value of the vehicle. Whether you're showing off your Lexus engine to friends or at a car show, looking to sell your car, or simply want peace of mind knowing your engine bay is clean, this is a simple and cost-effective job that is well worth the effort.
Materials Needed
Water pressure sprayer
Air compressor (optional)
Short bristle brush
Engine cleaner/degreaser
Towels
Saran wrap and/or tin foil
Masking tape (optional)
Warning
Engine must be cold before cleaning the engine bay.
Do not directly spray water into the electrical areas of the engine.
Step 1 - Remove loose debris and cover electrical areas
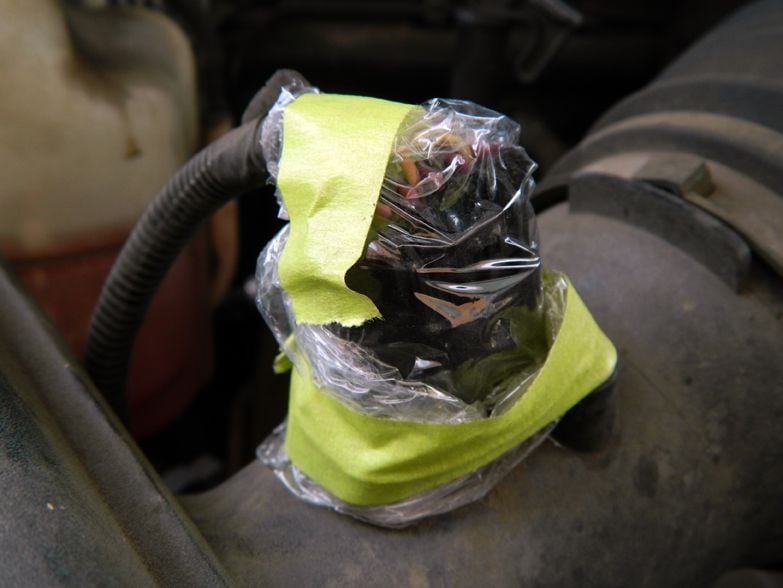
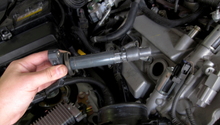
Lift and prop open the engine hood. Remove noticeable leaves, pine needles, and other debris trapped in the vents and grilles of the bay. Using saran wrap and/or tin foil, cover all electrical areas/plugs as well as the alternator, air filter, and mass airflow sensor.
Figure 1. Electrical plugs like this one should be avoided when spraying water.
Figure 2. A covered mass airflow sensor.
Figure 3. An alternator covered in tin foil.
Pro Tip
Alternatively, you can use an air compressor, leaf blower, car drier, or a vacuum cleaner like a Metro-Vac to remove/suck loose debris from the engine bay.
Step 2 - Rinse the engine bay
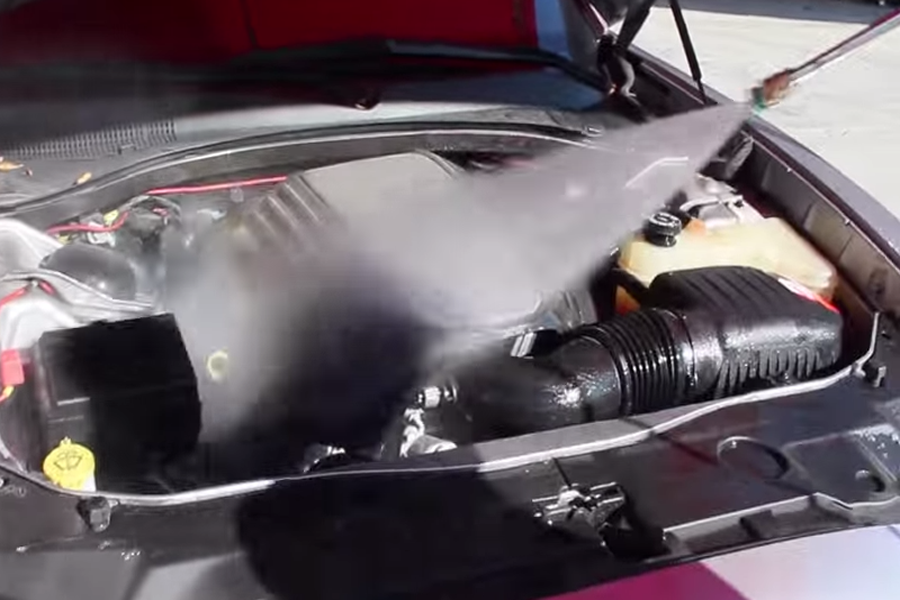
Using the water pressure sprayer, rinse the engine bay back and forth for a minute or so. Again, it's very important to not spray electrical areas directly with water.
Figure 4. Give the engine bay a rinse.
Step 3 - Spray the engine bay with cleaner
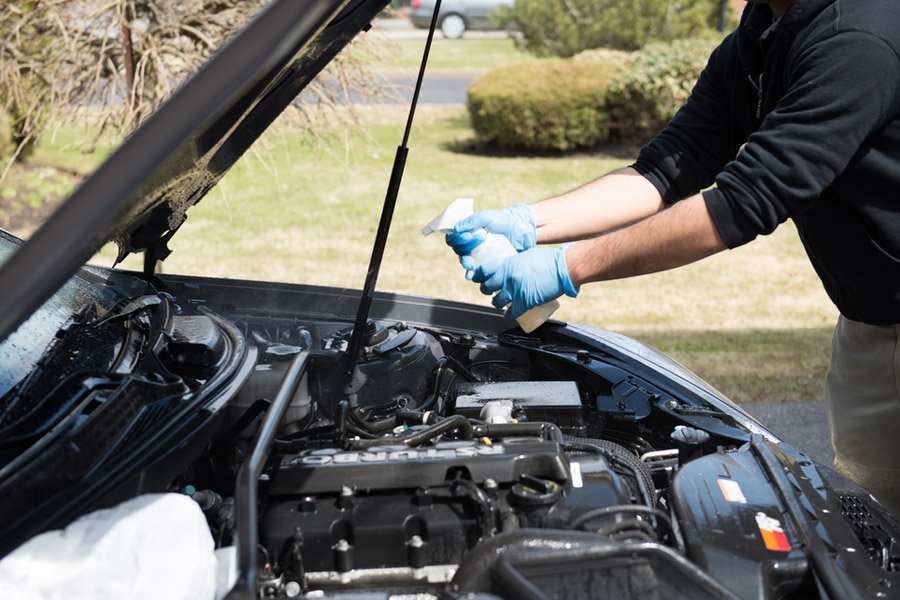
Spray the dirty engine bay surfaces with an engine cleaner or degreaser, making sure to cover the smaller spaces and cracks where dirt is likely lingering, too.
Figure 5. Spray copious amounts of cleaner as necessary.
Pro Tip
Some recommended engine cleaners include Detailer’s Pro Series Engine Degreaser, 3M Foaming Engine Degreaser, and Gunk Engine Brite Original Heavy Duty Engine Degreaser. You can also use the household cleaner Simple Green, although you'll want to make sure to dilute the product with water before spraying it onto the engine bay, as it is quite strong.
Step 4 - Scrub the engine bay components
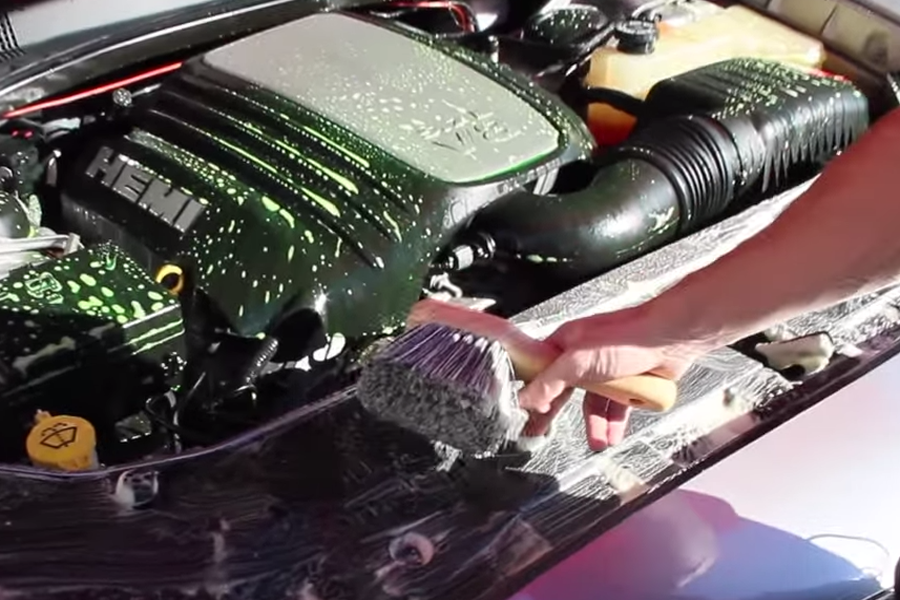
Using a brush, scrub the engine bay areas so that the cleaner reaches a foamy consistency.
Figure 6. The cleaner should be foamy when scrubbing.
Pro Tip
Utilize a smaller brush or a wheel cleaning brush to reach the cramped spaces of the engine bay.
Step 5 - Rinse the cleaner off
Using the water pressure sprayer, rinse the engine bay again to remove the cleaner.
Figure 7. The pressure of the water will easily remove soapy residue.
Step 6 - Start the engine and let it run
Turn on the car and let the engine run. The heat from the engine will help dry the engine bay components.
Step 7 - Dry the engine bay
Wipe off the remaining moisture with a towel or two. The components should be dry to the touch, and your engine bay should sparkle like new. Be sure to remove any plastic or tin foil coverings from various engine bay components.
Figure 8. Use clean towels to fully dry the engine bay.
Pro Tip
If you have access to an air compressor, leaf blower, or car drier, use one to help with the drying process if necessary.
How to Detail Your Car
Guitarman, Autogeek, Chemical Guys
Detail your Lexus with your own hands.
This article applies to the Lexus IS, GS, ES, and RX (2005-2014).
Lexus is a top selling luxury brand for many ...
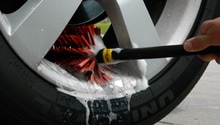
How to Clean Your Wheels
What's the best way to get the grunge off your wheels? A few minutes of prep can make all the difference.
This article applies to the Lexus IS, GS, ES, and RX (2004-2014).
Cleaning wheels ...
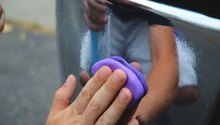
How to Protect Your Paint
zmcgovern4
Whether it's a large scratch, bits of debris, or just an all-around dull look, paint damage can quickly age any vehicle. Knowing how to protect your paint can keep such issues at ...
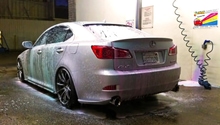
How to Wash and Wax Your Lexus
Take a step into the world of detailing with our car wash and wax guides.
One of the best ways to help maintain the value of your car is by cleaning it on a regular basis. There are ...
How to Deep Clean Old Leather
Deep cleaning your old leather interior in your Lexus IS is a simple task that can be completed quickly.
This article applies to the Lexus IS, GS, RX and ES (2005-2014).
The leather ...
How to Replace Ignition Coils
Your smooth-running IS suddenly stumbles or roughly idles while cruising or accelerating. What's the problem?
This article applies to the Lexus IS 250, IS 350, IS-F ...