Lexus: How to Mount a Tire to your Rim
This article explains how to mount a tire on the rim and explores the economic benefit for you doing it yourself.
This article applies to the Lexus IS, GS, ES, and RX (2005-2013).
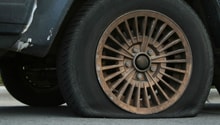
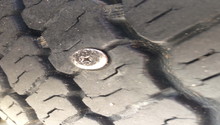
Replacing worn out tires is vital to the condition and safety of your vehicle. The recommended tread depth for replacing a tire is 2/32 of an inch. But vehicle owners driving on wet roads are advised to replace tires when the tread depth is 4/32 of an inch. For snowy road drivers the recommended tread depth is 5/32 of an inch. When replacing a tire with a new one, you can do it at home or have a mechanic do it which may cost you from $20 a task which takes less than 4 minutes. With a will to learn you can mount a tire to the rim at home with the most basic of home tools.

Materials Needed
- 2 pry bars
- Hand gloves
- Liquid detergent
- Round wooden anchor
- Air tire inflator
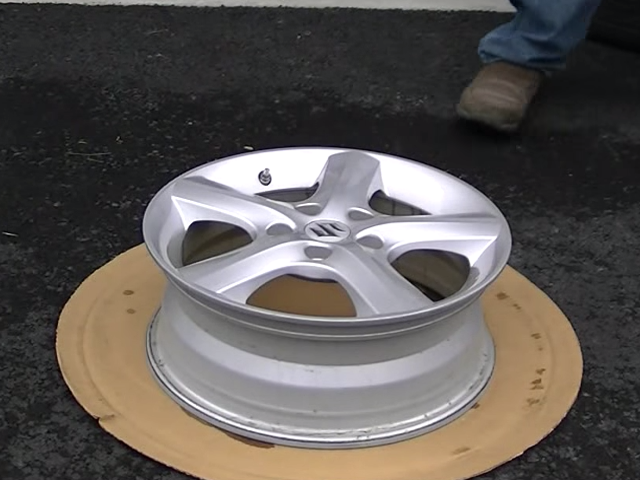
Step 1 - Place the rim on the wooden anchor
Mounting a tire on a rim is a friction intensive task and you use your hands a lot. To avoid grazes wear strong hand gloves. If the surface around is smooth, chances are the rim will slide as you try to mount the tire onto it. Improvise and place the rim on a round wooden surface that will prevent sliding.
Step 2 - Lubricate and position the tire into the rim
Spray the liquid detergent on the interior side of the tire that comes into contact with the rim. That lubricates the tire and makes it seamless to slide into the rim. To ensure the tire gets into the right position on the rim, step on it to slide it in.

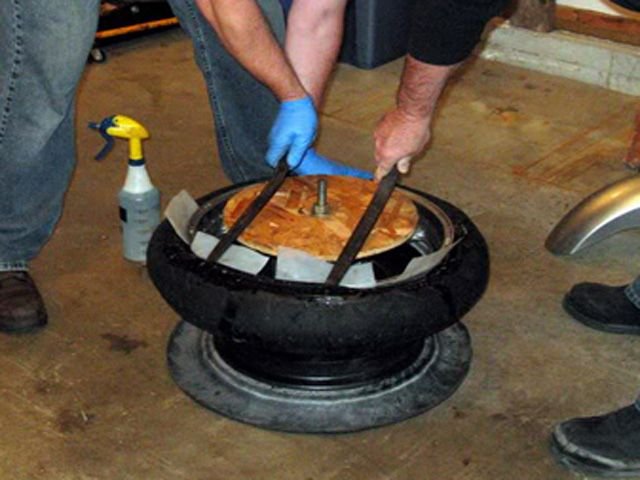
Step 3 - Lock the tire into the rim
Once the tire is in position on the rim, spray the liquid detergent again to lubricate. Then, press one side of the tire with your knees and insert the pry bar into the loose, open space. Step on the pry bar to keep it in position. Then, with the other pry bar, push the tight sides of the tire into the rim until they are all in place. Be sure to not damage the air pressure monitor when applying force.
Step 4 - Inflate the tire
Repeat the process for the other side of the tire to finish it. Then inflate the tire correctly.

Pro Tip
Replacing the tires before they are legally worn out is way cheaper than making repairs attributed to nearly worn tires. The tire and rim need to be of the same size. A 14 inch tire fits on a 14 inch rim.
Related Discussion, Article, and Site
- Tire Mounting - ClubLexus.com
- How to Jack Up Your Lexus - ClubLexus.com
- When Should I Replace my Tires? - Tirerack.com