A sunroof or moonroof that won't close is a disaster waiting to happen. Learn to replace its motor in your Lexus without special tools or equipment.
By Pizzaman711 - January 5, 2015
Contributors: Dannknee
This article applies to the Lexus IS, GS, ES and RX (2003-2014)
The sunroof/moonroof is a great feature to have, so when the motor starts to burn out it can be a huge disappointment. A motor that is most likely on its way out will start making odd squeaking or chirping noises. Replace it before the motor completely dies, so that it doesn't get stuck on open. Trying to force it shut while the motor is burnt out can cause damage to other components in the sunroof/moonroof assembly. No one wants to create more work for themselves, so learn how to do it yourself here.
Materials Needed
14mm socket
10mm socket
Flat head screwdriver
Phillips head screwdriver
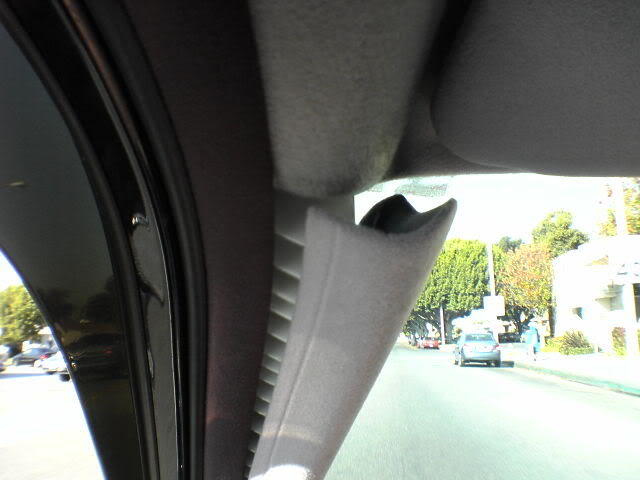
Location of Sunroof/Moonroof Gear
The gear that operates the sunroof/moonroof is located under the front headliner beneath the rear view mirror mount. It's in the same location for every Lexus, so the following steps should generally apply to every vehicle. The procedure will require removing the headliner, seat belt, and several other clips and plastic bits to get to it. Work patiently—regardless of the vehicle—to avoid breaking the plastic parts, and this repair will be easier than it looks.
It's also important to note that these steps may vary slightly depending on the year and model of your Lexus; however, these are general guidelines to let you know what needs to be removed.
Figure 1. Location of the sunroof/moonroof gear motor Lexus IS.
Step 1 - Preparation
Disconnect the negative battery cable. This will protect against blown fuses and burnt wires. Also, clean the inside of the car. There'll be a lot of work in weird angles, so move everything that doesn't need to be there.
Figure 2. Disconnect negative battery cable.
Step 2 - Remove headliner
This step requires removing a lot of the interior trim pieces. Create a clean space to place all the removed trim pieces, so they don't get lost or scratched. A clean blanket will do.
Remove front pillar trim. This will simply pop off with a gentle tug from the top. If you're having trouble, you can use your flat head to carefully pry it free.
Figure 3. Removing the front pillar trim.
Using your Phillips head screwdriver, remove the two screws on the sun visor mount.
Figure 4. Unscrewing the sun visor screws.
Using the same Phillips head screwdriver, remove the screw in the clips that lock the sun visor into place.
Figure 5. Unscrewing the sun visor clips.
Pop off the cover over the rear-view mirror. Gently use a flat head screwdriver to pry the rear-view mount cover off.
Figure 6. Popping off the rear-view mirror cover.
Once the mirror cover is off, remove the screws holding the mirror in place with the Phillips head screwdriver. Then, remove the mirror.
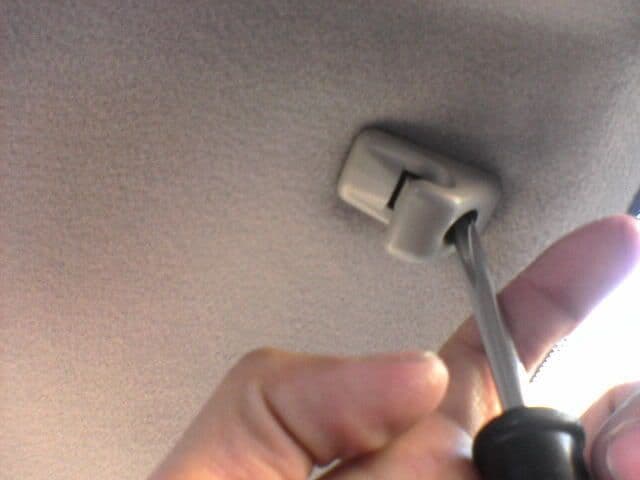
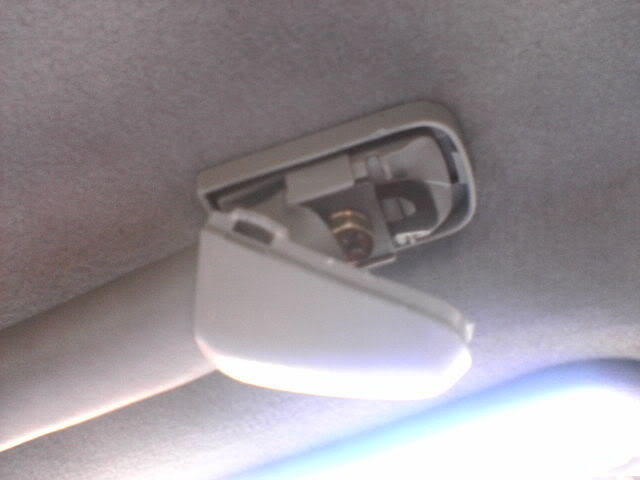
Pop off the cover on the roof control. Again, a flat head screwdriver might be useful here.
Figure 7. View of the roof controls.
With the cover off, remove the two screws holding the controls in place. Then, disconnect the wiring harness from it. Remove the controls.
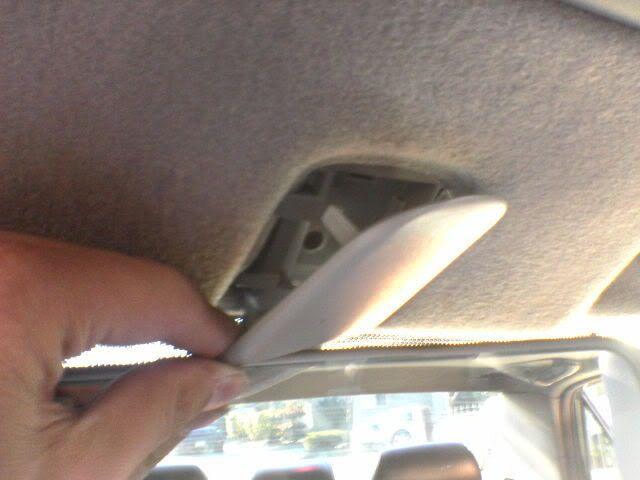
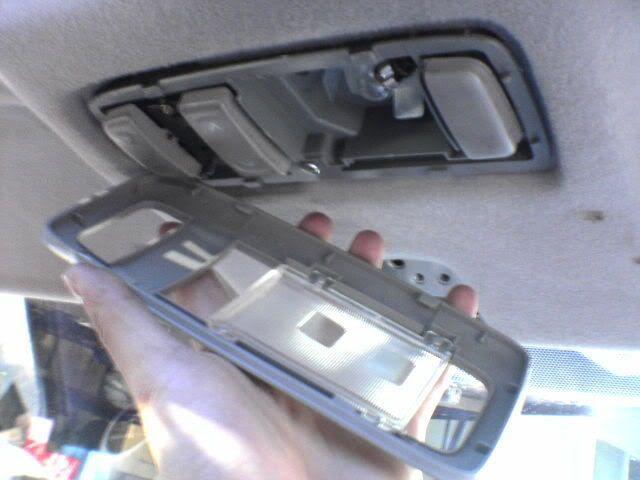
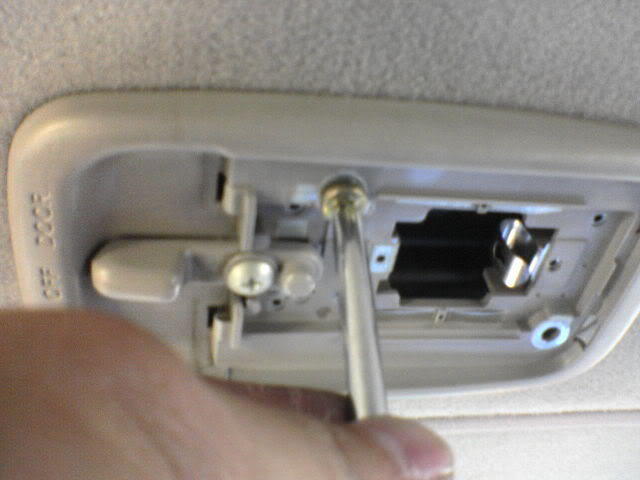
Remove the dome light cover by popping it off, and then remove the two screws underneath.
Figure 8. Dome light screws.
With the screws out, you can pull down the dome light bracket. Then, disconnect the wiring harness from it.
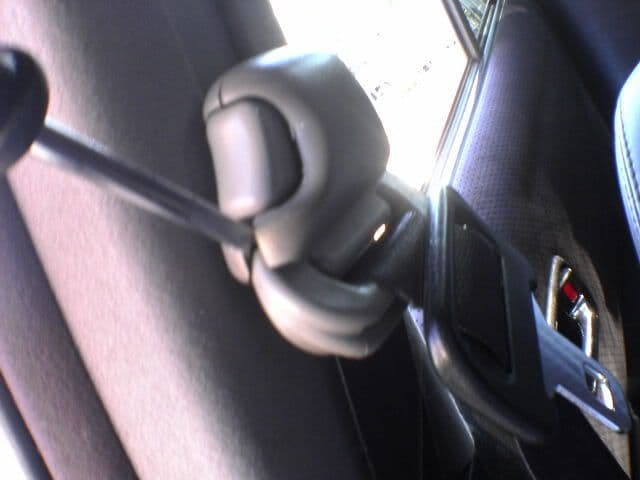
For the seat belts, you can pry up the cover on one side. Then, using the 14mm socket, remove the bolt below.
Figure 9. Removing seat belts.
With the bolt out, you can pry loose that trim piece. Let it slide down and lean inward to give clearance for the headliner later.
Pry up the covers on the grab handles and remove the 10mm bolts below.
Figure 10. View of the grab handle covers.
Pop off the rear pillar trim the same way you did the front.
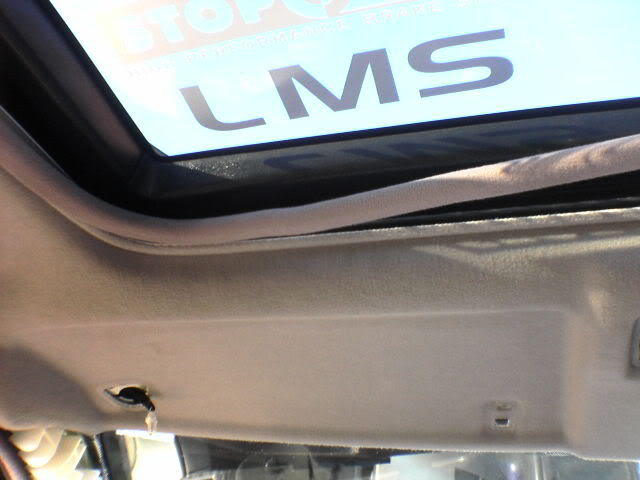
Remove the trim around the sunroof. You should be able to pull down the headliner somewhat to be able to do this easier.
Figure 11. View of the sunroof trim.
You can now release the headliner by pulling it down from the back by the rear window to un-clip it. You can let it hang down at this point or you can completely remove it if you wish.
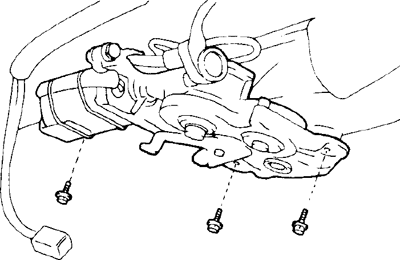
Step 3 - Motor removal and install
To remove the motor, use your 10mm socket and remove the three bolts seen in Figure 12. With the bolts out, you can disconnect the wiring harness and then set the old motor aside.
Make sure all the gears are lined up correctly, so the motor will function properly. The gears on the motor and on the track will have markings on them to help you line them up. With the new motor in place, reconnect the roof controls and the negative battery cable. Then, test it out. If it works properly, continue re-installing everything else following the reverse order. If not, double-check that the wiring harness is plugged in tight and the gears are lined up correctly.
Figure 12. Location of the sunroof motor bolts.
Featured Video: How to Replace Sunroof Motor in Lexus
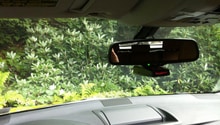
How to Hardwire a Radar Detector
Getting tired of those flashing lights in your rear-view mirror?
This article applies to the Lexus ES (2007-2014).
Every now and then, a heavy right foot can bring about unintended ...
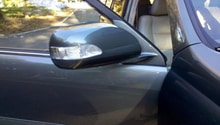
How to Install JDM LED Turn Signal Mirrors
Adding an LED turn signal light gives the Lexus a unique look.
This article applies to the Lexus IS, ES, GS, LS, and RX (2005-2013).
Changing the side mirror's lightbulb ...
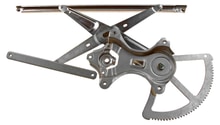
How to Replace Your Power Window Actuator
Learn how to replace the power window actuator in your Lexus IS.
This article applies to the Lexus IS (2005-2013).
After a long period of time, the power window regulators ...
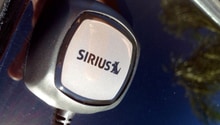
How to Install XM Satellite Radio
ben_r_
Ditch your regular radio stations for XM/Sirius satellite goodness and listen to your favorite music and talk shows. Hey Now Howard!
This article applies to the Lexus IS ...
How to Install a Car Stereo
Learn what it takes to upgrade the stereo system in a Lexus.
This article applies to the Lexus IS, GS, ES, and RX (2007-2014).
Back in the 90s and early 2000s, Lexus vehicles were ...
How to Replace Oxygen Sensor
A faulty oxygen sensor can waste fuel, hurt performance, and trigger an annoying check engine light. Here's how to replace one that's gone bad.
This article applies to the Lexus ES ...