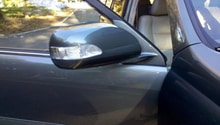
Lexus: How to Replace Your Car Window
A broken window constricts you from leaving your Lexus anywhere. Here is how to replace it yourself.
This article applies to the Lexus IS, GS, ES, LS, and RX (2005-2013).
A damaged glass window is a major annoyance and inconvenience, but replacing one isn't cumbersome. This how-to will guide you through the process of removing the necessary components and replacing the glass.

Materials Needed
- Trim removal tool
- Phillips screwdriver
- Socket wrench
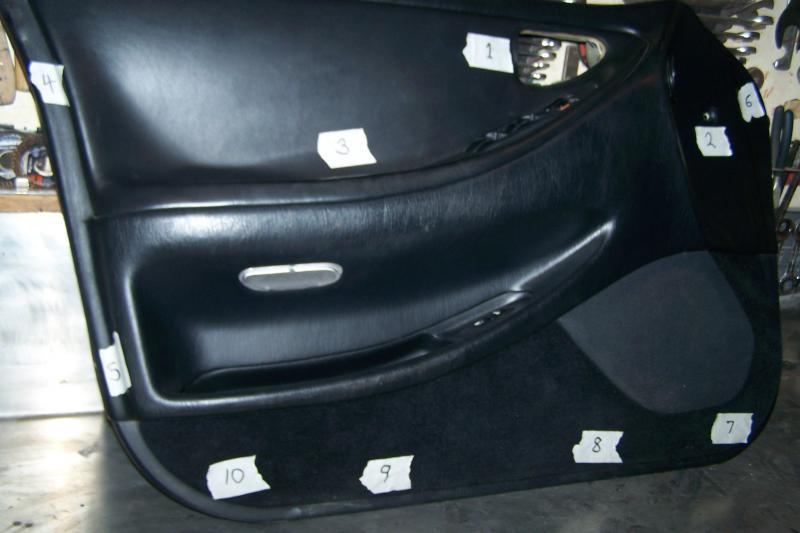
Step 1 - Remove door panel
Make sure the window is 3/4 of the way down before you begin. To remove the door panel, you will need to remove several screws and clips that hold it onto the frame. There are screws behind the door handle, under the arm rest, and inside the door defrost duct. Once you remove all of the screws, there are clips that hold the panel in place. Start at the bottom and work your way around, pulling the panel carefully using the trim removal. Once all the clips are loose, lift up on the panel to free it and disconnect all of the wiring harnesses connected to the panel.
Step 2 - Remove door components and glass
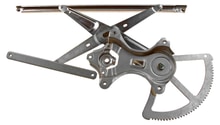
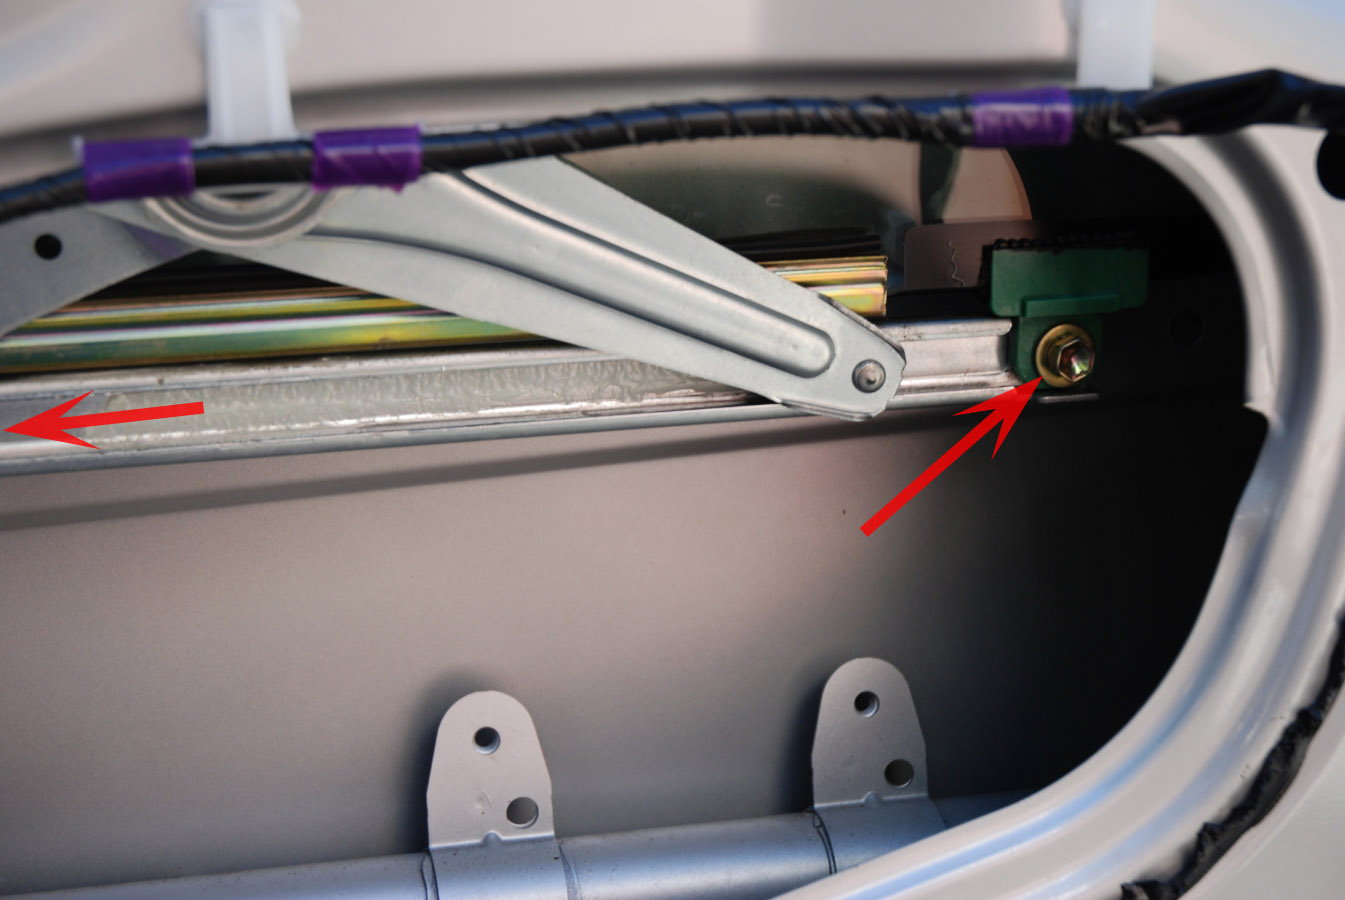
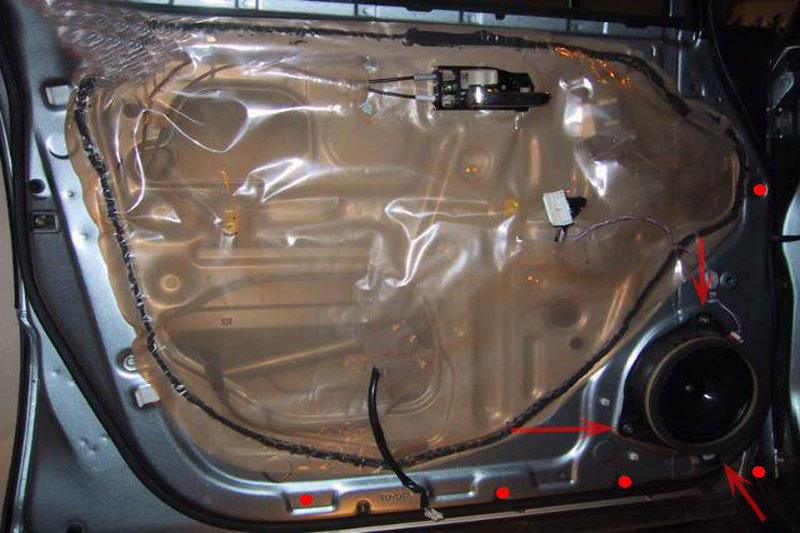
Remove the speaker pod, which is held in place by several screws. Peel back the large plastic film, which keeps water from leaking inside the panel. Remove the two bolts which hold the door glass onto the metal bar, which raises the glass up and down. If you didn't set the glass at 3/4 of the way up before you disconnected the wiring harnesses, use the remote or key to raise the glass up or down to gain access to the bolts. Once you remove the bolts, you can raise the glass straight up by hand while pushing the metal bar back from the glass.
Step 3 - Install new glass
Slide the new glass in from the top. Re-install the two bolts from the metal bar to the new glass. Re-install the speaker pod. Reconnect harnesses to door panel and test glass for proper fit and function. Carefully press door panel back into plastic clips, starting at one end and working your way around. Re-install screws and trim pieces on door panel.
Related Discussions
- How to Replace Drivers Side Door Glass - ClubLexus.com
- Door Lock Actuators DIY - ClubLexus.com
- Front Passenger Door Window Replaced - ClubLexus.com