Lexus IS: How to Change Brake Disc
Replacing your brake pads and rotors on the Lexus IS 250, IS 350, and IS-F is simple with this DIY walk through. Save some money by doing this at home.
This article applies to the Lexus IS 250, IS 350, IS F (2004-2014).
If you hear a grinding noise or the car shudders like the alignment has gone out when you brake hard, it's probably time for new rotors. Normal use will wear the rotors out overtime; however, letting the brake pads get too thin can significantly shorten the lifespan of them as well. Thin, worn down rotors tend to overheat, which leads to warping from the constant heating up and cooling down process while braking.

Tools Needed
- New rotors
- Brake cleaner
- WD-40
- Brake lube
- C-clamp
- Hammer
- Pin punch
- 13mm socket
- 17mm socket
- M8-1.25 bolt
- Cheater bar or air wrench
- Towels
- Tire iron
- Floor jack
- Jack stand
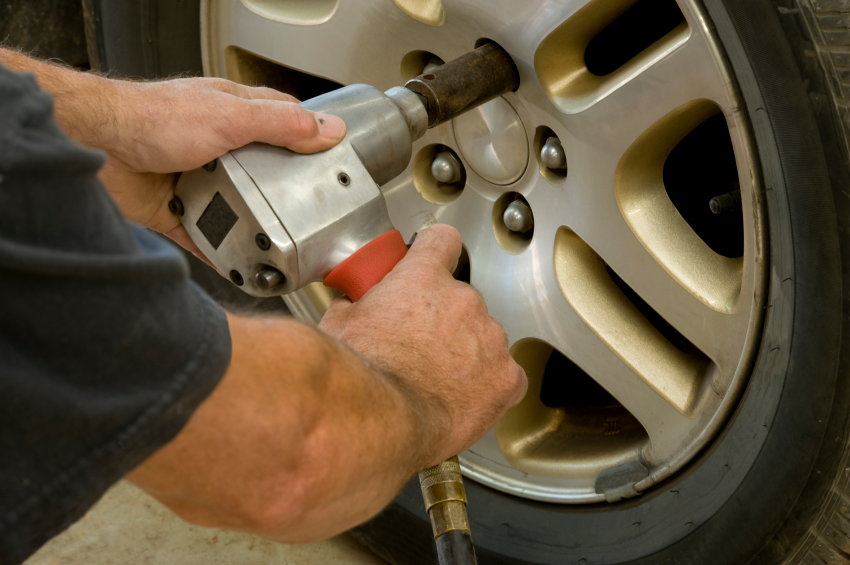
Step 1 - Remove the wheel
Set the parking brake. Using the tire iron, loosen the lug nuts on the wheel but don't remove them entirely. Using the jack, raise the car enough to position a jack stand underneath. Remove the lug nuts, then remove the wheel. Lastly, lower the car onto the jack stand.
(Related Article: How to Jack Up Your Lexus - ClubLexus.com)
Step 2 - Remove brake pads and caliper
To be able to get the rotors off, the caliper holding the brake pad will need to be removed. If your rotors are warped, chances are your pads will need to be changed as well. Follow the instructions below regarding either Lexus IS 250, IS 350, or IS-F.
Pro Tip
For all IS models, remove the brake fluid reservoir cap under the hood. This will allow you to compress the pistons easily later.
For IS 250
Two bolts hold the brake caliper to the caliper bracket. On the IS 250, you'll need to actually remove the caliper to access the brake pads. To do this, unbolt the two 14mm two bolts securing the caliper to the caliper bracket (figure 6).
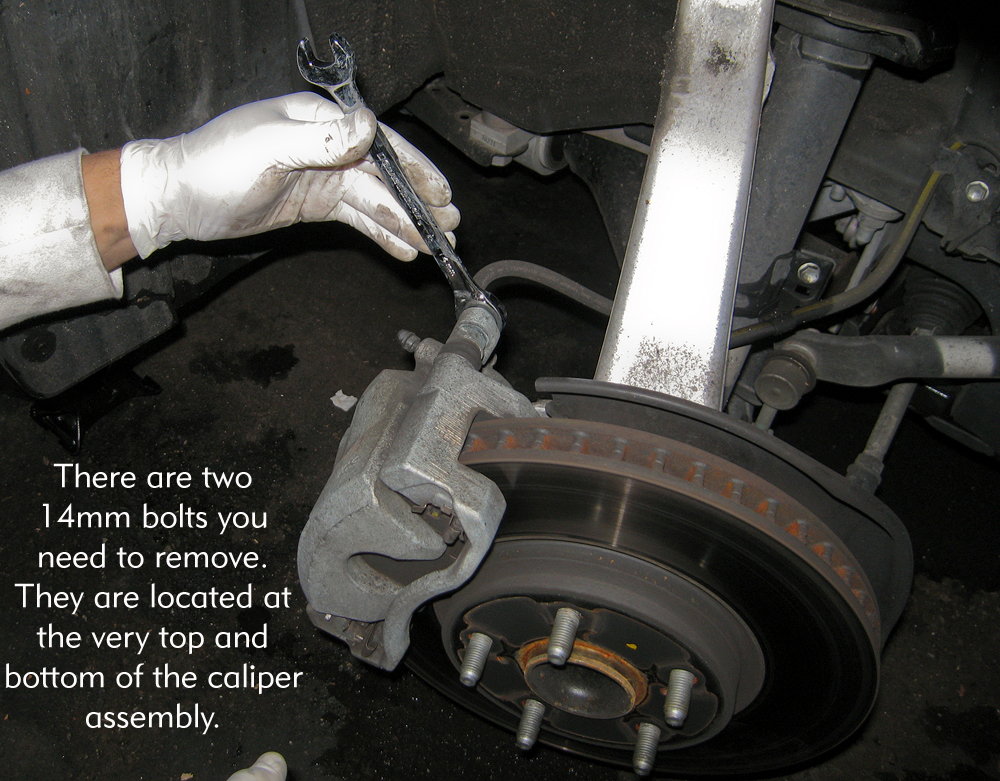
When that's done, pull the caliper out. The brake pads will be sitting on the bracket.

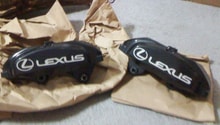
Figure 3. Removing calipers. 
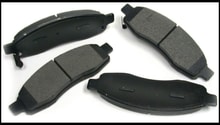
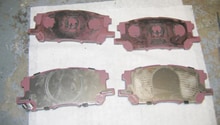
Figure 4. Removing brake pads.
Featured Video: How to Change Brake Disc in Lexus IS 250
For IS 350
You'll need to remove the brake pads before pulling off the caliper and caliper bracket. Remove the pin that holds the anti-rattle spring in place with a pair of pliers. Then, remove the anti-rattle spring. Use a c-clamp to compress the caliper piston and free your brake pads.

Figure 5. Locating the pin. 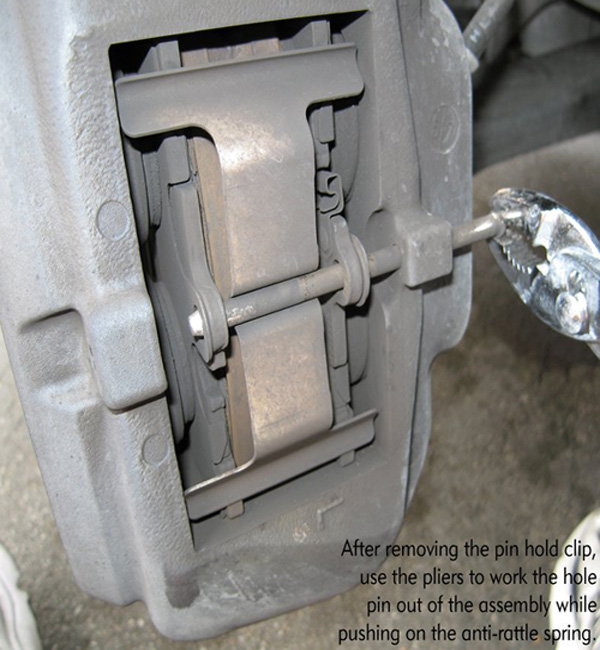
Figure 6. Removing the pin. 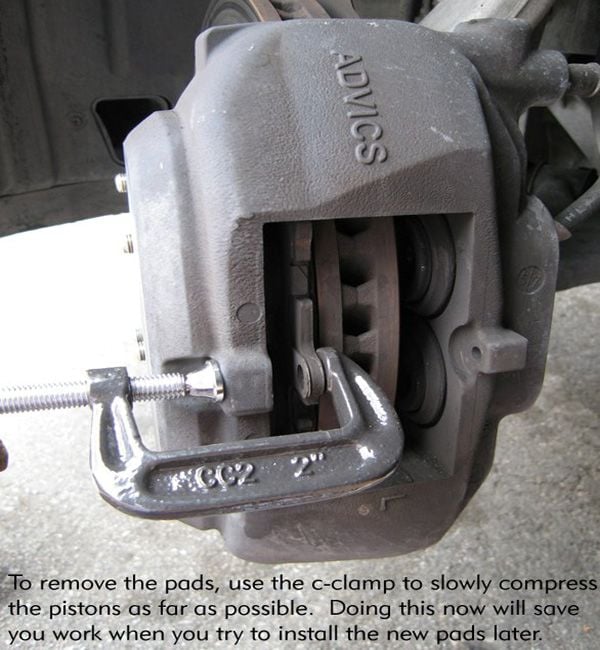
Figure 7. Using a c-clamp. 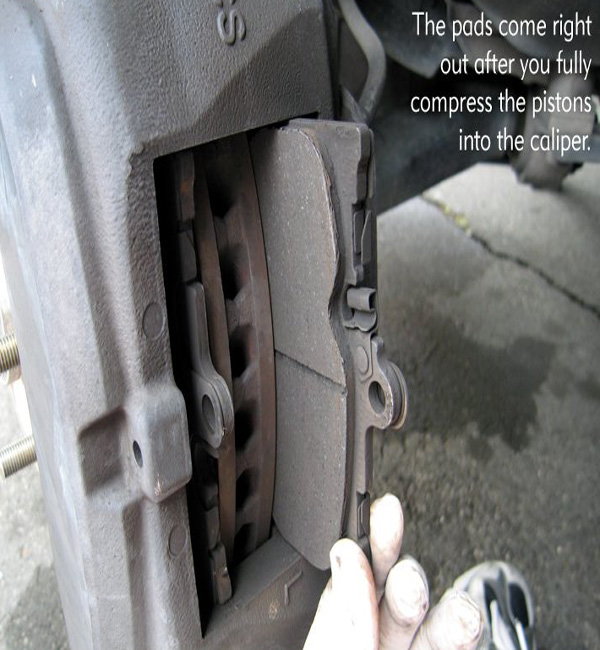
Figure 8. Removing the pads.
For IS F
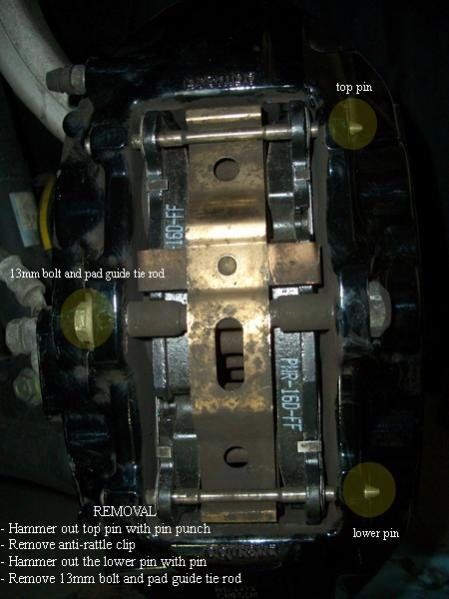
The brake pad is held in with two pins, one bolt, an anti-rattle clip, and tension from the pistons on the calipers. Depending on your size, you may need to get a little creative with how you lie underneath to access everything.
- Remove the top pin first using your hammer and pin punch.
- You can now remove the anti-rattle clip by just sliding it around the lower pin.
- Remove the lower pin; you can use the pin you removed from the top if you wish.
- Remove the 13mm guide bolt using your socket; depending on how long it's been you may want to spray it with WD-40 to help it break loose as well as use your cheater bar.
- Compress the caliper pistons using the c-clamp.
- Remove the old pads by wiggling them out.
Step 3 - Remove caliper bracket
Once the pads are out, remove the two 17mm bolts holding the caliper onto the bracket at the back. Set the caliper aside on a bucket or hand it with some metal wire, taking care not to damage the brake line attached.

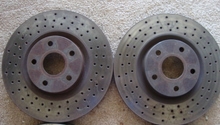
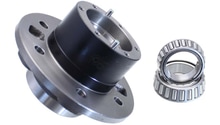
Step 4 - Remove rotors
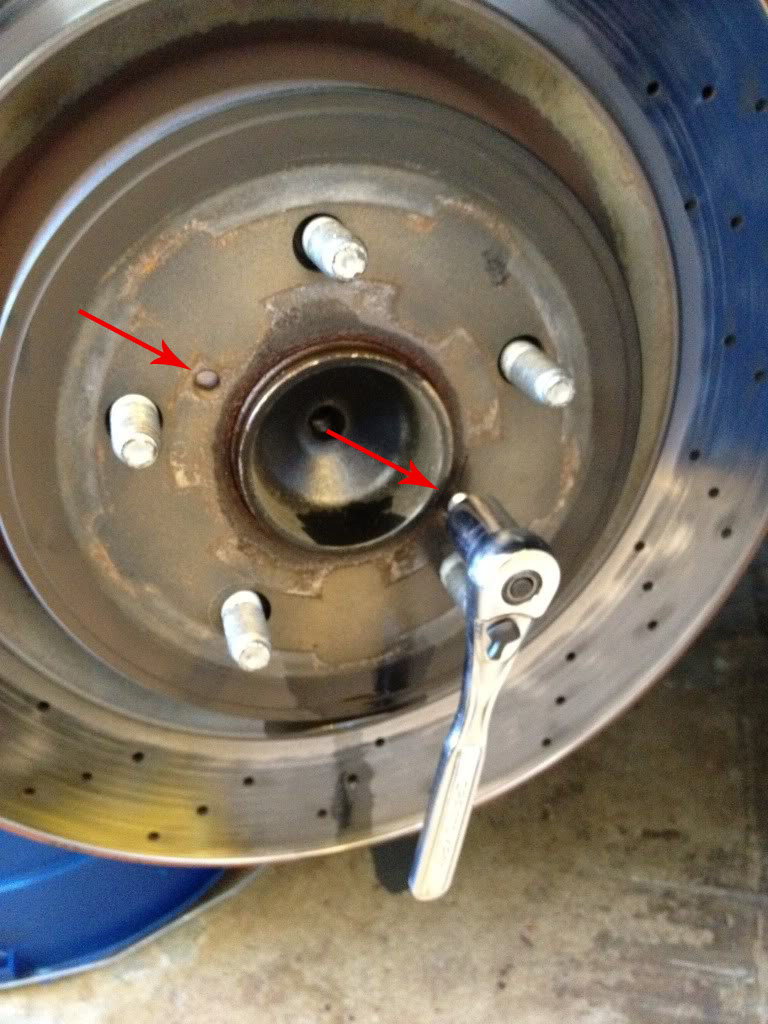
With the caliper removed, you should be able to pull the rotor off. If it's stuck, you'll need at least one M8-1.25 bolt. On the rotor you'll see two threaded holes close to the center hub on either side of it. It is recommended to fit the bolt into the hole to make sure it threads properly, as the threading and size may slightly vary with the brand of rotor. Slowly thread the bolt into the hole; if you only have one, you'll need to alternate the sides to do it evenly. Eventually, the rotor will pop free and you'll be able to remove it.
Step 5 - Install new pads
Before installing the new pads, it's best to clean the old hardware that will be reused. You'll want to spray down the brake shims, pins, anti-rattle clip, guide bolt, and hub with brake cleaner. Let it soak on the parts for a while and then wipe off the old grime. Be sure to re-grease your break shims when re-installing pads.
- Position the new rotor in place; you can use a couple lug nuts to temporarily hold it down, just don't over-tighten it.
- Using the 17mm socket, bolt the caliper bracket back into place.
- Make sure the pistons are still compressed, and re-install the brake pads.
- Install the brake pad hardware in the reverse order you removed it.
- Re-install brake fluid reservoir cap.

Step 6 - Finish up
Make sure everything is tight and re-install the wheel and lower the car onto the ground. Make sure to tighten the lug nuts in a crisscross pattern to ensure they're tightened evenly. Now it's time for the test drive, which is crucial for proper pad and rotor break-in. You'll want to speed up to about 40 mph or so and then slow back down to around 10 mph, repeating this process 4-5 times.
Pro Tip
It's very important to never come to a complete stop during this break-in period, as this can mess up the pad seating.
Related Discussions and Sites
- Front Brake Pads, Rotors, and Calipers - YouTube.com
- DIY: IS-F Front Brake Rotors - ClubLexus.com
- IS 250 Front Brake Change How DIY - ClubLexus.com