Lexus IS: How to Convert to an ISF Rear End
If your Lexus could twerk, it would need a mighty fine booty. Here's how to get one without breaking the bank.
This article applies to the Lexus IS (2005-2014).
Ways to change appearances is a common trait, whether you are a brunette looking to be blonde or an actor seeking the fountain of youth. It's no different with cars. So as cultural tastes change and a big booty is suddenly in vogue, perhaps it's time to honor the modified rear ends of the Lexus IS. With so many drivers' eyes on your rear end, why not give them something really cool to look at?

Materials Needed
- Painter's tape
- Flathead screwdriver
- Ratchet
- 6" ratchet extender
- 10mm socket
- Hacksaw or tailpipe cutting tool
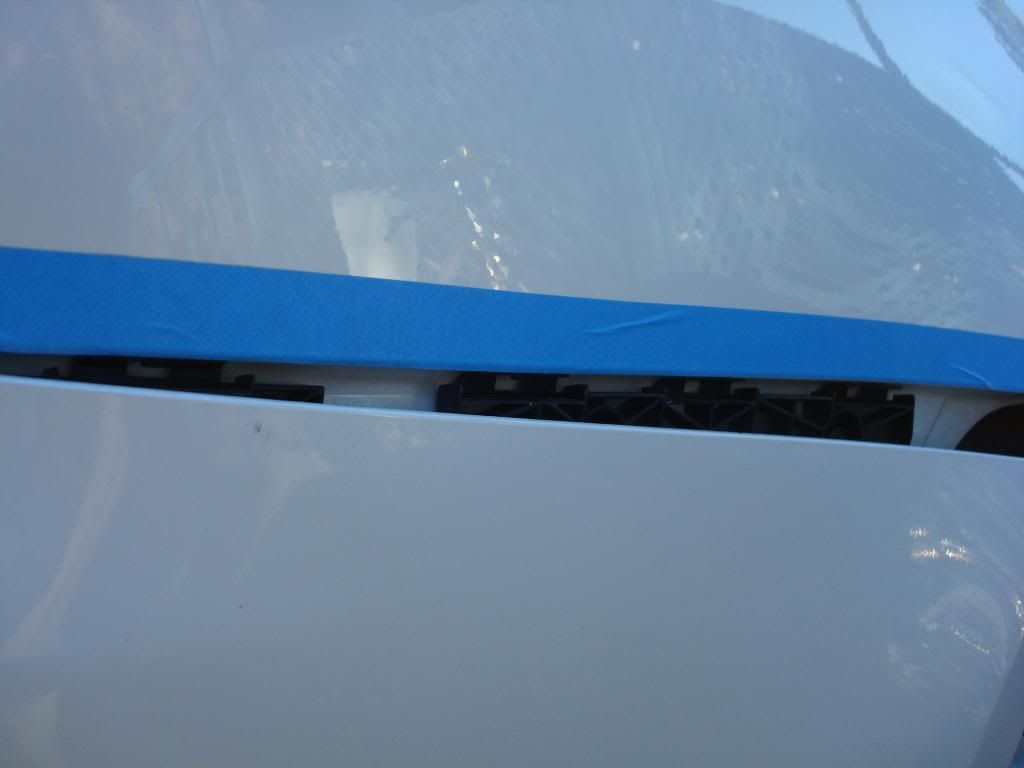
First, you will need to paint the bumper cover and all the accessories fitted to the bumper. Once that is done, start by taking the painter's tape to tape right above the bumper line on both sides. The tape will prevent the paint from being scratched during the removal and re-installation of the bumper tabs.
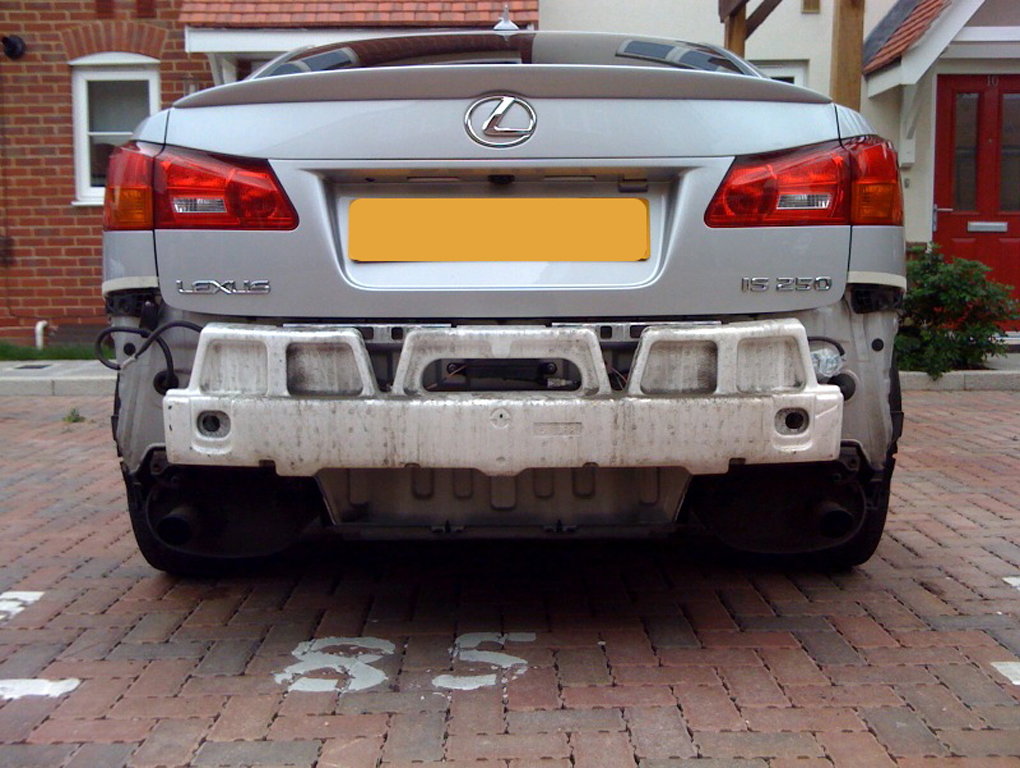
Figure 1. Bumper after it is removed. 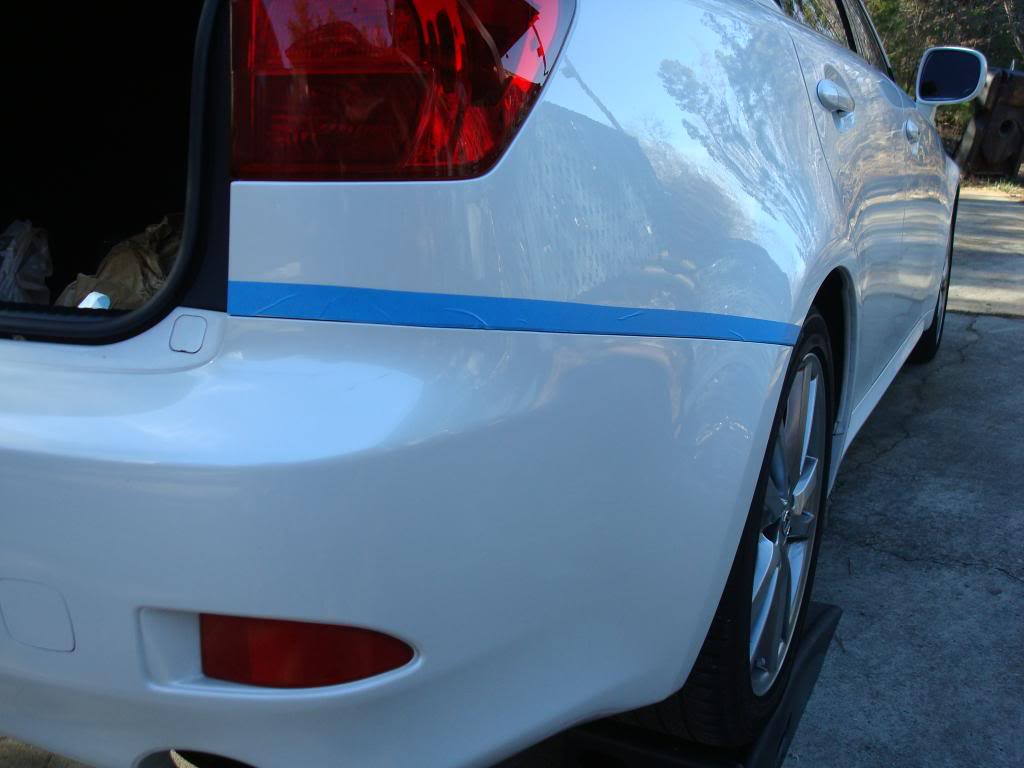
Figure 2. Using painters tape, mask above the bumper line on both sides.
Step 1 – Remove existing rear bumper
-
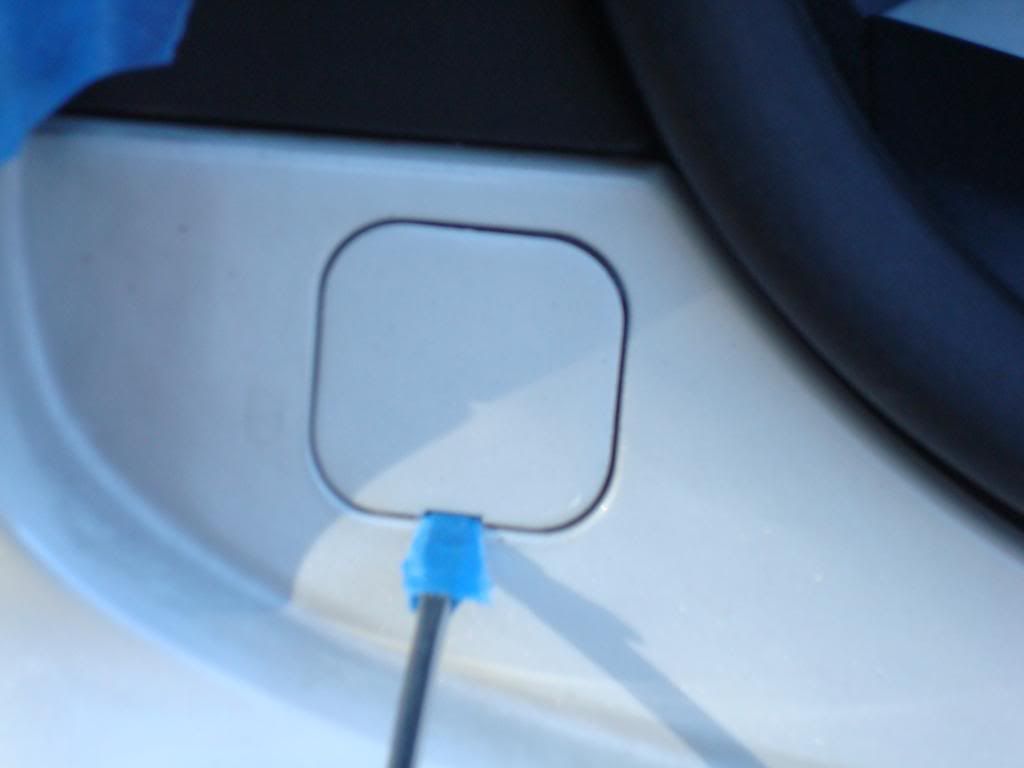
Open the trunk to reveal two small square covers on each side of the bumper. Remove these covers with a small flathead screwdriver (use painter's tape as a precaution). Once these covers are removed, there are two bolts that need to be removed.
-
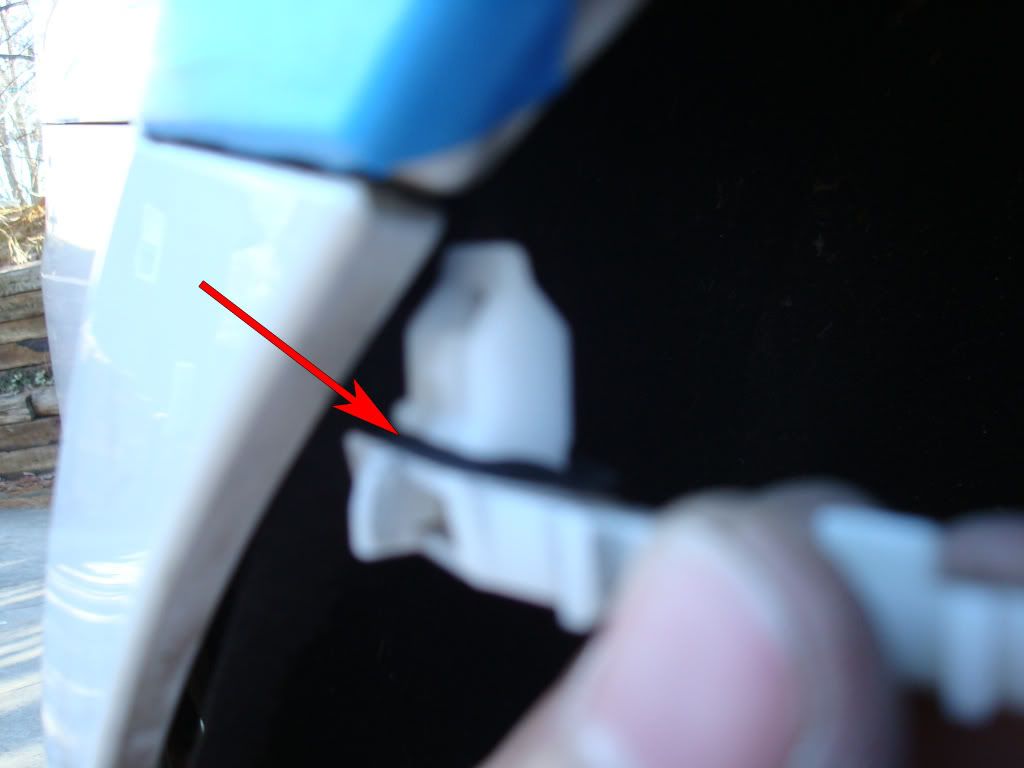
Now, crawl under the car. You'll see four black clips. Just remove the two that are on the white bumper tabs.
-
Next, you will need to remove two 10mm screws on each end of the bumper.
-
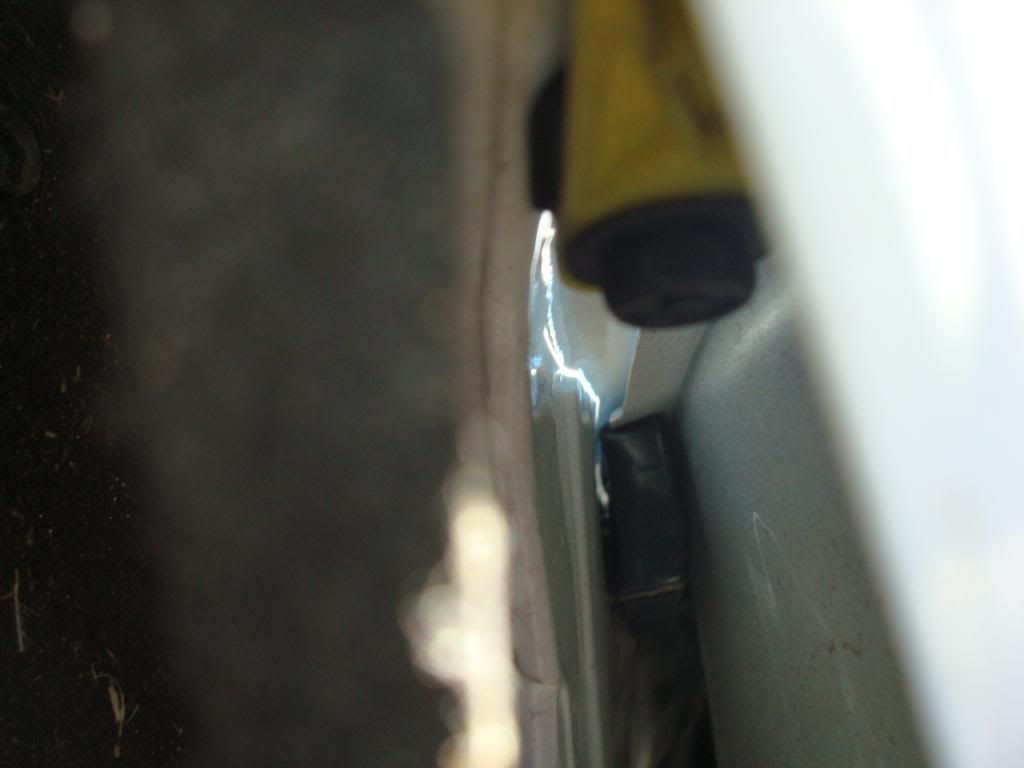
To expose the 10mm screw holding the top ends of the bumper in place, you will need to pull back the felt liner a little on both sides. Use the 6" extension to get to it.
-
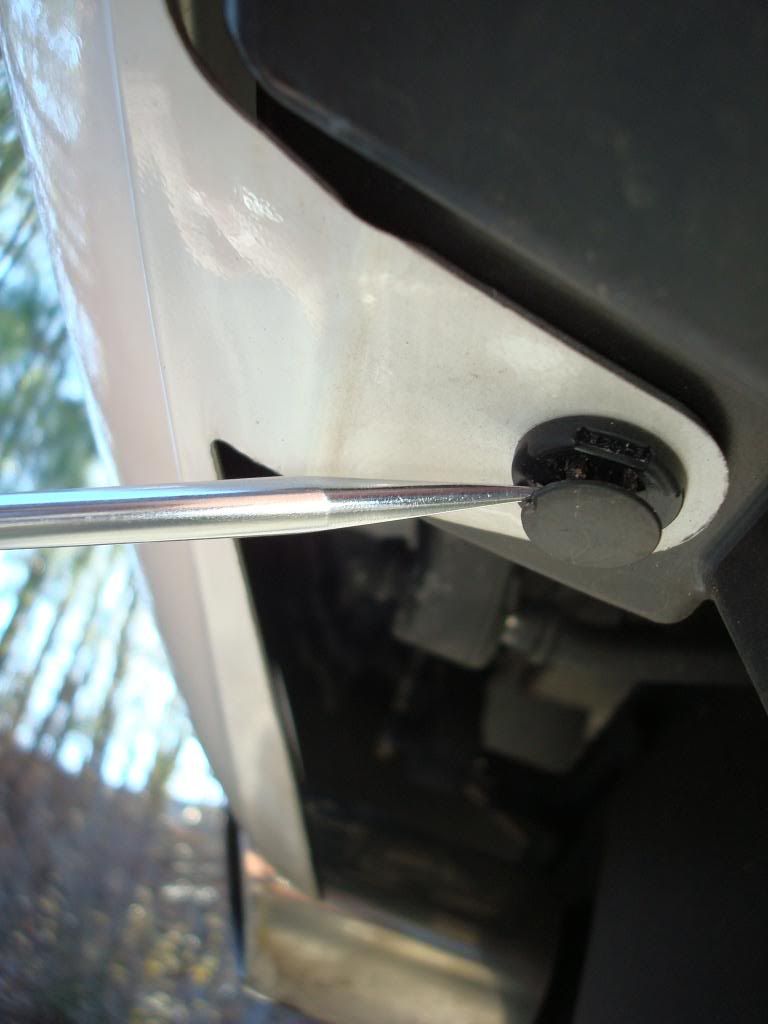
Once the screw is off, you can now pop out the plastic retainer. To do this, simply wiggle it out.
-
Now, it's time to remove the old bumper. If your rear bumper has parking sensors, you will need to disconnect the connectors to each one before completely removing the bumper. To remove the bumper, simply start at one end and gently pull it out towards you until the tabs release. You may want to get help from an extra pair of hands.

Step 2 – Remove exhaust tip and cut tailpipe
Once the exhaust tips are removed, you need to cut the tailpipe of your exhaust short. This is to allow for the ISF stacked exhaust tips to fit without interfering with the tailpipe. You can cut the tailpipe with either a hacksaw or using a specialist tailpipe cutting tool, which is cheaply available online.
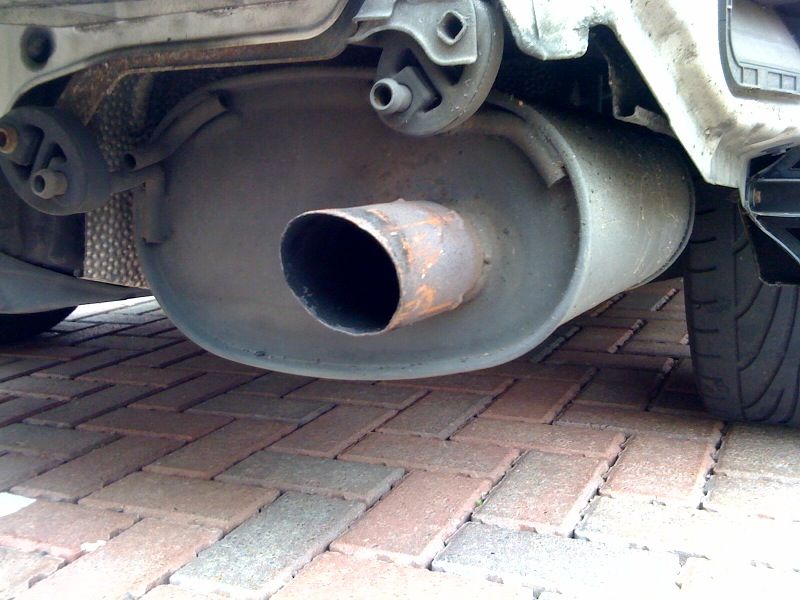
Figure 9. Exhaust tip removed. 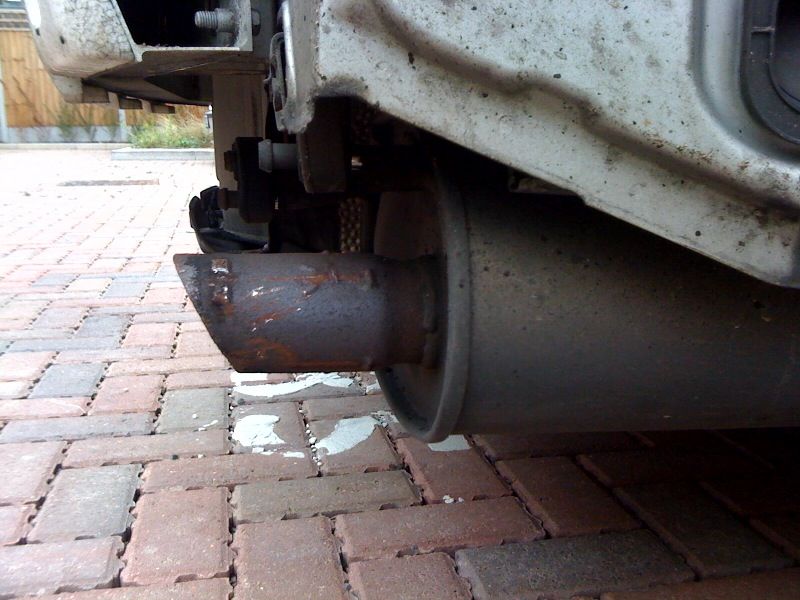
Figure 10. This is the original length of the tailpipe. 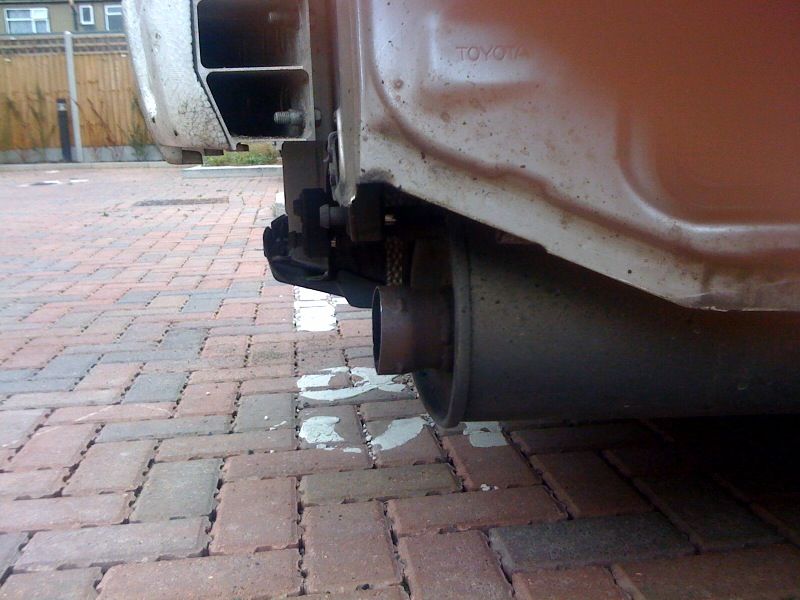
Figure 11. After cutting the tailpipe. 
Figure 12. Another view of the cut tailpipe.
Step 3 – Assemble new bumper
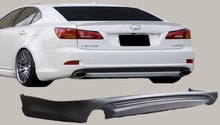
If you have not already done so, assemble all the components of the new bumper. This includes the Quad tailpipes and reflectors. You can leave the tow-hook covers off until the bumper is fitted.
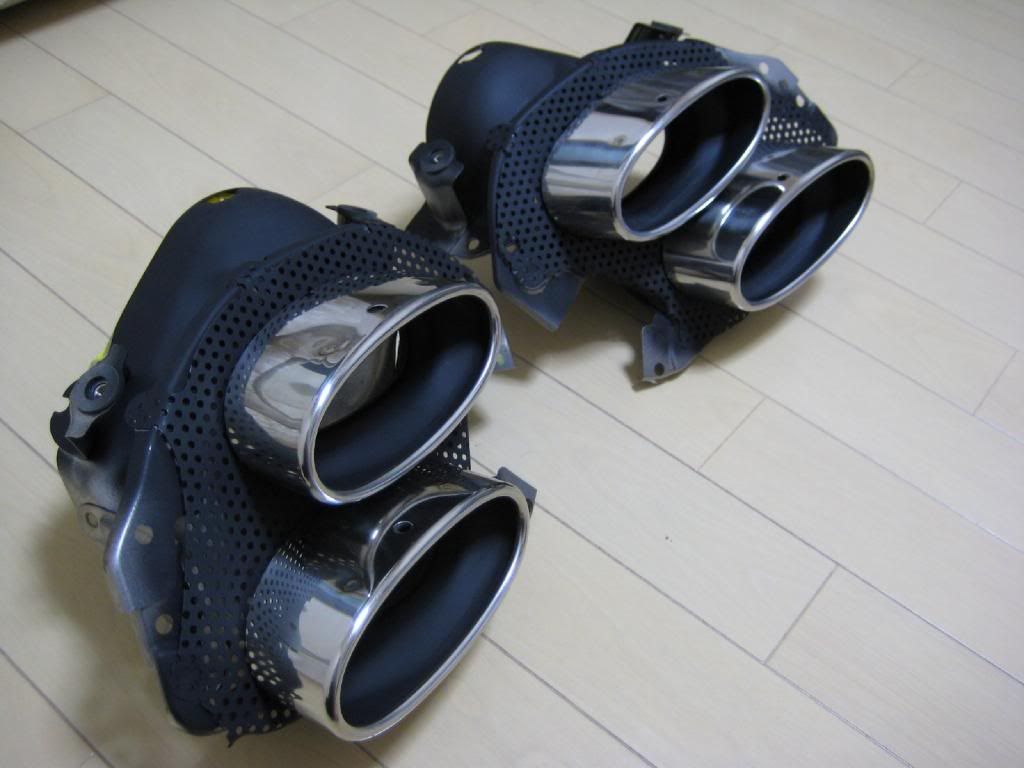
Figure 13. The ISF exahust trims. 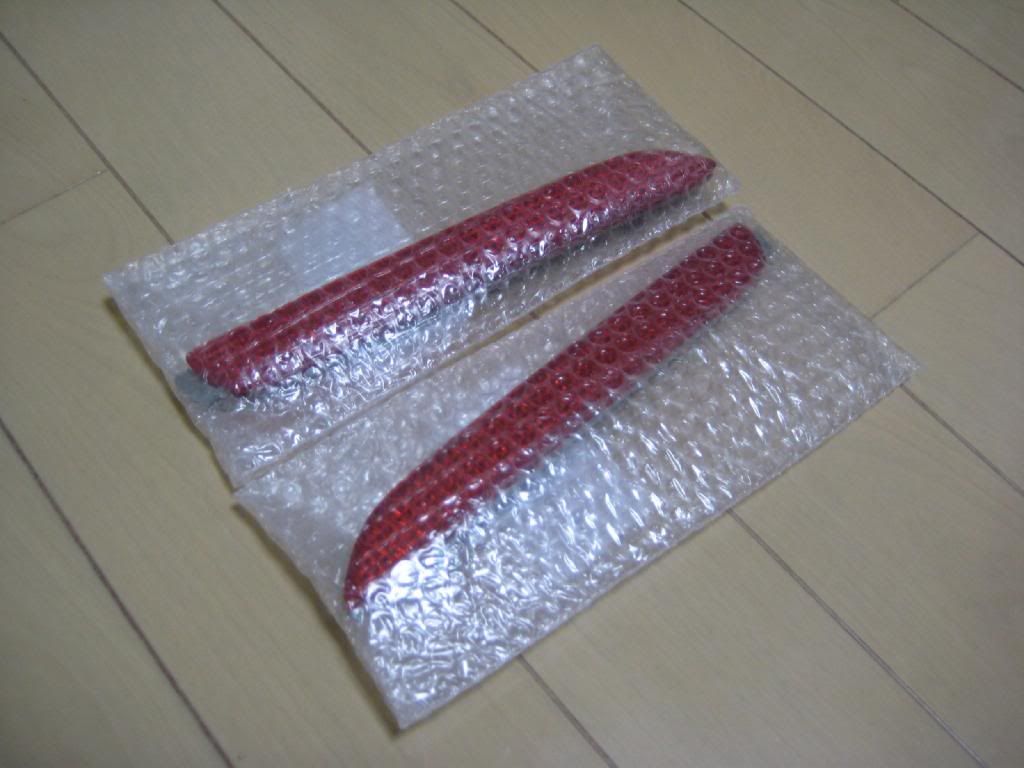
Figure 14. The packaged reflectors. 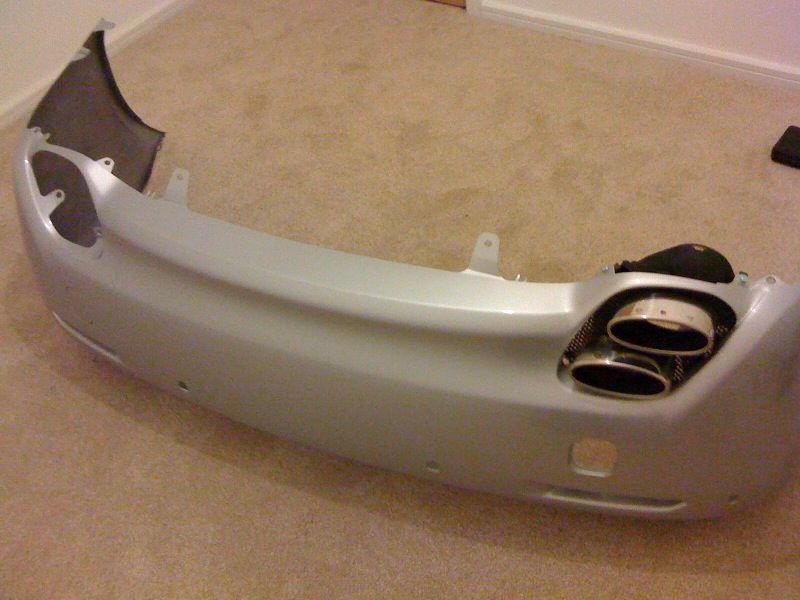
Figure 15. Assemble the bumper.
Step 4 – Install new bumper
Now, you are ready to install your new bumper. Have a friend help you line up the bumper. Make sure the tabs in the trunk area are tucked in nicely. Then, install it in the reverse of the removal order.
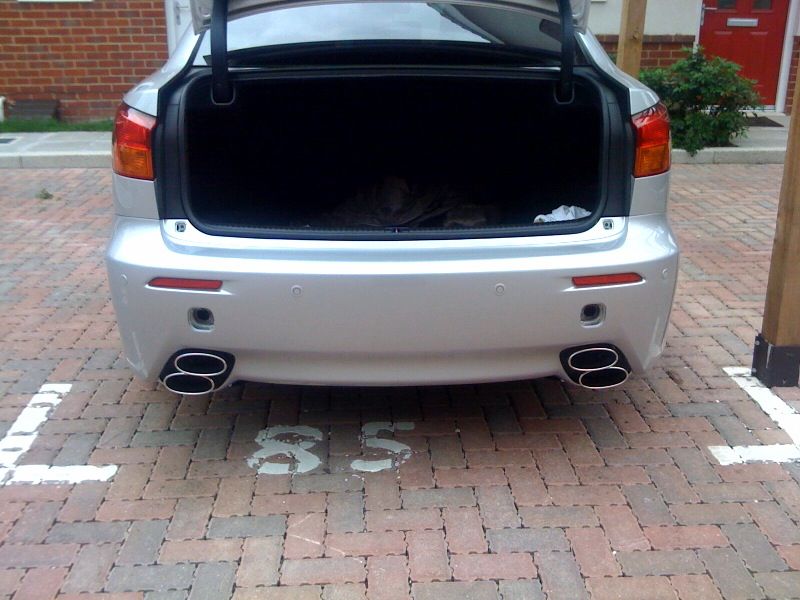
Figure 16. New bumper installed. 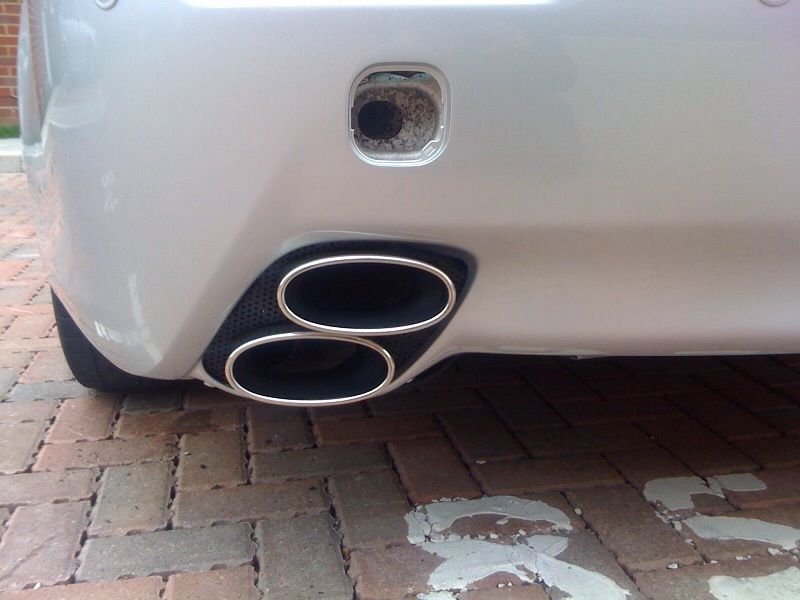
Figure 17. Closeup of the Quad exhaust tips.
Related Discussion
- My IS-F Rear End Conversion: Full Photo Guide - ClubLexus.com