Lexus IS: How to Install a Navigation System
Follow these step-by-step instructions to install a new navigation system in your Lexus IS.
This article applies to the Lexus IS (2005-2014).
Installing a new navigation system in your Lexus IS is not a difficult task. By following the instructions below, you can install a new system that offers more features and upgrades than the standard OEM. The most important part of this project is keeping track of the wires and connections behind the system. You will also want to be careful when removing parts from the center console, as you do not want to scratch the interior finishes of your Lexus IS.

Materials Needed
- Flathead screwdriver
- Phillips screwdrivers, various sizes
- 10mm wrench or ratchet set
Step 1 - Remove the center vents
Using a flathead screwdriver, press down the tabs inside the top of the vent system. Pull the vent system out and disconnect the wires that are connected to its side.
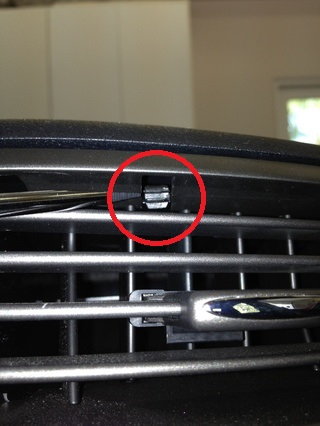
Figure 1. Press on the inside tabs. 
Figure 2. Pull the vent system.
Step 2 - Remove the top two bolts for the navigation system
Using the the 10mm wrench or ratchet, remove the top two bolts from the navigation system and set them aside.

Step 3 - Remove the side rails of the center console
Use a flathead screwdriver to gently remove the side panels on the center console. Removing this trim will expose the two bottom bolts of the navigation system.
Pro Tip
Use caution when removing the side panels to avoid any scratching of the interior console surfaces.

Figure 4. A screwdriver can be used to remove the console side panel trim. 
Figure 5. Removal of console trim.
Step 4 - Remove the two bottom bolts from the center console system
Remove the two bottom bolts from the navigation system, using the same wrench or ratchet as used in Step 2.

Step 5 - Remove the shift handle from the shift bar
Unscrew the shift handle from the shift bar in a counter-clockwise motion. This step is not completely necessary, but it will provide more room to remove the navigation system.

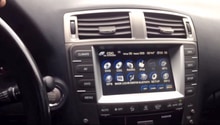
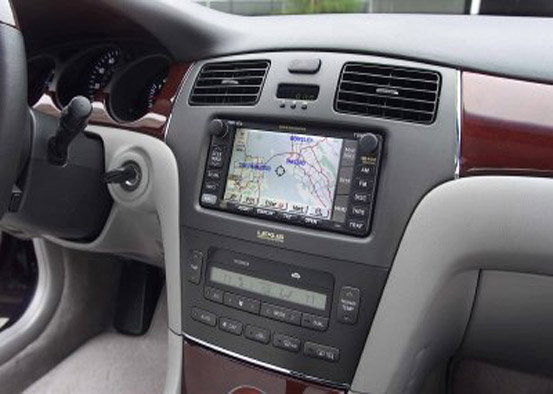
Step 6 - Remove the existing navigation system
Remove the existing navigation or entertainment unit from the Lexus IS. The unit can be a bit heavy and unweidly, so set it down on the center console before removing the wiring from the rear.
Pro Tip
Place a towel or rag over your center console when removing the existing unit to prevent scrapes or scratches.

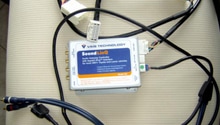
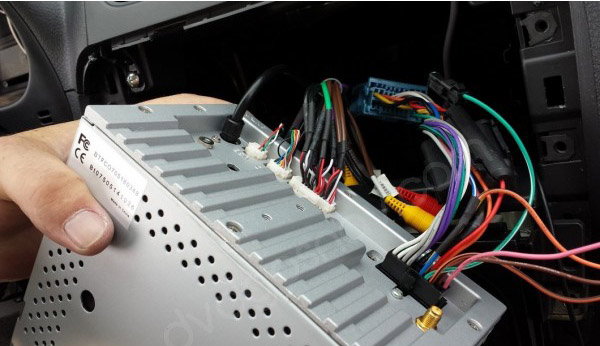
Step 7 - Disconnect the wires from the existing unit
Gently disconnect the wires from the existing unit, taking a mental note of all of the existing wires; you will be reattaching them to the new unit upon installation. Please note that based on the specifications of the new navigation unit that you are installing, not all of the wires may be used, and there may be some slight wire adjustments based on the unit.

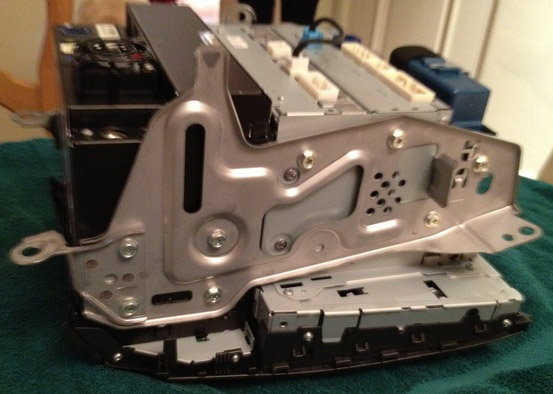
Step 8 - Remove the existing navigation system from the harness and install new system
Using a Phillips screwdriver, unscrew the existing navigation system from the side harnesses. install the new navigation system in its place.
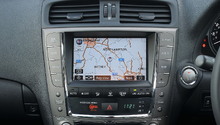
Step 9 - Reattach the wires to the new navigation system
Using the manufacturer's directions and specifications, reattach the wires to the new navigation system. Bear in mind that there may be existing wires that were not used previously that now may be used with your new system.
Step 10 - Reassemble and re-install the navigation system
Reversing the directions above, reassemble the navigation system.
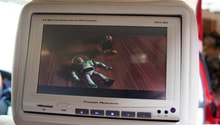
Featured Video: How to Install Touch Screen Navigation
Related Discussion and Site
- How To install FlyAudio Navigation - ClubLexus.com
- Video: How to Remove Radio.nav/Display from Lexus IS - Youtube.com