Lexus IS: How to Install Illuminated Scuff Plates
Illuminated scuff plates are a nice luxury touch in the Lexus IS. Here is how to install them yourself.
This article applies to the Lexus IS (2005-2013).
Scuff plates are a subtle feature, but they certainly play a large part in enhancing the overall appearance of the Lexus IS. These protective plates, fitted on the sides of the car, are there to protect from wear and tear. Over the years, scuff plates have transformed into more than simple protective coverings. Illuminated scuff plates help drivers and passengers to see when stepping in and out of the car at night. They also add a touch of sophistication. Read on for information about investing in and installing illuminated scuff plates for your Lexus IS.

Tools and Materials Needed
- Red 18-22g wire tapers (one per side)
- Soldering iron
- Crimper (for splicing)
- Straight wire connector
- 22g jumper wire
- Flathead screwdriver
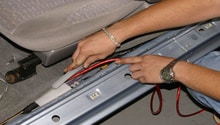
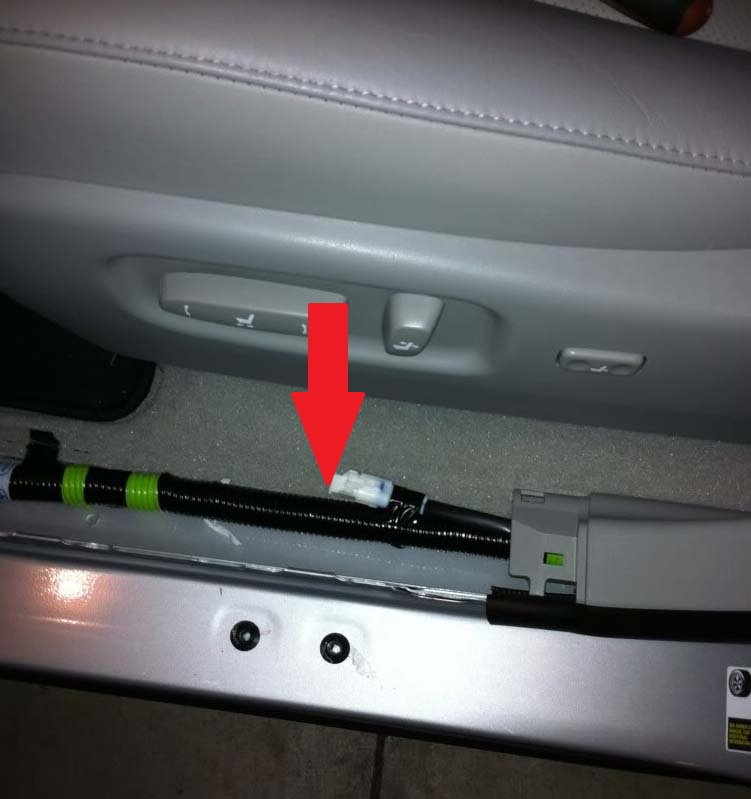
Step 1 - Remove the panel covering on the floor next to the car door
The panel covering between the seat, the door, and the seat belt section needs to be removed in order to access the wiring beneath it. To remove it entirely, pop out the seven snap-in pieces on the interior side of the plate, and use a flathead screwdriver to release the four white pegs. Reveal the wire housing inside of the black tubing.
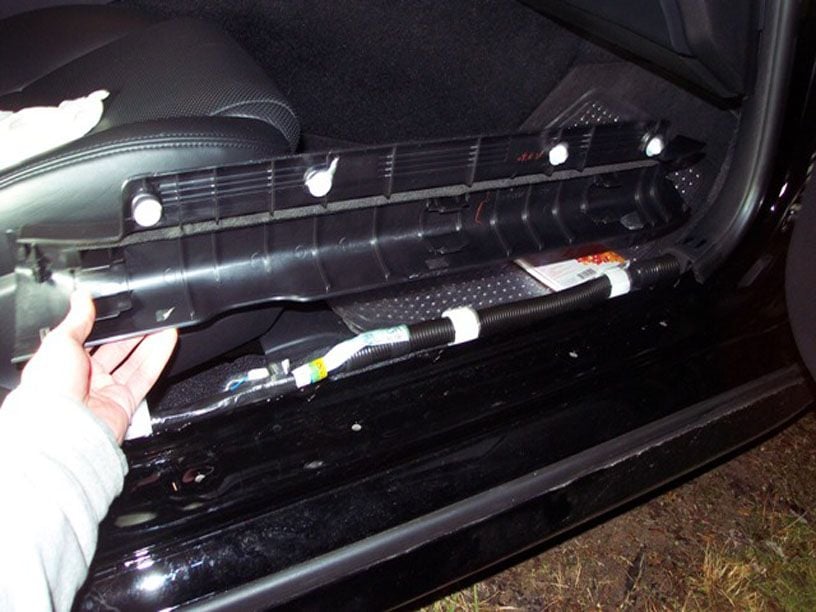
Step 2 - Carefully cut the black protective sleeve on the floor
Carefully cut through the black protective sleeve depicted above leaving as much gray wire as possible exposed. Try not to cut any of the wire, especially the blue wire, which is necessary for the installation and function of the illuminated scuff plate.
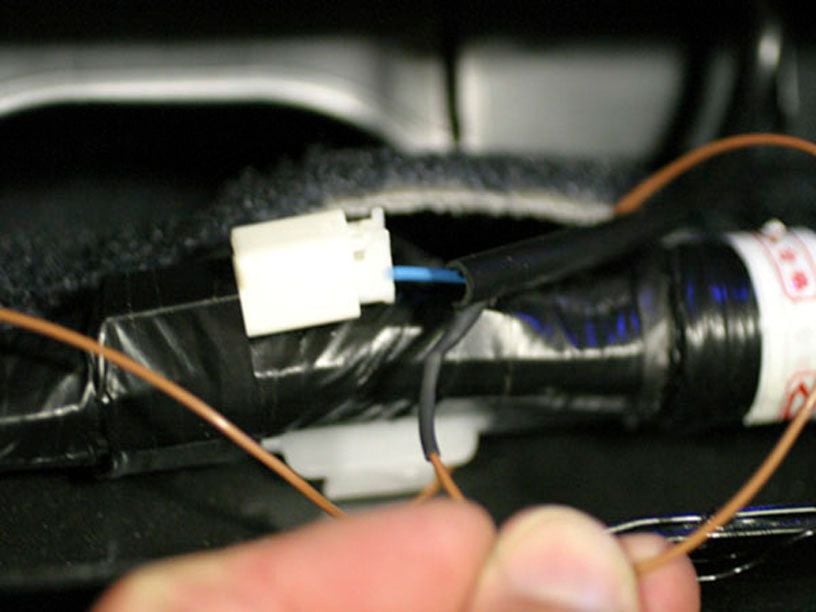
Step 3 - Install the taper and jumper cables
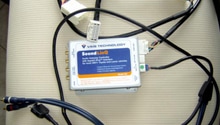
Once the panel cover is removed, search for the only red wire in this section of the car. It is the red wire that extends toward the rear of the door switch. Upon locating the wire, place the red wire taper over it and insert the jumper cable wire, thus securing both wires together.

Step 4 - Join the gray wire with the jumper wire
Use your crimper to join the gray wire with the jumper wire for a clean installation.
Step 5 - Plug in the new scuff plate and test
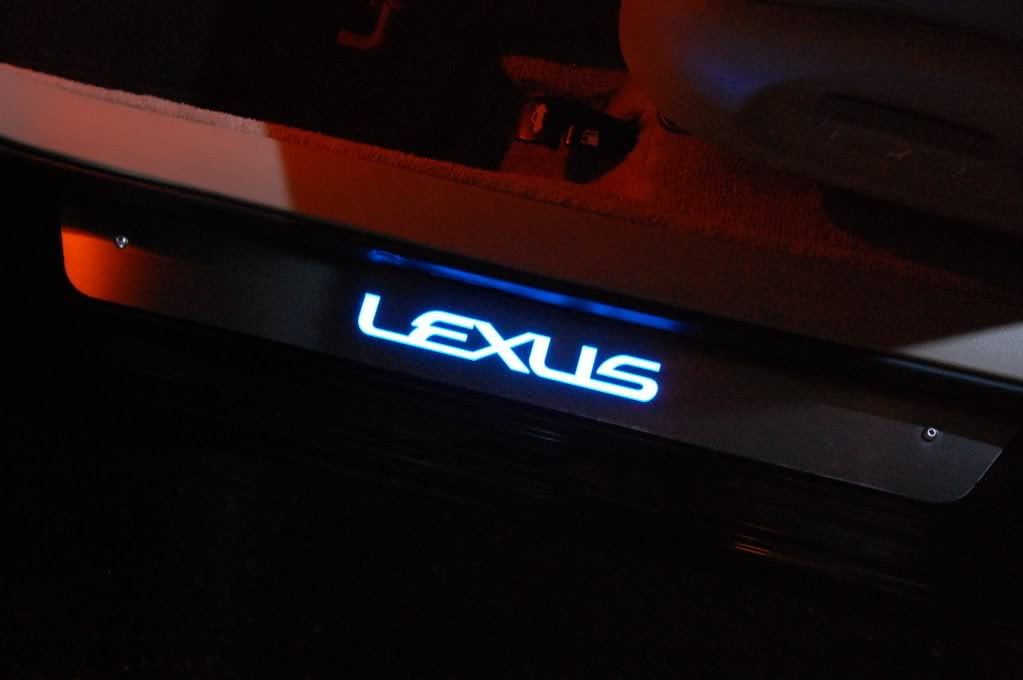
Plug in the illuminated scuff plates and test them by opening and closing the doors on the car. They should light up when the door is open and turn off when the door is closed.

Pro Tip
Be certain that your dome light is activated to turn on when you open the door. If your dome light switch is off, your scuff plates won't light up even if they have been properly installed.
Related Discussions
- Fast Install of Illuminated Scuff Plates - ClubLexus.com
- Scuff Plate Removal - ClubLexus.com
- Illuminated Doorsill Scuff Plates - ClubLexus.com