Lexus RX: How to Replace Exhaust and Catalytic Converter
Replacing your OEM exhaust with a jaw dropping, mean sounding high performance system is easier than you think.
This article applies to the Lexus RX (2007-2014).
Replacing the OEM exhaust and catalytic converter on your RX is relatively easy, but it does take some time and a couple of special tools if the catalytic converter really does need to be replaced. The most difficult aspect of this job is getting clearance under the vehicle without a hydraulic lift to remove the exhaust. Removing the catalytic converters is a little bit more difficult considering they're attached to the RX's headers. Professionals, especially those at a dealership, will charge a huge amount to replace the catalytic converter. Doing the job at home will save you a ton of money.
Materials Needed
- 3/8" ratchet
- 15mm socket with extension
- Pry bar
- Torque wrench
- Silicone spray lubricant
- Bi-directional scanner tool
- Infrared temperature gauge
Step 1 - Test your catalytic converter with a bi-directional scan tool
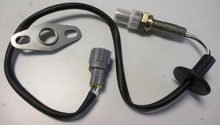
It will be easier, from a work flow perspective, to determine if you have a bad catalytic converter before you start any work. A bi-directional diagnostic scan tool will be useful here for reading the O2 sensor voltages. One of these can cost upwards of $500. Renting one from the local auto shop is a more cost-effective method if there's no plan to use it in the future.
Plug in the bi-directional scan tool and start the engine. Run the test for O2 sensors on the scan tool. Keep the engine at 2000 RPM. The front O2 sensor should change voltage levels pretty rapidly back and forth. The secondary O2 sensor is the important one to look at. It should remain relatively steady (compared to the primary) at about one-half of a volt. If this step fails, you likely have a bad catalytic converter, but you cannot completely rule out a bad O2 sensor at this point. To do that, you will need to go to the next step.

Step 2 - Take second test with an infrared thermometer
After verifying low or bad secondary O2 sensor readings, take the temperature of the catalytic converter.
Use the temperature gauge to read the input and output flanges after the catalytic converter. Now, this won't read anywhere near the 1200 °F internal temperature of the converter; however, the outlet port should always read higher than the inlet port. Make sure the temperature reading is from under the heat shield and not on it. If the inlet temperature is hotter than the outlet temperature, the catalytic converter is not working properly.
At this point, there shouldn't be any doubt about the effectiveness of the catalytic converters. If these tests were negative, you have saved yourself a considerable amount of money and would be able to re-use your existing converter.

Warning
The catalytic converter and attached pipes are going to be extremely hot! Be sure to let the vehicle cool down before proceeding with replacement.
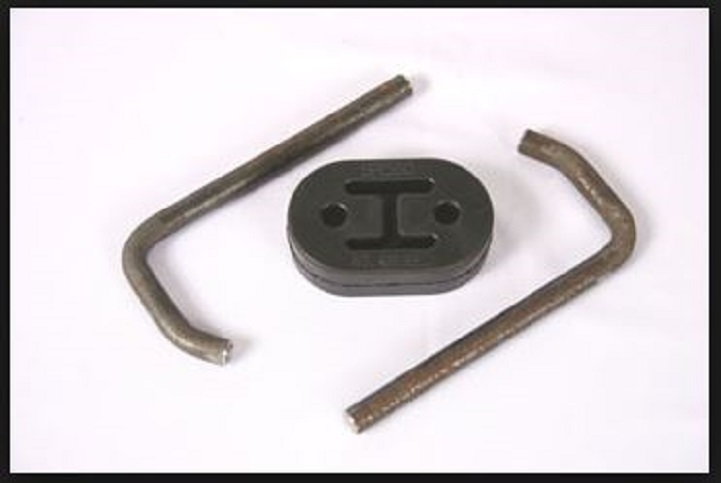
Step 3 - Lubricate the exhaust hangers and rubber isolators
Use the silicone spray lubricant to spray a generous amount on each hanger and isolator. This will keep the rubber supple and help prevent breaking any of the metal. If they do crumble or break, replacement kits are relatively inexpensive.
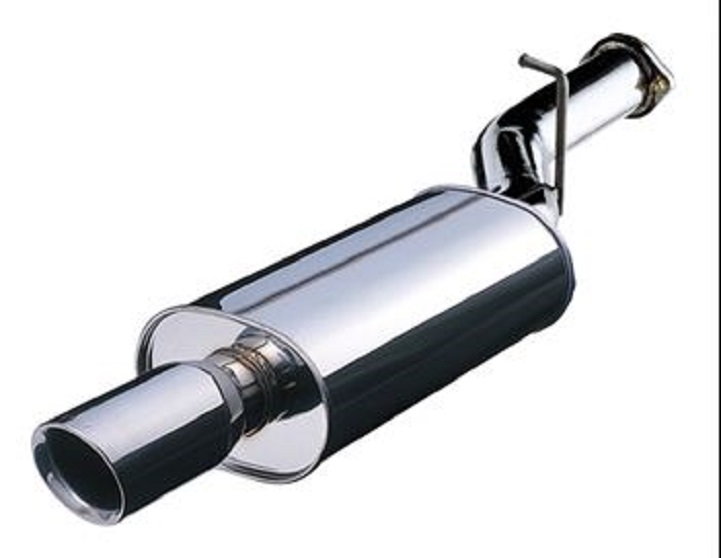
Step 4 - Remove the muffler
It is easiest to start from the back and move toward the front. Remove the bolts from the rear muffler flanges, which are located on the right hand side behind the muffler. A pry bar or a rubber mallet might be needed to help facilitate the removal of the muffler. Set the muffler aside. If there is no problem with the catalytic converter, install the new muffler now. If you are replacing with a high performance dual exhaust system, you'll want to replace all the pipes up to the outlet port of the converter.
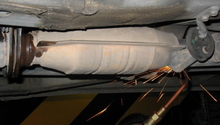
Step 5 - Remove and replace your catalytic converter (if needed)
If the catalytic converter isn't working properly, now is the time to replace it. This is a more difficult task than replacing the muffler because of the higher heat. The rapid heating and cooling often makes the bolts in this area difficult to remove. Rust also plays a big factor here as well. Hopefully, a cutting torch won't be necessary, but it might be easier to remove it that way.
The converter will have access points before and after it. These attach the converter to the exhaust pipes on either end and is held in place by two bolts on each end. Soak the nuts and bolts in WD-40 while you work on the rest of the project. As you remove these bolts, the heavy catalytic converter will likely just fall to the ground, so take care when removing it. You may want to support one end with something while removing the bolts from the other side so it doesn't swing down and bend the coupled section. Remove the remaining pipe from the manifold to the converter and replace. Once you replace the converter, continue to install the new exhaust and muffler. Once completed, enjoy the new sound and additional horses you now have in your stable.

Related Discussions
- Do it Yourself Exhaust System Replacement - ClubLexus.com
- How to Diagnose a Bad Catalytic Converter - YouTube.com
- Has Anyone Had to Replace Their Catalytic Converter - ClubLexus.com
- Code P0430 Catalytic Converter Question - ClubLexus.com
- Exhaust Flex Pipe Issues - ClubLexus.com