Lexus: Windshield Wiper and Motor Diagnostics
Here are some potential causes as to why your wipers are failing.
This article applies to the Lexus IS, ES, GS, and RX (2005-2013).
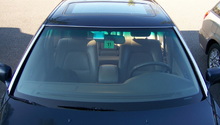
Wipers should clean the windscreen over most of the visible glass and return to "park" with the wipers stowed. However, they may “park” straight up, and the driver’s side may wipe past the A pillar. These are signs of an improper adjustment. Dealers will charge 1-4 labor hours for installing a new wiper mechanism or the time to align the wiper arms—not to mention a new motor—which will devour your next paycheck. Read more to troubleshoot, diagnose, repair and replace.
First, try to diagnose what’s wrong. Is one wiper working, the other doing half a job? Or are both wipers barely moving, but you can hear the motor doing its best? Worst case scenario, you switch on the wipers and absolutely nothing happens; no motion and no noises.
If it’s a half-wipe, a wild wipe or mid-adjusted park, there’s good news; you can surely fix it yourself. If you can hear the motor and see nothing, this is also an easy repair. If, on the other hand, there’s no noise and a quick check of the fusebox does not deliver a $2 fuse replacement, the news is about $100 unhappy.

Materials Needed
- Channellock pliers
- 10mm socket or open end wrench (wiper arm removal)
- Socket set or open end wrench set (other nuts and bolts)
- Pry bar/flat bar (optional)
- Battery post puller or other small puller (optional)
- DeOxit contact cleaner
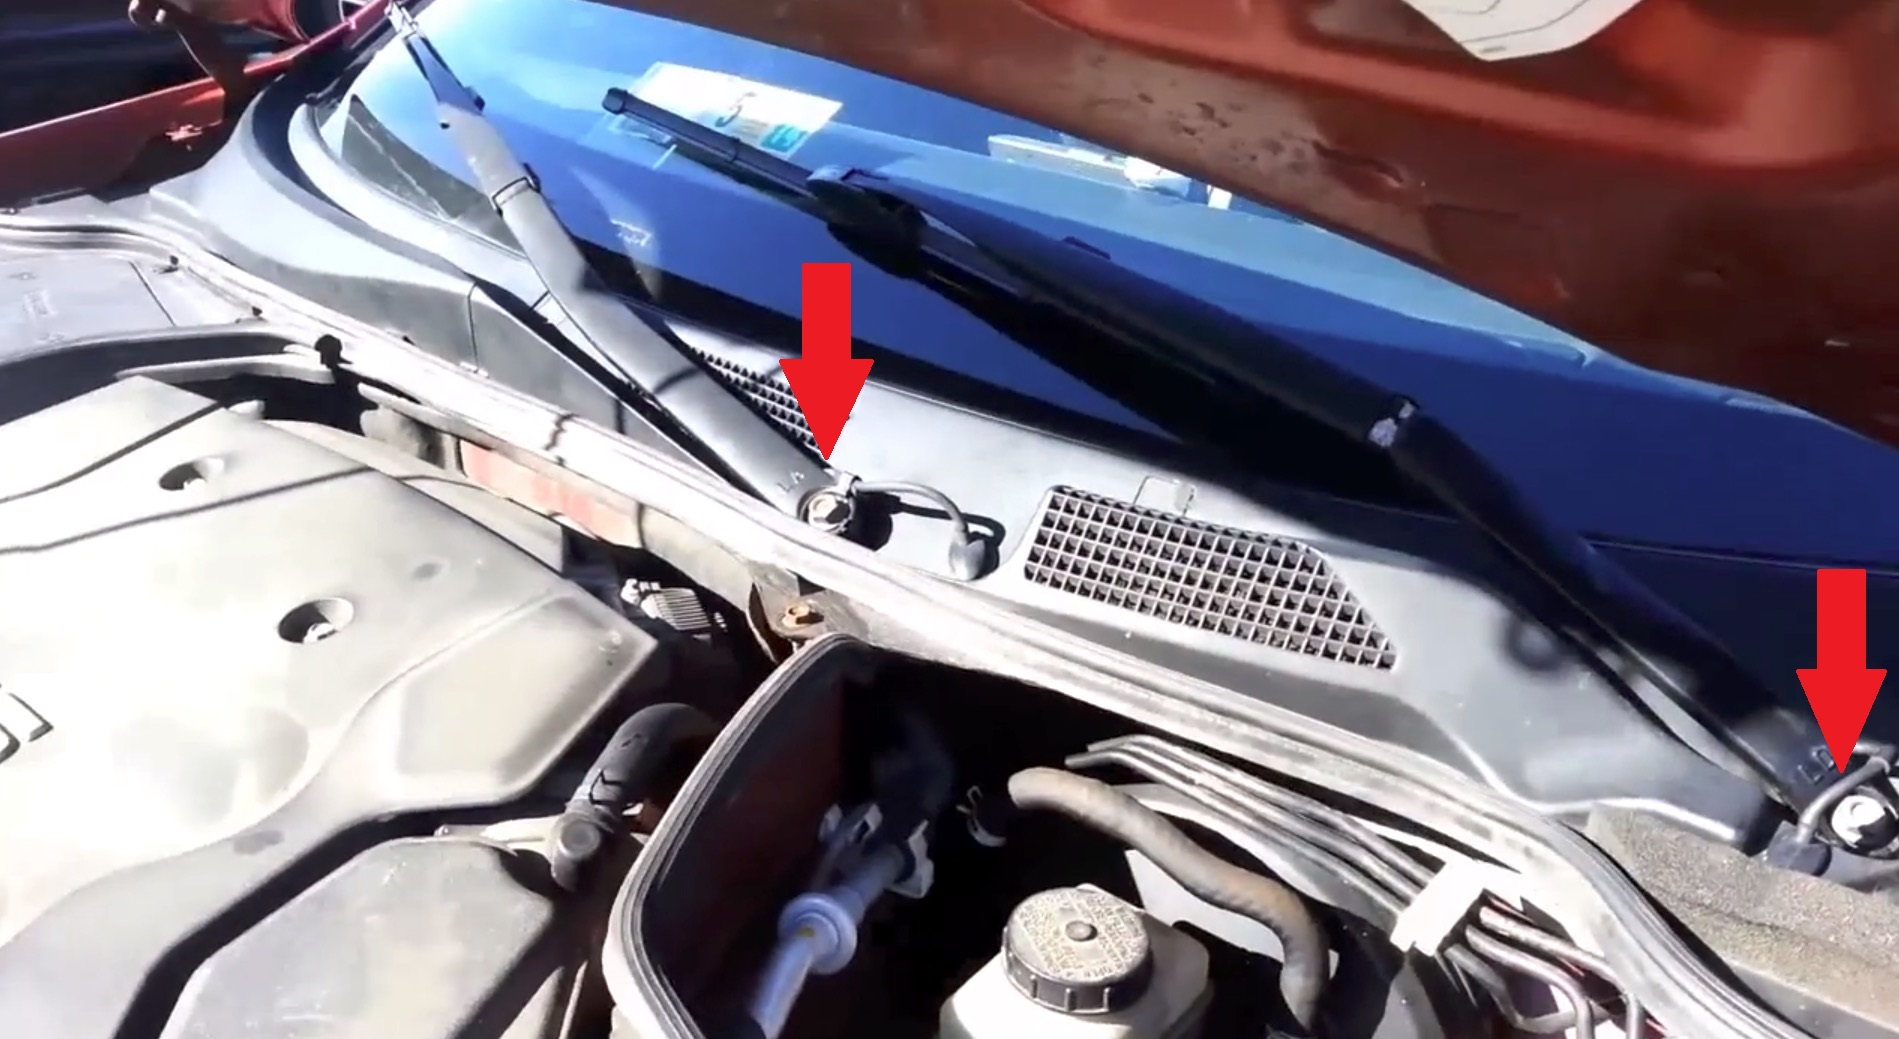
Step 1 – Remove the cap over the wiper arm nut
Remove the cap over the wiper arm nut, loosen the 10mm nut, and remove the wiper arm. This is often difficult and involves prying, so be careful. If you have a battery post puller, it may be a big help. If you don't, you can use an open end wrench and a flat bar to distribute force; pry while tapping the stud (keeping the nut on to prevent thread damage).
Step 2 – Set the wiper arm in the right position
Replace the wiper arm(s) in the correct park position and lightly tighten the nut for a test. If all is well, tighten to about 13 pound-feet or re-adjust.
Step 3 – Proceed if needed
If you’ve got further problems, like squeaks and improper motion, you’ll have to remove the slotted debris cover over the pantograph (wiper linkage). If the motor is dead you’ll have to do this, too.
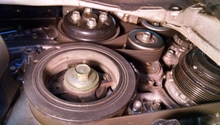
Step 4 – Lubricate the linkages
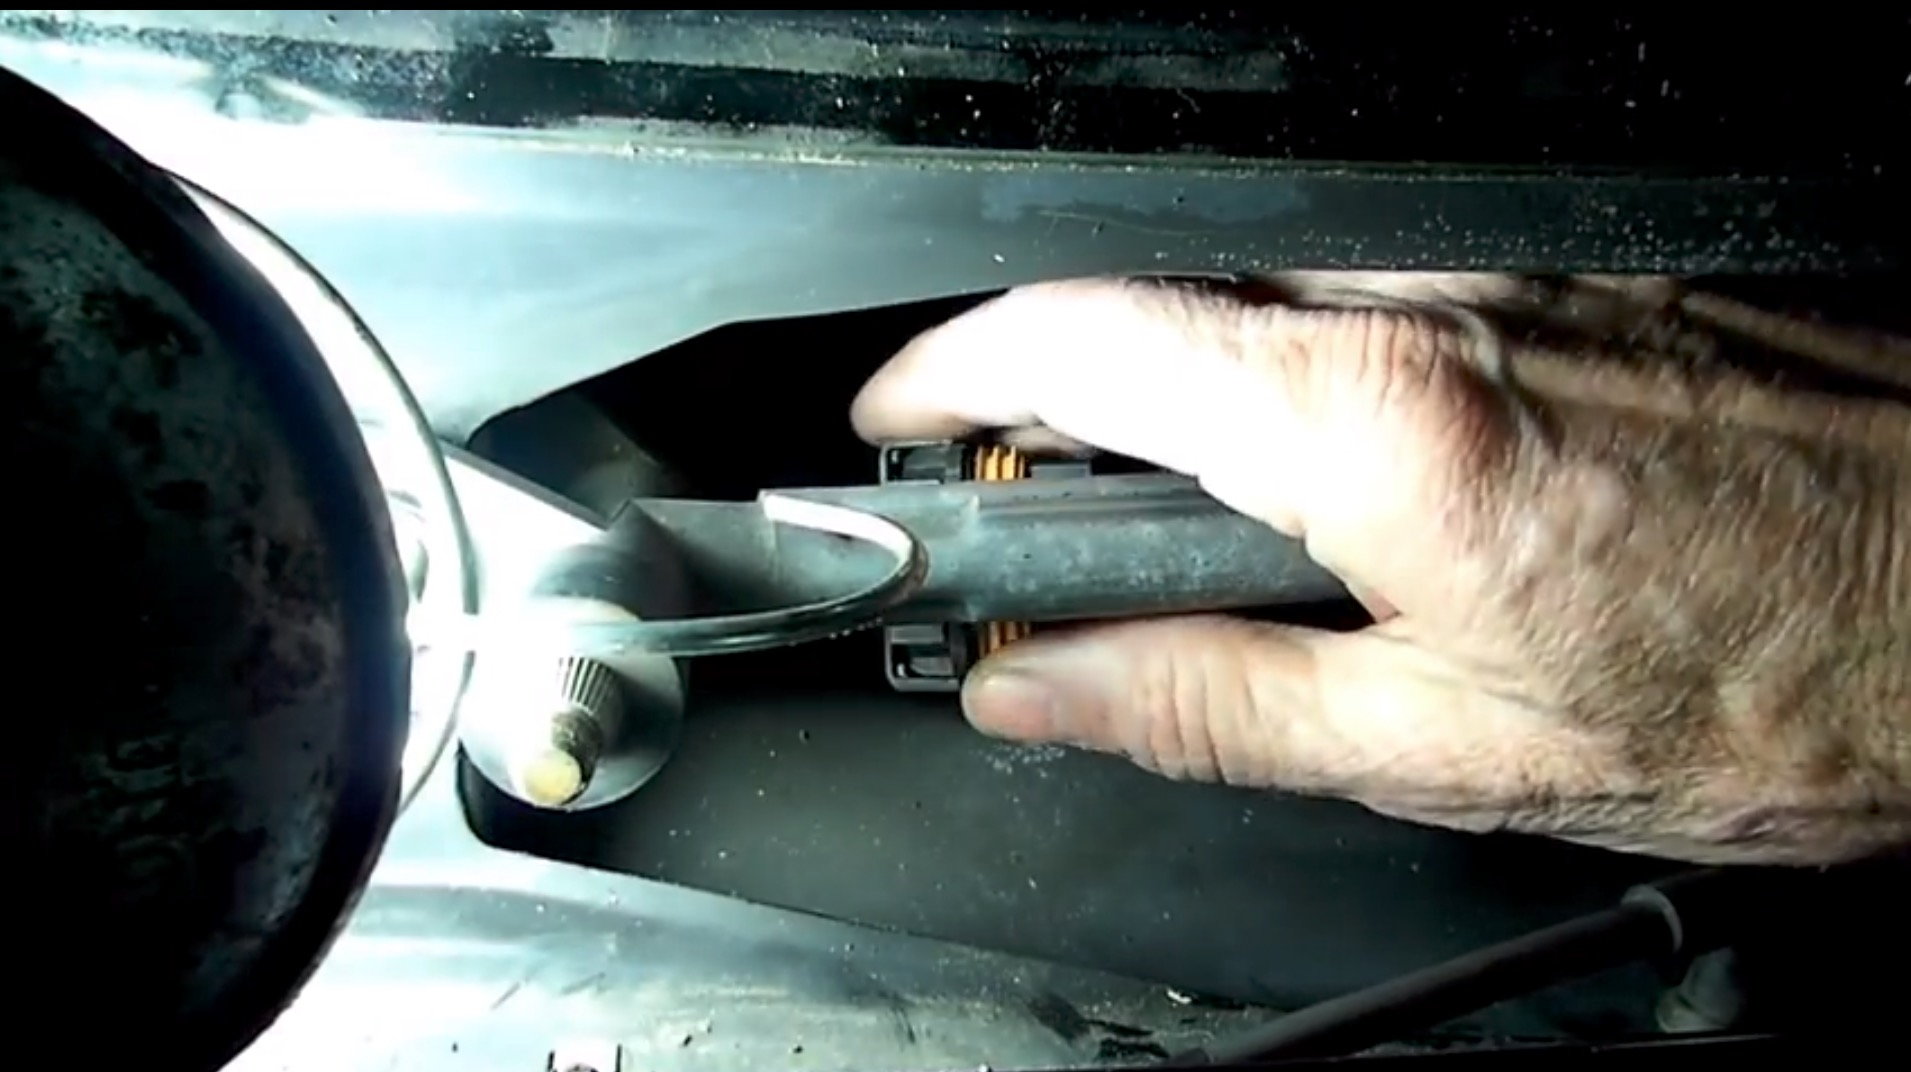
Remove the cover and locate the bolts securing the pantograph, then remove it. As the motor is attached, be careful about electrical connections. Linkages/pantographs can be lubricated using lithium grease in small amounts; do so and inspect for broken bushings. If broken bushings are at fault for your erratic wipers, then new linkages at $168 MSRP or good used ones are your options. If the motor is dead, and you tested it to make sure (on the bench and at the connector), then a new one at $224 MSRP or a quality rebuilt are in your future.

Step 5 – Reassemble
Reassembly is the reverse procedure. Use a contact cleaner like DeOxit on the motor electrical connectors.
Featured Video: Wiper Motor & Switch Troubleshooting
Related Discussion and Video
- GS First Generation Windshield Wiper Problem - ClubLexus.com
- How to Replace Windshield Wiper Motor on a Toyota Corolla - Youtube.com